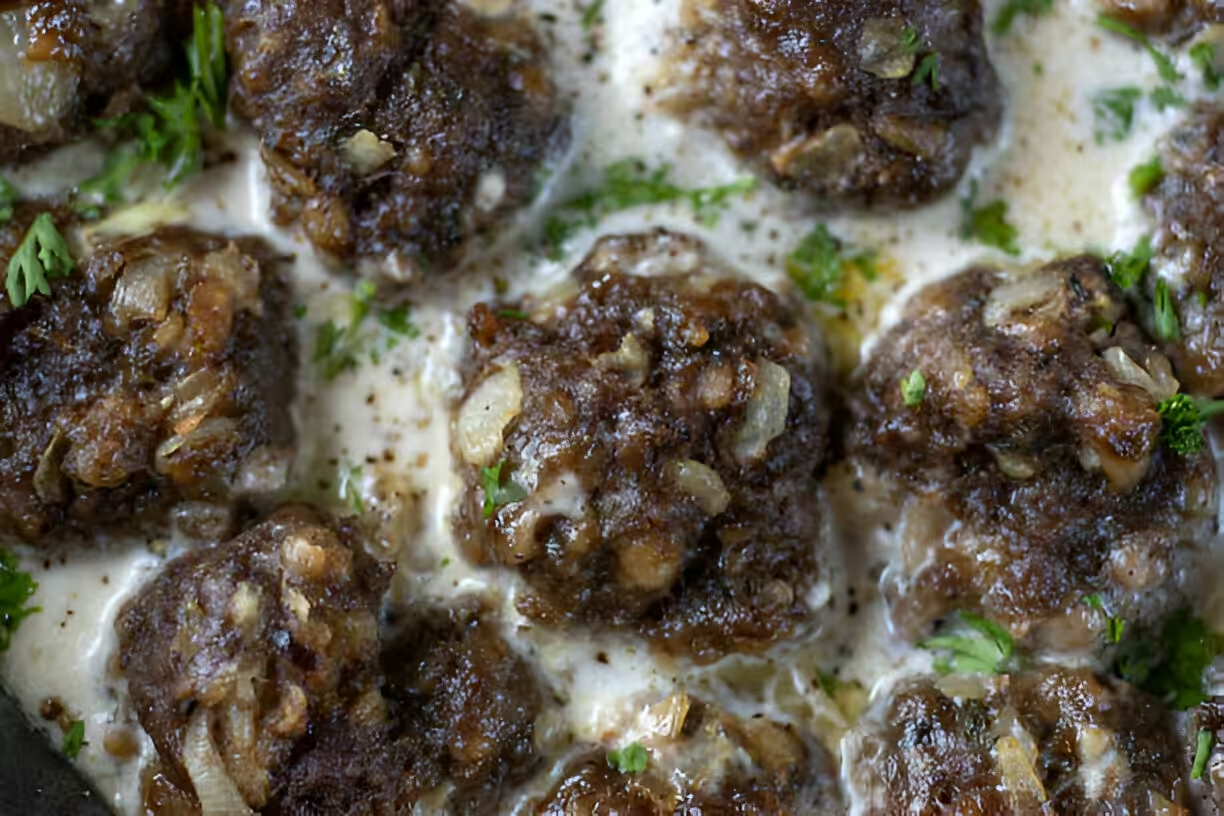
Sаusage balls are like a fun party snack thats everyone loves . They taste good and theyre pretty easy to make at home even if youre not much of a cook . People serve them on game days , brunch or family get togethers and they vanish fast .
The secret to these little bites is Bisquick , a simple baking mix that brings flavor and holds every bit together . It started off as a pancake and biscuit helper but now its everywhere in kitchens because it saves time and still tastes great .
This writeup will show you how to put together sausage balls with Bisquick , share some tips and show a few ways to change them up so they fit any taste . Read on and youll learn how to roll these cheesy meat balls that everyone will gobble right up .

History of Sausage Balls
People dont really know exactly where sausage balls came from but they think it was down south in America . Back then cooks mixed sausage , flour and cheese into little orbs because it made a tasty snack thats filling .
Over time home chefs tried new spices and extras like onions or peppers , so today you can find all kinds of versions from super spicy to veggie-friendly . Then Bisquick showed up and suddenly making them was even faster and you didnt need many bowls .
Why Use Bisquick?
Bisquick is a ready-made baking mix with flour , baking powder and fat all in one bag . It was made to help with pancakes and biscuits , but its usefulness went way beyond breakfast .
When you add Bisquick to sausage balls it binds the meat , cheese and seasonings so they dont fall apart . It also gives that light , fluffy bite thats hard to get if you just used regular flour . Plus you need fewer items on your shelf which makes making snacks super quick .

Key Ingredients
To whip up the best sausage balls youll want these basics in your bowl :
- Sausage: The main star that brings the juiciness and spice . You can pick mild , hot or even turkey sausage if you like .
- Bisquick: This mix makes everything stick and adds that soft texture we all love .
- Chеese: Shredded cheddar is classic but feel free to try pepper jack or mozzarella for a different twist .
- Seasonings: Garlic powder , onion powder and black pepper are the usual suspects . Tweak them to match your taste .
The Ultimate Sausage Balls Bisquick Recipe
Ingredients
- 1 pound breakfast sausage
- 2 cups Bisquick
- 2 cups shredded cheese (cheddar or your choice)
- ½ cup milk
- Optional: spices (garlic powder, onion powder, black pepper)
Directions
- Preheat the Oven: Turn it to 350°F (175°C) .
- Mix Ingredients: In a big bowl combine sausage , Bisquick and cheese until mostly blended .
- Add Milk: Pour in milk bit by bit until the dough sticks together but isnt too wet .
- Form Balls: Roll small handfuls into 1-inch balls .
- Arrange on Baking Sheet: Place them on a greased or lined sheet with space between each ball .
- Bake: Cook for 20–25 minutes or until theyre golden and cooked through .
- Serve: Let them sit a few minutes so theyre not too hot , then dig in .
Advice for Best Results
Follow these tips to get the tastiest sausage balls :
- Avoid Overmixing: Stir just enough to combine ingredients so they stay tender .
- Try Variations: Add chopped jalapeños , different cheeses or fresh herbs to switch things up .
- Store Leftovers: Keep any extras in an airtight container in the fridge for up to 3 days or freeze for longer .
Serving Suggestions
Make them even more fun by pairing sausage balls with :
- Dipping Sauces: Mustard , ranch or spicy hot sauce all work great .
- Drinks: Craft beer , cocktails or sparkling lemonade are nice matches .
- Side Dishes: Try a fresh salad , fruit tray or raw veggies to balance the richness .
Variations of the Recipe
These sausage balls are super flexible — mix and match to suit your crowd :
- Alternative Proteins: Swap in turkey sausage or plant-based sausage for a lighter or veg option .
- Gluten-Free: Use gluten-free Bisquick so everyone can enjoy them .
- Flavor Twists: Add cajun spices for heat or Italian herbs for a Mediterranean vibe .
Common Mistakes to Avoid
Watch out for these slip-ups :
- Poor Mixing: If you dont mix well the flavors wont be even and the balls may break .
- Wrong Bake Time: Keep an eye on the oven so they dont dry out or stay raw inside .
- Cheese Overload: Too much cheese can make them greasy ; too little leaves them dry .
Frequently Asked Questions (FAQs)
- What is Bisquick?
A ready mix of flour , baking powder and fat that saves time in recipes like sausage balls . - Can I make them ahead?
Yes you can freeze formed but uncooked balls and bake later when you need them . - How to make them healthier?
Go for lean sausage , low-fat cheese or add finely chopped veggies for more nutrients . - Are there vegetarian options?
Use plant-based sausage or skip meat and boost the cheese and spices instead . - What sides go well?
Dips , fresh salads and drinks like beer or lemonade all pair nicely .

sausage balls bisquick
Equipment
- 1 mixing bowl
- 1 baking sheet
- 1 parchment paper optional
- 1 measuring cups
- 1 measuring spoons
- 1 oven
Ingredients
- 1 pound ground sausage Any flavor of ground sausage can be used.
- 2 cups Bisquick mix
- 1 cup shredded cheddar cheese
- ¼ cup milk
- ½ teaspoon garlic powder
- ½ teaspoon onion powder
- ¼ teaspoon black pepper
Instructions
- Preheat your oven to 350°F (175°C). Line a baking sheet with parchment paper for easier cleanup (optional).
- In a large mixing bowl, combine the ground sausage, Bisquick mix, shredded cheddar cheese, milk, garlic powder, onion powder, and black pepper.
- Mix all the ingredients together using your hands or a spatula until well combined. The mixture should be sticky but manageable.
- Roll the mixture into 1-inch balls and place them on the lined baking sheet, ensuring they are spaced about 1 inch apart.
- Bake in the preheated oven for 20 minutes, or until the sausage balls are golden brown and cooked through.
- Remove from the oven and let them cool for a few minutes before serving.
- Feel free to experiment by adding herbs or spices to customize the flavor to your liking.
- Store any leftovers in the refrigerator for up to three days or freeze for later use.