The pressure builds and you start counting down minutes until you eat. You hear that familiar valve hiss from your pressure cooker and you know you’re this close now. The kitchen fills with that warm sugary smell that kinda sneaks into your soul and makes your stomach rumble.
You check the broth depth in the cooker, making sure it’s just right to keep everything moist and tender. The anticipation is real and you can’t help but imagine that first bite buttery and soft, with gooey chocolate chips melting slow.
Then comes the natural release you waited for, slow release of all the steam and heat. Your cookies have that perfect tender pull you chase when baking. You grab a plate and you’re ready to dive in, knowing this is gonna be your new fave recipe, straight from your own pressure cooker.
The Truth About Fast Tender Results
- You don’t need forever to get cookies done if you use the pressure cooker right.
- Natural release helps keep the moisture in and avoids drying out your cookies.
- The tender pull you want comes from that sweet balance of cooking time and broth depth.
- Valve hiss sounds scary but it means your cooker’s working its best.
- Slow release keeps everything steady so nothing cracks or burns.
- Mix ingredients just enough so cookies stay soft and fluffy.
- Don’t open the cooker too soon or the tender texture won’t be the same.
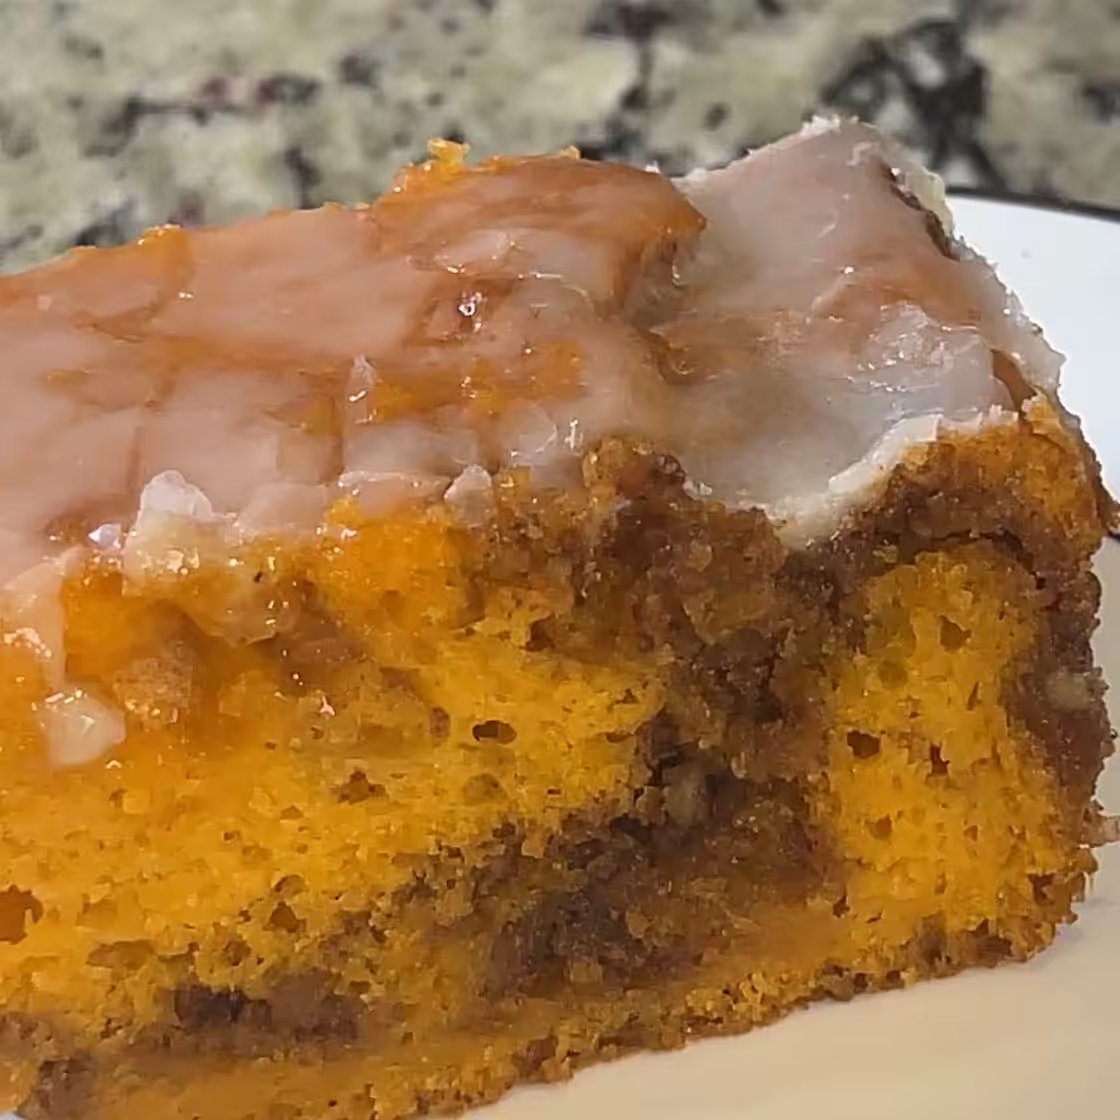
For more tips on achieving perfect baking textures, you can check out our Sweet Potato Honeybun Cake recipe which shares how to get that ideal moist and tender crumb. Also, our Amish Dinner Rolls post has great advice on soft, fluffy baking techniques.
What Goes Into the Pot Today
- 1 cup salted butter softened - gotta get that creamy base.
- 1 cup granulated sugar - the sweet stuff that makes it sparkle.
- 1 cup light brown sugar packed - adds a little chewy depth.
- 2 teaspoons pure vanilla extract - the secret ingredient for that rich flavor.
- 2 large eggs - they hold everything together nice and smooth.
- 3 cups all-purpose flour - gives the dough its structure, gotta measure it right.
- 1 teaspoon baking soda - for that nice rise.
- ½ teaspoon baking powder - helps with fluffiness.
- 1 teaspoon sea salt - balances all the sweet just right.
- 2 cups chocolate chips (12 oz) - the stars of the show, melt in your mouth goodness.
Remember to use room temperature butter for the creaming step; this helps you get that fluffy dough texture you want. For expert guidance on combining ingredients to prevent overmixing, you might like our Cheesy Hamburger Rice Casserole post which discusses mixing fundamentals that can be applied to baking and cooking alike.
The Full Pressure Cooker Journey
So you start by creaming together that softened butter, granulated sugar, and brown sugar until it looks all smooth and lovely. It’s kinda like a fluffy cloud, and you’ll feel it’s just right when it’s creamy and shiny.
Next, beat in the eggs one at a time, stirring in the vanilla extract right after. This step brings your mix together real good, making sure everything sticks.
Whisk the flour, baking soda, baking powder, and sea salt in a separate bowl till they’re all mixed up. Gradually, add the dry stuff to the wet, mixing just until you see the flour disappear. Overmixing will mess with the texture, y’know?
Now, fold in those chocolate chips gently so they’re everywhere but not smashed. Then, scoop out rounded tablespoons of dough and drop ’em onto an ungreased surface set in your pressure cooker on a rack or trivet so the steam can do its job without soggy bottoms.
Seal up your cooker and set the timer for a pressure that suits your device. Once the cooking time’s up, don’t rush it — wait for the natural release, that slow release of pressure is what keeps the cookies tender and perfect. You gotta trust this process.
Once the valve hiss settles down, open the lid and check those cookies out. They should be golden at the edges and still soft in the middle. Transfer to a rack to cool some before you dive into that first bite of deliciousness.
Quick Tricks That Save Your Time
- Use room temp butter so it creams easy and saves mixin’ time.
- Measure all your dry ingredients ahead in one bowl to speed things along.
- Drop dough right onto a silicone mat in the cooker, it helps cleanup and stops sticking.
If you want more great baking hacks, our Sweet Potato Honeybun Cake article shares time-saving tips for moist cakes and quick mixing. Also, check out Classic Crockpot Pierogi Casserole with Kielbasa for savvy slow cooker ideas you can adapt for desserts.
When You Finally Get to Eat
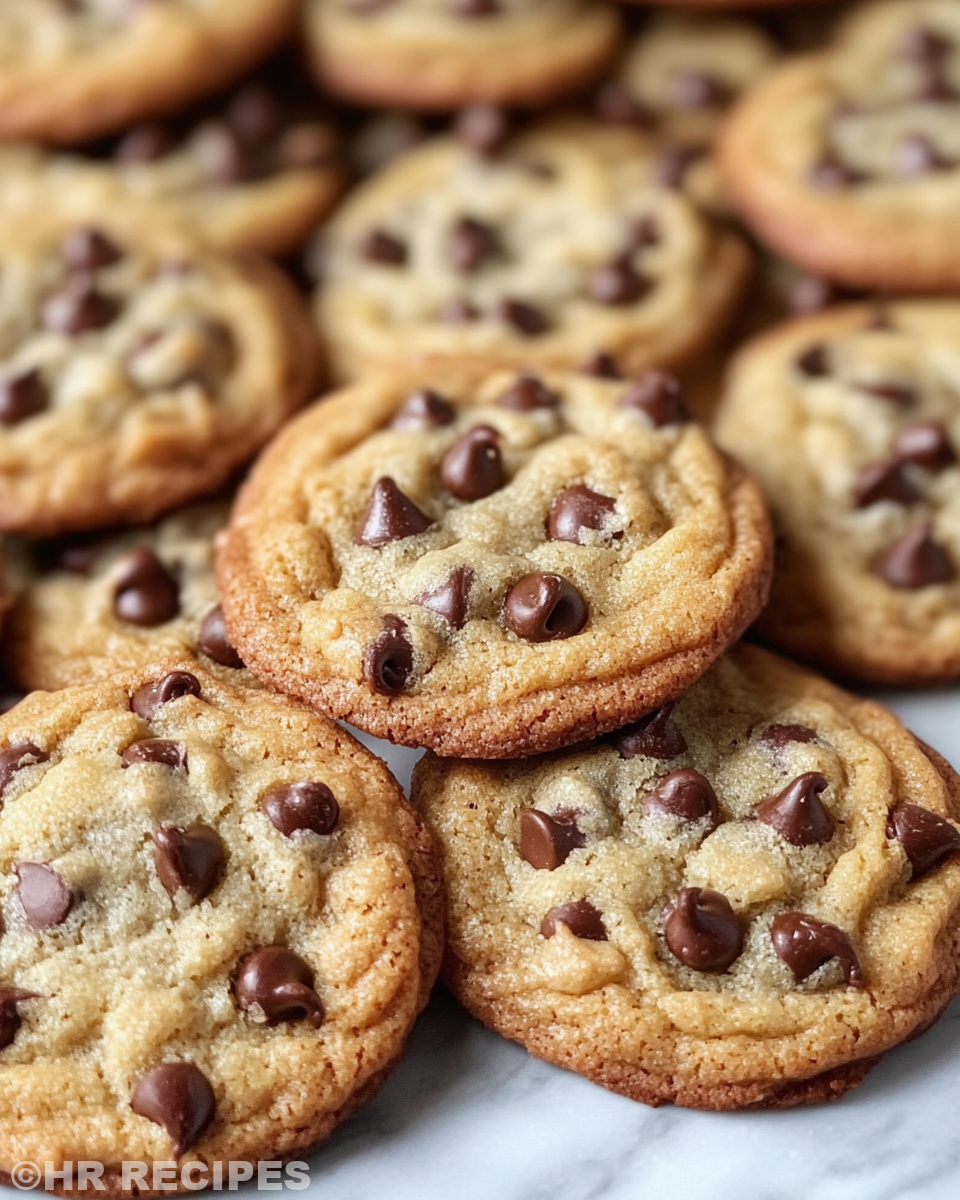
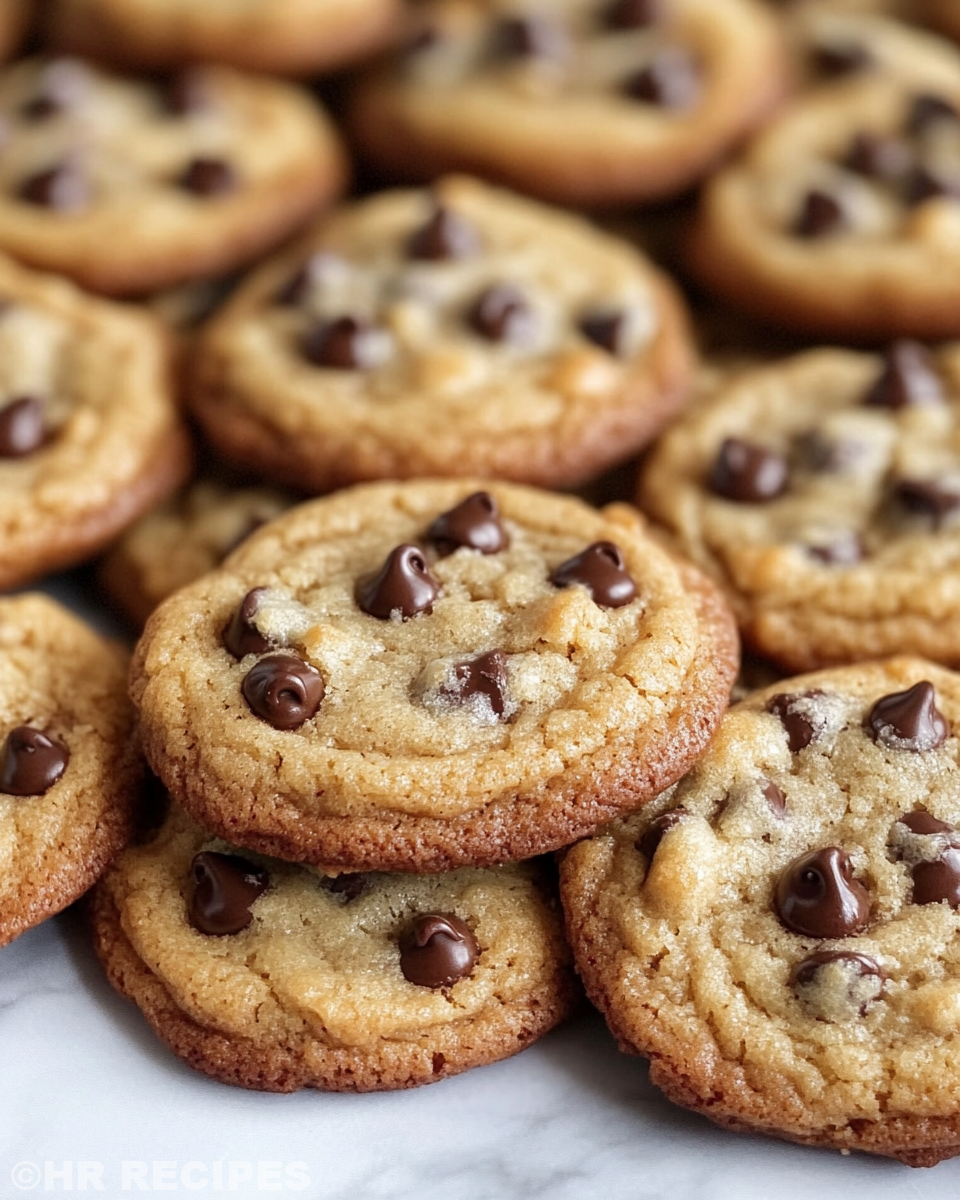
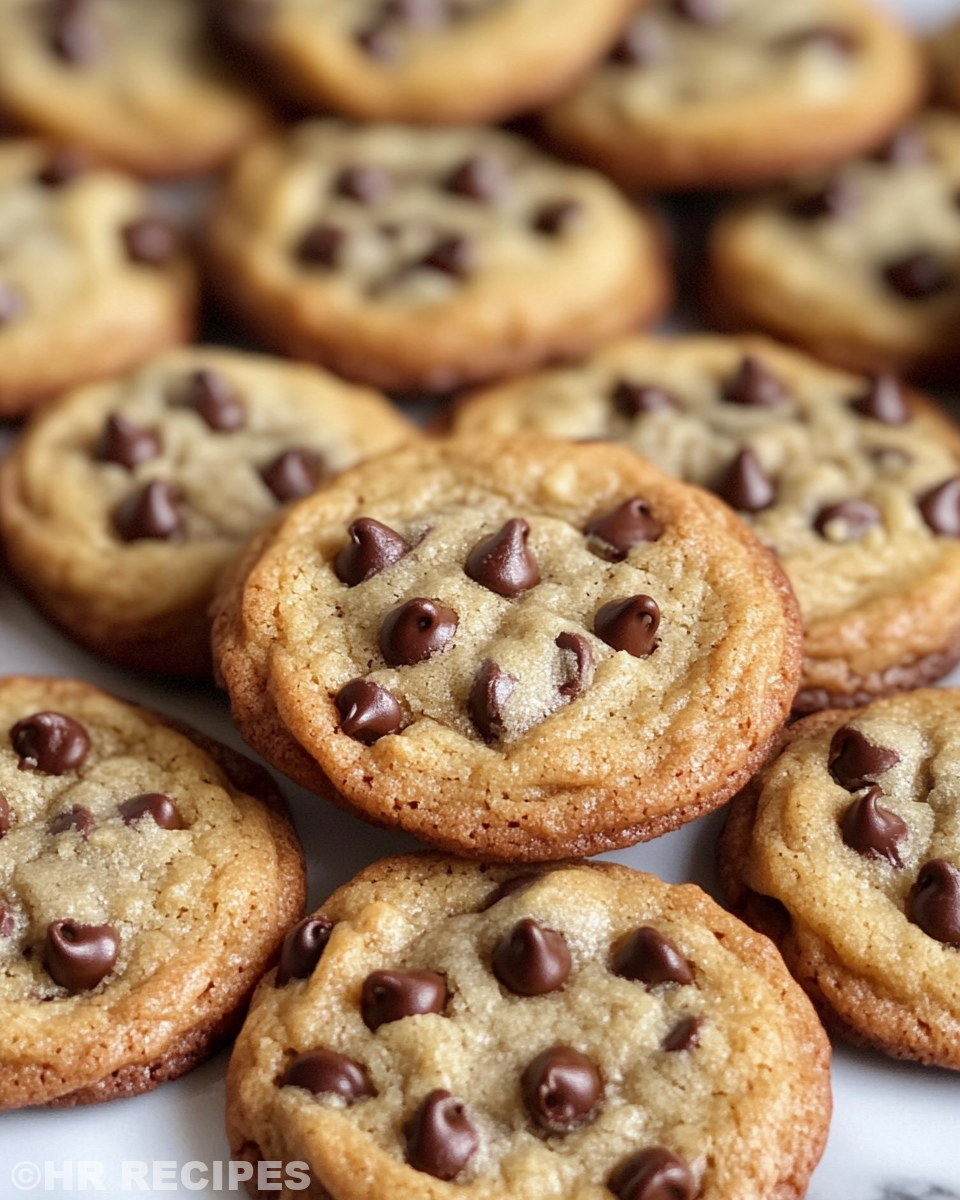
You notice the smell immediately, warm, buttery, and just sweet enough. As you pick up that first cookie, it feels soft but holds together perfectly in your fingers.
The bite is tender, chewy in the middle with those melty chocolate chips teasing your taste buds. You sense the vanilla and sea salt balancing out just right, no flavor overpowering another.
Back at the kitchen, you spot the golden edges and the way the cookie kinda gives with every bite, like it’s begging to be eaten again and again. It’s so easy to forget the wait because the texture and warmth make all the pressure cooker steps worth it.
Honestly, y’all, this cookie recipe is the kinda treat that turns any day into a moment you savor. You can’t help but smile after each bite because it just hits the spot in the best way.
Keeping Leftovers Fresh and Ready
- Store any extras in an airtight container at room temp. They stay soft for a few days this way, perfect for quick snacking.
- If you want to keep them longer, wrap cookies in plastic wrap then place in freezer bags. Pull ’em out to thaw at room temp before eating.
- For keeping ’em extra tender, place a slice of bread in the storage container with cookies. It helps keep moisture balanced.
- If you gotta reheat, pop ’em in the microwave for just 10 seconds or so. That warm chocolate chip softness comes back quick.
To manage leftovers smartly, see our Amish Dinner Rolls post with tips on storing and reheating bread, and Cheesy Kielbasa Hashbrown Casserole for meal prep ideas that keep dishes fresh.
Your Most Asked Questions Answered
- Can I use unsalted butter instead? Yep you can, just add a pinch more salt to keep that balanced flavor.
- What if my dough is too sticky? Sprinkle a little flour on your hands and the dough; it’ll be easier to scoop and shape.
- How long should the natural release take? Usually about 10-15 minutes but depends on your cooker’s size and model.
- Can I add nuts? Totally! Just fold in your fav nuts along with the chocolate chips.
- Do cookies get soggy in a pressure cooker? If you got your broth depth right and use a rack or trivet, they come out tender not soggy.
- Why aren’t my cookies soft? Maybe you opened the lid too soon or missed the slow release step; that tender pull depends on this part.
Looking for more snack ideas to spice up your menu? Check out our Easy Marinated Cheese Appetizer with Salami & Green Olives, a savory complement perfect for entertaining. Or try our Mozzarella Stuffed Rosemary Parmesan Soft Pretzels for a fun and cheesy twist on classic snacks.

The Best Chocolate Chip Cookie Recipe Ever
Equipment
- 1 Mixing bowl Large
Ingredients
Cookie Dough
- 1 cup Salted butter softened
- 1 cup Granulated sugar
- 1 cup Light brown sugar packed
- 2 teaspoons Pure vanilla extract
- 2 Eggs large
- 3 cups All-purpose flour
- 1 teaspoon Baking soda
- ½ teaspoon Baking powder
- 1 teaspoon Sea salt
- 2 cups Chocolate chips (12 oz)
Instructions
Instructions
- Cream together butter, granulated sugar, and brown sugar until smooth and fluffy.
- Beat in eggs one at a time, then stir in vanilla extract.
- In a separate bowl, whisk together flour, baking soda, baking powder, and sea salt.
- Gradually add dry ingredients to wet ingredients, mixing just until combined.
- Gently fold in the chocolate chips.
- Scoop dough into rounded tablespoons and place on rack or trivet inside a pressure cooker.
- Seal the pressure cooker and cook according to your model’s cookie setting or for 8 minutes.
- Allow natural release for 10–15 minutes before opening the lid carefully.
- Transfer cookies to a rack and cool slightly before serving.