The pot lid rattles and you know dinner is almost ready. That sound is kinda like the heartbeat of your kitchen, right? It’s the moment you realize all that waitin is almost over, and something tasty is about to happen. You spot the steam sneaking out at the edges and get this cozy kinda thrill knowing what you’re about to eat.
You recall the way the pressure builds up inside, slowly, then bam—there it is, that first hiss and gentle tumbling sound. This ain’t just cooking; it’s a little kitchen dance you get to enjoy. This time, you’re not just makin a meal but set to whip up some sweet Slice and Bake Heart Cookies using your pressure cooker.
You sense how the tender pull of that sealed pot lid holds in all the yumminess while keeping everything moist and perfect. This recipe works real good, even though cookies and pressure cookers ain’t usually seen together, but dang this combo hits right in the sweet spot. It’s a treat and a lil kitchen adventure all rolled into one.
What Makes Pressure Cooking Win Every Round
- Fast results without messin around with heat too long.
- Locks in moisture so your cookies stay soft inside.
- Even cooking cause the pressure distributes heat real good.
- Less watchin cause once it hits pressure build, it’s mostly hands off.
- Saves energy since it cooks faster than ovens or stovetops.
- Fun experiment if you wanna try makin cookies in a new way.
Pressure cooking really shines for its tender pull effect, much like how slow cooker methods soften dishes effortlessly. For a related twist, you might enjoy Classic Crockpot Pierogi Casserole with Kielbasa which uses slow cooking for rich flavors and tender textures.
What Goes Into the Pot Today
- ¾ cup unsalted butter, softened to room temperature (gotta get it soft so it mixes well)
- 1 cup granulated sugar (sweet stuff that gives ya that cookie charm)
- 1 teaspoon vanilla extract (for that cozy flavor that sorta hugs ya)
- 2 large eggs (binds things and adds richness)
- 2 ½ cups all purpose flour (the backbone of cookie dough)
- 1 teaspoon baking powder (helps dough puff just a bit)
- ½ teaspoon salt (balances sweetness and makes flavors pop)
- Red or pink food coloring (we went natural cause it works real good)
- Plastic wrap and a small heart-shaped cookie cutter (not exactly food, but important tools)
Make sure you soften that butter well for easy creaming, just like many baking recipes such as our Maple Sugared Cranberries which rely on smooth mixing to lock in flavor.
Walking Through Every Single Move
- Start by beating the softened butter and sugar till it’s light and fluffy. This takes a few good minutes, but you gotta do it for that creamy fave cookie texture.
- Mix in those eggs and vanilla extract. Stir till you don’t see separate bits and it’s all smooth and combined.
- In another bowl, whisk together flour, baking powder, and salt. This keeps your dry stuff evenly spread out.
- Slowly add your dry mix to the wet mix, stirring just till combined. Don’t overdo it or cookies can get tough real quick.
- Take about a third of your dough and add red or pink food coloring. Knead it in until the color looks just right for hearts.
- Roll this colored dough into a neat log and freeze it for like 20-30 minutes till it’s firm but not frozen hard rock.
- Slice that firm log into thin pieces and press each one with your heart-shaped cutter. Stack those hearts into a little log shape, then freeze again for about 15 minutes to keep shape nice and tight.
- Roll out the rest of your plain dough and wrap it 'round the heart log, smoothing edges to seal your cookie log. Wrap it tight in plastic and chill at least an hour so it firms up nice.
Valve Hacks You Need to Know
- You gotta watch the sealing ring before you start cooking. Make sure it’s sitting right so the pressure builds properly and you get that tender pull finish.
- If you want a slow release instead of a natural release, just move the valve gently to vent steam little by little. That helps avoid splatter and keeps cookies from cracking.
- When it’s time to open the pot, let the pressure drop naturally if you’re not in a hurry. That helps with the dough’s texture staying tender and perfect for slicing.
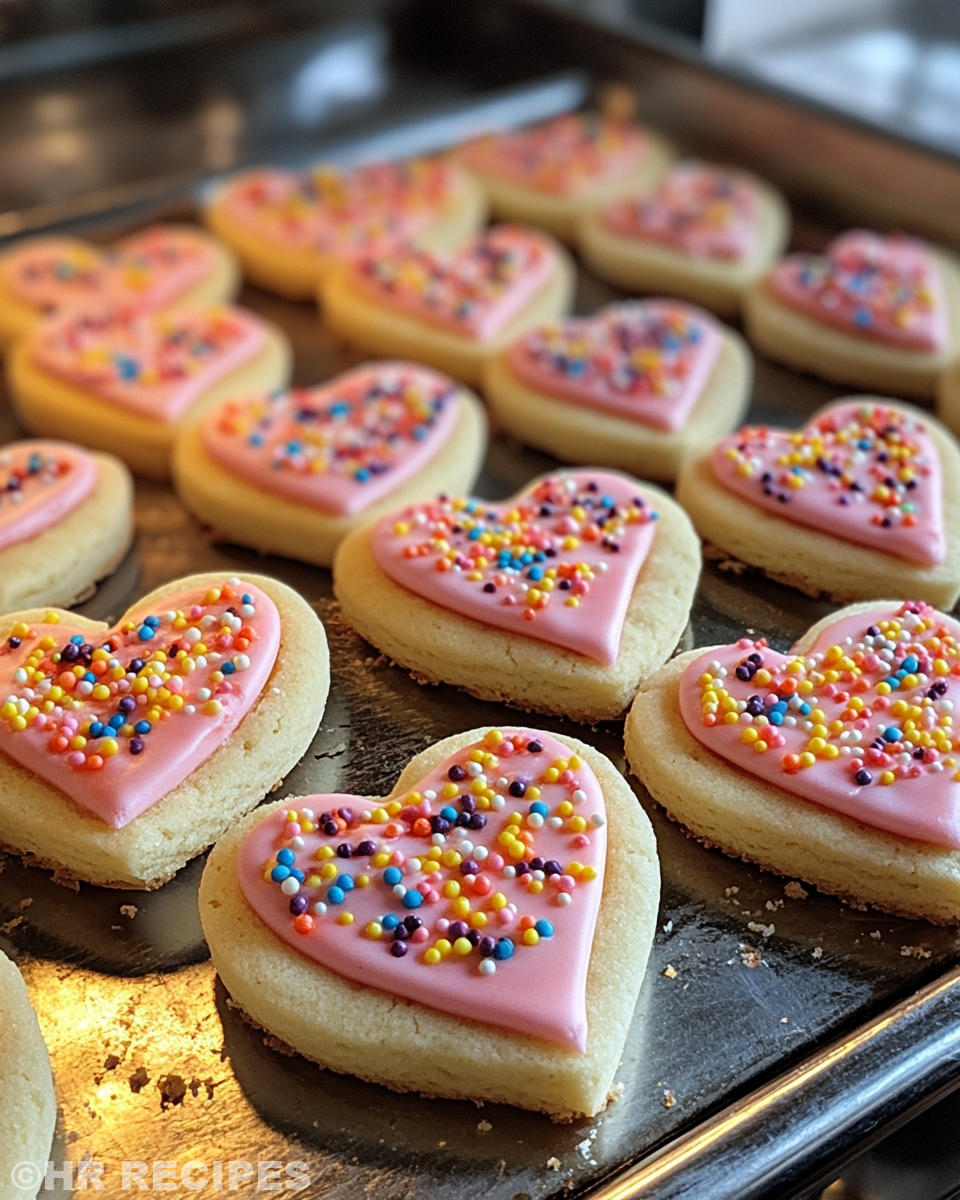
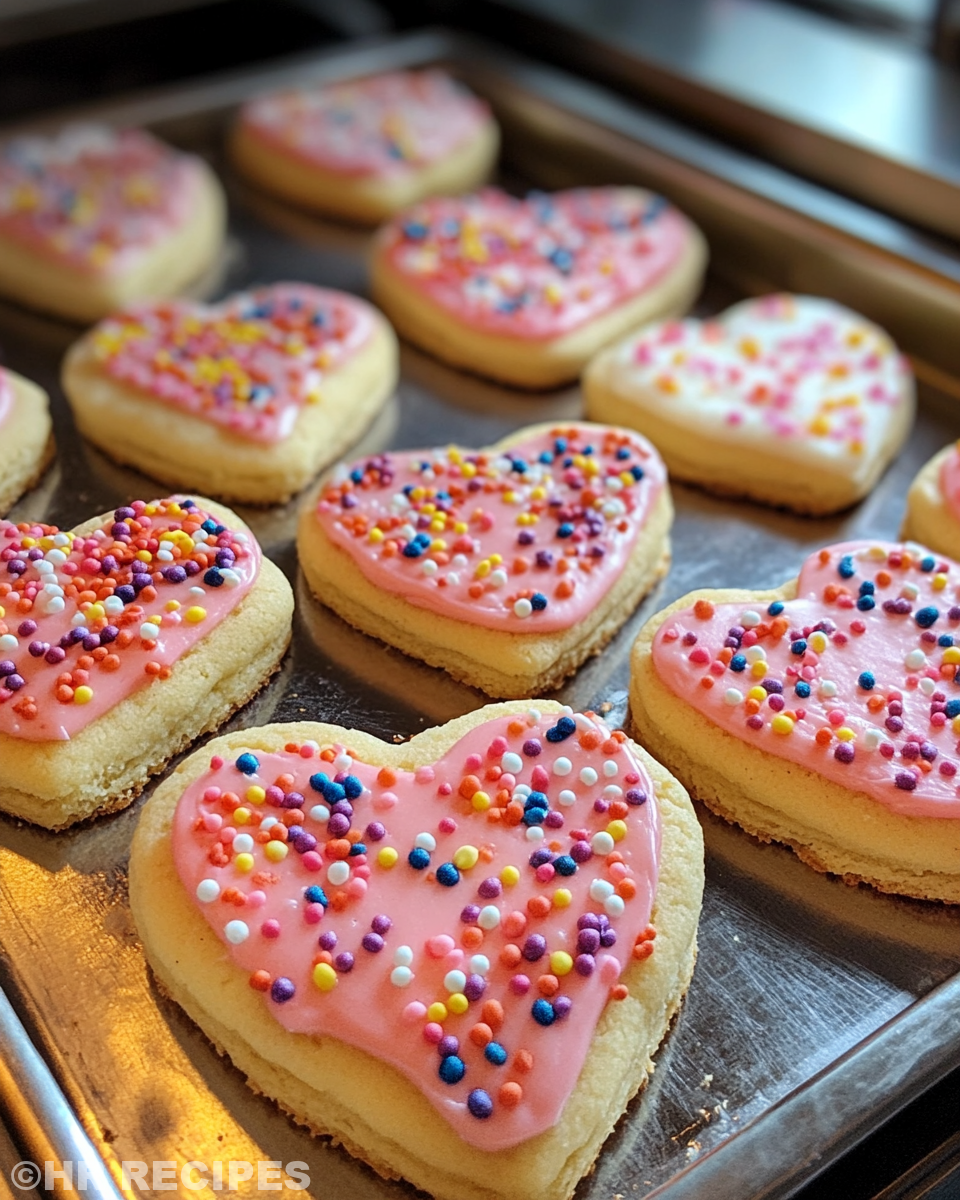
Your First Taste After the Wait
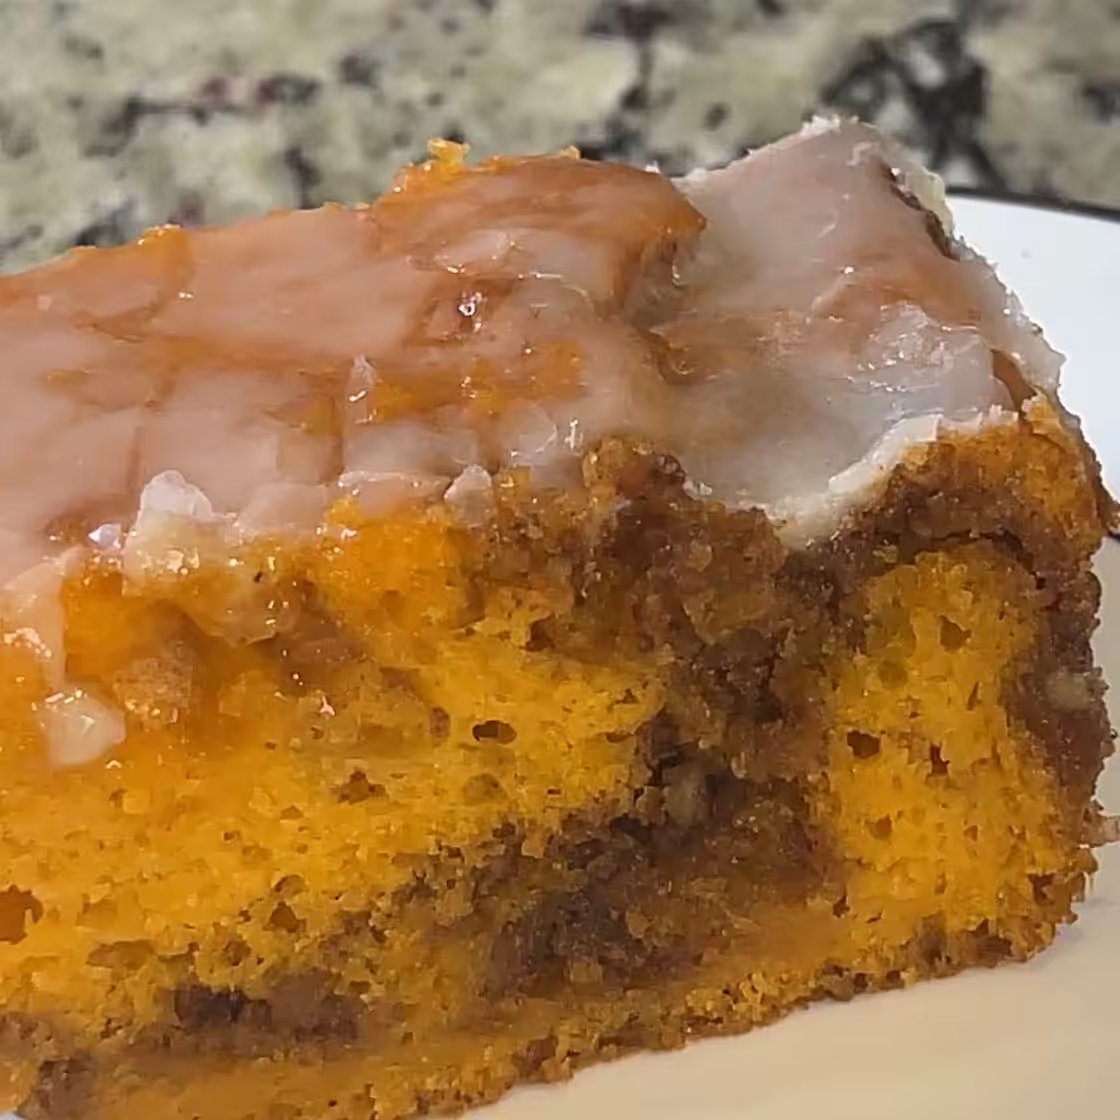
You get that first slice and it feels just right, soft but with a little crumbly pull. The cheeks almost get a giggle 'cause these beauties look like a sweet valentine gift you made yourself. The tender pull from cooking under pressure is real noticeable, it’s soft but with a slight bounce when you bite.
The sugar and butter meld perfectly with the hints of vanilla and the subtle pop of salt. And those red hearts peek out like little bursts of love inside the cookie. Y’all, it’s dang near impossible to stop after one slice.
The edges get just a little golden but the center stays kinda soft and buttery. You notice the smoothness of the dough, how the pressure cooker really keeps moisture locked in better than a regular oven. Gonna be a fave for cookie nights, y’all!

Keeping Leftovers Fresh and Ready
- Room temperature storage works if you plan to eat cookies quickly. Toss ’em in an airtight container and they’ll stay good for a couple days.
- Fridge storage keeps cookies fresh longer, especially with butter-based dough. Just seal ’em good so they don’t dry out.
- Freezing sliced cookies before baking works great too. Just thaw and bake fresh later or freeze baked cookies wrapped tight.
- Separate layers with parchment paper if you stack ’em up in containers. This saves ya from stuck-together cookie mess.
Common Questions and Real Answers
- Q What’s a tender pull mean in cookies? It’s that soft, gentle stretchiness you feel when biting into fresh cookies. Pressure cookers help keep that by locking moisture inside while cookin.
- Q Can I skip freezing? Freezing the dough helps keep shapes and texture, but if you’re in a rush, cookin straight can still turn out okay. Just might lose some sharpness in the heart shapes.
- Q What if my pressure cooker doesn’t have a slow release option? Try lifting the valve just a tiny bit to let steam out bit by bit. That kinda mimics slow release and avoids dough cracks.
- Q Can I use other colors apart from red or pink? Totally! Use any food coloring you like or even natural juices like beet or berry for different heart shades.
- Q Is natural release better than quick release for these cookies? Yeah, natural release lets the dough settle gently which helps keep cookies tender and soft. Quick release might cause cracks or tough edges.
- Q How do I keep my sealing ring fresh? Wipe it down regularly and check for cracks or wear. A good sealing ring means better pressure build which is key for cookin these cookies perfect.
For more cozy and easy recipes, check out our Cheesy Kielbasa Hashbrown Casserole Dump Meal Recipe, or find inspiration in Mozzarella Stuffed Rosemary Parmesan Soft Pretzels for a savory snack, and don’t miss the Easy Marinated Cheese Appetizer with Salami & Green Olives for entertaining ideas.

Slice and Bake Heart Cookies
Equipment
- 1 Mixing bowl Large
Ingredients
Main ingredients
- ¾ cup unsalted butter softened to room temperature
- 1 cup granulated sugar
- 1 teaspoon vanilla extract
- 2 large eggs
- 2 ½ cups all purpose flour
- 1 teaspoon baking powder
- ½ teaspoon salt
- Red or pink food coloring natural if preferred
Instructions
Instructions
- Start by beating the softened butter and sugar till it’s light and fluffy.
- Mix in those eggs and vanilla extract until smooth and combined.
- In another bowl, whisk together flour, baking powder, and salt.
- Gently stir the dry mix into the wet until just combined.
- Color a third of the dough with food coloring and knead to blend color.
- Roll the colored dough into a log and freeze for 20–30 minutes.
- Slice colored dough, cut into hearts, stack into a new log, then freeze 15 min.
- Roll out plain dough and wrap around heart log. Chill wrapped log for 1 hour.