That first hiss from the cooker tells you something good is happening. You catch that little sound and your kitchen starts to feel like a place where dinner's gonna actually come together quick and tasty. Usually you spot it and start thinking about what you're gonna eat when the float valve finally drops.
It’s funny how that noise kinda turns the whole cooking atmosphere around. You might be worried about chopping veggies or mixing sauces but once the pressure build kicks in, you sense things moving forward fast. You can almost imagine the flavors getting cozy inside that cooker as the heat and steam do their work.
Waiting while the pressure cooker does its thing is like a mini break. You might check your phone, set the table, or sneak a little taste of the citrus dressing you whipped up for that winter fruit salad. And knowing you won't gotta babysit a pot for hours kinda takes the edge off meal prep.
What Makes Pressure Cooking Win Every Round
- It’s super fast compared to regular cooking – like going from zero to dinner in no time.
- Makes tough meat real tender with a quick release so you don’t overcook everything.
- Uses less energy because it cooks much quicker with the pressure build.
- You only gotta clean one pot, which cuts down on after dinner mess.
- It locks in flavors real good, especially with dishes like sesame chicken or mushroom gravy.
- Great for keeping veggies bright and fresh tasting thanks to short cook times.
- Helps you control textures like perfect fluffy mashed potatoes or tender zucchini poppers.
Your Simple Ingredient Checklist
You’ll wanna have these 8 ingredients on hand for the sesame chicken and all the extras like winter fruit salad or sweet potato casserole. Having the basics ready makes getting dinner done kinda stress-free.
- 1 pound boneless skinless chicken breast or thighs, diced into 1-inch cubes
- Cornstarch or arrowroot powder for that nice coating
- Gluten free tamari, soy sauce, or coconut aminos for the savory bite
- Avocado oil to keep things healthy and help with that golden sear
- Pure maple syrup or honey for a touch of sweet
- Rice vinegar to brighten up the sauce flavors
- Fresh garlic and ginger, minced finely for that fresh zing
- Sesame seeds to sprinkle on top for crunch and extra nuttiness
These are kinda the core things you need to nail the healthy sesame chicken, and you can mix in ingredients like red pepper flakes or toasted sesame oil to give it your own twist. Plus, having water available is key for that simmering sauce and the pressure cooker steps.
The Exact Process From Start to Finish
Alright, let’s break down how you get from raw chicken to that sticky, gorgeous plate of sesame chicken.
Step 1: Toss the diced chicken with 2 tablespoons cornstarch and 1 ½ tablespoons tamari to coat it evenly. This helps get that slightly crispy outside when you cook.
Step 2: Heat 1 to 2 tablespoons avocado oil in a skillet over medium-high heat. Add the chicken and let it brown up nicely, about 6 to 8 minutes. You’re looking for that golden color and tender pull before you remove it from the heat.
Step 3: In the same skillet, pour in ½ cup water, 3 tablespoons tamari, 2 tablespoons maple syrup or honey, and 1 tablespoon rice vinegar. Add your minced garlic and that half teaspoon toasted sesame oil for some depth. This is where the sauce starts to get good.
Step 4: Bring that sauce mixture to a simmer and let it cook for a few minutes while you stir often so it thickens up a bit, about 2 to 3 minutes.
Step 5: Toss the browned chicken back into the skillet and stir so everything gets coated. Cook it for another 2 to 3 minutes to let the sauce really stick to the chicken and heat through.
Step 6: If you wanna make it kinda extra thick, mix 1 tablespoon cornstarch with 1 tablespoon water and add it in. Let simmer for a bit until you notice the sauce hitting that perfect sticky texture.
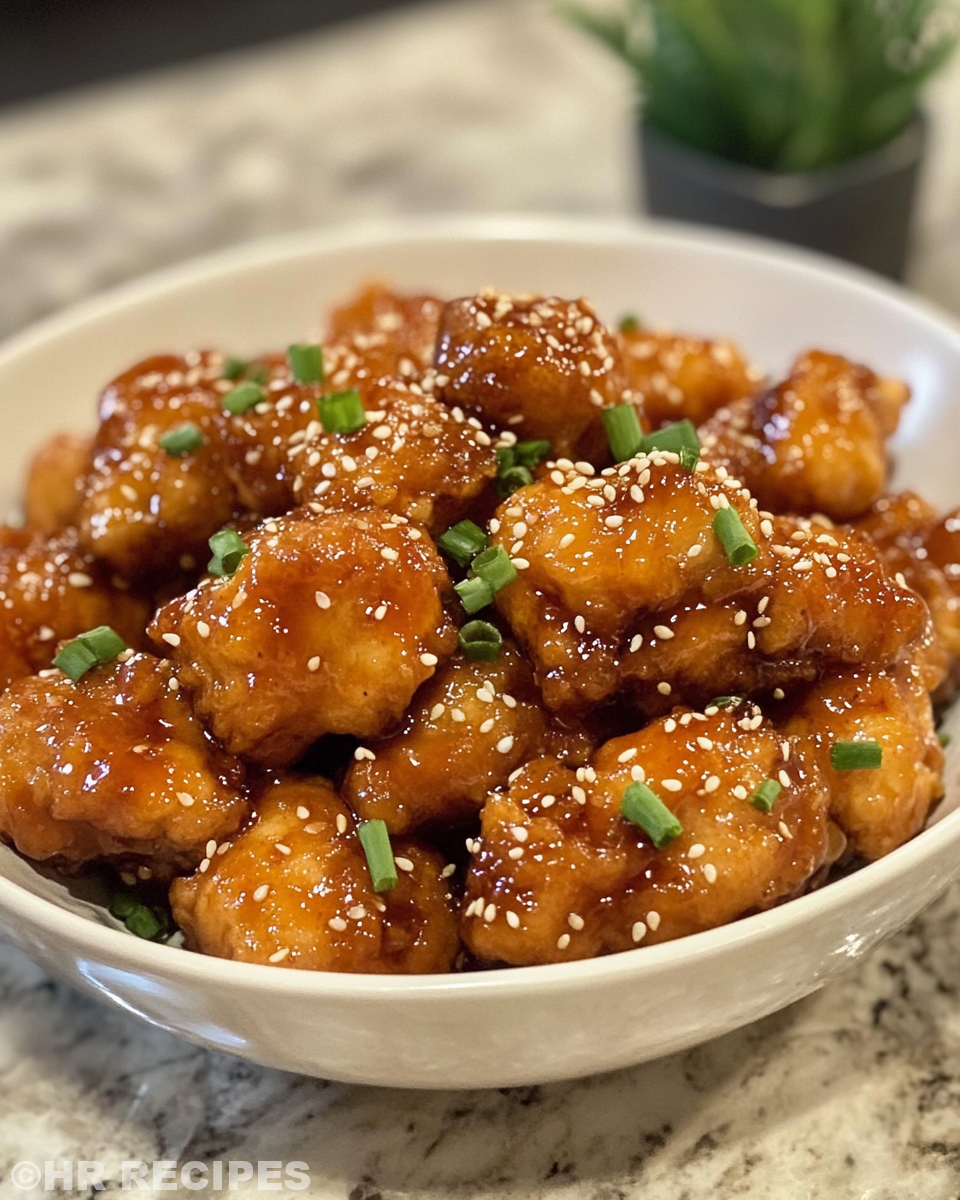
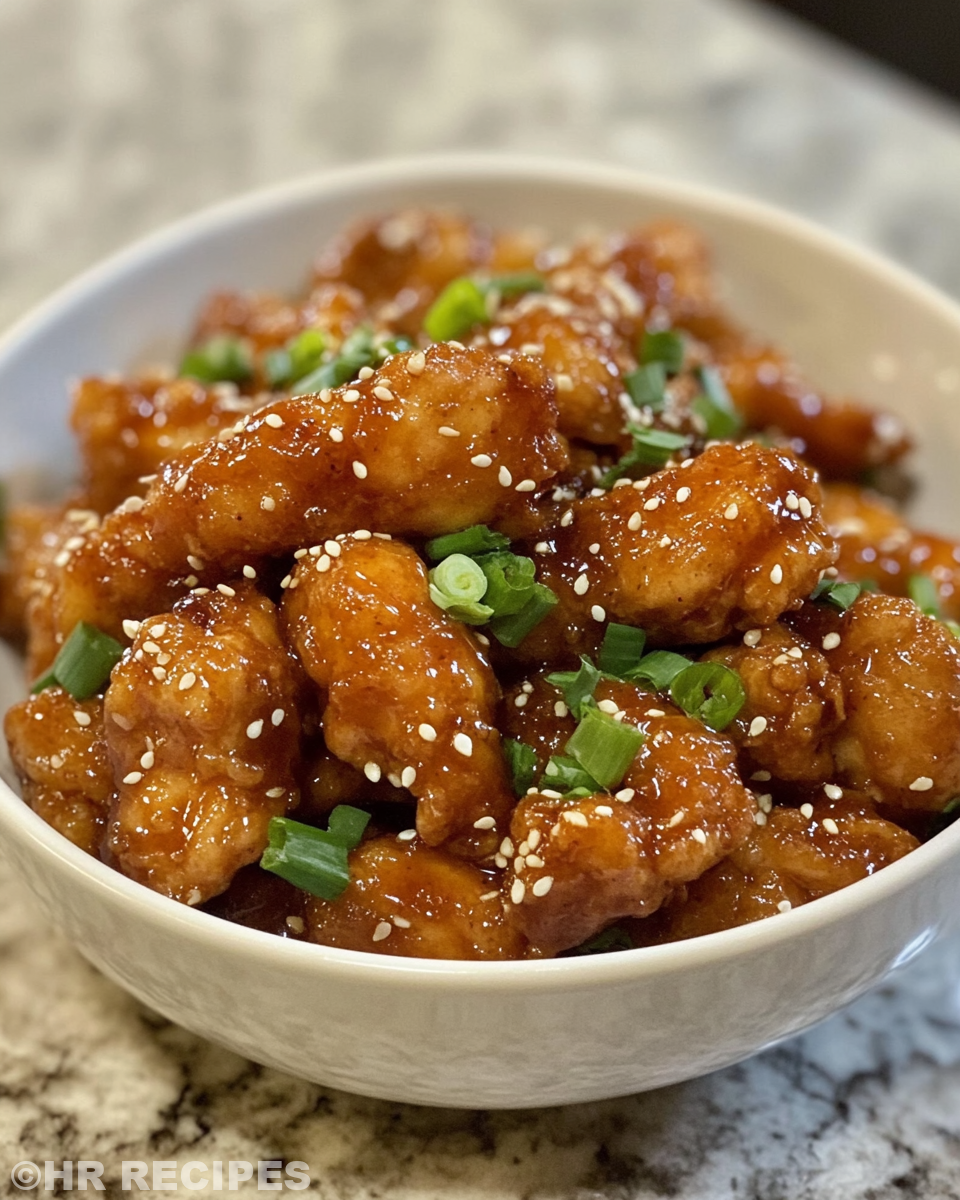
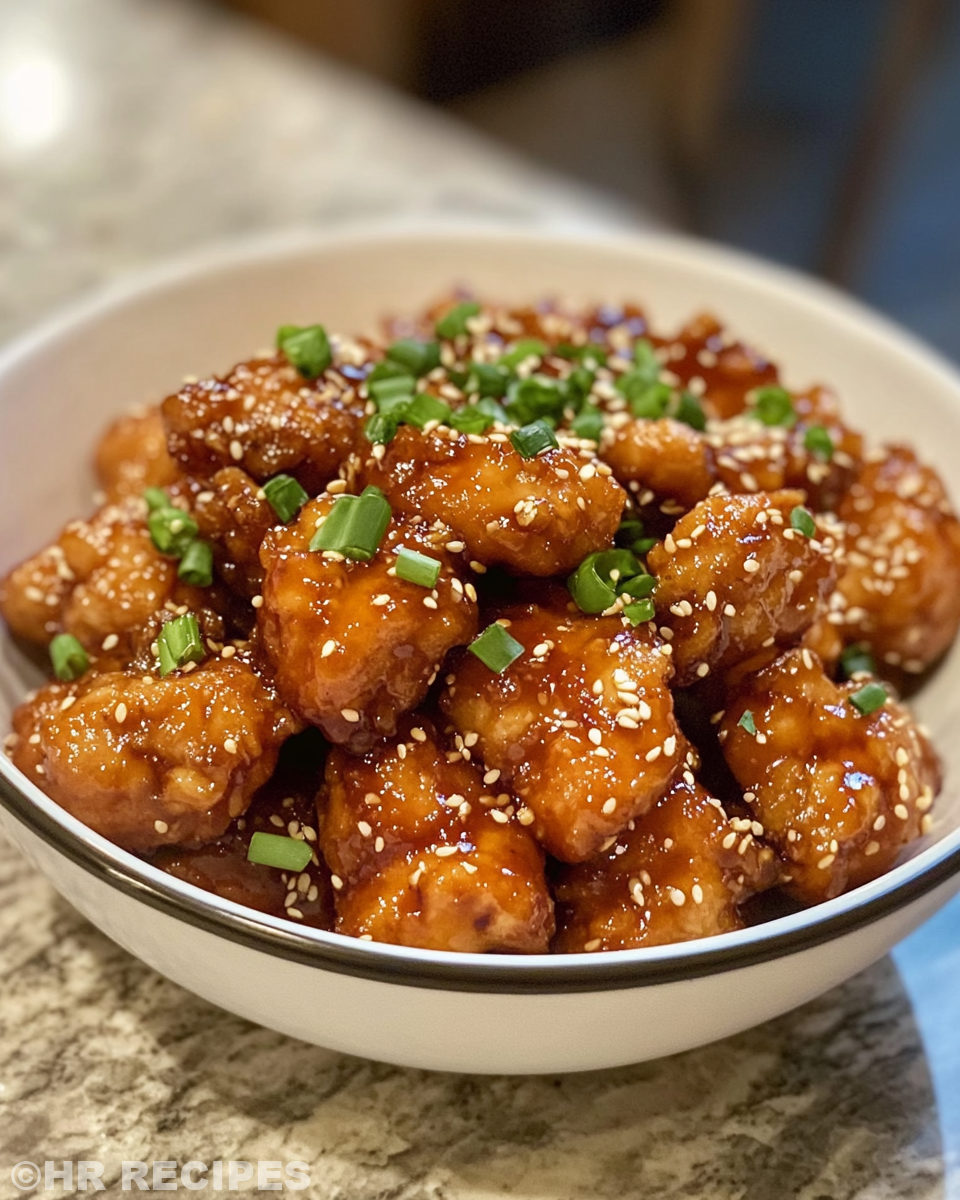
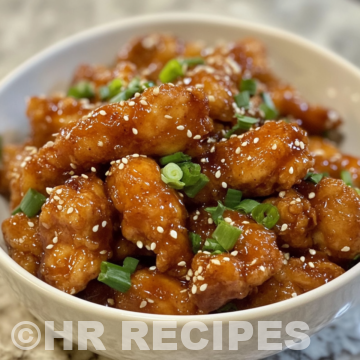
Step 7: Serve up hot and sprinkle with sesame seeds or green onions if you got ’em. This is the part where your taste buds start dancing.
Easy Tweaks That Make Life Simple
- Skip the stove sear and put everything straight into your pressure cooker on saute mode, then use quick release to speed things up.
- Swap chicken breast for thighs if you want juicier bites that stand up to pressure cooking better.
- Make a double batch of the sauce and stash half in the fridge to pour over veggies or pastas other days.
These little shortcuts save you time and stress without losing flavor. Heck, you might start seeing your pressure cooker as your best kitchen bud.
When You Finally Get to Eat
That first bite of warm, tender chicken coated in the sweet and savory sesame sauce is a total comfort hug. You notice the sweet maple syrup balanced with the punch of tamari and a little zing from the garlic and ginger.
The sesame seeds add a nice crunch that kinda surprises you in the best way. Meanwhile, the tender pull of the chicken makes you wanna go back for more real quick.
Paired with a light winter fruit salad brightened with citrus dressing or fluffy mashed potatoes, you feel like you’re having a full-on feast that’s still healthy and fresh. It’s this mix of flavors and textures that keeps you coming back, meal after meal.
How to Store This for Later
- Pop leftovers in an airtight container and refrigerate for up to 4 days. It’s great warmed up with a sprinkle of sesame seeds again.
- If you wanna save longer, freeze in meal-sized portions. Just thaw overnight in the fridge before reheating gently to keep the chicken tender.
- For quick lunches, portion it into small containers with a side of salad or veggies so it’s ready to grab.
- When reheating, use the quick release method on your cooker for the fastest, most even warming without drying out the meat.
Storing this meal right means you get dinner or lunch that tastes just as good the next day. No need to worry about it getting soggy or bland.
What People Always Ask Me
- Can I use chicken thighs instead of breast? Yeah, for sure. Thighs stay juicier in the pressure cooker and add a bit more flavor.
- How do I know when to do quick release or slow release? Quick release works best if you want that tender pull and keep veggies bright. Slow release is good if you want really tender meat, but be careful not to overcook.
- Can I make this recipe vegan? Absolutely. Swap chicken for tofu or a hearty veggie and use maple syrup with coconut aminos for the sauce.
- Is arrowroot better than cornstarch? Both work pretty good, but arrowroot is a bit more clear and glossy, which can make the sauce look nicer.
- How do I get fluffy mashed potatoes in the instant pot? Cook peeled potatoes with water and a pinch of salt on high pressure till tender pull, then mash with butter and a splash of milk or cream.
- Can I prepare this recipe ahead of time? Yep, prep everything and toss it in the cooker when you’re ready. Sauces keep well separately too if ya wanna make it super simple.
Healthy Sesame Chicken and More Pressure Cooker Goodness
Equipment
- 1 Mixing bowl for marinating chicken
- 1 Skillet for browning and sauce simmering
Ingredients
Main Ingredients
- 1 pound boneless skinless chicken breast or thighs diced into 1″ cubes
- 2 tablespoons cornstarch or arrowroot
- 1 ½ tablespoons gluten free tamari or soy sauce or coconut aminos
- 1-2 tablespoons avocado oil
- ½ cup water
- 3 tablespoons gluten free tamari or soy sauce or coconut aminos
- 2 tablespoons pure maple syrup or honey
- 1 tablespoon rice vinegar
- ½ teaspoon toasted sesame oil or more, to taste
- 1 clove garlic finely minced
- ½ teaspoon minced fresh ginger
- pinch red pepper flakes optional
- 1 tablespoon cornstarch or arrowroot for thickening
- 1 tablespoon water for slurry
- 1 teaspoon sesame seeds for garnish
Instructions
Instructions
- Toss chicken with 2 tablespoons cornstarch and 1 ½ tablespoons tamari in a bowl to coat evenly.
- Heat 1–2 tablespoons avocado oil in skillet over medium-high. Brown chicken for 6–8 minutes and remove.
- In skillet, add ½ cup water, 3 tablespoon tamari, 2 tablespoon maple syrup/honey, 1 tablespoon vinegar, garlic, sesame oil, and ginger.
- Simmer sauce for 2–3 minutes, stirring, until starting to thicken.
- Return chicken to sauce, stir to coat and heat through for 2–3 minutes more.
- For thicker sauce, stir in slurry made from 1 tablespoon cornstarch and 1 tablespoon water. Let simmer until thickened.