Steam curls up from the valve and your stomach starts talking back real loud. You spot that gentle hiss and you just know something delicious is happening right inside your pressure cooker. Even though you didn’t let it cook forever, that chicken’s gonna be tender enough to pull apart without the usual wait.

It’s sorta funny how the pressure cooker flips the whole slow-cooking game upside down. You get juicy, rich, straight-up comfort food in way less time. That thick sauce bubbling inside adds a nice broth depth to the whole dish too. And the smell? Forget about it. The garlic and ginger notes sneak in everywhere as you wait.
When the natural release finally happens, it’s like a slow sigh after a long day. You can’t wait to scoop up that teriyaki chicken, shining with glaze and begging for steamed rice on the side. This ain’t just any chicken baked with sauce, it’s the kind that makes you wanna call everyone over for dinner.
The Truth About Fast Tender Results
- The pressure cooker locks in moisture for that perfect tender pull every time.
- Natural release lets the juices settle so chicken stays juicy, not dry.
- The slow release avoids any harsh steam bursts that could mess with the texture.
- You get deep broth flavor without hours stuck at the stove.
- Quick cooking keeps the garlic and ginger bright, not bitter or cooked down too far.
Your Simple Ingredient Checklist
- 4 boneless skinless chicken breasts, pounded to even thickness less than 1 inch
- 1 ⅓ cup low sodium soy sauce, divided
- ½ cup water
- ½ cup rice vinegar
- 1 cup sugar
- 1 teaspoon ground ginger
- ¼ teaspoon crushed red pepper flakes
- 2 teaspoons minced garlic
- 3 tablespoons corn starch
- ½ teaspoon sesame seeds, plus chopped green onions and steamed rice for serving
This list keeps things nice and straightforward. The soy sauce kinda ties the whole dish together with that salty-sweet punch. Pounding the chicken ensures even cooking so you don’t get dried edges or raw spots. Ginger and garlic give it that real teriyaki zing, while the corn starch thickens up a sauce that clings like a dream. The sesame seeds and green onions on top add texture and a fresh finish to each bite.
Walking Through Every Single Move
First thing you wanna do is preheat your oven to 400°F (200°C). Grab a 9x13 inch baking dish and slap some light grease on it so the chicken doesn’t stick.
Next, in a medium saucepan over medium heat, mix 1 cup soy sauce with water, rice vinegar, sugar, ground ginger, red pepper flakes, and minced garlic. Keep stirring as it comes to a simmer. That smell is already happenin’!
Then, whisk together the remaining ⅓ cup soy sauce with corn starch in a small bowl till smooth. Pour that into your simmering sauce and stir until it thickens, about 5 minutes. Once thick, pull it off the heat.
Now, place your chicken breasts snug in the baking dish and pour half of that luscious teriyaki sauce all over them. Make sure they kinda soak up the flavor before going into the oven.
Bake that chicken for 25 to 30 minutes until cooked through and the juices run clear. You’re aiming for tender but perfectly juicy.
When you take it out, let it rest for about 5 minutes. Resting helps the tender pull stay juicy and gives you time to get plates ready.
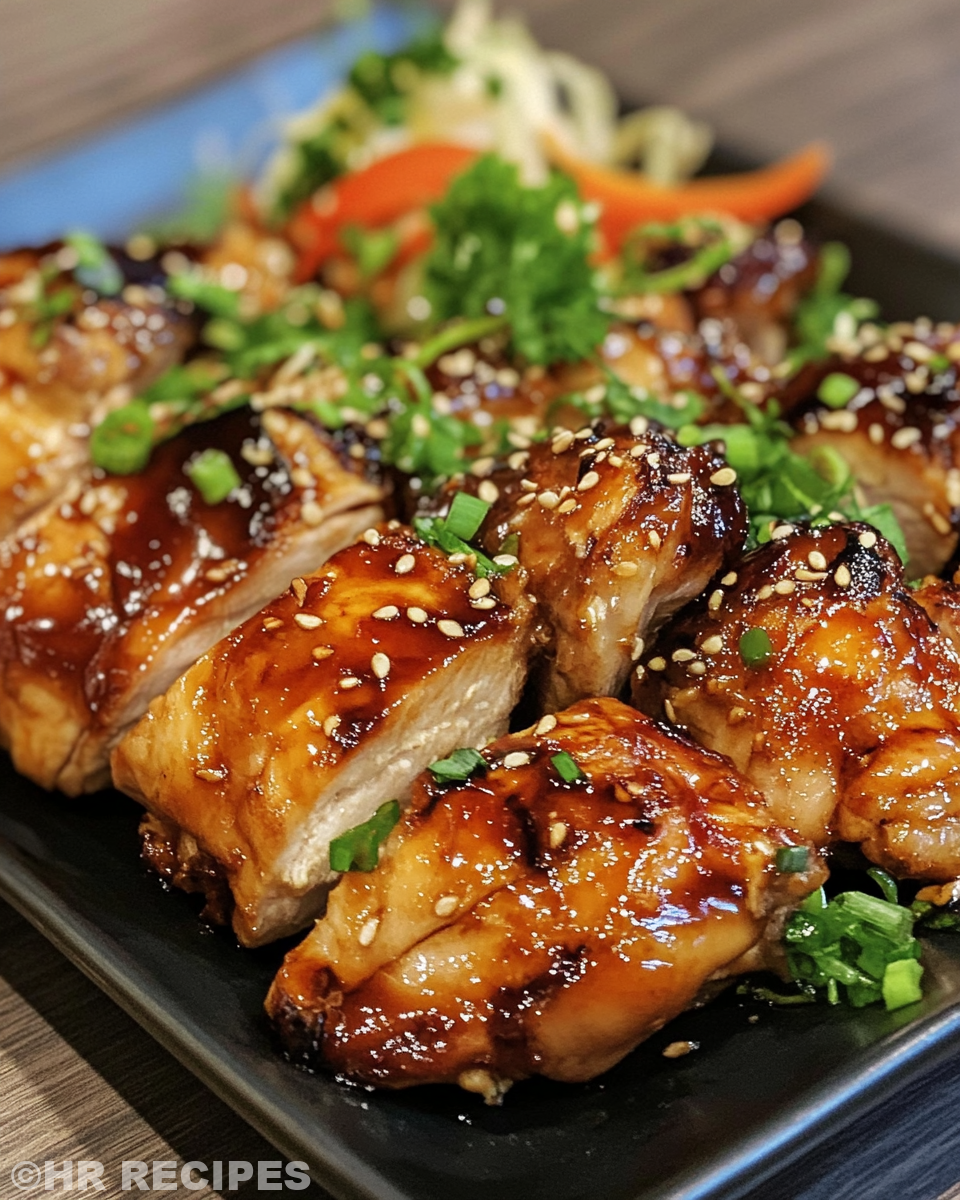
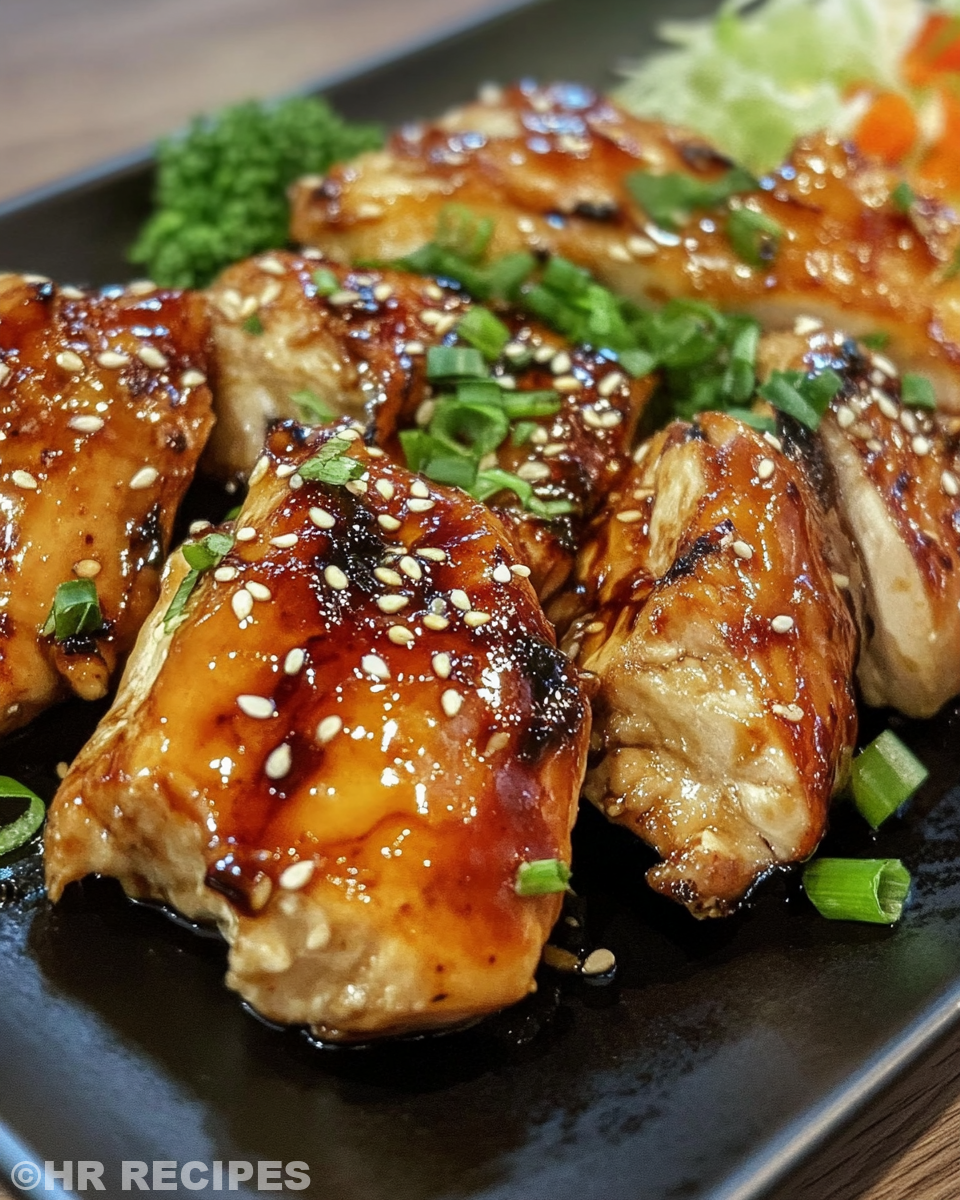
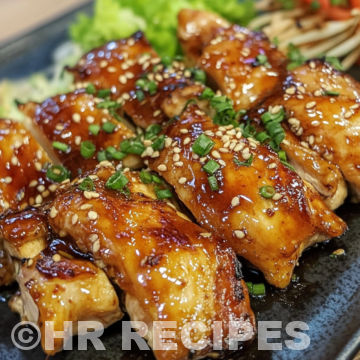
Slice the chicken up and drizzle the rest of your teriyaki sauce over the slices. Sprinkle sesame seeds on top, and maybe toss some chopped green onions too for color and crunch.
Serve it up with steamed rice and you got yourself a dinner that’s worth talking about.
Time Savers That Actually Work
- Pound your chicken breasts when you get home to start even cooking faster.
- Make the teriyaki sauce ahead in a jar so you just need to warm it up and pour.
- Use pre-minced garlic for iffy knife skills or tight time crunches.
- Steam your rice in the pressure cooker while your chicken’s baking in the oven.
These little tricks help you get dinner hands-off faster so you can relax or prep sides without rushing. It’s all about working smart with the tools you got.
The Flavor Experience Waiting for You
Every bite hits that perfect sweet and salty balance you crave. The soy sauce and sugar combo shine with that deep broth depth that kinda wraps around the tender chicken.
You catch the warmth of ginger and garlic like little bursts of flavor that make you wanna eat more, not just for the taste but for the comfort too.
The crushed red pepper flakes creep in with a gentle kick that’s just enough to keep things interesting without stealing the show.
Finish it off with the crunch of sesame seeds and green onions and that sticky sauce clinging to every slice. Yeah, you’re in for a real treat.
How to Store This for Later
Leftovers go straight into an airtight container. Keep that in the fridge for up to 4 days. When you reheat, use low heat so you don’t dry out the tender chicken.
Freeze if you wanna save it longer. Wrap chicken slices tight in foil or plastic wrap before throwing in a freezer bag. Defrost overnight in the fridge to keep texture better.
If you got sauce leftover, keep it separate so it doesn’t make the chicken soggy when stored long. Add sauce fresh when you reheat for that fresh flavor punch.
The FAQ Section You Actually Need
- Can I use chicken thighs instead?
Yup, thighs work too and stay super juicy only might need a few more minutes to cook through because they’re thicker. - Do I really need to pounded chicken?
It helps a lot with even cooking so you avoid tough parts or underdone bits. Skipping it could make cooking times trickier. - Can I make the sauce without sugar?
You can try honey or maple syrup but the flavor and thickness will change. Sugar helps get that classic glaze you want. - What does natural release mean here?
It means letting your pressure cooker slowly let air out after cooking instead of quick venting. This helps the chicken stay tender and juicy. - Can I double the recipe?
Sure can but make sure your pressure cooker or baking dish isn’t overcrowded - cook in batches if needed. - Any tips for thicker sauce?
Just add a bit more cornstarch whisked with soy sauce and cook a few extra minutes on the stove until thickened to your liking.
Best Ever Baked Teriyaki Chicken
Equipment
- 1 Mixing bowl for sauce whisking
Ingredients
Ingredients
- 4 Boneless skinless chicken breasts pounded to even thickness less than 1 inch
- 1 ⅓ cup Low sodium soy sauce divided
- ½ cup Water
- ½ cup Rice vinegar
- 1 cup Sugar
- 1 teaspoon Ground ginger
- ¼ teaspoon Crushed red pepper flakes
- 2 teaspoons Minced garlic
- 3 tablespoons Corn starch
- ½ teaspoon Sesame seeds
- Chopped green onions and steamed rice for serving
Instructions
Instructions
- Preheat oven to 400°F (200°C) and lightly grease a 9x13 inch baking dish.
- In a medium saucepan over medium heat, combine 1 cup soy sauce, water, rice vinegar, sugar, ground ginger, red pepper flakes, and minced garlic. Stir and bring to a simmer.
- In a small bowl, whisk the remaining ⅓ cup soy sauce with corn starch until smooth. Stir it into the simmering sauce and cook until thickened, about 5 minutes.
- Place the chicken breasts into the baking dish and pour half of the thickened sauce over the top to coat.
- Bake for 25 to 30 minutes until chicken is cooked through and juices run clear.
- Let the chicken rest for 5 minutes after baking. Then slice and drizzle with remaining sauce.
- Sprinkle sesame seeds and chopped green onions over the chicken and serve with steamed rice.