That first hiss from the cooker tells you something good is happening. You stand there, kinda breathin’ deep, listenin' to that valve hiss as the pressure builds inside. It’s like the start of something real good going down in your kitchen.
When you start this cookie recipe in the pressure cooker, you feel the broth depth supporting the steam just right. It’s not just some random noise—it's your cue that the tender pull of cooking is kickin' in, making those cookies soft and gooey like you like.
You remember back when cookies took forever and you ended up with dry bits or hard edges. Dang, this way is different. The natural release lets everything settle slow and perfect, so every bite taste rich and melt-in-your-mouth. You sense you’re onto a new favorite method now.
The Real Reasons You Will Love This Method
- Cookies get super tender 'cause pressure cooker traps moisture just right.
- No need to babysit the oven for 10 million minutes.
- Flavors meld together fast and smooth.
- You're using broth depth perfectly to keep dough nice and soft.
- Valve hiss is your timer to chill and not stress the process.
- Natural release means no sudden toughening of cookie edges.
- You don’t lose any chocolate goodness to overbaking or drying out.
What Goes Into the Pot Today
- ½ cup unsalted butter, straight from fridge or room temp
- ¼ cup brown sugar for that hint of caramel
- ½ cup granulated sugar to bring sweet balance
- 1 large egg to bind stuff together
- 1 teaspoon vanilla extract for warmth and depth
- 1 ½ cups all-purpose flour, measured right (don’t eyeball it)
- 1 teaspoon baking soda to help cookies puff just enough
- ½ teaspoon salt for flavor punch
- 1 cup butterscotch chips, or less if you wanna dial sweetness down
- 1 cup semi-sweet chocolate chips to counterbalance butterscotch
Optional but dang good: sprinkle some walnuts for crunch. Also, a lil sea salt on top after baking is a game changer, believe me.
The Exact Process From Start to Finish
- Step 1: Preheat your oven to 350°F and line a baking sheet with parchment paper. This sets up your cookies for that golden crisp edge.
- Step 2: In a big bowl, cream together the cold or room temp butter with both sugars until it looks smooth and creamy. Don’t rush this part, you want it just right for tender pull.
- Step 3: Beat in the egg and vanilla until everything blends like a dream.
- Step 4: In another bowl, whip up the flour, baking soda, and salt so they’re mixed well.
- Step 5: Slowly fold the dry stuff into the wet mix. Just combine, don’t overwork it or you get tough cookies.
- Step 6: Finally, stir in the butterscotch and chocolate chips so they’re evenly spread. Drop spoonfuls on your sheet and bake for 9 to 11 minutes until edges are golden and centers set. When done, sprinkle sea salt if you like that sweet and salty vibe.
Once done baking, let your cookies cool on the sheet for a few minutes before shifting to a wire rack. This keeps ’em soft and chewy in the middle, just how you want.
Time Savers That Actually Work
- Use cold butter right from the fridge so you don't gotta wait for it to soften and it still mixes easy.
- Whisk dry ingredients together early so you don't waste time when mixing wet stuff.
- Line your baking sheet with parchment paper before starting to save cleaning later.
- While cookies bake, clean up your bowls and utensils to skip mess post-cookie craziness.
These little tricks shave off extra fuss and keep your kitchen vibe chill. You’ll be amazed how smooth cookie making gets when you use 'em.
Your First Taste After the Wait
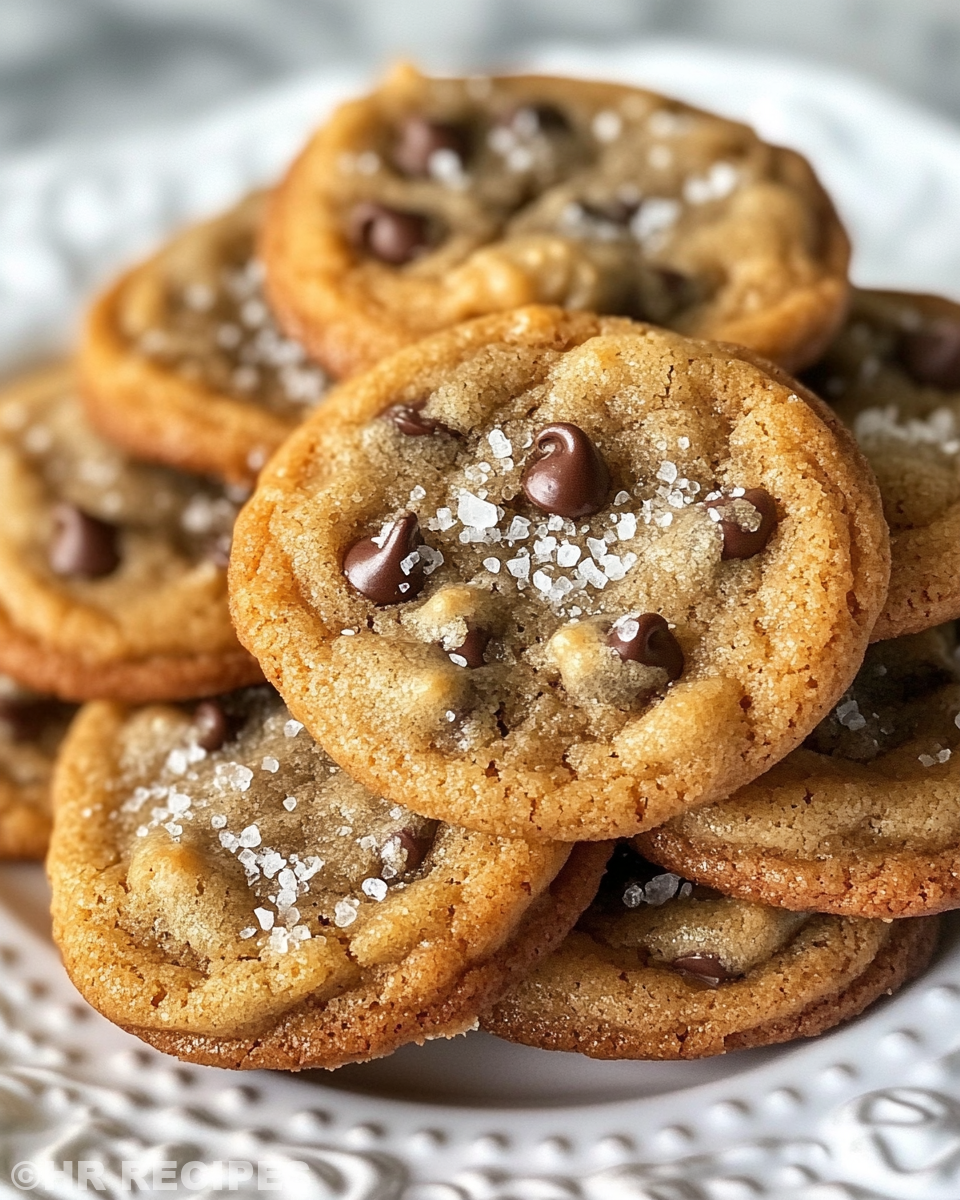
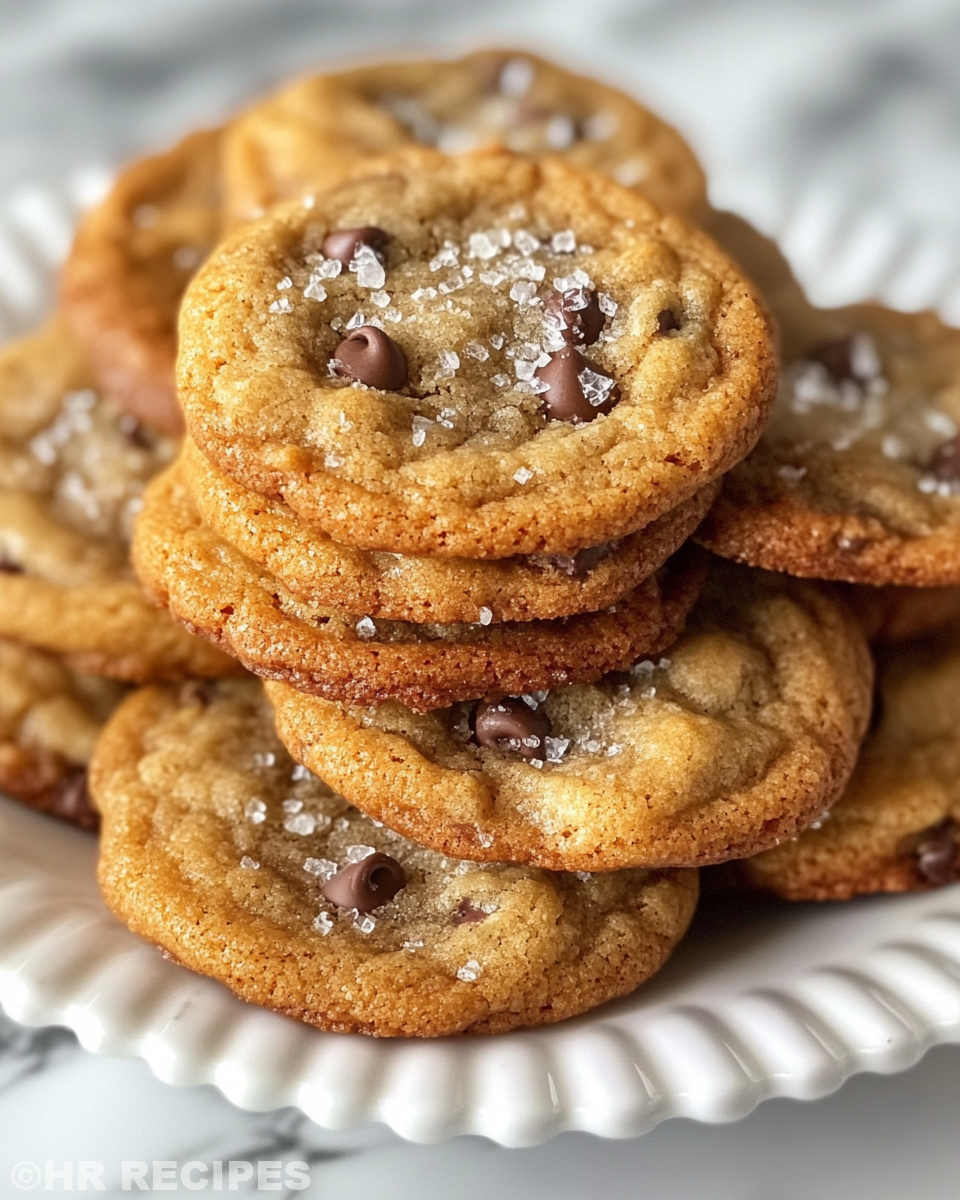
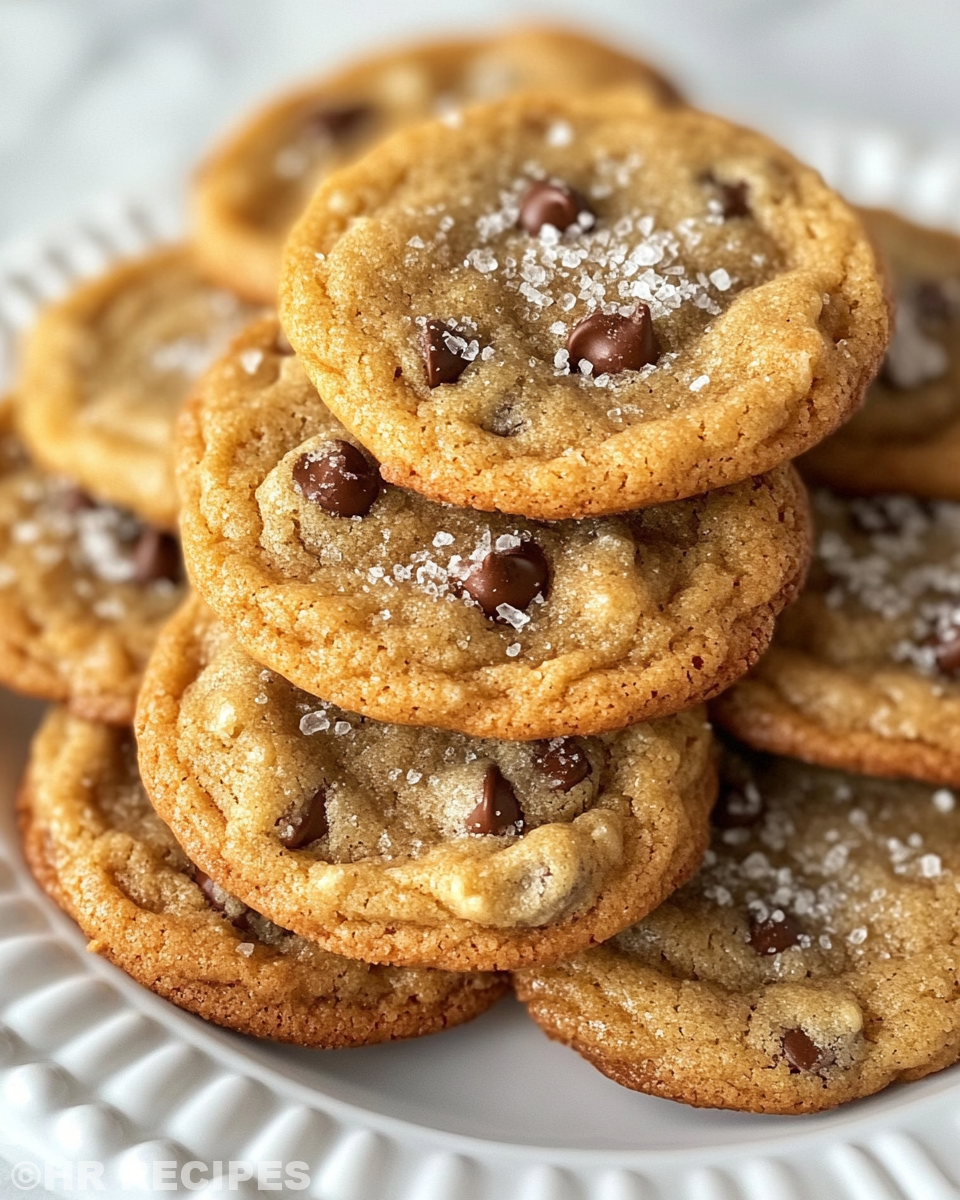
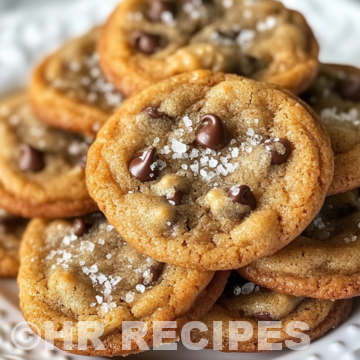
That first bite's a dang joy. The butterscotch chips throw sweet waves, with just enough chocolate to make it sing. You feel the soft yet slightly chewy texture and oh, that sea salt sprinkle on top? It’s like fireworks going off in your mouth.
The cookie melts just right. You sense the little pockets of gooeyness from those perfectly timed baking minutes. Each chew brings out more flavor, and that butter richness lingers like a warm hug.
Eating these cookies fresh feels like you scored a secret batch made just for you. Don’t blame me if you go back for seconds (or thirds), ’cause these will snag your heart and taste buds quick.
Keeping Leftovers Fresh and Ready
- Airtight container at room temp: This keeps cookies soft for about 3-4 days. Just tuck them in gently so they don’t get crushed.
- Refrigerator storage: Pop leftovers in a sealed bag or container. They stay good for up to a week but might firm up a little. Warm ’em up a bit before eating to get that tender pull back.
- Freezing: If you wanna stash ‘em longer, freeze cookies in a zip lock bag with layers of parchment paper between. When ready, thaw on the counter or warm in the microwave for a quick treat.
Keeping your cookies fresh is all about trapping moisture yet lettin’ ’em breathe just enough. You got options for every kinda leftover situation.
Everything Else You Wondered About
- Q1: Can you make these cookies fully inside the pressure cooker? Not really, this method is for the dough made with pressure cooking tips but baking still happens in your oven.
- Q2: What is broth depth and why is it important here? Broth depth means how much water or steam is inside the cooker. Just right amount keeps dough moist and helps that soft texture.
- Q3: Why do you gotta use natural release instead of quick release? Natural release stops sudden pressure changes that can toughen your cookie dough texture. It lets everything settle smooth.
- Q4: Can you swap chips in this recipe? Yep, you can use any chips you want like white chocolate or butterscotch alone, just watch sweetness levels.
- Q5: Why put sea salt on top? The salt cuts through the sweet and balances flavors in a way that makes these cookies stand out.
- Q6: If I wanna make walnuts optional, how much should I add? A half cup chopped walnuts is enough for crunch without overpowering. Toss ’em with your chips at the folding step.
For more ideas you might enjoy our Classic Crockpot Pierogi Casserole with Kielbasa if you like dump meals packed with flavor. Also check out the Mozzarella Stuffed Rosemary Parmesan Soft Pretzels for a savory snack and the Easy Marinated Cheese Appetizer with Salami & Green Olives to add to your appetizer table.
Best Ever Butterscotch Chocolate Chip Cookies
Equipment
- 1 Mixing bowl Large
Ingredients
Main ingredients
- 0.5 cup unsalted butter from fridge or room temp
- 0.25 cup brown sugar for caramel flavor
- 0.5 cup granulated sugar for sweet balance
- 1 large egg
- 1 teaspoon vanilla extract
- 1.5 cups all-purpose flour measured properly
- 1 teaspoon baking soda
- 0.5 teaspoon salt
- 1 cup butterscotch chips or less to reduce sweetness
- 1 cup semi-sweet chocolate chips
- sea salt sprinkle on top after baking
- 0.5 cup walnuts optional, chopped
Instructions
Instructions
- Preheat your oven to 350°F and line a baking sheet with parchment paper.
- In a large bowl, cream together the cold or room temperature butter with both sugars until smooth and creamy.
- Beat in the egg and vanilla until well mixed.
- In another bowl, whisk together the flour, baking soda, and salt.
- Slowly fold the dry ingredients into the wet ingredients. Mix just until combined.
- Stir in butterscotch and chocolate chips (and walnuts if using) until evenly distributed.
- Use a scoop or spoon to drop dough onto the prepared pan. Bake 9–13 minutes depending on size.
- Let cookies cool on the baking sheet for 5 minutes.
- Transfer cookies to a wire rack and optionally sprinkle sea salt on top while still warm.