The pressure builds and you start counting down minutes until you eat. You feel that quiet excitement as the sealing ring locks in place and the steam begins to rise. That little hiss from the valve means soon you’ll have warm, fresh cookies in your hands.
Y'all know that moment when you start smelling that sweet chocolate and red velvet mix filling your kitchen? It’s like a tender pull on your patience, but worth every second. You catch yourself sneaking glances at the cooker, thankful for those steam cues telling you the finish line is near.
Once the valve stops hissing and you do the quick release, you can’t wait to lift the lid and see those soft, perfect blossoms waiting for you. It’s real satisfying, knowing you just made something so good with just a few simple steps using your pressure cooker. Heck, you’re gonna want these cookies all the time.
Why This Recipe Works Every Single Time
- Soft butter blends smooth, making a tender dough that bakes just right.
- Brown and granulated sugar combo gives balanced sweetness and the right caramel notes.
- The red food coloring gel delivers that true red velvet color without watering down the dough.
- Cocoa powder adds just a hint of chocolate, enhancing red velvet flavor perfectly.
- Sealing ring and pressure build inside the cooker locks moisture so cookies stay soft and fluffy.
- Quick baking time keeps cookies from overcooking and drying out, for that perfect tender pull every time.
The Complete Shopping Rundown
- 7 tablespoons butter, either salted or unsalted, softened so it mixes in easy.
- Half cup brown sugar, packed to add deep sweetness and moisture.
- 2 tablespoons granulated sugar for a little extra crisp on edges.
- 1 teaspoon vanilla extract to bring out all the flavors.
- 1 large egg yolk, which makes everything nice and rich.
- Quarter teaspoon red food coloring gel, the key for that bright red color.
- 1 cup all-purpose flour to give structure but not too dense.
- 1 tablespoon cocoa powder for that subtle chocolate twist.
- Half teaspoon baking powder to help cookies rise just enough.
- Quarter teaspoon salt to balance sweetness and boost flavor.
- Quarter cup red sanding sugar for sparkling, pretty cookie tops.
- 18 Hershey chocolate kisses, for pressing into each warm cookie to top off the look and add melty goodness.
The Exact Process From Start to Finish
- Preheat your oven to 350°F and line a baking sheet with parchment paper, 'cause you want cookies to slide right off later.
- In a big bowl, cream together your softened butter, brown sugar, and granulated sugar till it’s light and fluffy, about 2-3 minutes with a mixer or some elbow grease.
- Add in the vanilla extract, egg yolk, and that red food coloring gel. Mix it all up real good until you see the dough take on that deep red color.
- In another bowl, whisk together the flour, cocoa powder, baking powder, and salt. You want this mixed evenly so no clumps sneak in.
- Slowly add those dry ingredients to the wet mix, stirring carefully until you got a soft dough that sticks together but isn’t too wet.
- Scoop 1-inch balls of dough and place them about 2 inches apart on your baking sheet so they got room to bloom.
- Bake for 8 to 10 minutes, keep an eye for cookies getting set around the edges but still tender in the middle.
- As soon as they come out, press a Hershey’s Kiss right into the center of each cookie. They’ll sink a bit and get all melty as cookies cool.
Valve Hacks You Need to Know
- Before sealing your pressure cooker, double check your sealing ring is clean and properly seated, so that pressure build happens smooth and no steam escapes early.
- Use the quick release method right when baking time is done. This stops cooking instantly and gives you that perfect tender pull your cookies deserve.
- Keep an eye on the valve hiss. Once it starts, you know your pressure cooker is sealed tight and things are heating up. That’s your cue to maybe set your timer so you don’t overdo it.
When You Finally Get to Eat
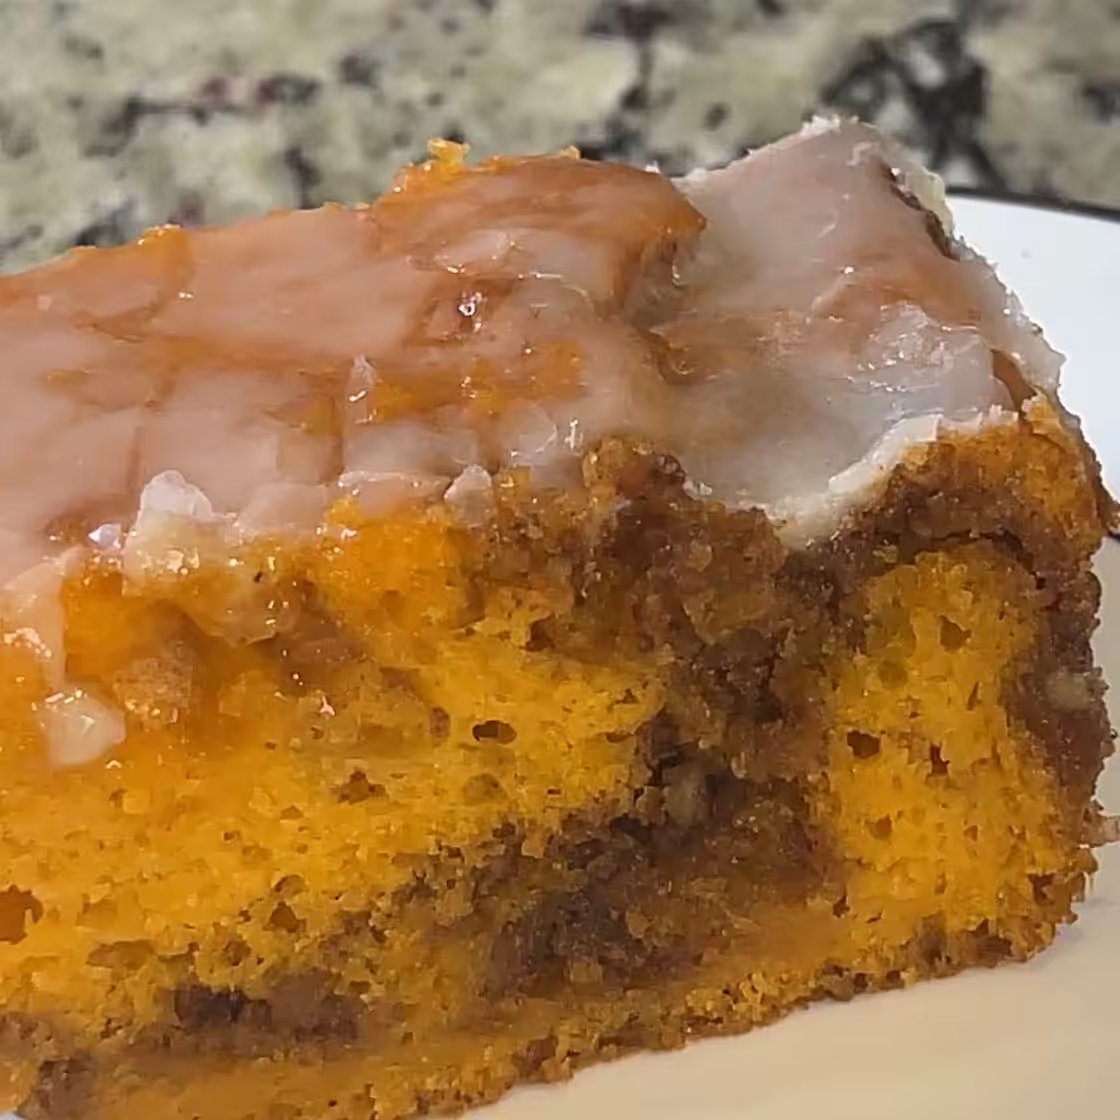
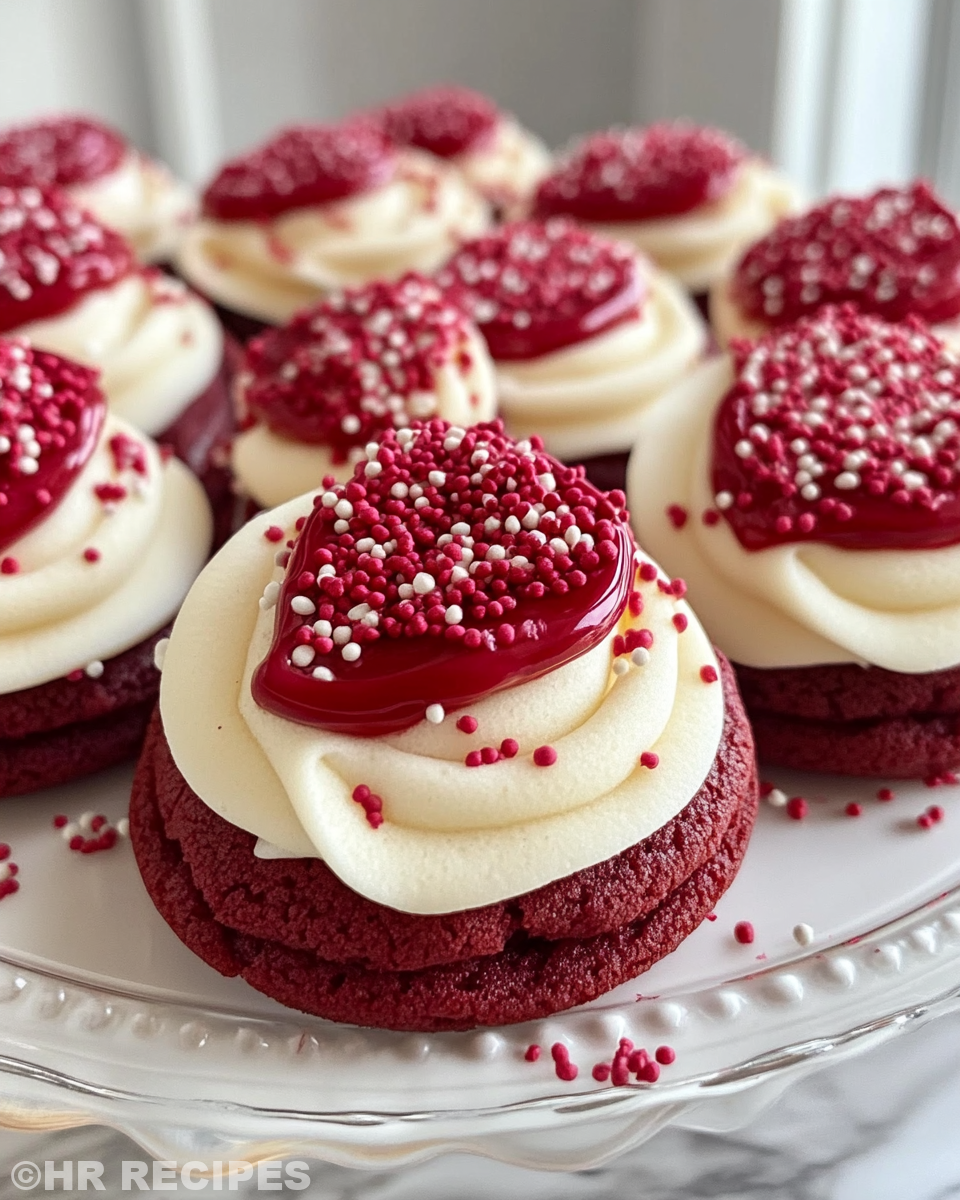
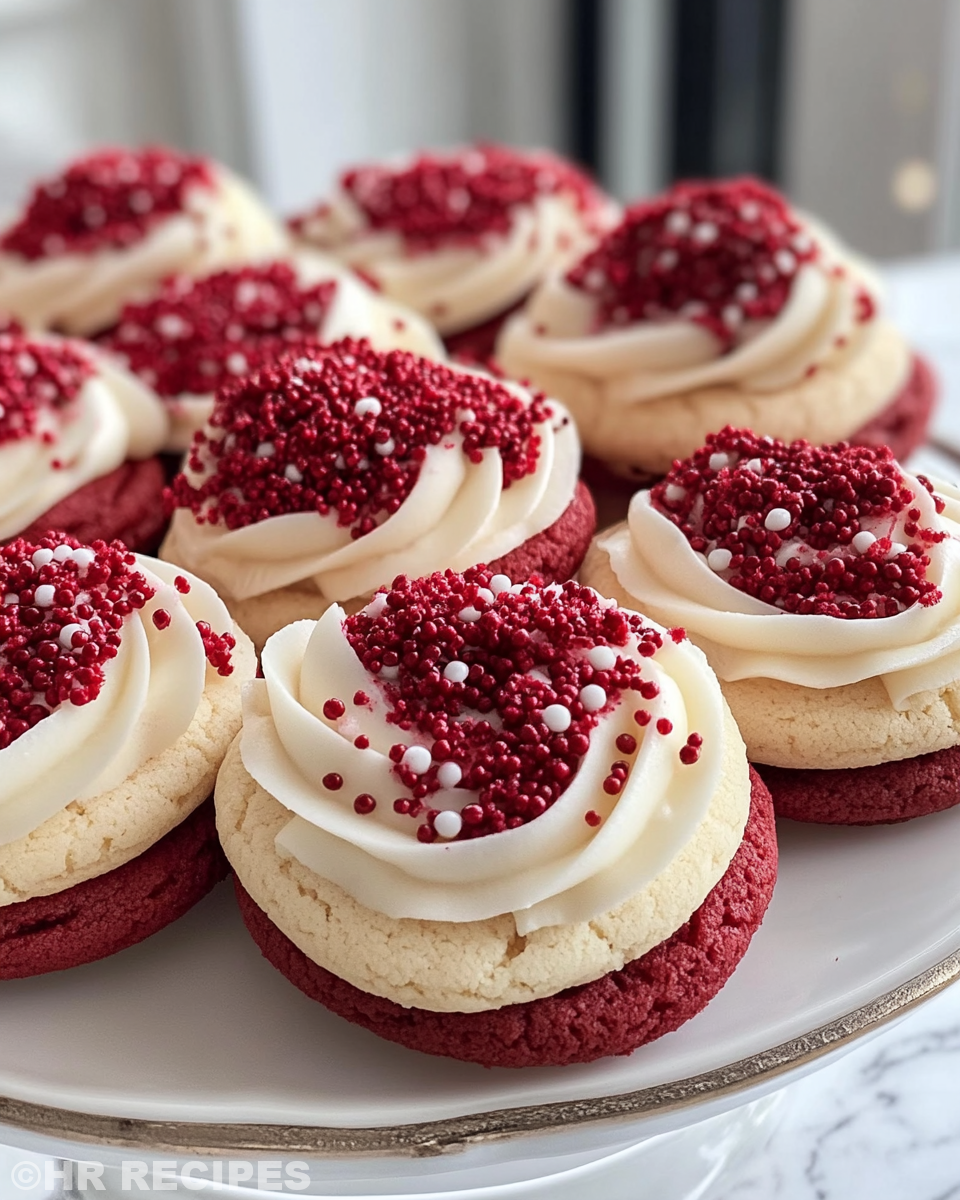
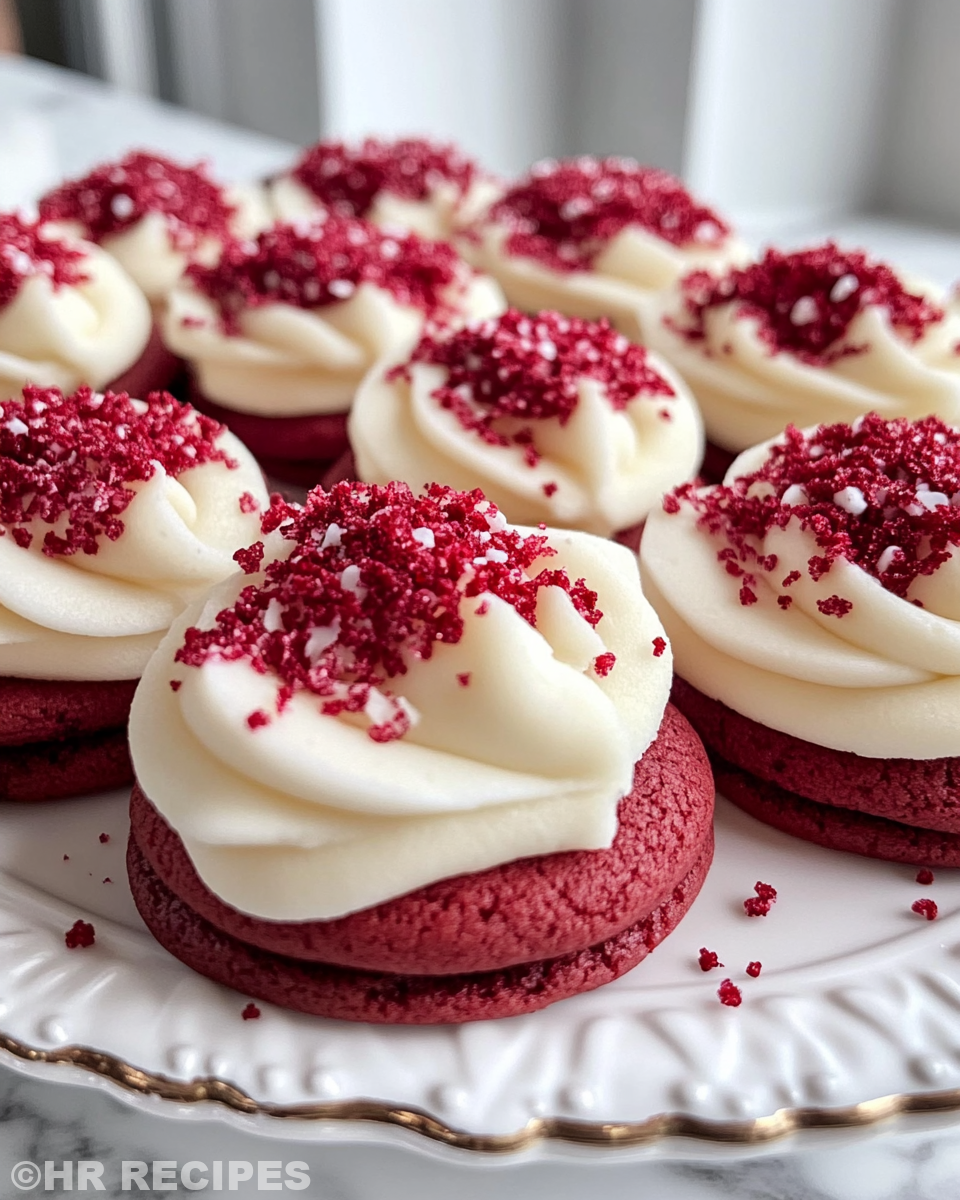
As you lift that warm cookie off the sheet, you notice the kiss in the center still soft and melty, glossy and sweet. The red sanding sugar sparkles just a bit, catching the light every time you move it.
The cookie itself has that perfect tender pull, soft but not mushy. You catch hints of vanilla and cocoa playing nice with the bold red velvet flavor, making every bite a treat for your taste buds.
You just gotta love how easy this recipe makes it to get that freshly baked bakery feeling right in your own kitchen, pressure cooker humming quietly while you enjoy your handiwork.
Your Leftover Strategy Guide
- Store cookies in an airtight container at room temperature if you plan to eat them in a day or 2. That keeps them soft and tasty.
- For longer freshness, pop the container in your fridge. This slows down any getting stale, but bring them back to room temp before eating for best texture.
- Freeze leftover cookies in a single layer on a baking sheet first, then transfer to a zip bag or container. When you want, thaw at room temp and press a fresh Hershey’s Kiss if you’re feeling fancy.
- If you got no fridge or freezer space, wrap them well in wax paper and tin foil, then place in a cool, dry spot. They won't last as long but still good a couple days.
Everything Else You Wondered About
- Can I use regular oven instead of pressure cooker? Heck yeah, recipe works perfectly in a normal oven. The pressure cooker just saves time and keeps cookies soft.
- Do I have to use food coloring gel? It's best for that rich red color, but if you want, liquid food coloring works too, just add less so dough doesn’t get watery.
- What if I only have unsalted butter? That’s totally fine. Just add a tiny pinch more salt to the dry ingredients and you’re good.
- Can I swap Hershey’s Kisses for chocolate chips? Sure can! Just sprinkle them on top before baking so they melt nicely.
- Will cookies stay fresh for a week? They might start losing that perfect softness after 3 days. Best if eaten sooner or kept frozen.
- How do I know when pressure cooker is ready? When you hear the valve hiss and see steam coming out steady, sealing ring is working right and pressure build is on.
For tasty ideas that pair well with these cookies check out our Cheesy Kielbasa Hashbrown Casserole Dump Meal Recipe for a hearty, cheesy dish, or maybe our Mozzarella Stuffed Rosemary Parmesan Soft Pretzels that bring savory, herby snacks perfect for any time. Don't forget to also browse Easy Marinated Cheese Appetizer with Salami & Green Olives for something simple and delicious that complements any gathering.

Easy Hershey’s Red Velvet Blossoms Cookies
Equipment
- 1 Mixing bowl Large
Ingredients
Main ingredients
- 7 tablespoon Butter salted or unsalted, softened
- ½ cup Brown sugar packed
- 2 tablespoon Granulated sugar
- 1 teaspoon Vanilla extract
- 1 Large egg yolk
- ¼ teaspoon Red food coloring gel
- 1 cup All-purpose flour
- 1 tablespoon Cocoa powder
- ½ teaspoon Baking powder
- ¼ teaspoon Salt
- ¼ cup Red sanding sugar
- 18 Hershey chocolate kisses
Instructions
Instructions
- Preheat your oven to 350°F and line a baking sheet with parchment paper.
- Cream together softened butter, brown sugar, and granulated sugar until light and fluffy, about 2–3 minutes.
- Add vanilla extract, egg yolk, and red food coloring gel until the dough turns a deep red.
- In a separate bowl, whisk together flour, cocoa powder, baking powder, and salt.
- Slowly mix dry ingredients into wet mixture until a soft dough forms.
- Scoop 1-inch balls, roll in red sanding sugar, and place 2 inches apart on baking sheet.
- Bake for 8–10 minutes until edges are set and centers are still soft.
- Immediately press a Hershey’s Kiss into the center of each cookie upon removing from oven.
- Let cookies cool for 10 minutes before transferring them to a cooling rack.