The pot lid rattles and you know dinner is almost ready. That little sound, the valve hiss starting, makes your mouth water a bit before you even open it. But y’all, sometimes you wanna skip right to the sweet stuff and guess what? Pressure cooker suits cookies too, it works real good for Cookies & Cream.
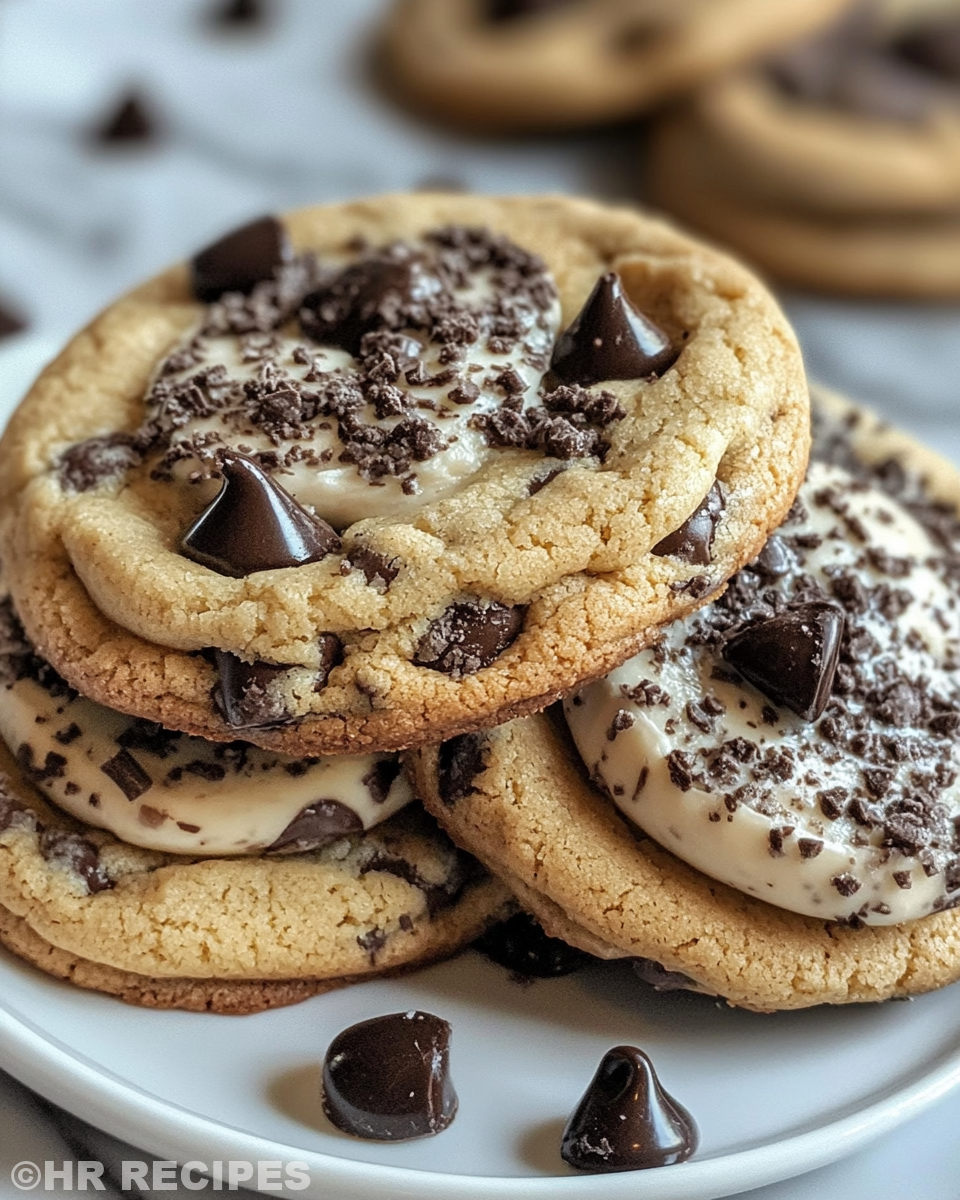
Cookies & Cream Cookies bring this cool twist to your classic sweet treat with crunchy bits of Oreo and melty chocolate chips inside. You feel that mix of crumbly and chewy right as you bite in, it’s kinda addictive. I love how the pressure cooker speeds up baking a bit, so the wait ain’t too long and you still get that oven-fresh cookie vibe.
Now these ain’t any boring cookie recipe. The butter blends with the sugars and vanilla just right, and once you add those Oreos and chocolate, you realize this is gonna be your new go-to snack. Plus, you get to hear that float valve hiss when you set the cooker, which means your cookie dough’s cooking under pressure – pretty cool stuff for cookie lovers.
What Makes Pressure Cooking Win Every Round
- You get faster cooking times without losing flavor or texture.
- The sealing ring traps steam so your cookies stay moist but get a nice chewy outside.
- Float valve shows you when it’s up to pressure, easy to watch for.
- Valve hiss lets you know your cookies are baking steady and good.
- Quick release helps you stop cooking exactly when you want, no overbaking here.
- Slow release gives extra gentle finishing time for perfect softness.
- You don’t gotta heat your whole kitchen since it’s all self-contained.
The Complete Shopping Rundown
First, you gotta make sure you grab some all purpose flour. That’s your cookie base, and you need a full 1 and ¾ cups of it. Baking soda and salt are small but mighty — 1 teaspoon baking soda and half teaspoon salt to keep things fluffy and balanced.
Cornstarch is next, just 2 tablespoons to make them cookies tender and not too dense. Butter is crucial here, gotta use unsalted and room temp, about 1 and a half sticks or three-quarters cup. That creamy butter is what makes every bite melt in your mouth.
White sugar and light brown sugar are your sweet combo. Grab ¾ cup white sugar and half cup light brown sugar to get just that right caramel undertone. Eggs bring moisture and structure, so use one whole large egg plus one yolk. Don’t forget a teaspoon of vanilla extract for that warm, cozy flavor.
White chocolate chips and semi sweet chocolate chips, each about a third cup, add gooey spots of yum. And of course, six Oreos chopped up nice and chunky bring in your cookies & cream vibe. That mix is gonna make those cookies really pop!
The Full Pressure Cooker Journey
Step one, preheat your oven to 350 degrees Fahrenheit and line a baking sheet with parchment paper. We’ll finish in the oven for a nice bake after the pressure cooker part.
Step two, grab a large bowl and whisk together the flour, baking soda, salt, and cornstarch. Set this aside, you’ve got your dry mix ready.
Step three, in another big bowl, beat your room temp butter with white sugar and brown sugar until it’s light and fluffy. This step is super important for texture, so give it a good mix.
Step four, add the whole egg, that extra yolk, and vanilla extract into the butter-sugar mix and stir until it’s all combined smooth.
Step five, slowly add the dry mix into the wet stuff and mix until just combined. You gotta watch not to overmix or the cookies get tough.
Step six, fold in the white chocolate chips, semi sweet chips, and those chunky Oreo pieces. This is where the cookie really comes alive.
Step seven, scoop tablespoon-sized bits of dough onto your prepared baking sheet, leaving about 2 inches between for spreading. Bake for 10 to 12 minutes until edges turn golden and the centers look set. Let them cool on sheet for 5 minutes before moving to a wire rack. Heck, this wait is worth it.
Easy Tweaks That Make Life Simple
- You can swap regular chocolate chips if you don’t have white or semi sweet ones.
- Use pre-chopped Oreos from the store to save time if you’re in a rush.
- If you want softer cookies, use slow release on the cooker for an extra few minutes.
- Lightly chill the dough before baking to keep cookies from spreading too much.
- Double the batch and freeze dough balls for quick fresh cookies next time.
Your First Taste After the Wait
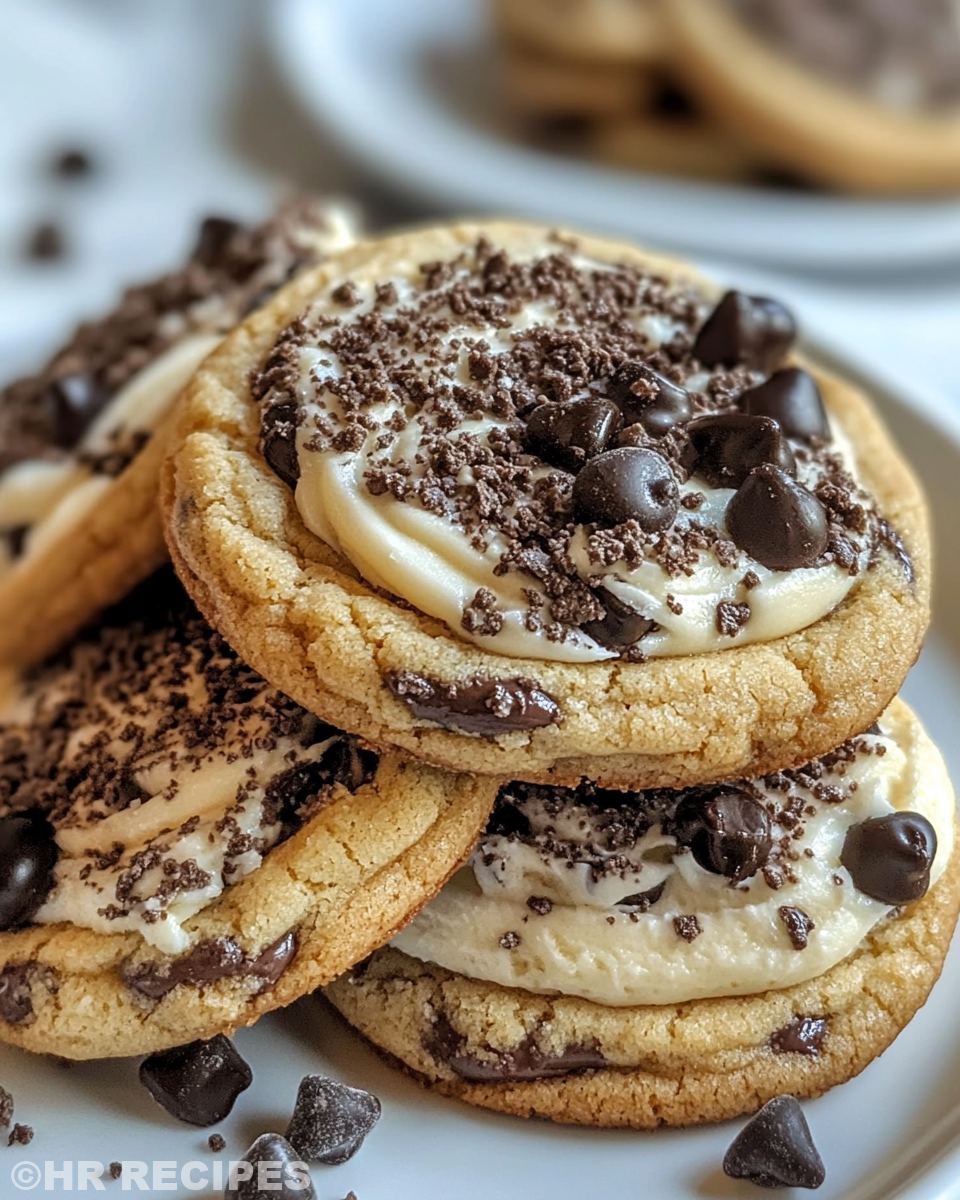
That first bite hits you with sweet and creamy chunks of Oreo smashing against melty chocolate chips. You recall that buttery dough itself is soft but holds together nice and chewy.
The edges get a little crispy, giving you a bit of crunch, while the middle stays gooey like you want. The mix of white and semi sweet chocolate keeps things balanced not too sweet or bitter.
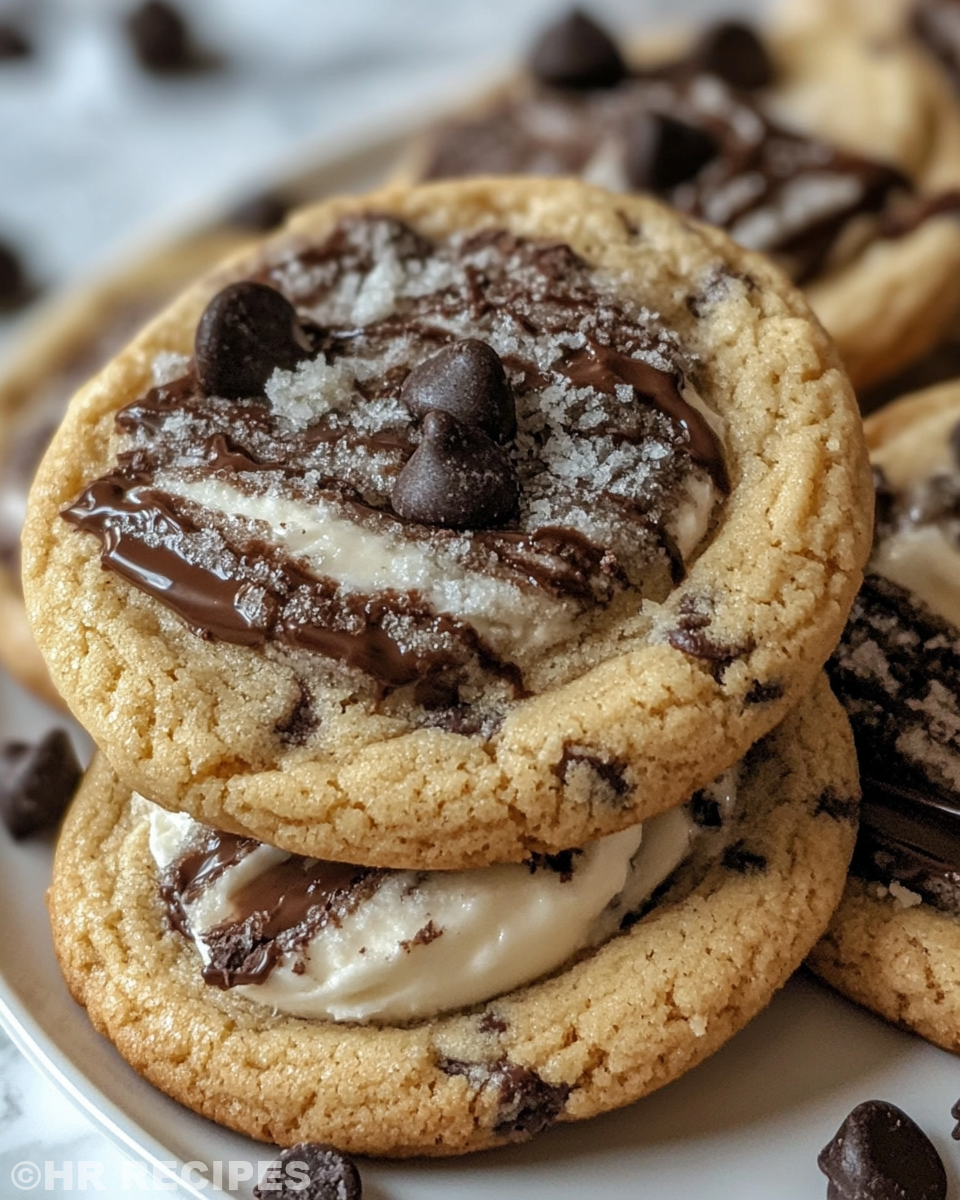
You notice how the pressure cooker keeps moisture locked inside so cookies don’t dry out. The vanilla and sugar combo sing through every bit you chew, giving you those warm cozy vibes.
Honestly, you sense these might be the best cookies you ever whipped up with a pressure cooker. And heck, they disappear fast once you start eating!
Your Leftover Strategy Guide
If you got leftovers, which I doubt, put them in an airtight container at room temp and they last about 3 days. Cookies stay chewy and good this way.
For longer storage, pop them in the fridge inside a sealed container. It keeps them fresh for up to a week but might harden edges a bit.
Freezing is great for saving batches. Wrap cookies in plastic wrap then foil before freezing. They’ll stay good for a couple months.
When you thaw frozen cookies, let them sit at room temp so they soften back up nice before eating. If you’re in a hurry, a quick zap in the microwave does the trick too.
What People Always Ask Me
- Can I use my pressure cooker for other baked treats? Heck yes, y’all! It’s surprisingly versatile — things like cakes and bread bake well with the right timing.
- Do I need a special sealing ring for sweet recipes? Nope, your regular sealing ring works fine. Just keep it clean and inspect for cracks before baking.
- Why use quick release vs slow release? Quick release stops the cooking instantly which is great if you wanna avoid overbaking. Slow release lets the cookies finish gently, good if you want softer insides.
- Can I skip the oven part and just use the cooker? For this recipe it’s better to do both. Cooker helps dough set and oven gives those golden edges and the right crispy texture.
- How do I know when the float valve drops? The float valve rises as pressure builds and hiss starts. When you let pressure release, it slowly drops back down — that’s when it’s safe to open.
- Can I double the recipe for bigger batches? Yep, just don’t overcrowd the cooker or baking sheet. You may need longer cook times and multiple batches.
For related recipes, check out our Cheesy Kielbasa Hashbrown Casserole Dump Meal Recipe for a quick and easy option using kielbasa, or explore Mozzarella Stuffed Rosemary Parmesan Soft Pretzels featuring cheesy, herbed treats perfect for snacks. Also, don’t miss our Easy Marinated Cheese Appetizer with Salami & Green Olives as a savory delight to complement your meals.

Cookies & Cream Cookies in the Pressure Cooker
Equipment
- 1 Mixing bowl Large
Ingredients
Main ingredients
- 1 ¾ cups All-purpose flour
- 1 teaspoon Baking soda
- ½ teaspoon Salt
- 2 tablespoons Cornstarch
- ¾ cup Unsalted butter room temperature
- ¾ cup White sugar
- ½ cup Light brown sugar
- 1 Large egg
- 1 Egg yolk
- 1 teaspoon Vanilla extract
- ⅓ cup White chocolate chips
- ⅓ cup Semi sweet chocolate chips
- 6 Oreos chopped
Instructions
Instructions
- Preheat oven to 350°F and line a baking sheet with parchment paper.
- Whisk together flour, baking soda, salt, and cornstarch in a bowl. Set aside.
- In a separate bowl, beat room temp butter with white and brown sugars until light and fluffy.
- Add the egg, egg yolk, and vanilla to the sugar-butter mixture and mix until smooth.
- Gradually mix dry ingredients into wet mixture until just combined.
- Fold in white chocolate chips, semi sweet chocolate chips, and chopped Oreos.
- Scoop tablespoon-sized dough onto baking sheet, spacing 2 inches apart.
- Bake for 10–12 minutes until edges are golden and centers set.
- Cool on baking sheet for 5 minutes before transferring to wire rack.