That first hiss from the cooker tells you something good is happening. You catch that little steam cue and it’s like your kitchen just got a whole lot cozier real fast. The float valve pops up and your heart kinda races cause you know the sweets are cooking right inside that pressurized little wonder box.
You notice the broth depth isn’t really broth in this case but water under a trivet holding your pan steady. It’s wild how that simple water catch below turns into a heat powerhouse, sealing in moisture so your brownie cookies come out soft and fudgy instead of dry and sad. The sealing ring's got your back too, making sure no steam’s slipping out where it shouldn’t.
Natural release means you get to chill for a few minutes while the pressure tapers off, and in that time, the cookies finish their thing, settling into a perfect gooey middle. It’s kinda dang satisfying watching that float valve drop back down, 'cause you know it’s showtime—cookies ready, plate ready, sweet tooth ready.
Why Your Cooker Beats Every Other Pot
- You get consistent heat that doesn't fluctuate like a stove top or oven sometimes can.
- Steam cues inside mean you never gotta wonder if the cookies are cooking enough or too much.
- The float valve gives you a real-time answer when pressure’s built up just right.
- Broth depth technique keeps the cookies moist without sogginess, something ovens don’t always nail.
- Sealing ring ensures all that pressure and flavor stays locked in tight.
- Cooking time is way shorter, so you’re munching sooner without losing texture.
- It’s less messy cause the steam does a lot of the work, no oil splatters or hot pans to scrub.
Pressure cooker baking, like with these cookies, often reminds me of other slow and hot methods. For instance, slow cooker casseroles also provide hands-off, moist heating that locks in flavors beautifully.
And if you’re a fan of effortless oven replacements, check out tips on using the cooker for sweet potato desserts that don’t dry out.
Keep in mind, the sealing ring and pressure control concepts also relate to pressure cooker stews and roasts, like kielbasa hashbrown dump meals, where managing moisture is key.
The Complete Shopping Rundown
- 6 tablespoon unsalted butter – gotta have good quality to melt smooth and creamy
- 8 oz chopped dark chocolate, 60% cocoa – the star that gives your brownies their rich chocolate punch
- ½ cup all-purpose flour, spooned and leveled – use the spooned method so you don’t dry out the batter
- ¼ cup Dutch process cocoa powder – adds that deep chocolatey color and flavor
- ¼ teaspoon salt – just enough to balance out the sweetness
- 1 teaspoon baking powder – helps give a little lift and tenderness in the cookie
- ½ cup white granulated sugar – for sweetness that’s pure and simple
- ¼ cup plus 2 tablespoon packed light brown sugar – adds chewiness and a hint of caramel
- 2 eggs, room temp and 1 teaspoon vanilla – for binding and that warm vanilla aroma
Pressure cooker recipes need the right ingredients and quantities. This blend of butter, chocolate, sugars, and well-measured flour mimics the typical dry and wet balance found in oven-baked sweets.
Using both brown and white sugar gives you that chewy texture that’s hard to get with plain granulated sugar alone. If you like experimenting with sweet basics, check out our notes on savory marinated cheese appetizers to expand your kitchen creativity.
The right baking powder addition helps your cookies rise just enough but not too much, which is similar to how dough rises in soft pretzels in our rosemary parmesan soft pretzels recipe.
The Full Pressure Cooker Journey
First, you wanna preheat your oven to 350 degrees Fahrenheit even if you’re finishing the cookies in the pressure cooker. Get a baking sheet ready by lining with parchment paper, so nothing sticks.
Next, melt your butter and chopped dark chocolate in a medium saucepan on low heat. Stir gently till smooth and silky. Take it off the heat and let it cool just a bit so it won’t cook your eggs when mixed.
Then mix your dry stuff – flour, cocoa powder, salt, and baking powder – in a small bowl. Whisk it up good so it’s all blended and ready to pour in.
In a big bowl, beat together the white and brown sugars with eggs and vanilla till it’s light and fluffy. This takes like 2 or 3 minutes, but it’s worth it for that airy texture.
Slowly add the cooled chocolate mixture into your sugar and eggs combo, mixing as you go. Careful not to overdo it. Fold in the dry ingredients till just incorporated. The dough’ll be thick and fudgy—that’s exactly what you want.
Let the batter hang out for about 10 to 15 minutes. This rest lets it thicken up just right. After that, scoop onto your lined baking sheet, spacing cookies about 2 inches apart cause they’re gonna spread a little.
Now here’s where your pressure cooker comes in. Pour about a cup of water into the cooker’s bottom, the right broth depth, and place the trivet inside. Carefully set your baking sheet on top of the trivet, make sure the sealing ring is in place and your lid’s sealed. Cook at high pressure for about 10 minutes. Then let the natural release do its thing for 5 minutes before quick releasing any leftover pressure.
Quick Tricks That Save Your Time
- Double up your batch and freeze half the dough scoops so you can bake fresh cookies anytime.
- Melt the butter and chocolate together right in your pressure cooker on the sauté setting to save cleaning.
- Use a silicone baking mat instead of parchment for easier cleanup and no slipping scoops.
- Keep your eggs at room temperature ahead of time; it speeds up the mixing and gives better rise.
For more time-saving tips on cozy dinners, you might enjoy our Classic Crockpot Pierogi Casserole with Kielbasa or try Cheesy Hamburger Rice Casserole for a wholesome, fuss-free meal.
When You Finally Get to Eat
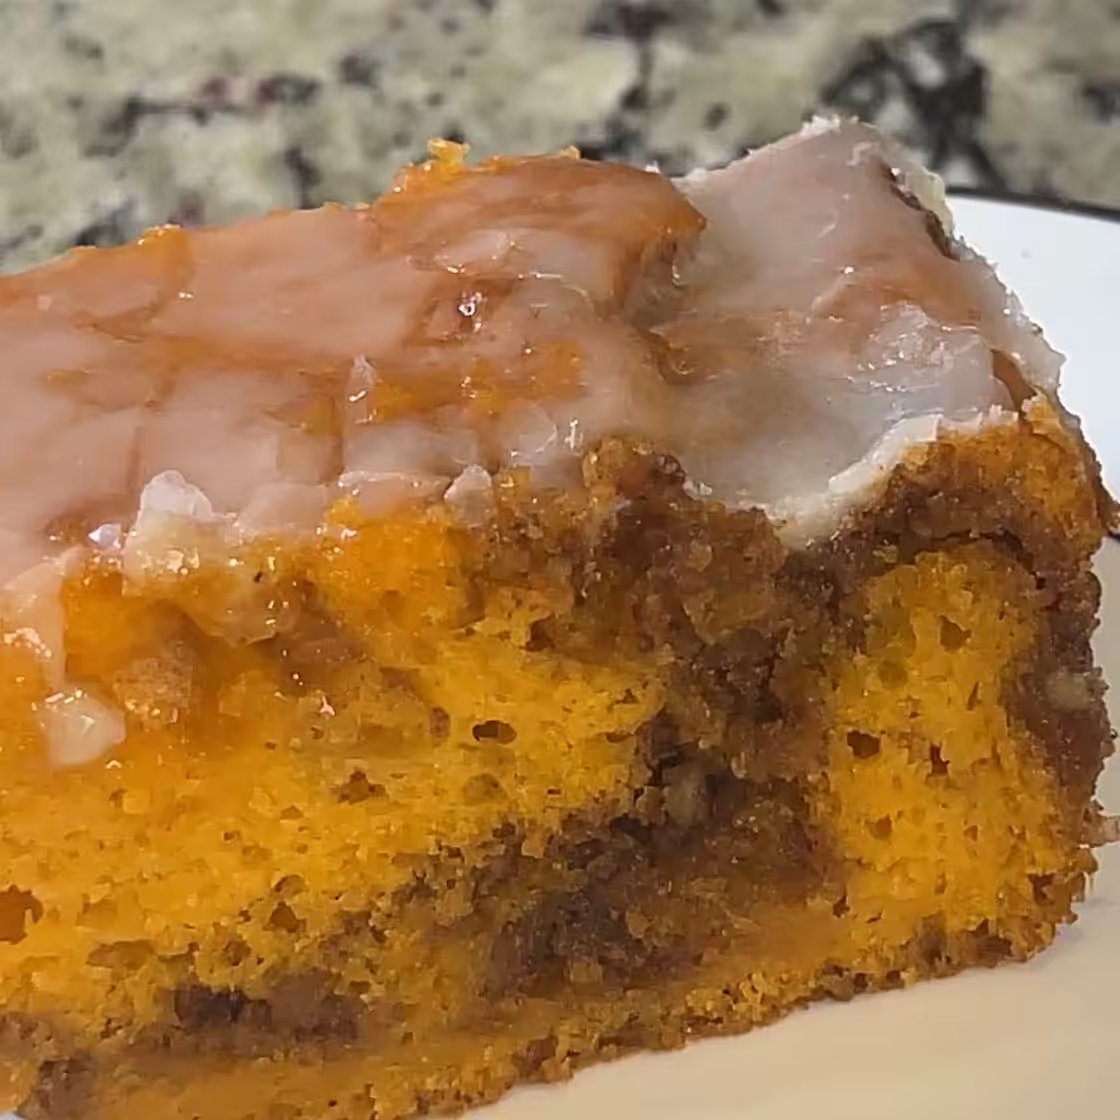
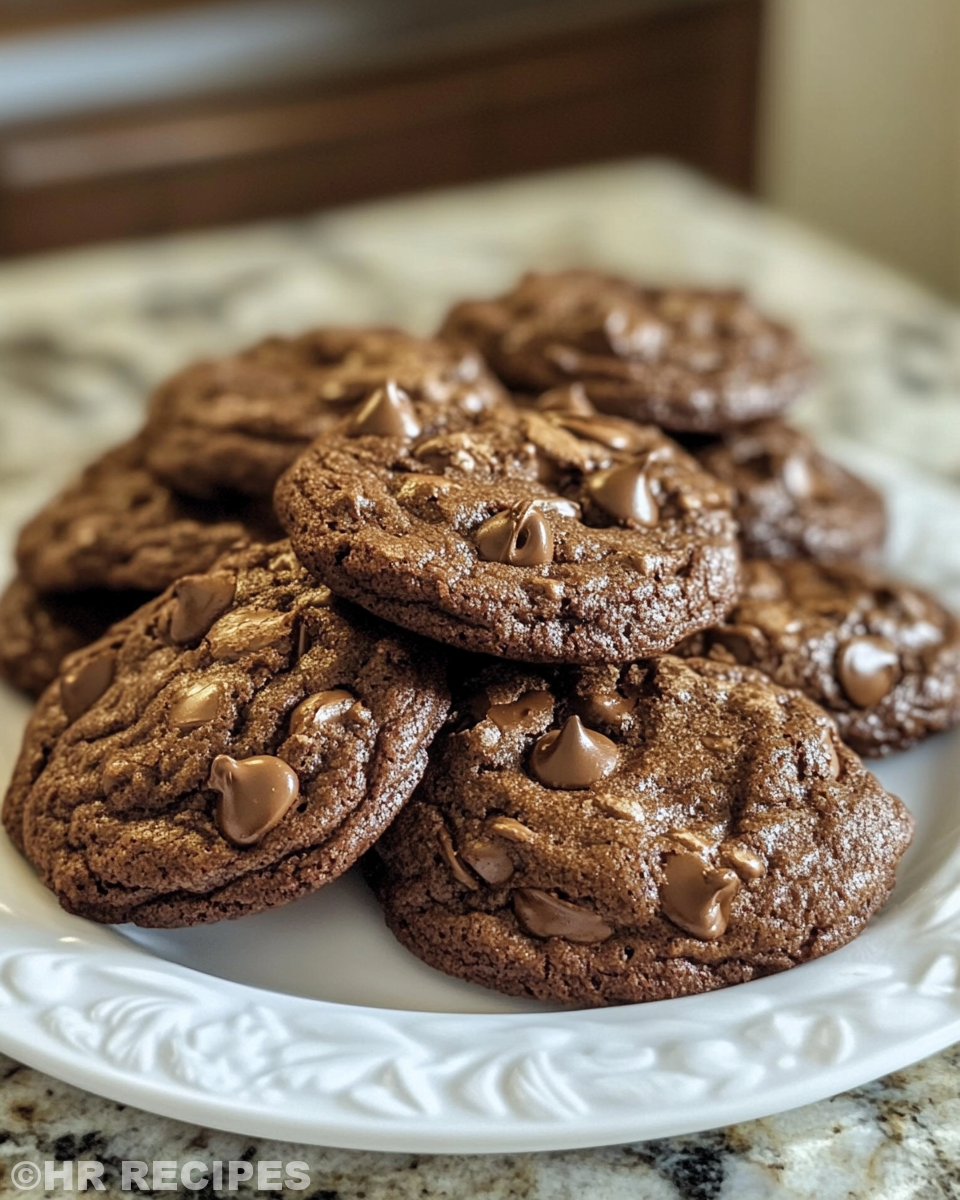
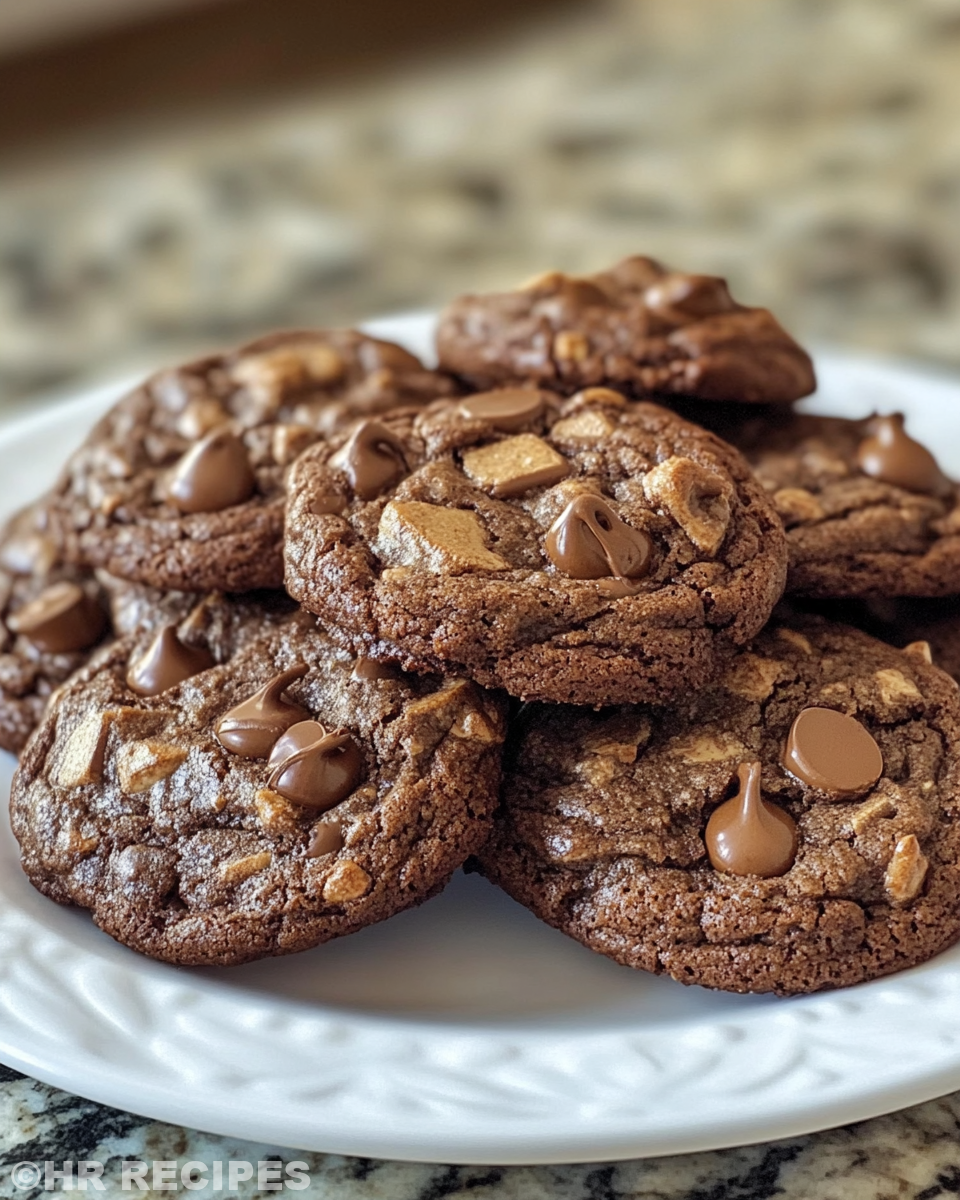
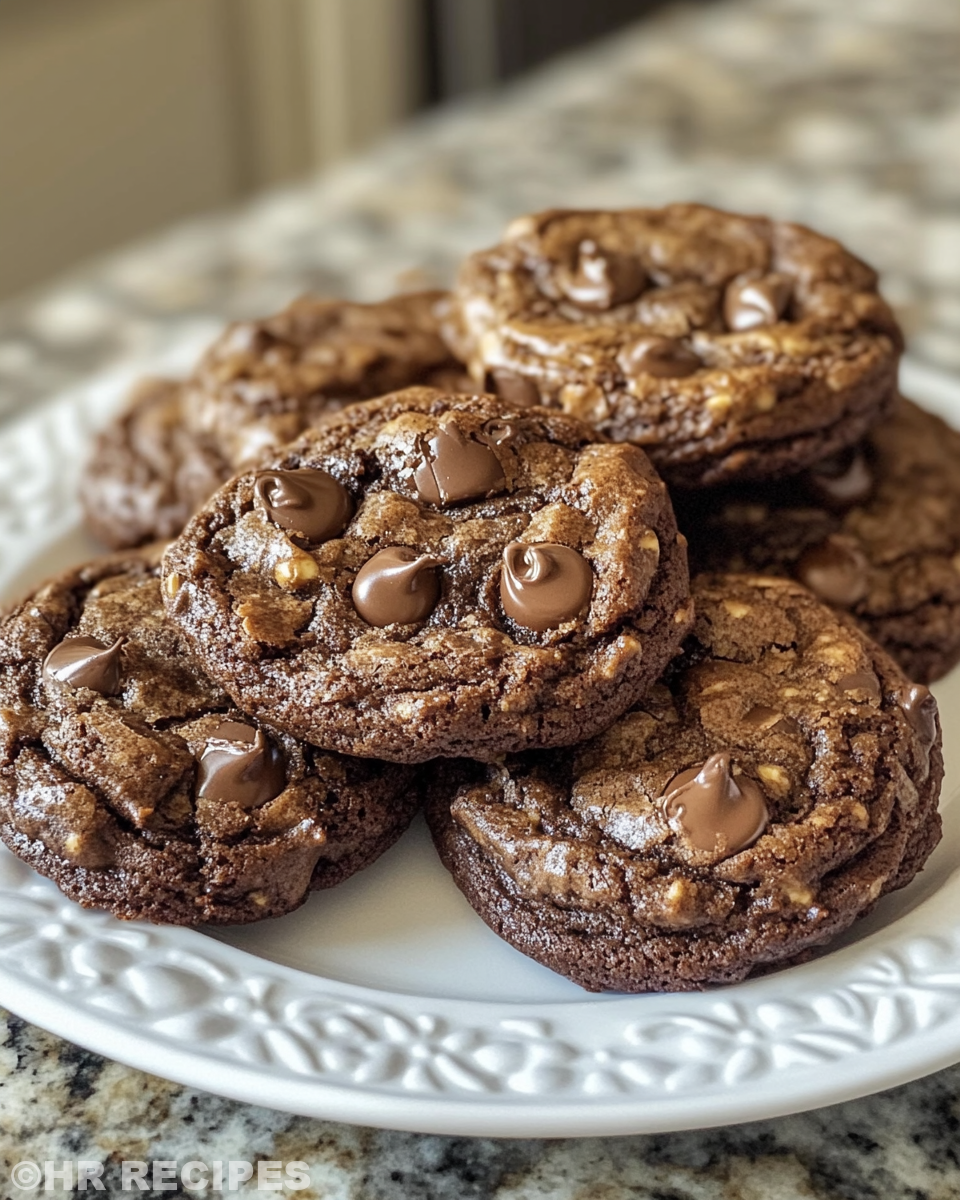
You notice these brownie cookies have a crust that’s gently cracked and shiny on top. That first bite hits you with chewy edges but also soft and fudgy middles that kinda melt in your mouth.
The rich chocolate flavor lingers, balanced with a hint of vanilla and sea salt sprinkling that gives just a little extra pop. Every chew feels like a hug from your kitchen.
It’s a sweet, gooey moment you sorta savor in between quick nibbles, the kinda treat that makes all that pressure cooker waiting totally worth it.
For a perfect conclusion to this sweet experience, a crisp side like our Crispy Mashed Potato Fries creates a delightful contrast.
Making It Last All Week Long
If you’re lucky enough to have leftovers (or wanna bake ahead), store your brownie cookies in an airtight container at room temperature. They’ll stay fresh for up to 4 days and keep that fudgy texture.
For longer storage, try freezing them. Wrap each cookie individually in plastic wrap then pop ‘em in a freezer bag. When you want a fresh snack, just thaw at room temp for 30 minutes.
You can also heat them mildly in a toaster oven or microwave for a few seconds if you like that warm melty experience again. It really brings back that gooey feeling just like you just pulled them out of the cooker.
The FAQ Section You Actually Need
- Can I use milk chocolate instead of dark chocolate? Yeah, you can but milk chocolate is sweeter and softer, so your cookies might be less fudgy and more cakey.
- Do I really need to preheat the oven? It’s mostly for the baking sheet prep but also if you wanna finish the cookies in the oven sometimes. For the pressure cooker alone, it isn’t crucial.
- What’s the broth depth in the cooker? Just about an inch of water at the bottom works perfect. Not too much or it’ll steam too wild, but enough to create that steady pressure and moist heat.
- Why let the batter rest before baking? It lets the flour and cocoa absorb liquids better, thickening the dough for a fudgy dense cookie rather than runny and flat.
- Can I skip the natural release step? Not really. The natural release lets the cookies finish cooking gently with the pressure slowly lowering. Quick release might make them collapse.
- My sealing ring smells funky, will it affect flavor? It might a little if it’s old or smells off. Best to keep it clean or replace it when it’s worn for best baking vibes.
Brownie Cookies in Your Pressure Cooker
Equipment
- 1 Mixing bowl Large
- 1 Medium saucepan For melting butter and chocolate
- 1 Pressure cooker With trivet insert
- 1 Baking sheet Lined with parchment
Ingredients
Main ingredients
- 6 tablespoon unsalted butter
- 8 oz chopped dark chocolate 60% cocoa
- ½ cup all-purpose flour spooned and leveled
- ¼ cup Dutch process cocoa powder
- ¼ teaspoon salt
- 1 teaspoon baking powder
- ½ cup white granulated sugar
- ¼ cup plus 2 tbsp packed light brown sugar
- 2 eggs room temperature
- 1 teaspoon vanilla
- flaky sea salt for sprinkling
Instructions
Instructions
- Preheat your oven to 350°F. Line a baking sheet with parchment paper.
- Melt butter and chopped dark chocolate in a saucepan over low heat. Stir until smooth. Let it cool slightly.
- In a bowl, whisk together flour, cocoa powder, salt, and baking powder.
- In a large bowl, beat white and brown sugar with eggs and vanilla until fluffy, about 2-3 minutes.
- Mix in the cooled chocolate and butter mixture. Fold in the dry ingredients until just combined.
- Let the batter rest for 10–15 minutes to thicken.
- Scoop dough onto the baking sheet, spacing about 2 inches apart.
- Pour 1 cup water into the pressure cooker, place a trivet inside, and set the baking sheet on top.
- Seal the lid and cook on high pressure for 10 minutes.
- Let the cooker naturally release for 5 minutes, then quick release the rest. Carefully remove the cookies.