The pressure builds and you start counting down minutes until you eat. You hear that little float valve pop and you know things are gonna be tasty real soon. It’s kinda unreal how quickly the smell fills your kitchen, making you almost forget about whatever else you were doing.
In your mind, you’re picturing that first bite, the sugar crunch mixing with the soft cookie. It’s like all those late nights hunting for the right recipe finally paying off. You can’t help but feel a little proud that you’re about to eat something homemade and seriously delicious.
Every minute feels both long and short when waiting for pressure to build and then that quick release kicks in. The wait might be the hardest part, but you soon get why pressure cooker baking has its fans. By the time you pull them out, those cookies got this warm glow that kinda says "yeah, you did good."
The Truth About Fast Tender Results
- Pressure cookers lock in steam tight, so your cookies cook evenly and stay super moist.
- The float valve rising signals the pressure build, and that’s when the real countdown starts.
- Quick release lets you stop the cook time fast, so things don’t overbake or get dry.
- Natural release allows a gentler cooling, but it usually means waiting longer before you can eat.
- Slow release is kinda like the middle ground, where pressure drops gradually.
- Because of the sealed environment, flavors blend deeper and cookies come out tender in less time.
For insights about pressure cooking techniques, you might enjoy our Classic Crockpot Pierogi Casserole with Kielbasa, which also uses sealed cooking methods to meld flavors quickly and tenderly.
The Complete Shopping Rundown
- 1 cup unsalted butter, room temp (this helps get creamy dough, you spot?)
- ½ cup granulated sugar for just the right sweetness and crunch.
- 1 cup light brown sugar, packed, because you gotta have that caramel vibe.
- 2 room temperature eggs to keep the dough smooth and bind it all up.
- 1 teaspoon vanilla extract for that classic cookie smell you'll recognize a mile away.
- 3 ¾ cups cake flour, perfect for light, soft cookies that melt in your mouth.
- 2 Tablespoons cornstarch to keep your cookies tender and slightly cakey, no toughness here.
- 1 teaspoon baking soda for that rise and spread just right.
- 1 ½ teaspoons baking powder to help with fluffiness, cause you want soft, not hard.
- 1 teaspoon kosher salt to balance the sweetness and bring out all the flavor notes.
When gathering ingredients, consider similar baking essentials featured in recipes like our Easy Marinated Cheese Appetizer with Salami & Green Olives to complement your cookie treats at gatherings or parties.
How It All Comes Together Step by Step
First off, you preheat your oven to 350°F and line those baking sheets with parchment paper. This keeps things from sticking and makes cleanup easier, heck yeah.
Next, in a big bowl you cream together the 1 cup unsalted butter with the granulated and brown sugar. You mix it till it looks light and fluffy, like clouds you can eat.
You add your eggs one at a time, beating good after each so everything smooths out. Then you splash in vanilla extract and mix just till combined.
In another bowl, you whisk cake flour, cornstarch, baking soda, baking powder, and salt. You wanna make sure all dry stuff’s friend-zoned together before hitting the wet stuff.
Gradually add your dry mix into the wet, folding gently. Don’t overbeat or you’ll risk tough cookies, and dang you want soft.
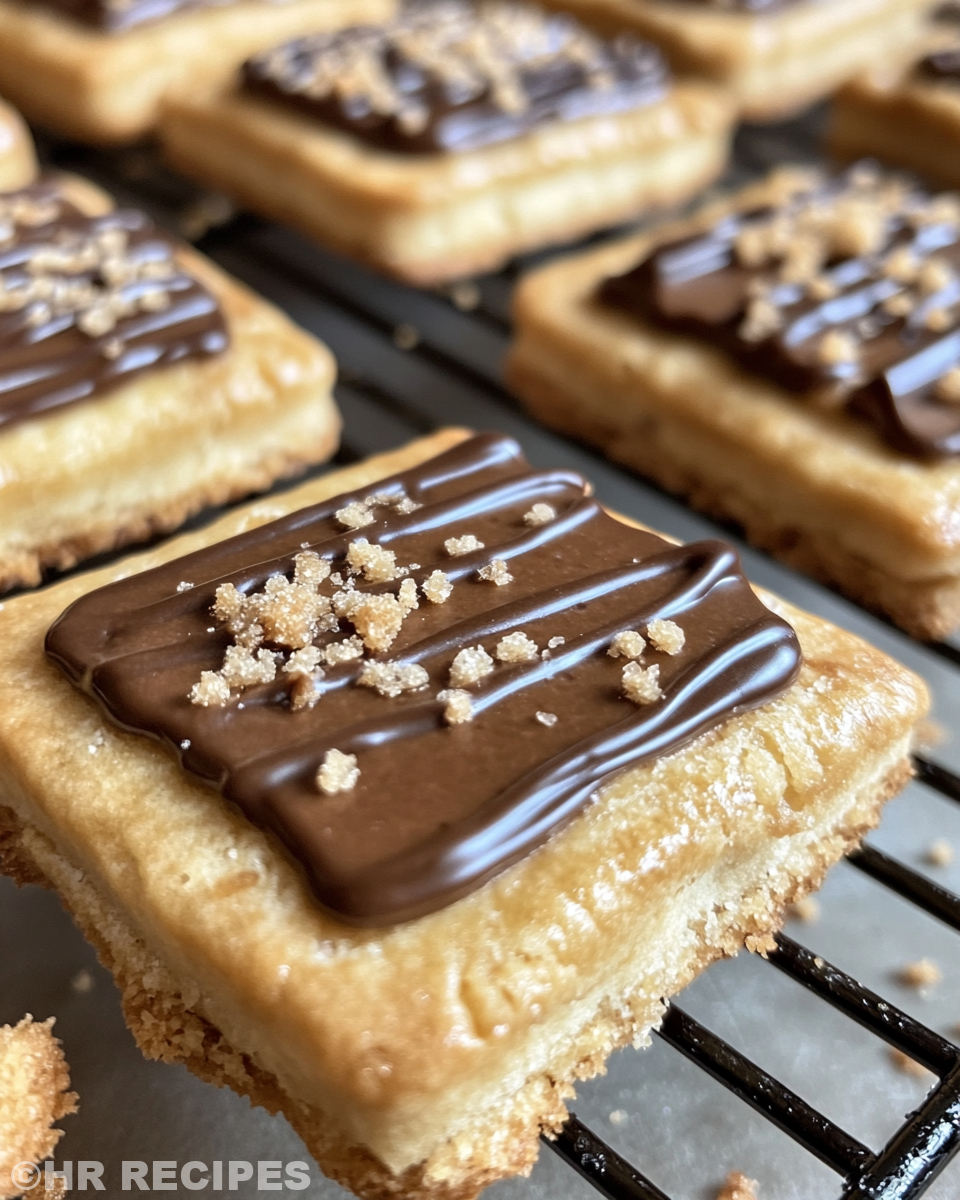
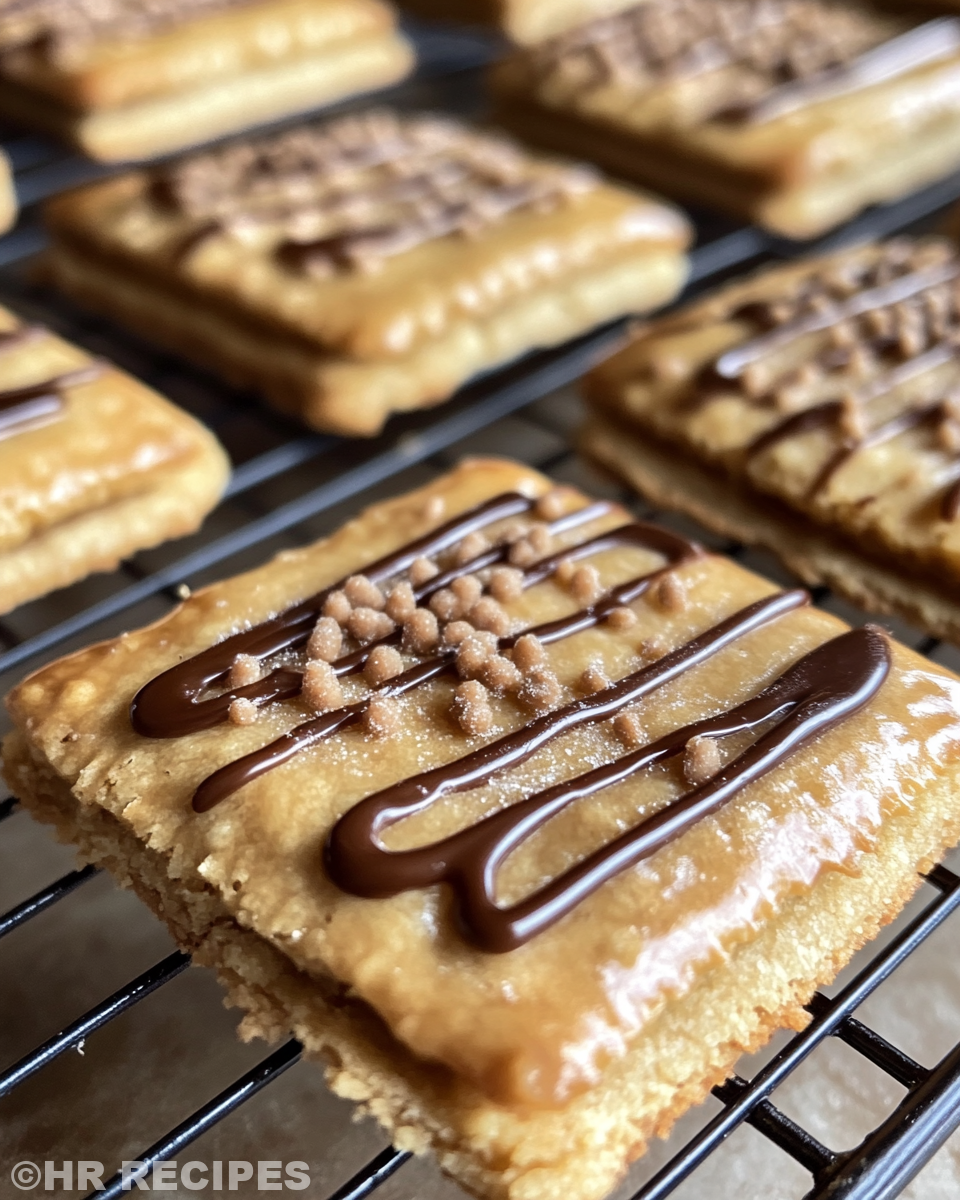
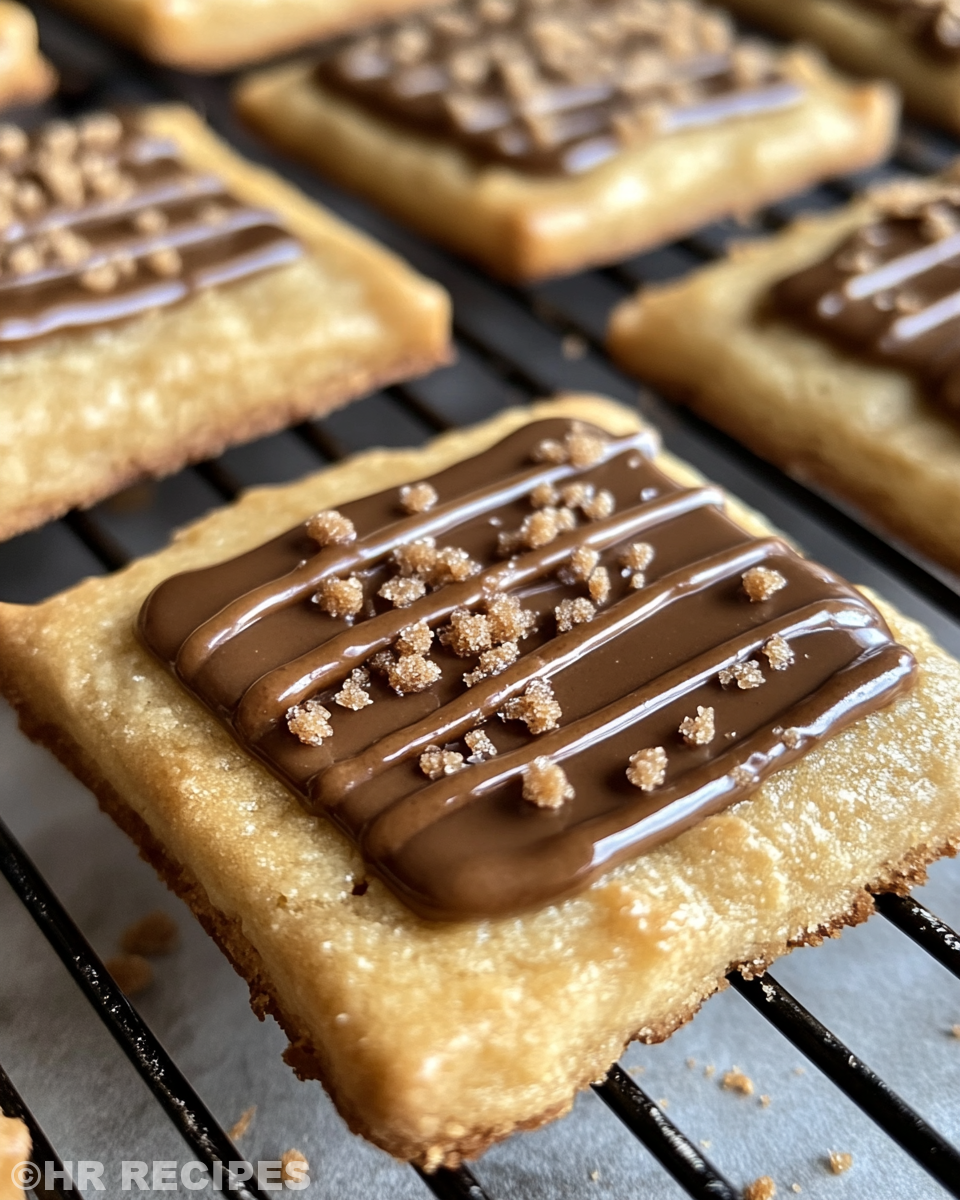
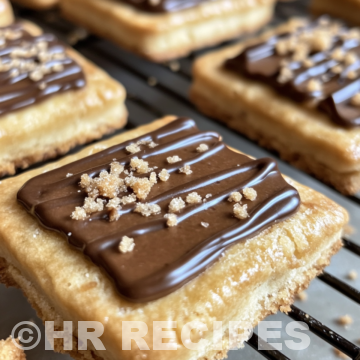
Pop in chopped brown sugar Pop Tarts if you got ’em (or crumble ’em) right into the dough. Then scoop dough evenly on your tray, spacing about 2 inches apart. Bake for 10 to 12 minutes till edges set and centers still soft. Let cool five minutes there, then move to wire racks to finish cooling. Yum.
Quick Tricks That Save Your Time
- You can soften butter faster by cutting it into small pieces and leaving it out while you prep other stuff.
- Mix dry ingredients in a big ziplock bag if you wanna save bowl washing.
- Use a cookie scoop to get even-sized cookies, no guesswork.
- If you multitask while baking, set timers so you don’t forget and overcook your treasure.
Your First Taste After the Wait
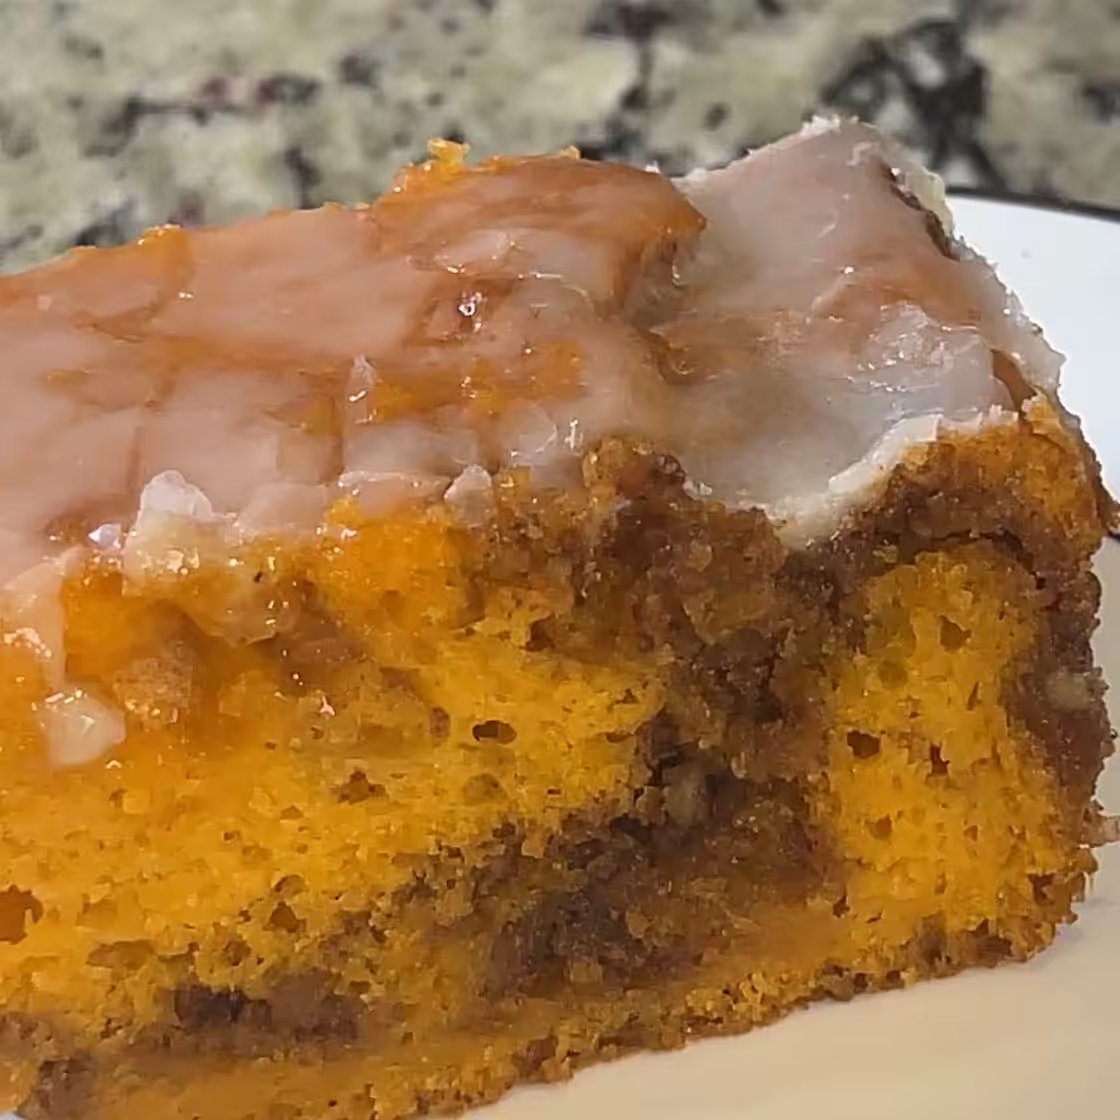
Right when you bite in, the softness of the cookie kinda surprises you it’s dang tender and melts softly. You sense that caramel sweetness from the brown sugar swirling with a hint of cinnamon warmth.
The little chunks of Pop Tart scattered through add a chewy, sweet crunch that complements the tender cookie base beautifully. It’s not too sweet, just perfectly balanced so you wanna go back for more.
Between the buttery base and the sugary topping, every chew feels like a cozy hug on a chilly day. You might remember the last time you had a treat like this and smile cause this batch’s just as good.
As you finish your first cookie, you sense the flavor lingering just enough to tease your next bite, making it impossible to stop at just one.
Keeping Leftovers Fresh and Ready
Store any extras in an airtight container at room temp, and they’ll keep soft for a couple days. Perfect if you wanna snack on them all week.
If you wanna keep them longer, pop leftovers in the fridge sealed tight, but know they might firm up a lil bit, so let ’em come back to room temp or warm in the microwave a few seconds before eating.
For the ultimate saving, freeze them in a ziplock bag with parchment between layers. When you want a cookie fix, just thaw at room temp or microwave for a quick treat.
What People Always Ask Me
- Q Can I use regular flour instead of cake flour? A You can but cake flour keeps these cookies lighter and softer. All-purpose flour might make ’em a bit tougher.
- Q How do I know when the pressure cooker has reached pressure? A That float valve rising is your sign. You gotta wait till it pops up before you start timing.
- Q Can I skip adding Pop Tarts? A Yeah you can, but the Pop Tarts bring in sweet crunch that really makes these cookies stand out.
- Q What’s the difference between quick release and natural release? A Quick release drops pressure fast to stop cooking, natural release lets pressure fall slowly, keeping food tender but you gotta wait longer.
- Q Can I double the recipe? A Sure you can, just make sure you don’t overfill your cooker and adjust cook times as needed.
- Q How do I keep cookies soft longer? A Store them airtight and warm up before eating if chilled, that helps keep softness right on point.
For more inspiration on savory and sweet dishes that complement your baking adventures, explore our Cheesy Kielbasa Hashbrown Casserole Dump Meal Recipe or try the Mozzarella Stuffed Rosemary Parmesan Soft Pretzels for a cheesy, herby snack option.
Brown Sugar Pop Tart Cookies - Pressure Cooker Style
Equipment
- 1 Mixing bowl Large
Ingredients
Cookie Dough, Filling & Glaze
- 1 cup Unsalted butter room temperature
- ½ cup Granulated sugar
- 1 cup Light brown sugar packed
- 2 Eggs room temperature
- 1 teaspoon Vanilla extract
- 3 ¾ cups Cake flour
- 2 Tablespoons Cornstarch
- 1 teaspoon Baking soda
- 1 ½ teaspoons Baking powder
- 1 teaspoon Kosher salt
- 5 Tablespoons Unsalted butter softened (for filling)
- ¾ cup Light brown sugar packed (for filling)
- 1 teaspoon Cinnamon (for filling)
- 2 Tablespoon Cake flour (for filling)
- 1 cup Powdered sugar (for glaze)
- ½ teaspoon Cinnamon (for glaze)
- 3 Tablespoons Unsalted butter melted and cooled (for glaze)
- 2 ½ Tablespoon Milk (for glaze)
Instructions
Instructions
- Cream together butter, granulated sugar, and brown sugar until light and fluffy.
- Add vanilla and eggs, mix thoroughly until smooth.
- Whisk together dry ingredients. Add to wet ingredients and mix just until combined.
- Chill dough for 1 hour in the fridge.
- Mix all filling ingredients until smooth and roll into small balls.
- Scoop chilled dough into large balls, break in half, press filling ball inside and seal.
- Bake at 350°F for 11–13 minutes. Cool for 5 minutes on tray, then transfer to wire rack.
- Whisk glaze ingredients until smooth. Drizzle over cookies and let set.
- Store leftovers in airtight container; freeze extra un-iced cookies or dough if needed.