That first hiss from the cooker tells you something good is happening. You sense that pressure build deep inside the pot, each little hiss through the valve like a promise. It’s always gonna get your attention, right? That sound means flavors are about to get real cozy and cook just right.
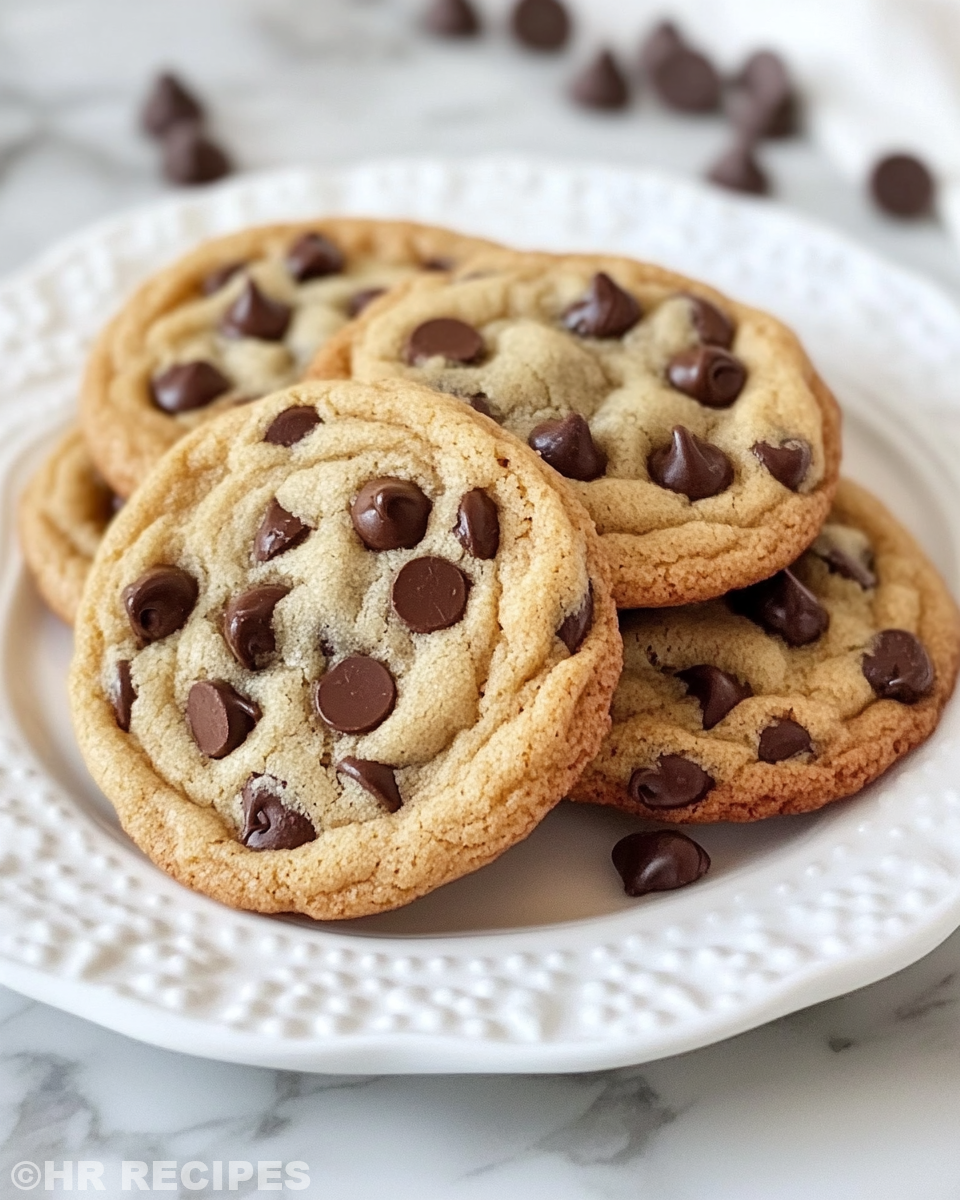
By the time you spot steam swirling, you already recall the buttery, sweet dough going in. You can almost taste the tender pull of warm chocolate chips just waiting to melt. The cooker’s doing its thing, pressing the heat and sealing in all those cookie vibes.
Even if you’re more used to ovens, the cooker brings a whole new rhythm to cookie making. Quick release or slow release, you’re in control. It’s kinda fun watching the valve hiss fade, knowing your treat’s almost there, ready to delight the senses.
Why Your Cooker Beats Every Other Pot
- You get fast results because the pressure build cooks stuff quicker than usual. Enhance your cooking skills with related quick recipes like Cheesy Kielbasa Hashbrown Casserole.
- The sealed environment keeps cookies moist but still lets the edges turn golden.
- You don’t gotta babysit the oven or time it so exact, the cooker’s doing most of the work.
- It saves space in a small kitchen since you don’t need multiple baking trays.
- Using quick release cools things down faster so you can dig in sooner.
What Goes Into the Pot Today
- 1 cup unsalted butter, softened so it blends real smooth with the sugars.
- 1 cup white sugar to hit that classic sweet note.
- 1 cup packed brown sugar giving a little chewiness and depth of flavor.
- 2 large eggs to bring it all together and add richness.
- 2 teaspoons vanilla extract for that warm, comforting aroma.
- 3 cups all-purpose flour, the base holding your cookie body strong.
- 1 teaspoon baking soda to help the cookies spread just right.
- ½ teaspoon baking powder for a little extra lift.
- 1 teaspoon salt to balance sweetness and boost flavors.
- 2 cups semisweet chocolate chips for the gooey melty yum.
The Full Pressure Cooker Journey
First, you gotta preheat your oven to 350°F, yeah, we still start there for the final bake. The cooker gets the cookie dough ready real fast, but that golden finish needs that regular heat.
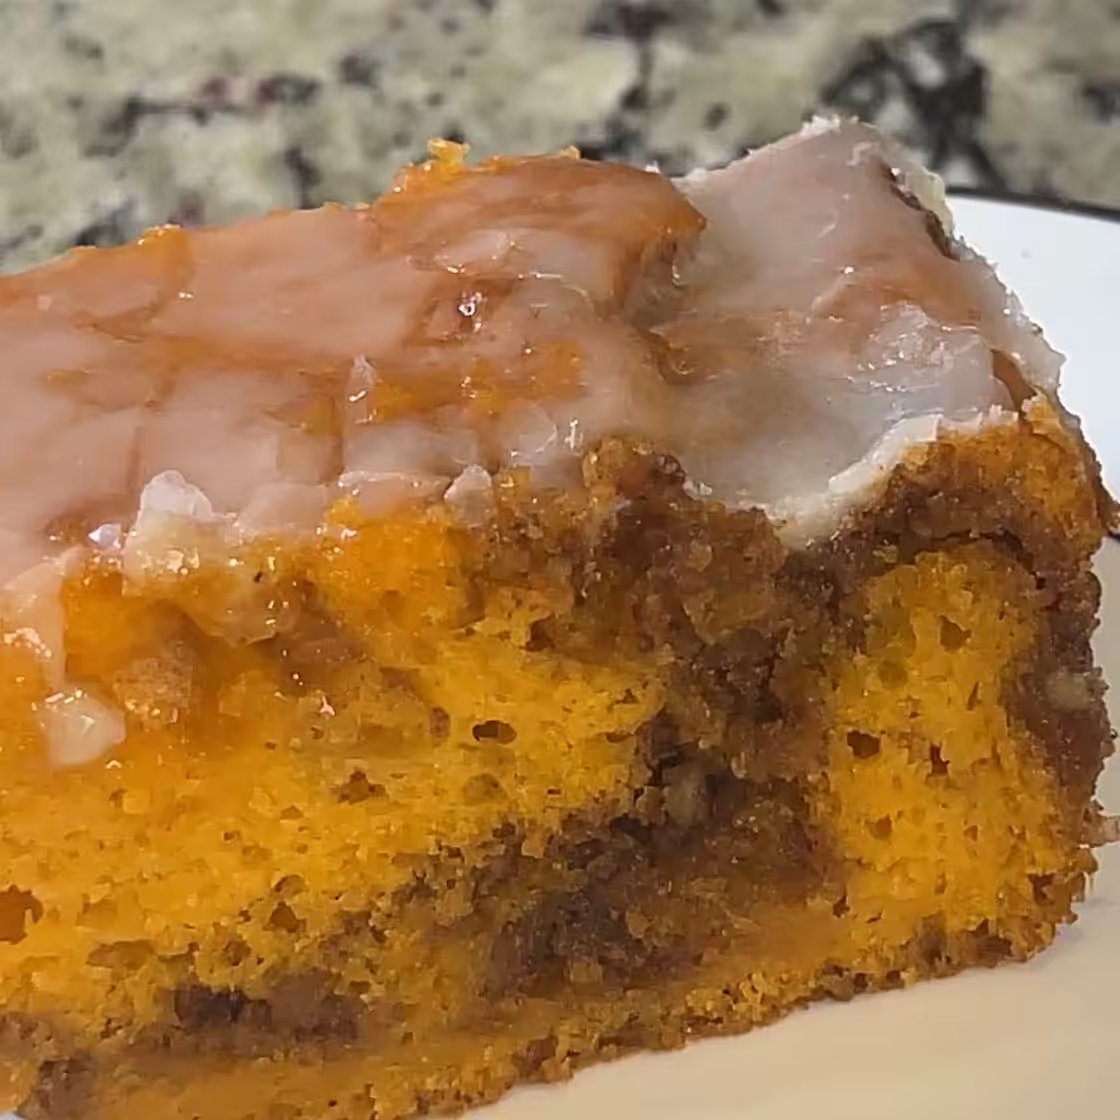
Start by creaming together the softened butter, white sugar, and brown sugar in a large bowl. Beat it until smooth and kinda fluffy, you’ll notice that texture change. Check out other easy mixes like Sweet Potato Honeybun Cake for more baking inspiration.
Next, beat in the eggs one at a time. You wanna get them whipped in good so the dough holds nice and together. Then stir in the vanilla extract for that good fragrance.
In another bowl, mix the flour, baking soda, baking powder, and salt. Gradually blend that dry mix into the creamed stuff. Be patient, don’t dump it all at once or you’ll get lumps.
Fold in your chocolate chips real gentle so they don’t all melt at once. You want them spread evenly through the dough.
Once your dough’s ready, spoon rounded tablespoons onto ungreased baking sheets. Don’t crowd them, they gotta room to spread during baking.
Pop the sheets in the oven for about 10 to 12 minutes till you see golden edges popping up. That’s the sign your cookies are cooked but still tender inside.
When time’s up, let cookies cool on the sheet for 5 minutes. This lets them firm up a bit. Then you can move ’em to wire racks to cool completely without getting soggy bottoms.
Easy Tweaks That Make Life Simple
- You can swap brown sugar for coconut sugar if you wanna twist the flavor a bit.
- Use melted butter instead of softened to get a chewier texture if that’s your jam.
- If you wanna skip measuring, just use a standard cookie scoop for uniform sizes every time.
- Adding a pinch of cinnamon to the dry mix gives a little spice without overpowering the chocolate.
Your First Taste After the Wait
That initial bite hits your tongue with a warm softness. The cookie’s got this tender pull that’s just perfect, not dry at all. You notice the sugar crystals melt slowly, mixing with melted chocolate spots.
The vanilla sneaks in after, giving a cozy sweetness that stays on your taste buds. Then there’s the subtle saltiness, kinda like a little surprise punch that balances everything out.
Chocolate chips are the real stars, gooey and rich in every bite. They melt just right without taking over the cookie's full flavor.
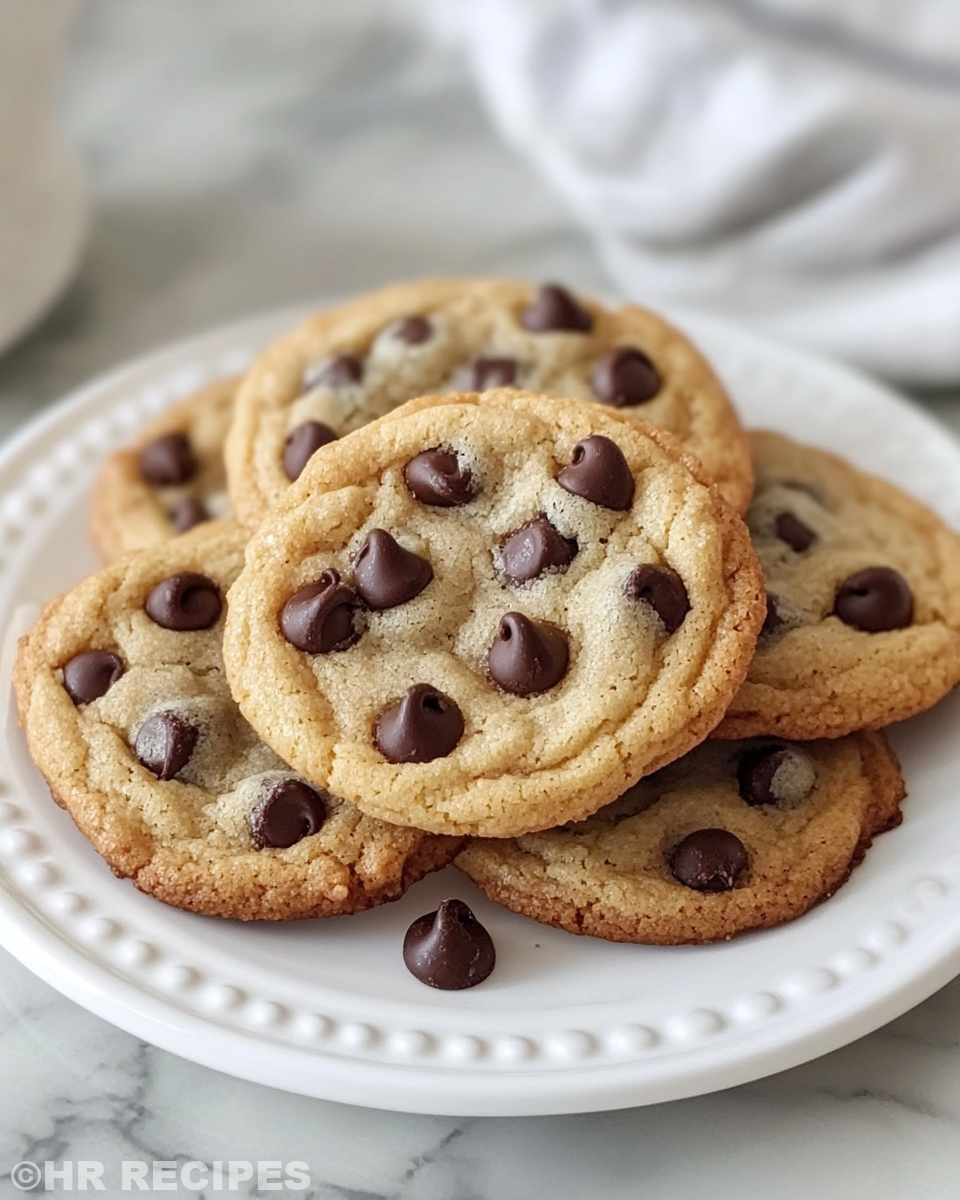
You spot the golden brown edges and get that satisfying crunch that contrasts the soft middle. It’s the kinda cookie that keeps you reaching for one more.
Your Leftover Strategy Guide
Store leftover cookies in an airtight container at room temp to keep the crisp edges and soft center happy. This way they last a few days without losing charm. For more on storage, check tips from our Amish Dinner Rolls post.
If you wanna keep ’em longer, pop cookies in the fridge but let ’em warm to room temp before munching. That cool storage helps maintain freshness but sometimes makes ’em firmer.
Freezing is a solid move if you bake a big batch. Just wrap them well and thaw at room temp when craving hits. They almost taste freshly baked after thawing.
To bring back a bit of that fresh-from-oven feel, heat cookies in the microwave for 10 seconds or toss them in a toaster oven very briefly. That reawakens gooey texture without drying ’em out.
What People Always Ask Me
- Can I use margarine instead of butter? You could but butter gives better flavor and texture. Margarine might make the cookies kinda greasy.
- How do I tell when cookies are done in a pressure cooker? Since we finish in the oven, watch for golden edges and a firm but soft center.
- Why do some cookies spread too much? Usually dough too warm or too much butter. Chilling dough before baking helps control spread.
- Can I add nuts or other mix-ins? Totally. Just fold ’em in with the chocolate chips for extra crunch or flavor.
- What’s the difference between quick release and slow release? Quick release means letting the valve hiss out fast to cool down quickly. Slow release lets pressure drop gradually, which can keep food more tender.
- Is pressure cooker baking healthier than regular? It’s more about convenience and texture. The sealed environment locks moisture in, so you get soft cookies without extra fat changes.
Looking for more comforting recipes? Try our delightful Easy Marinated Cheese Appetizer with Salami & Green Olives or warm up with Crispy Mashed Potato Fries for a fun side dish.
How to Make The Best Chocolate Chip Cookies
Equipment
- 1 Mixing bowl Large
Ingredients
Cookie Dough
- 1 cup unsalted butter softened
- 1 cup white sugar
- 1 cup packed brown sugar
- 2 large eggs
- 2 teaspoons vanilla extract
- 3 cups all-purpose flour
- 1 teaspoon baking soda
- 0.5 teaspoon baking powder
- 1 teaspoon salt
- 2 cups semisweet chocolate chips
Instructions
Instructions
- Preheat oven to 350°F. The pressure cooker is used to prepare dough, but final baking is in the oven.
- Cream together softened butter, white sugar, and brown sugar in a large bowl until smooth and fluffy.
- Beat in eggs one at a time, mixing well after each addition. Stir in vanilla extract.
- In another bowl, mix flour, baking soda, baking powder, and salt.
- Gradually add dry ingredients to the creamed mixture, blending until smooth.
- Fold in the chocolate chips gently and stir to distribute evenly.
- Spoon rounded tablespoons of dough onto ungreased baking sheets, spacing them out.
- Bake for 10–12 minutes until edges are golden brown. Cool on sheet for 5 minutes, then transfer to rack.