You catch the smell through the steam vent and suddenly you are starving. It’s like the kitchen just whispered a secret about something sweet and buttery waiting for you. The air’s thick with that caramel-chocolate hint and you know you gotta check it out quick.
It’s kinda funny how a simple cookie smell can do this. You remember the snack from back when you were a kid ah? The one that had that crunchy cookie with a chewy caramel and chocolate on top. That’s exactly what you’re about to make, but better. Better because you don’t gotta wait long or make a mess all over the place.
You notice the valve hiss softly as the pressure cooker does its thing. The steam cues tell you that soon you’ll be pulling cookies with that perfect tender pull. That brothy scent mixed with cookie dough just fills up your little kitchen and makes your day instantly better. Dang, pressure cookers really got a way with desserts.
The Real Reasons You Will Love This Method
- It keeps your oven cool which is great for those hot summer days or tiny kitchens.
- You get that perfect tender pull on your cookies that’s tough to do with normal baking.
- The quick release helps you finish fast so no long waiting around before you get to eat.
- The pressure cooker seals in moisture, keeping your cookies soft but still crisp at the edges.
- It cuts down your prep mess since the pot handles heat evenly and fast, meaning fewer dishes.
What Goes Into the Pot Today
- 1 ½ cups softened butter to make the dough rich and soft when baked.
- 1 cup powdered sugar for just the right touch of sweetness and smooth texture.
- 1 ½ teaspoons vanilla extract to bring out that warm, cozy flavor you love.
- 3 cups all purpose flour as the main base that holds everything together.
- ¼ teaspoon salt to balance the sweet and enhance the flavors.
- 11 ounces caramels melted with a bit of evaporated milk or cream for gooey layering.
- 1 tablespoon evaporated milk or cream to help smooth out that caramel drip perfectly.
- 2 cups milk chocolate chips melted with shortening for a glossy and melty topping.
- 2 teaspoons shortening added to the chocolate for that slick, shiny finish you’ll wanna lick.
- Extra parchment paper to line your baking sheets for easy cleanup and cookie handling.
Your Complete Cooking Timeline
- First, you preheat that oven to 350°F and grab your baking sheets, lining them with parchment paper so nothing sticks.
- Then, in a big bowl, cream the butter and powdered sugar together until light and fluffy. This step's gonna make your cookies tender and just right.
- Mix in your vanilla, then slowly add the flour and salt. Stir it all up until your dough comes together and isn’t too sticky.
- Roll out that dough on a lightly floured surface so it’s about ¼-inch thick. You can cut ‘em into rectangles or use a cookie cutter if you feel fancy.
- Place those shapes on your sheets, then bake ‘em 12 to 14 minutes. Watch close for the edges turning lightly golden—that’s your cue to pull ‘em out and cool completely on a rack.
- While they cool, melt your caramels in a microwave-safe bowl with evaporated milk. Heat in 30-second intervals and stir till smooth. Spread a little caramel on each cookie and let it set.
- Next, melt chocolate chips with shortening the same way. Spread or drizzle the chocolate over caramel and let your cookies hang out till the chocolate sets. If you like, pop ‘em in the fridge to speed this up.
Quick Tricks That Save Your Time
- Use a silicone mat on your baking sheet instead of parchment. It’s reusable and keeps stuff from sticking.
- Microwave caramel and chocolate in short bursts. Stir a lot to avoid burning, but it really speeds things up.
- If your dough’s sticky, toss it in the fridge for a bit before rolling out. This cuts down on flour mess and keeps the dough easy to shape.
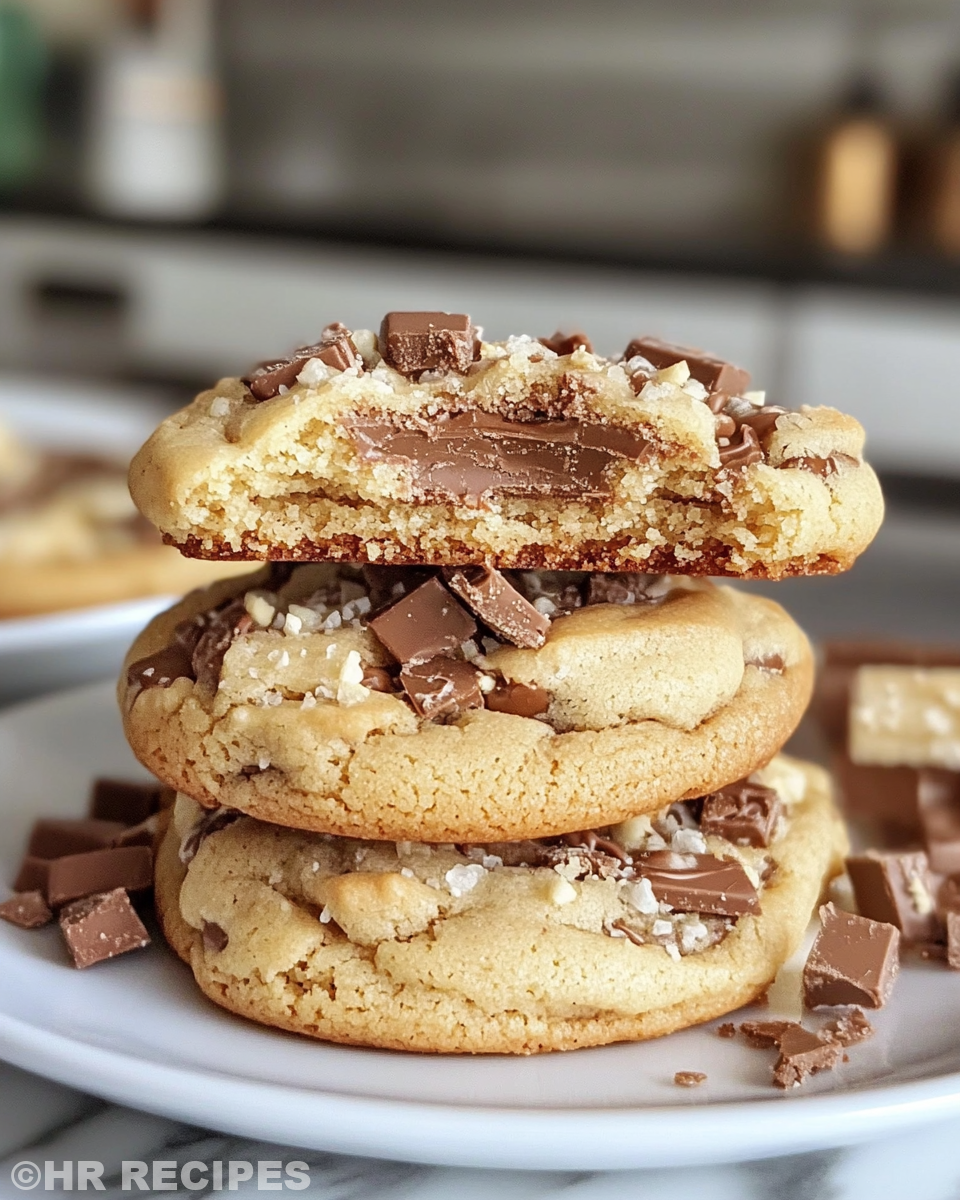
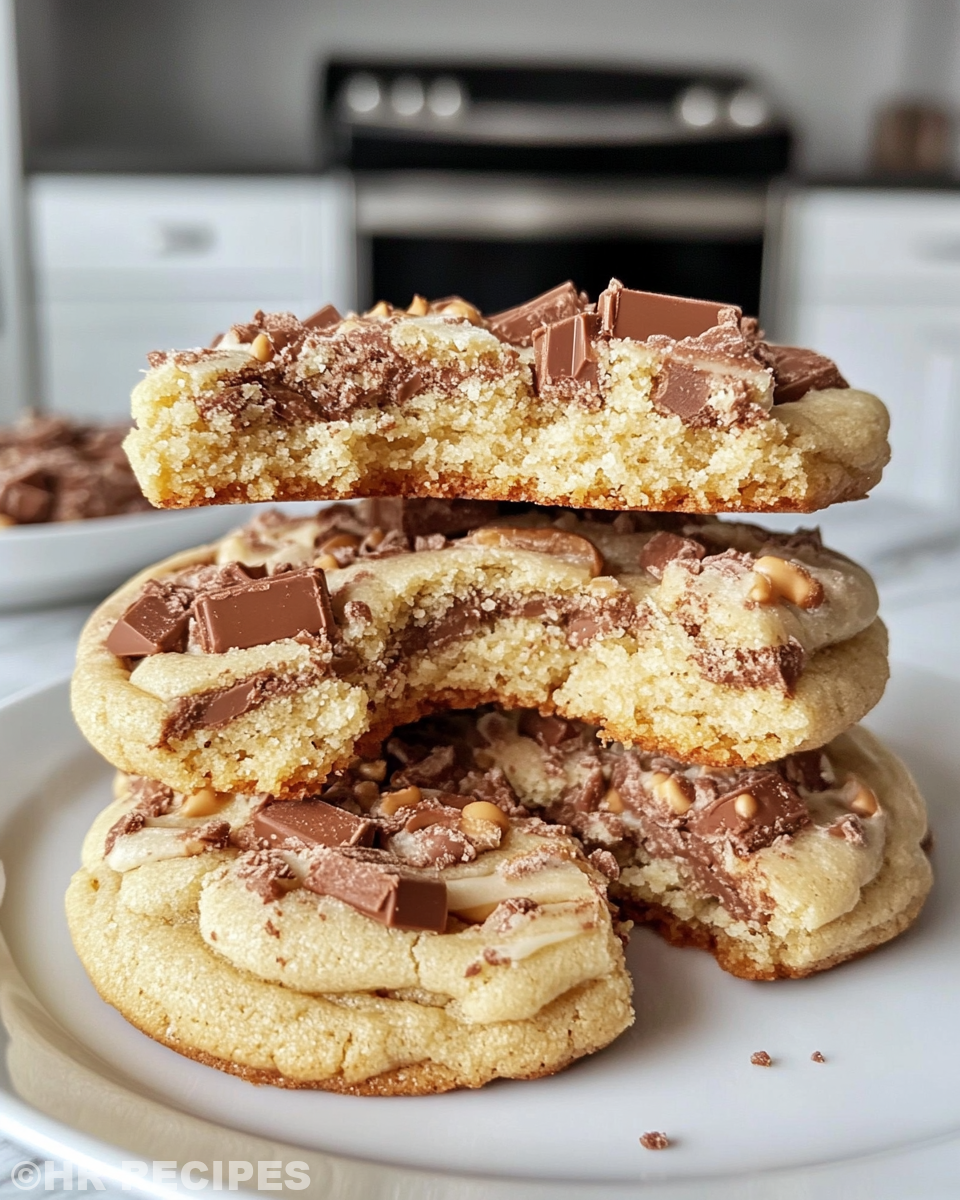
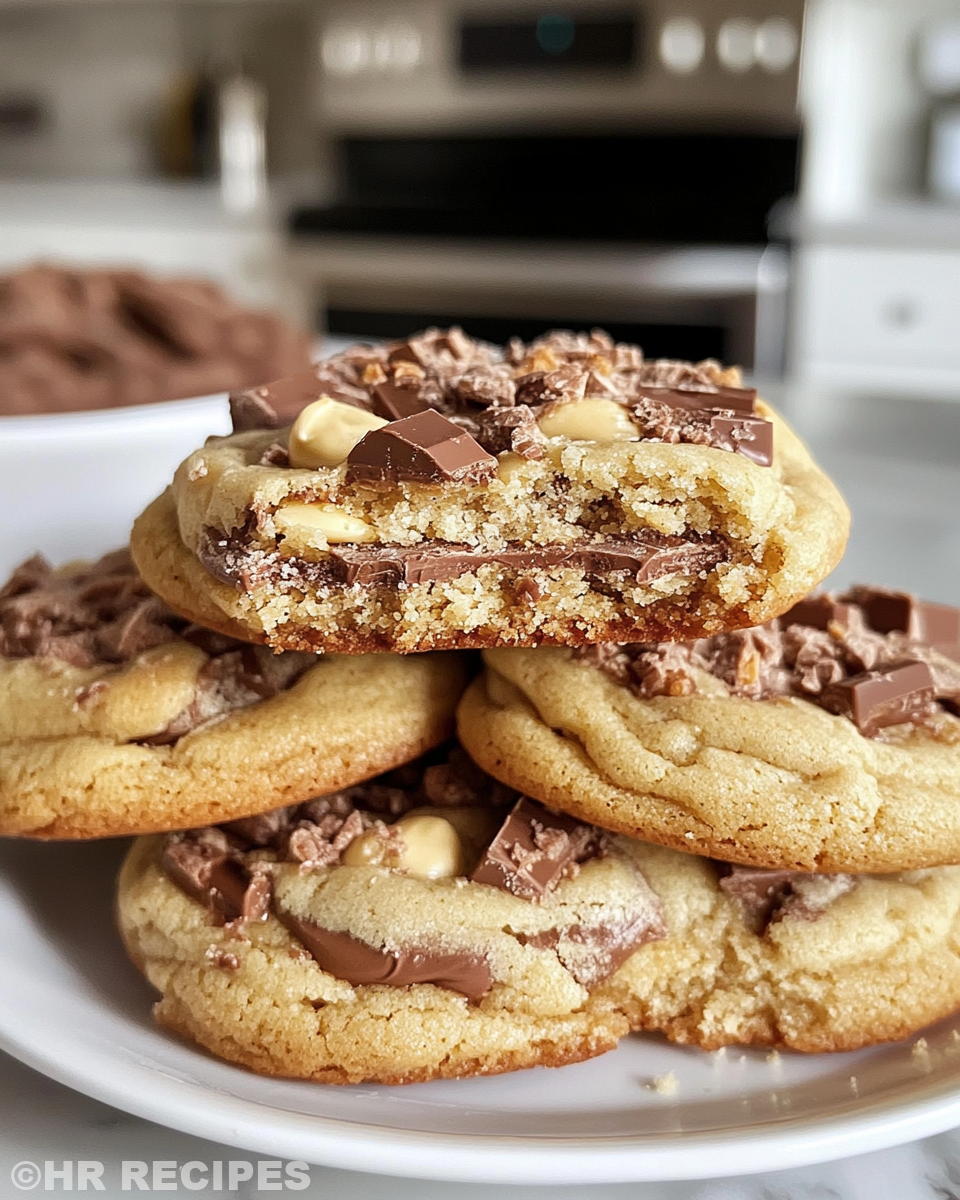
That First Bite Moment
You pick up a cookie and notice the way the chocolate topping shines just right, hinting at the melty caramel underneath. The cookie’s edges are just crisp enough to give you a nice little crunch.
When you bite in, you get that tender pull of a soft cookie mixed with chewy caramel stretching out for a second. The vanilla butter dough melts gently on your tongue while the chocolate makes you smile with each taste.
You realize this treat reminds you of all those simpler times but better cause you made it yourself, AND you got that little hiss of the pressure cooker as a soundtrack to your baking success. You gotta try it again soon!
How to Store This for Later
- Keep your cookies in an airtight container at room temperature for up to 3 days. This keeps the chocolate topping nice and smooth.
- If you want them longer, pop the container in the fridge. They’ll firm up a little but still taste great within a week.
- For super long storage, freeze them in an airtight bag, separated by parchment. When ready, thaw at room temp or warm a bit for that tender pull.
- You can also freeze the dough ahead of time rolled up and wrapped tight. When you’re ready, just slice and bake fresh. That way you dodge any rushing later.
Common Questions and Real Answers
- Can I skip the shortening in the chocolate topping? Technically yeah, but shortening helps with the smooth texture and shiny finish. Without it, chocolate might be a bit dull or thicker.
- Why use evaporated milk with the caramels? It thins out the caramel for easier spreading and keeps it gooey instead of hardening too fast.
- Can I use a regular oven only? Absolutely, the oven takes care of baking the cookies just like the recipe shows. The pressure cooker helps especially with melting layers and keeping cool surroundings.
- What’s a quick release and why’s it important here? Quick release means letting steam out fast from the pressure cooker valve. For cookies, this keeps moisture in check so dough doesn’t get soggy.
- Any tips for getting perfect cookie shapes? Keep the dough chilled before cutting and use sharp cutters or even a knife for rectangles. Work fast to keep dough from warming up too much.
- Could I add nuts or other bits? Sure thing! Chopped pecans or almonds mix well in dough or sprinkled on caramel. Just don’t overdo it to keep that tender pull feeling.
Looking for more great dessert ideas? Check out our Classic Crockpot Pierogi Casserole with Kielbasa for a comforting meal, or try Mozzarella Stuffed Rosemary Parmesan Soft Pretzels for a cheesy twist on your snack game. Also, the Easy Marinated Cheese Appetizer with Salami & Green Olives is perfect for when you want something simple, savory, and impressive.
Twix Cookies Pressure Cooker Recipe
Equipment
- 1 Mixing bowl for dough and melting layers
Ingredients
Main Ingredients
- 1 ½ cups Butter softened
- 1 cup Powdered sugar
- 1 ½ teaspoons Vanilla extract
- 3 cups All purpose flour
- ¼ teaspoon Salt
- 11 ounces Caramels melted with a bit of evaporated milk or cream
- 1 tablespoon Evaporated milk or cream
- 2 cups Milk chocolate chips melted for topping
- 2 teaspoons Shortening for glossy chocolate finish
Instructions
Instructions
- Preheat the oven to 350°F. Line a sheet pan with parchment paper or silicone mat.
- Cream butter and powdered sugar together until fluffy.
- Add vanilla, flour, and salt. Mix until a smooth dough forms.
- Wrap dough in plastic wrap and chill in freezer for 20 minutes.
- Roll dough to ½" thick and cut into rounds using 2 or 3-inch cutter.
- Place cookies on sheet and bake 12–13 minutes, until light golden at edges.
- Cool completely on rack.
- Melt caramels with evaporated milk in microwave at 45 second intervals. Stir until smooth.
- Spread spoonful of caramel over cookies and let them set, around 20 minutes.
- Melt chocolate chips and shortening together in microwave, stirring until smooth.
- Spread chocolate over the caramel layer of each cookie.
- Let chocolate firm up before serving or storing in airtight container.