The pressure builds and you start counting down minutes until you eat. It’s like every minute stretches longer as you wait for the valve hiss and the float valve to finally drop. You can almost smell that browned butter scent teasing your nose from across the kitchen.
And that moment when you crack the lid open and see the cookies fresh and soft, your heart kinda skips. You feel that little rush knowing a perfect batch is just ready to be devoured. It’s a rush that makes all the wait worth it.
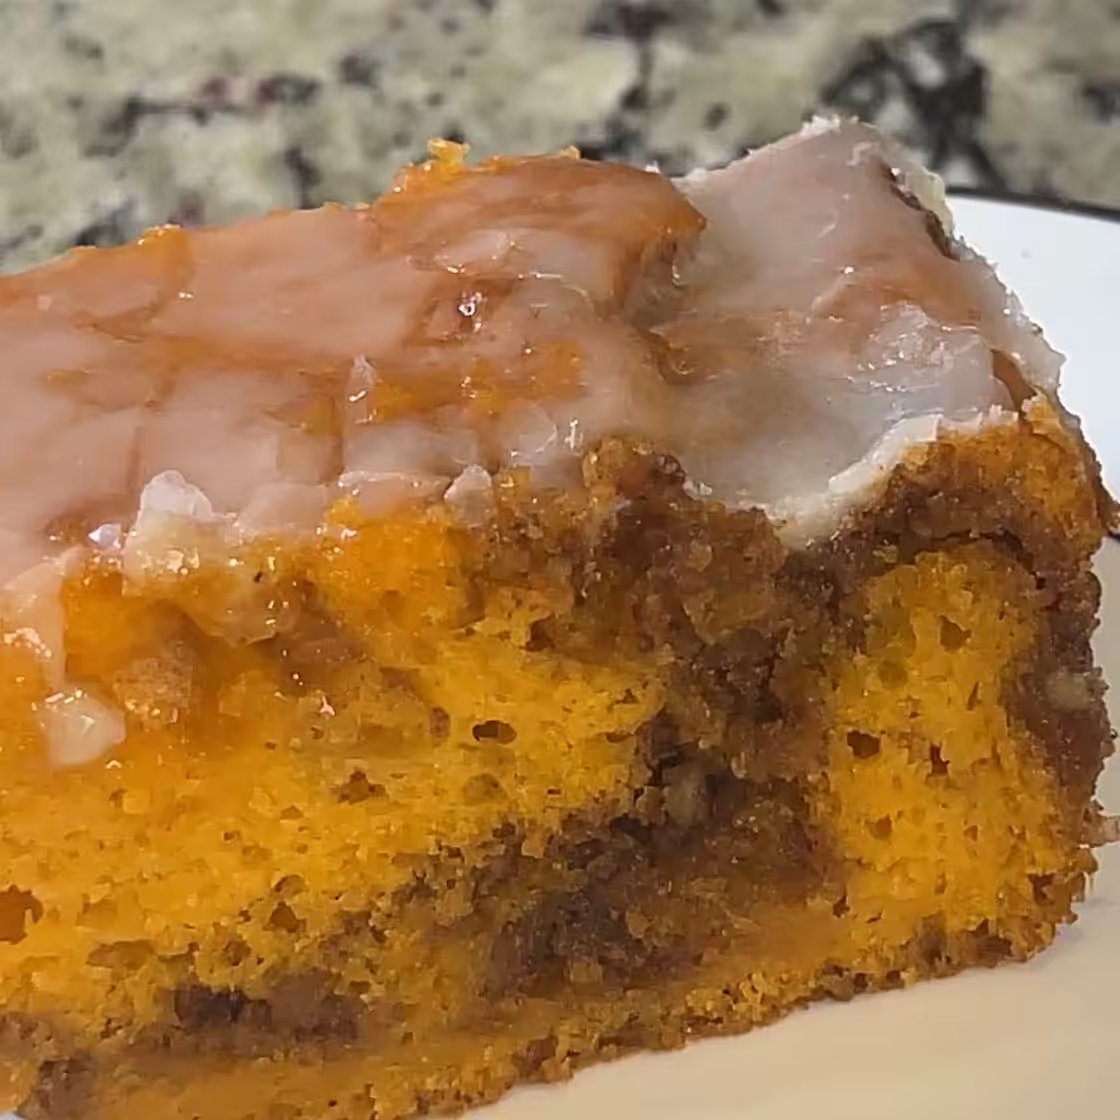
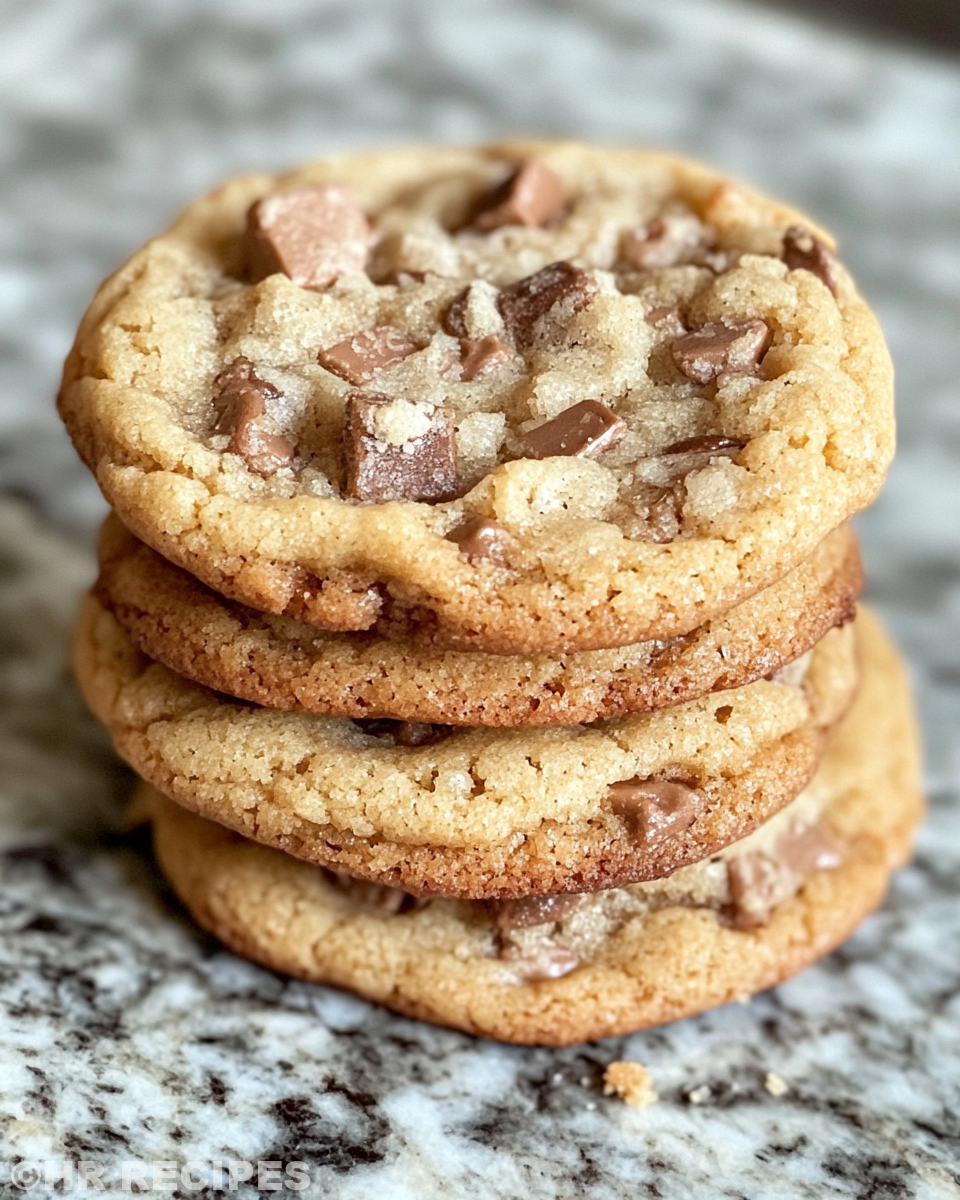
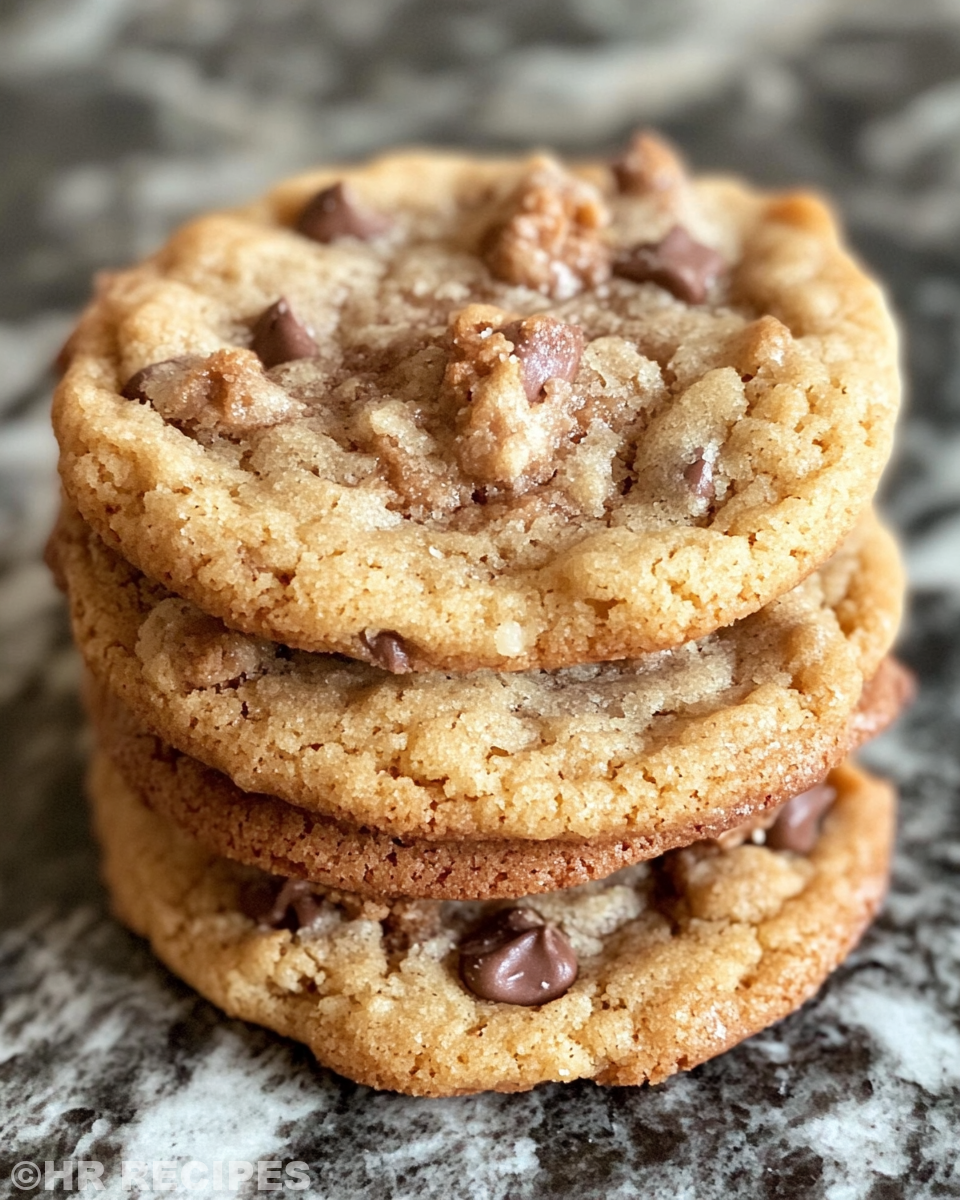
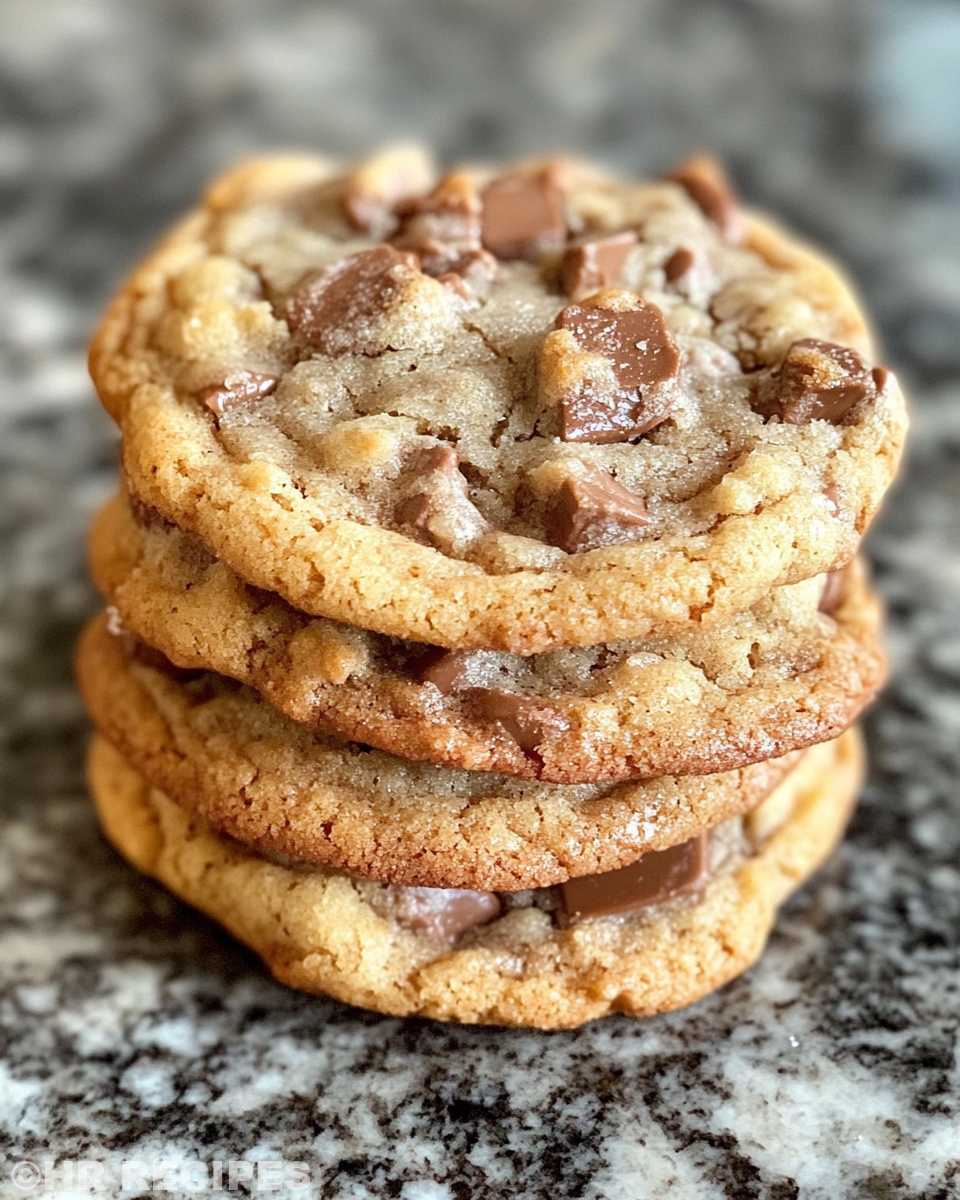
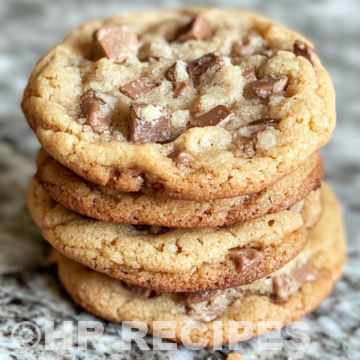
Sometimes you gotta admit, baking in a pressure cooker isn’t what you expect. But the way it traps heat and pressure makes these Browned Butter Toffee Chocolate Chip Cookies turn out buttery soft with crispy edges. You catch the hint of toffee melted chunks mingled with the rich chocolate chips, and you know this method works real good.
The Real Reasons You Will Love This Method
- You get super soft, chewy cookies every single time thanks to that sealed pressure environment.
- The browned butter flavor kinda gets locked in better with natural release, making cookies taste richer.
- No need to preheat a huge oven that heats up your whole place in summer.
- The floating valve and sealing ring keep all moisture in, so your toffee bits don’t dry out.
- You control your baking time better since the pressure cooker is super precise.
- Easy cleanup since you bake right in the pot or on parchment lined trays that fit inside.
Your Simple Ingredient Checklist
- 2 sticks unsalted butter (you gotta brown this yourself in a pan)
- ½ cup granulated sugar
- 1 cup dark brown sugar (lightly packed for that chewy texture)
- 1 ½ cups all-purpose flour
- 1 cup bread flour (gives those cookies extra bite)
- 1 teaspoon baking soda, ½ teaspoon baking powder, 1 teaspoon fine sea salt (the basics for rise and balance)
- 1 teaspoon instant espresso powder (optional but gives flavor a quick punch)
- 2 large eggs plus 1 egg yolk at room temp for richness
- 2 teaspoons vanilla for sweetness
- 10 ounces semisweet chocolate, chopped into rough chunks
- 1 cup toffee bits (homemade or store brand like Heath work great)
- Flaky sea salt for sprinkling on top (adds that great finish)
You see very simple stuff, but you gotta trust how browned butter changes the whole cookie game. It’s important to get those eggs at room temp or the dough won’t come together right. And don’t skip the espresso powder, it melts into the background flavor but boosts chocolate like crazy.
The Exact Process From Start to Finish
- Step 1: Melt your butter in a small pan over medium heat, keep stirring till it foams and turns rich golden brown. You gotta smell that nutty aroma then take it off heat and let cool a bit.
- Step 2: Mix that browned butter with granulated and brown sugars in a big bowl. Get it nice and smooth before beating in the eggs one at a time, then add vanilla.
- Step 3: Whisk together your flours, baking soda, baking powder, salt, and espresso powder separately. Slowly add this dry mix into the wet stuff, folding gently until just combined.
- Step 4: Fold in the chopped semisweet chocolate and toffee bits till they spread evenly in your cookie dough.
- Step 5: Scoop dough balls about 2 tablespoons each on parchment paper lined with baking sheets that fit your pressure cooker pot.
- Step 6: Add about 1 cup broth depth to the bottom of your pressure cooker, then place a trivet with handles in the pot. Put the baking trays on top of the trivet, seal the lid, and set to high pressure for 10 minutes. Let the pressure release naturally for about 10 more minutes before carefully opening the lid. Sprinkle flaky sea salt right away.
Smart Shortcuts for Busy Days
- You can brown your butter the night before and stick it in the fridge so you’re ready to mix dough quick.
- Use store-bought toffee bits to save chopping time but pick a brand with big chunks for better texture.
- Make dough balls in advance and freeze them on a baking sheet. When you wanna bake just pop ’em right in your pressure cooker.
- Use parchment paper to line trays to avoid scrubbing later. It works great in the pressure cooker setup too.
These tricks help when your days get wild and you still crave fresh cookie comforts without the hassle. You’ll be amazed how little effort it takes.
When You Finally Get to Eat
The first bite’s where you catch the toffee crunch against the buttery soft cookie. Your teeth sink into gooey chocolate pockets surrounded by that caramel-like nutty brown butter flavor. It’s kinda like a cozy hug in cookie form.
You spot the flaky salt crystals melting slowly on top, balancing sweet and salty perfectly. It makes each bite feel special and just the right kinda fancy.
The aroma kinda lingers even after a few cookies gone, filling your whole room with cozy warmth. It’s that scent that keeps you reaching for one more even when you said you wouldn’t.
The texture surprises you too, crispy edges giving way to chewy middles that stay soft for days thanks to pressure cooker moisture control. You feel like you pulled off something really amazing.
Making It Last All Week Long
- Room Temp Storage: Put cookies in an airtight container with a slice of bread to keep ’em soft. Change the bread daily so the moisture doesn’t dry out.
- Fridge Method: Use sealed containers to refrigerate. Cookies firm up but stay chewy and ready for quick snacks anytime.
- Freezer Trick: Freeze cookies tightly wrapped or in freezer bags. Thaw at room temp for best texture or lightly warm for fresh-from-oven feels.
Keeping ’em fresh takes some little tricks but totally possible to have them last all week. Pressure cooker makes them less dry so you got a better base to store from.
Common Questions and Real Answers
- Q: Can I skip browning the butter?
A: You really wanna do it if you want that deep nutty flavor that changes everything. It’s worth the extra step. - Q: What’s the best broth depth for pressure cooker?
A: About 1 cup works great. Too little and it might burn, too much and you lose crisp edges. - Q: Can I use regular chocolate chips instead of chopped?
A: Sure but chopped chocolate melts better and gives pockets of gooeyness instead of just little chips. - Q: Will natural release affect cookie texture?
A: Yes, natural release helps keep cookies soft and moist inside while letting edges crisp up nicely. - Q: How important is the sealing ring?
A: Super important because without a good seal you won’t get the right pressure and the cookies won’t bake evenly. - Q: Does instant espresso powder make a big difference?
A: It’s subtle but the espresso seriously boosts chocolate flavor and makes cookies taste richer without coffee taste.
Browned Butter Toffee Chocolate Chip Cookies in Your Pressure Cooker
Equipment
- 1 Mixing bowl Large
- 1 Pressure cooker With trivet and lid
- 1 Whisk
- 1 Rubber spatula
Ingredients
Cookie Dough Ingredients
- 2 sticks unsalted butter brown in a pan
- ½ cup granulated sugar
- 1 cup dark brown sugar lightly packed
- 1 ½ cups all-purpose flour
- 1 cup bread flour
- 1 teaspoon baking soda
- ½ teaspoon baking powder
- 1 teaspoon fine sea salt
- 1 teaspoon instant espresso powder optional
- 2 large eggs plus 1 egg yolk, at room temperature
- 2 teaspoon vanilla
- 10 oz semisweet chocolate chopped
- 1 cup toffee bits homemade or store brand
- flaky sea salt for sprinkling on top
Instructions
Baking Instructions
- Melt your butter in a pan over medium heat, stirring until foamy and golden brown. Cool slightly.
- Mix browned butter with both sugars in a large bowl until smooth. Beat in eggs one at a time, then add vanilla.
- In a separate bowl, whisk flours, baking soda, baking powder, salt, and espresso powder.
- Gently fold dry ingredients into the wet mixture until just combined.
- Fold in chopped chocolate and toffee bits evenly.
- Form 2-tablespoon sized dough balls onto parchment-lined trays that fit in your pressure cooker.
- Add 1 cup broth to the pressure cooker, place a trivet inside, and stack trays on top.
- Seal the lid, set to high pressure for 10 minutes. Allow natural release for 10 minutes.
- Carefully open lid and sprinkle cookies with flaky sea salt.
- Let cool slightly before serving warm for best texture.