That first hiss from the cooker tells you something good is happening. You feel that little burst of steam push the float valve up and you know the sealing ring is doing its job tight and right. It’s kinda like a signal that a good meal is on the way, even if you’re just chillin’ before the dinner rush.
You spot the steam escaping and you’re reminded about how easy it is to let the pressure cooker do all the heavy lifting. It’s like the cooker’s whispering promises of tender chicken and melty cheese filling up your kitchen. You gotta love those moments where you just set it and forget it till the timer buzzes.
You recall the last time you messed with this recipe. The smells swirling around the kitchen the minute you opened the lid? That’s the payoff for waiting. All that pressure releasing slows down just enough so you can catch a glimpse of what’s about to become your new favorite taco filling.
The Real Reasons You Will Love This Method
- You get super tender chicken that practically falls apart without standing over the stove.
- The sealing ring traps all those bold flavors so your kitchen’s filled with goodness before you even start eating.
- The quick release and natural release tricks save you from overcooking or drying out the chicken.
- The float valve is a great reminder you’re cooking safely and pressure’s locked in tight.
- You don’t gotta fuss with fancy skills; just toss stuff in and let the cooker do the work.
- This method keeps your kitchen cool cause no oven heating up the whole room—perfect for summer time.
What Goes Into the Pot Today
- 2 pounds boneless, skinless chicken breasts. These are your main star for tender meat.
- 1 envelope taco seasoning. This adds that classic spicy, savory vibe you want.
- 1 can Rotel diced tomatoes and green chilies. Can swap this for your fave salsa if you don’t have Rotel handy.
- Half a cup chicken broth. This one’s optional but helps keep the chicken juicy and adds some flavor oomph.
- 1 4-ounce can mild diced green chiles. Optional too, but great if you like the extra mild heat and texture.
- 1 cup salsa con queso. This is what makes the whole thing creamy and cheesy that you’re gonna love.
- Taco shells, soft or hard, whatever speaks to your taco soul.
- Your fave taco fixins: lettuce, tomatoes, sour cream, shredded cheese, or whatever else makes your tacos pop.
The Full Pressure Cooker Journey
First, lay the chicken breasts flat at the bottom of your crockpot or pressure cooker insert. You wanna build that base right.
Next, sprinkle the taco seasoning over them evenly. You can’t skip this step cause that seasoning gives you the real taco flavor punch.
Pour on the Rotel tomatoes and green chilies, add the chicken broth if you decided to use it, then drop in that can of mild green chiles if you went for it. Make sure everything’s spread out kinda evenly.
Seal the cooker lid with the sealing ring in place and lock it down. Check that float valve's down so your cooker is sealed tight and ready to pressurize.
Set it on low for 6 to 7 hours or if you’re in a rush, go high for 3 to 4 hours. You’ll know it’s done when the chicken’s tender and shreds up easy with two forks.
Carefully do a slow release or natural release to let the pressure come down without splashing or drying the meat out. When lid opens, fish out the chicken and shred it right in the pot using two forks.
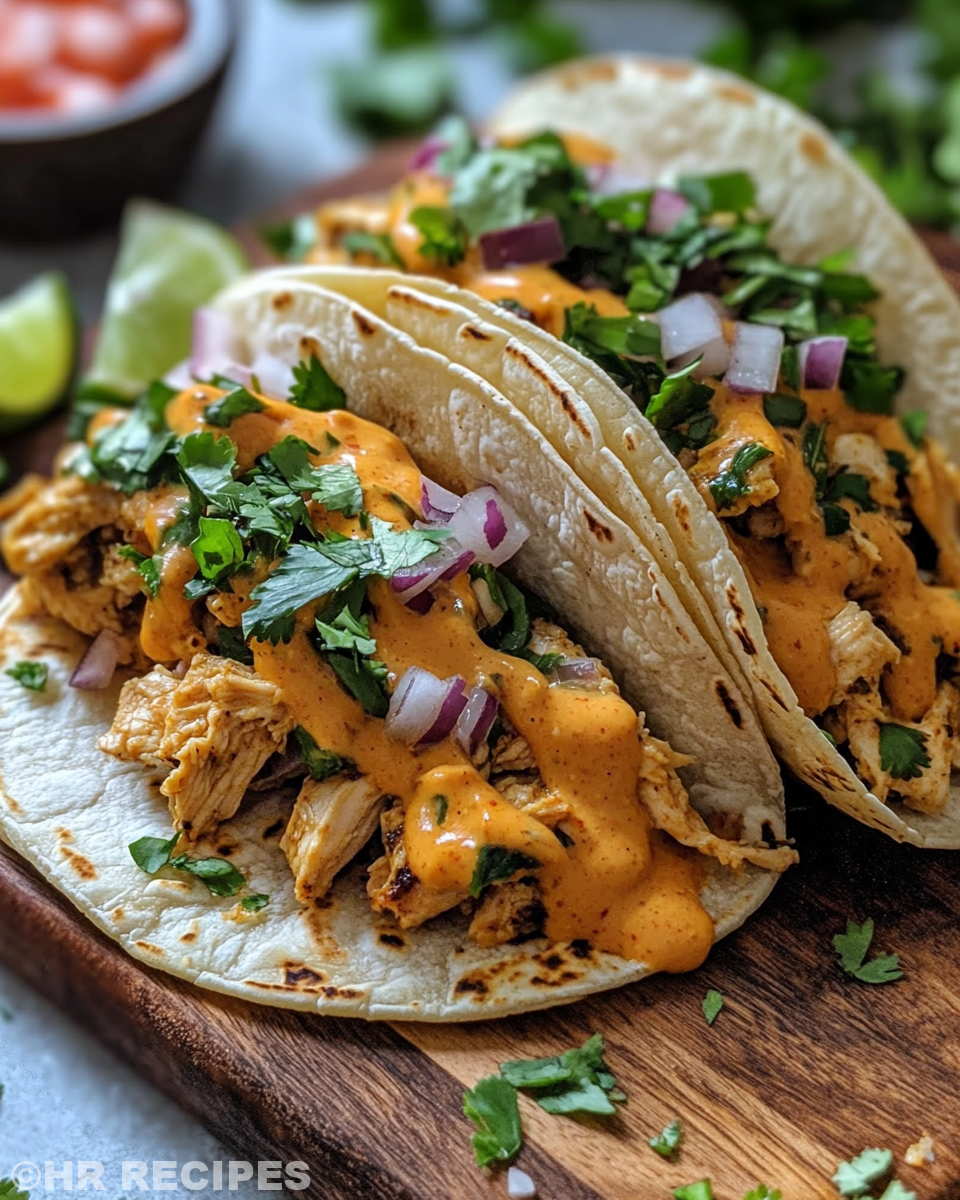
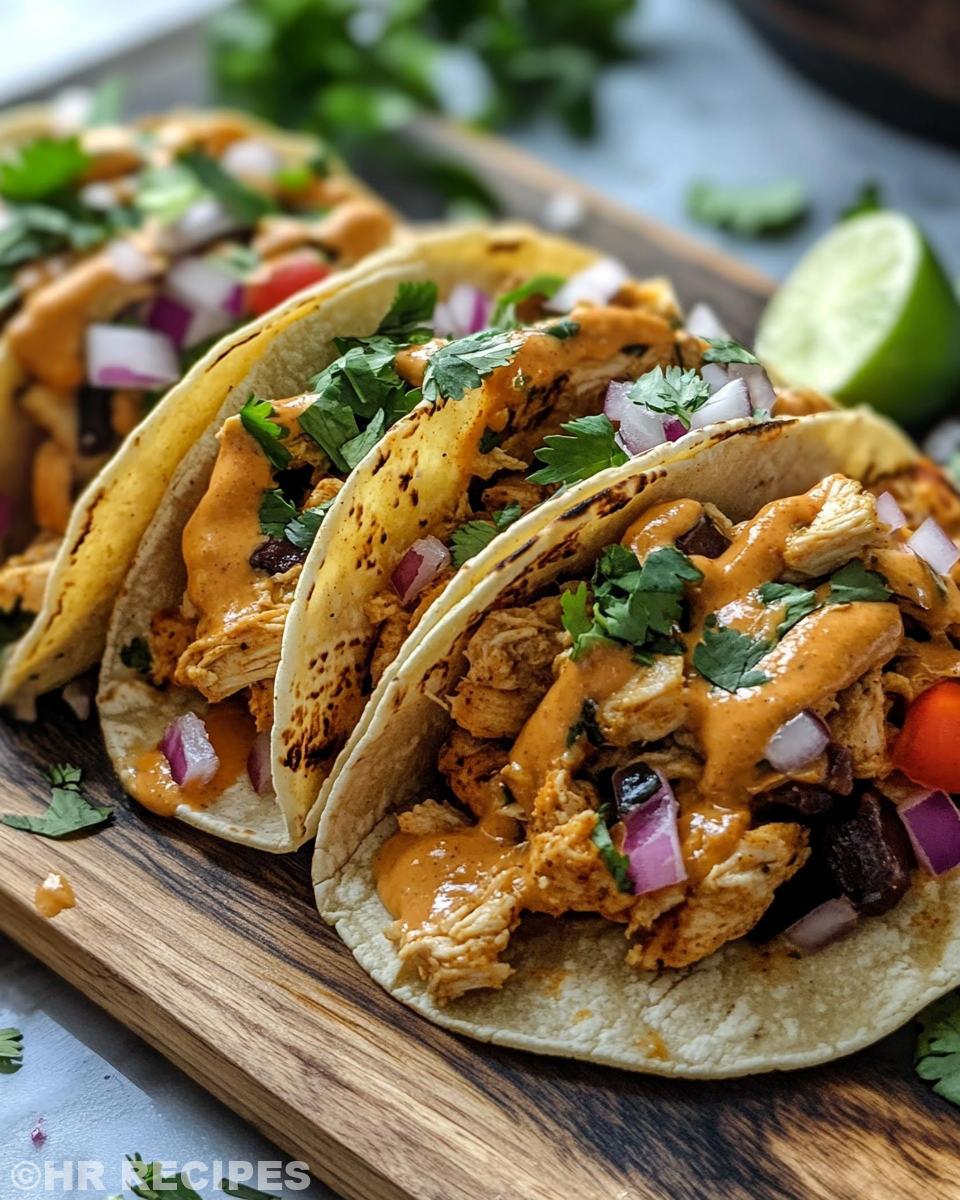
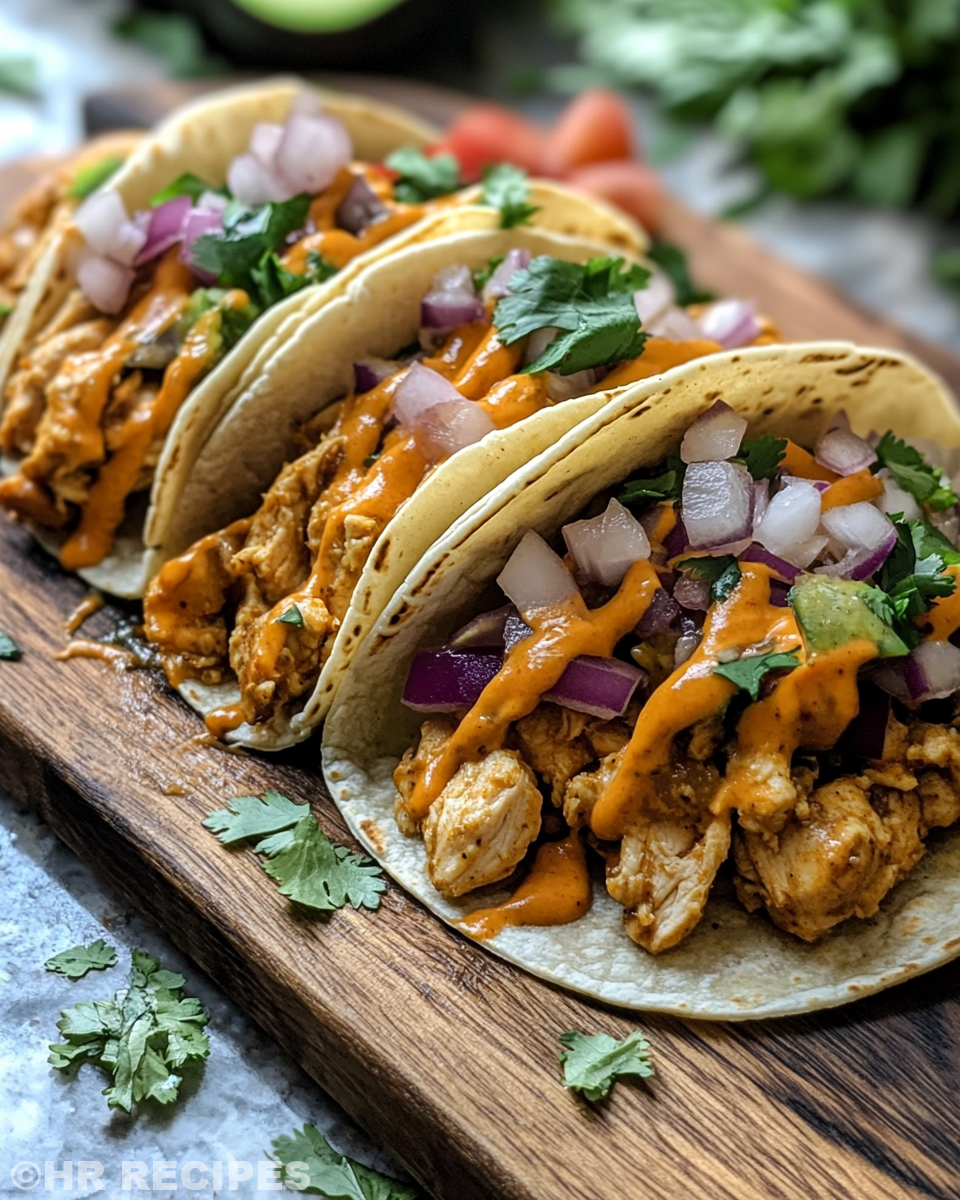
Finally, stir in the salsa con queso into shredded chicken, mix good, and let it warm through on low for 15 minutes. Then, scoop that cheesy chicken into your taco shells and top as you like.
Smart Shortcuts for Busy Days
- Grab pre-shredded rotisserie chicken to toss in and skip the slow cook totally.
- Use store-bought taco seasoning packets so you don’t gotta mix spices yourself.
- Swap out the Rotel for your favorite jarred salsa to save time and still get bold flavors.
- Use frozen chicken breasts straight from the freezer; just add 10 extra minutes cook time with a natural release.
- Skip the slow release and do a quick release right after cooking if you’re running way behind on time, just watch for steam.
The Flavor Experience Waiting for You
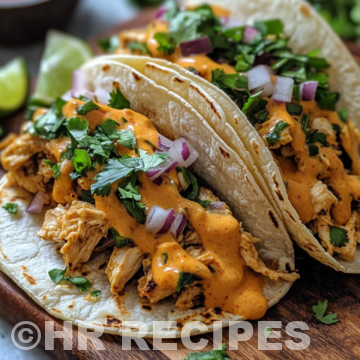
When you first dig into these tacos, you’ll notice the chicken is crazy tender. The salsa and queso melted together gives it this creamy texture that sticks just right to each bite.
The taco seasoning sneaks in with its familiar spices that pair so well with the tang of those diced tomatoes and chilies. It’s like a fiesta of flavors in every mouthful.
The salsa con queso smooths out the heat just enough so you don’t get overwhelmed, but still feel that little kick keeping you coming back.
Finally, the fresh fixins add that crunch and freshness that balance all the soft, cheesy goodness. Lettuce crunch, tomato zing, sour cream cool—it all works together beautifully on your fork or taco.
How to Store This for Later
If you got leftovers (which you probably will), first up put the chicken and queso mix in an airtight container. It keeps well in the fridge for up to 3 days.
For longer storage, freeze the shredded chicken with queso. Use a freezer-safe bag or container and squeeze out as much air as you can before sealing. It’ll keep good for about 2 months.
When you wanna eat it again, thaw in the fridge overnight and warm up in the microwave or on the stove with a little extra salsa or broth to loosen it up. Reheat gently so you don’t dry out the chicken.
Everything Else You Wondered About
- Can I use thighs instead of breasts?
You sure can. Thighs stay juicy and work great in the crockpot. Just adjust cooking time if needed. - Do I have to use Rotel?
Nope. Salsa works just fine and adds your own twist on the flavor. - What if I want spicier tacos?
Add jalapeños or use a hotter salsa con queso. A bit of hot sauce at the end also helps. - What does the sealing ring do exactly?
It keeps the cooker airtight so pressure builds up and cooks the chicken nice and tender. - Is it okay to quick release right away?
You can, but be careful cause hot steam comes out fast. Sometimes a natural release gives better tenderness. - How to make sure the chicken is cooked through?
Your chicken should shred easily and reach an internal temp of 165°F. The meat’s no longer pink.
For more easy comforting recipes, you might also enjoy our Classic Crockpot Pierogi Casserole with Kielbasa, Cheesy Kielbasa Hashbrown Casserole Dump Meal, and the Mozzarella Stuffed Rosemary Parmesan Soft Pretzels, all perfect for busy days and family dinners.
Crockpot Queso Chicken Tacos
Equipment
- 1 Mixing bowl Large
Ingredients
Main ingredients
- 2 pounds boneless, skinless chicken breasts main star for tender meat
- 1 envelope taco seasoning classic spicy, savory vibe
- 1 can Rotel diced tomatoes and green chilies can be swapped with your favorite salsa
- 0.5 cup chicken broth optional; helps keep chicken juicy and flavorful
- 1 4-ounce can mild diced green chiles optional; adds extra mild heat
- 1 cup salsa con queso makes the dish creamy and cheesy
- taco shells soft or hard, your preference
- your favorite taco fixins lettuce, tomatoes, sour cream, shredded cheese, etc.
Instructions
Instructions
- Lay the chicken breasts flat at the bottom of your crockpot or pressure cooker insert.
- Sprinkle the taco seasoning evenly over the chicken.
- Pour in Rotel tomatoes and green chilies, chicken broth (if using), and mild green chiles (optional).
- Seal the cooker lid with the sealing ring in place and lock it down. Ensure the float valve is down.
- Cook on low for 6 to 7 hours or high for 3 to 4 hours until chicken is tender and easy to shred.
- Do a slow release or natural release to let pressure reduce safely. Open lid.
- Shred the chicken directly in the pot using two forks.
- Stir in salsa con queso until well mixed and let it heat through for 15 minutes on low. Serve in taco shells and add fixins.