That first hiss from the cooker tells you something good is happening. You just gotta pause for a sec and listen. That sound means the sealing ring has done its job and the float valve's ready to keep pressure tight for your cookies.
Inside, the heat builds up and the steam cues tell you the tender pull on those cookies is coming soon. You sense the warm smell sneaking out and you’re already excited even before the cooker slowly releases pressure.
It really is kinda thrilling how pressure cooking flips normal baking on its head. You don’t wait forever. Instead, you get quick, amazing results that still feel homey, soft, and just right every time.
What Makes Pressure Cooking Win Every Round
- Speedy cooking that cuts time without drying your treats out.
- Even heat distribution from steam keeps cookies soft through and through.
- Less chance of burning cause temperature stays consistent with pressure.
- Sealing ring and float valve teamwork prevents any pressure leaks, so you can trust the process.
- Slow release option lets you gently cool your goodies so textures stay perfect.
Your Simple Ingredient Checklist
You’re gonna need some basics to get started. Grab ½ cup unsalted butter that’s softened just right. That softness helps your cookies come out creamy and tender.
Light brown sugar is next, a full cup to bring the right kinda sweetness and chew. One large egg binds everything nicely, and 2 teaspoons vanilla extract gives that warm, sweet aroma.
Don’t forget the star, ¾ cup creamy peanut butter. It’s gotta be creamy so the texture stays smooth inside your soft cookie base. For your dry stuff: 1 ½ cups all-purpose flour and ¾ teaspoon baking soda to lift things just enough.
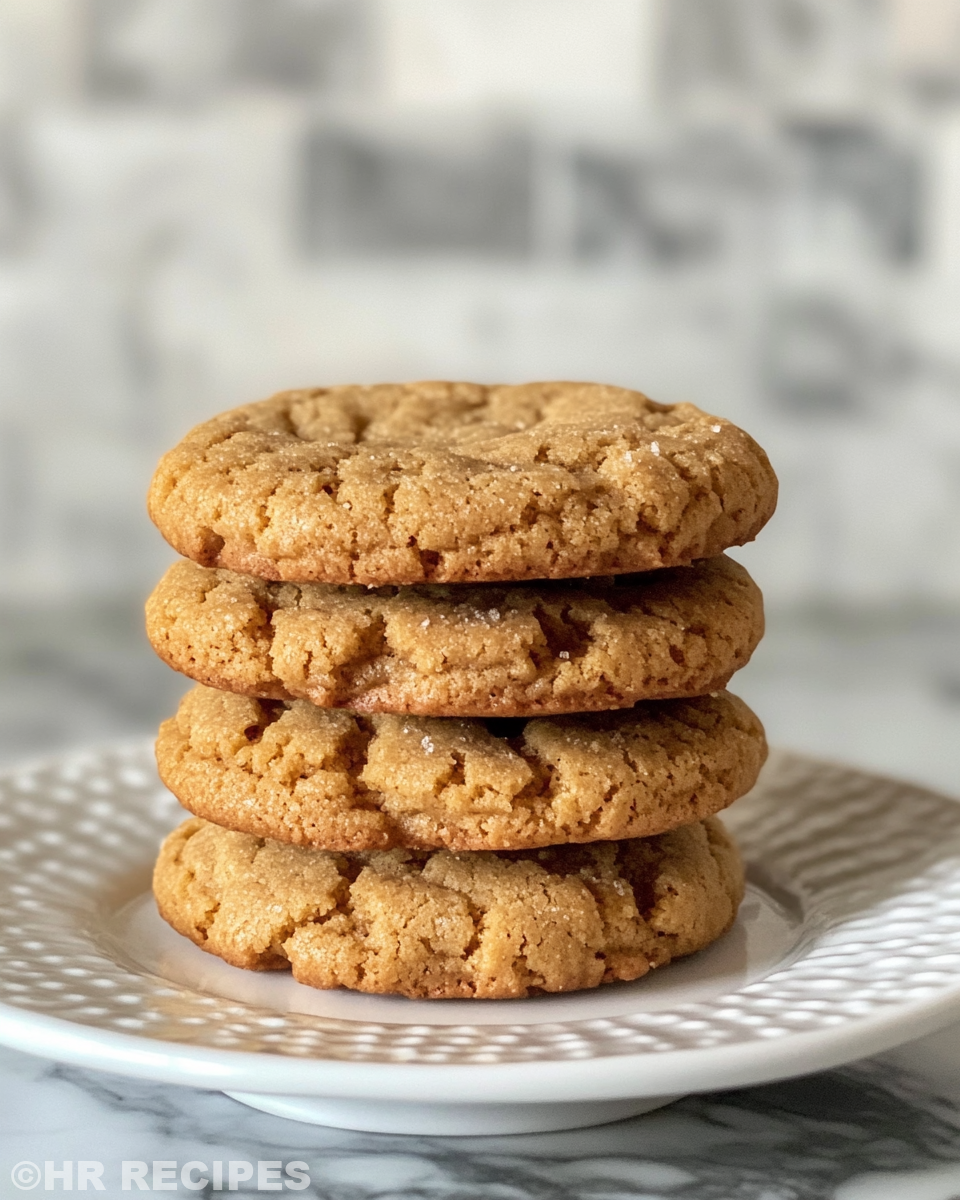
If you like a little sparkle on top, grab ½ cup granulated sugar for rolling your dough balls in before baking.
Your Complete Cooking Timeline
Step one, preheat your oven to 350°F (175°C) if you plan on doing the final bake outside the pressure cooker. Line some baking sheets with parchment paper so cookies don’t stick.
In a big bowl, cream your softened butter and light brown sugar together until they’re light and fluffy. This takes a few minutes, but it makes all the difference in softness.
Next, mix in your egg and vanilla extract until everything gets nicely combined. Stir in that creamy peanut butter until smooth, no lumps!
In another bowl, whisk your flour and baking soda together for even mixing. Slowly add those dry ingredients to the wet, but just mix until combined. Don’t overdo it or you’ll lose that tender pull.
Roll the dough into 1-inch balls, then if you want, roll ‘em in granulated sugar. Place them on the lined sheets, leaving about 2 inches between each one. Press down gently with a fork in a crisscross pattern.
Bake for 9-11 minutes or until edges lightly golden. Timing’s key here so you don’t overbake. Let cookies cool on the sheet for 5 minutes before moving to a wire rack. If using the pressure cooker for soft textures, set it up, watch those steam cues, then slow release pressure once the cook time is done.
Time Savers That Actually Work
You don’t gotta spend hours on this. One shortcut is softening the butter in the microwave for about 20 seconds. Just don’t melt it, you want it soft but still holding shape.
Using creamy peanut butter over chunky speeds up mixing and gives that perfect smooth chew without bits slowing you down.
Finally, roll dough balls ahead of time and freeze ‘em. When you’re ready, just bake or pressure cook straight from frozen. Gets you fresh cookies fast when you’re short on time.
When You Finally Get to Eat
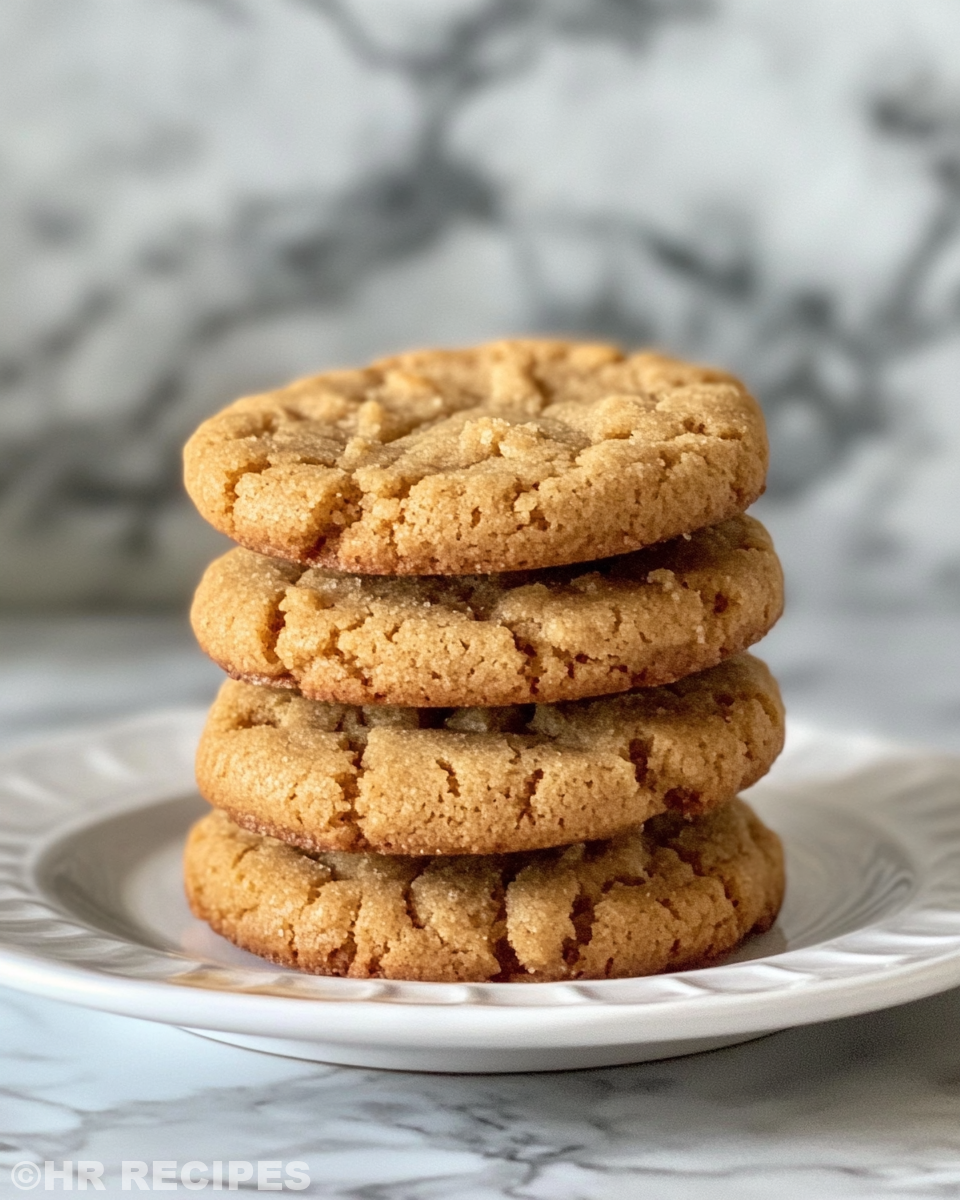
The moment you bite into these cookies, you feel that soft, chewy texture that kinda melts in your mouth. The peanut butter flavor is rich but not overpowering.
Each bite has that tender pull you expect, moist and just a little dense. It’s like a warm hug from your own kitchen when you needed it most.
You notice the gentle sweetness is balanced, and the little crispy edges give you a tiny contrast that you’ll crave the next time.
Overall, these cookies make every snack time feel special without fuss. Perfect for sharing or just sneaking a couple when you think no one’s watching.
Smart Storage That Actually Works
Once your peanut butter cookies cool completely, store them in an airtight container. This keeps the tender pull just right and stops drying out.
If you wanna keep ‘em longer, pop the container in the fridge. Just let them come to room temp before eating so they soften back up.
For freezer storage, lay cookies flat on a tray first and freeze until firm. Then stack with parchment paper between layers in a sealed bag or container. This way they don’t stick or crumble.
If you’re planning to store dough balls instead, wrap them tight in plastic wrap and freeze. Thaw in fridge overnight next time you wanna bake or pressure cook a fresh batch.
Your Most Asked Questions Answered
- Can I use crunchy peanut butter? You can, but the cookies won’t be as smooth and might have a different texture. Creamy peanut butter works best for that soft chew.
- What’s slow release and why’s it important here? Slow release means letting the pressure cooker cool down before opening. It helps avoid sudden changes that could dry your cookies or mess up their texture.
- Why roll the dough in sugar before baking? Rolling the dough in granulated sugar gives a little crunch and a pretty sparkle on top. It's optional but worth it if you want a fun texture twist.
- Do I really need the sealing ring and float valve? Yep, those parts keep your pressure cooker airtight and safe. Broken or missing ones might let steam escape and mess your cooking time.
- Can I skip the final oven bake? You can try finishing them just in the pressure cooker, but the oven crisp-up adds a nicer edge on your cookies. It's your call depending on how soft or firm you want 'em.
- How do I know when to stop baking? When edges turn just a tiny golden, that’s the perfect time. Overbake and the soft chewy magic fades fast.
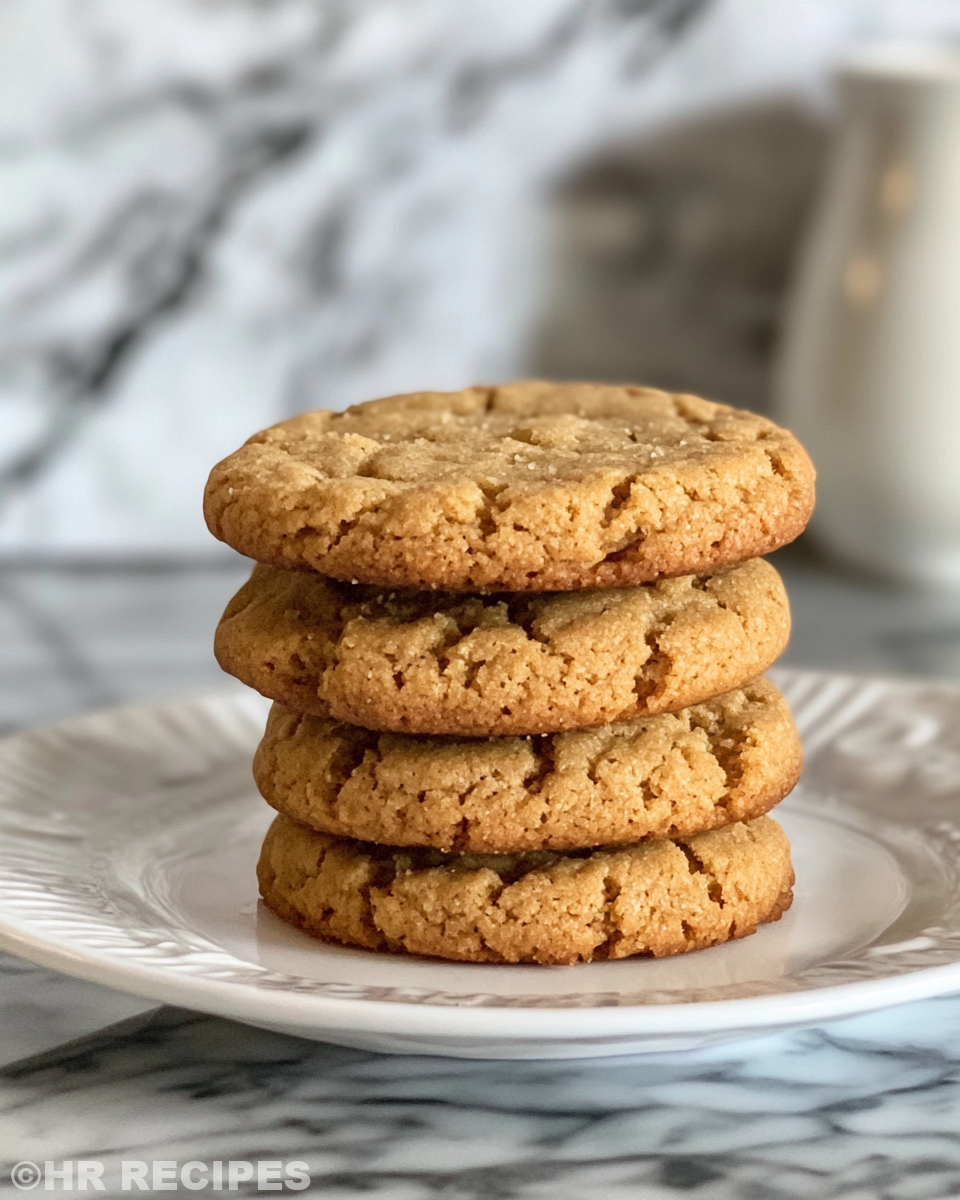
The BEST Soft and Chewy Peanut Butter Cookies
Equipment
- 1 Mixing bowl large
Ingredients
Main ingredients
- ½ cup Unsalted butter softened
- 1 cup Light brown sugar
- 1 Large egg
- 2 teaspoon Vanilla extract
- ¾ cup Creamy peanut butter
- 1 ½ cups All-purpose flour
- ¾ teaspoon Baking soda
- ½ cup Granulated sugar for rolling, optional
Instructions
Instructions
- Preheat oven to 350°F (175°C) if baking. Line baking sheets with parchment paper.
- Cream softened butter and light brown sugar together until light and fluffy.
- Mix in egg and vanilla extract until fully combined.
- Stir in creamy peanut butter until mixture is smooth.
- In a separate bowl, whisk together flour and baking soda.
- Gradually add dry ingredients to wet ingredients and mix until combined. Do not overmix.
- Roll dough into 1-inch balls. If desired, roll in granulated sugar.
- Place on lined baking sheets about 2 inches apart. Gently press with a fork in a crisscross pattern.
- Bake for 9-11 minutes until edges are lightly golden. Do not overbake.
- Cool on baking sheet for 5 minutes, then transfer to wire rack.
- For pressure cooker: Cook, monitor steam, and slow-release pressure when done.