Steam curls up from the valve and your stomach starts talking back. You notice that warm smell sneaking through the kitchen, tickling your nose like a gentle reminder that something sweet is about to happen. It’s kinda dang good when you’re waiting for cookies but wanna keep things quick and easy.

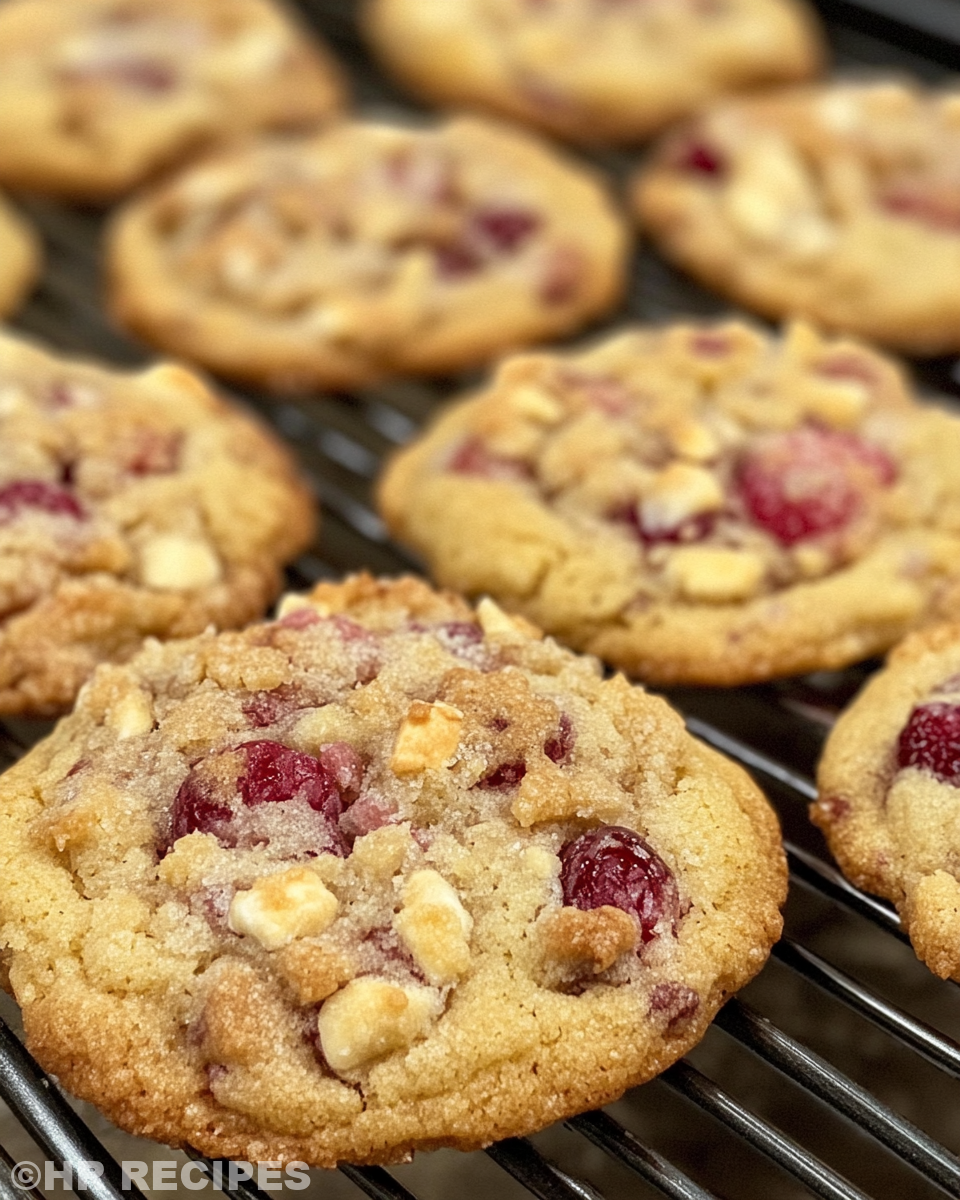
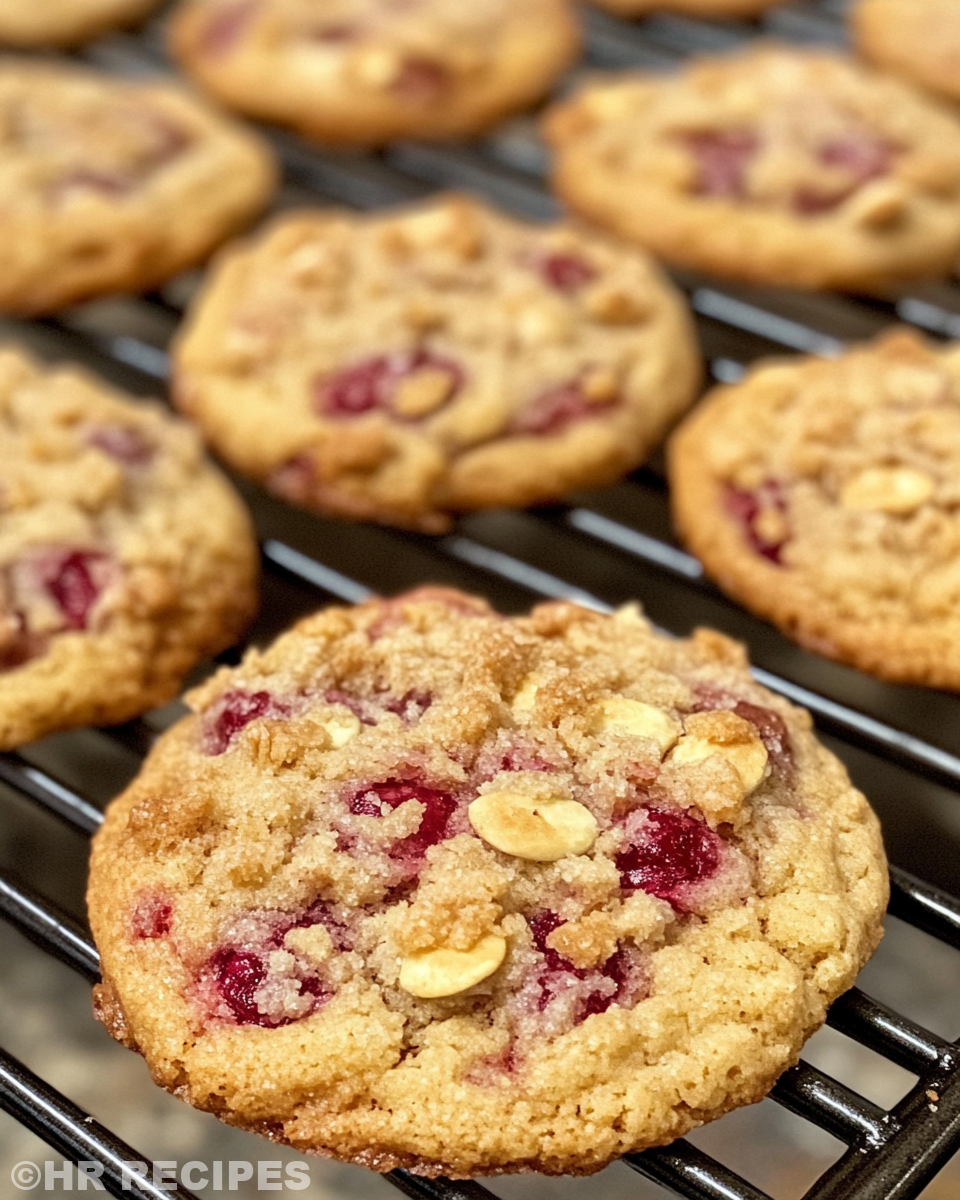
You recall the crisp sound of a timer and the soft padding of dough under your fingertips. This isn’t just any cookie moment. It’s raspberry crumble cookies made better than any you’d grab from Costco. With the jam peeking through a tender crumble, this recipe gives comfort you didn’t know you needed.
As the pressure cooker starts to build steam and the float valve rises, you’re already dreaming about that first bite. You gotta love the sealing ring doing its job, keeping all that moisture in while the cookie dough cooks to perfect softness. The quick release makes it easy to get to your treat without waiting forever.
The Real Reasons You Will Love This Method
- Cookies bake evenly with moist heat from the pressure cooker which keeps edges tender, not burnt.
- This method speeds up the whole baking process and saves you from heating up the whole kitchen.
- Quick release means you don’t gotta worry about soggy jam or overcooked cookie cores.
- You use your sealing ring to trap flavors so each bite bursts with raspberry goodness.
- The float valve tells you when pressure is right so you get consistent cookie texture every time.
- Easy cleanup since you bail on a bunch of pans and only use your pressure cooker and a baking sheet.
The Complete Shopping Rundown
First up is your butter. Make sure it’s soft but not melted, this helps your dough come together just right without getting greasy. You can’t skip the granulated sugar and powdered sugar either—they work together making a nice crumb and that sweet snap.
Grab some vanilla or almond extract, if you wanna jazz it up, but if not, the recipe works just as well plain. Next, your all-purpose flour needs to be weighed out carefully, cause you don't want your dough too stiff or too crumbly. A little pinch of salt brings out all those flavors and balances the sweetness.
Last but definitely not least, get yourself a good raspberry jam. This is the heart of your cookie and what makes it pop. You’ll scoop just right amount to get that perfect gooey center.
So your list looks like this:
- ½ cup unsalted butter, softened to room temp
- 2 tablespoons granulated sugar
- 3 tablespoons powdered sugar
- ¼ teaspoon vanilla extract (optional)
- ¼ teaspoon almond extract (optional)
- 1⅓ cup all-purpose flour (weighed for best results)
- ⅛ teaspoon salt
- ⅓ cup raspberry jam
The Exact Process From Start to Finish
Step one, get your oven preheated to 350°F and line a baking sheet with parchment paper. This keeps your cookies from sticking and makes cleanup way easier. While your oven warms, you can get cracking on your dough.
Step two is mixing. In a bowl, cream together that softened butter with granulated sugar and powdered sugar until the mixture's smooth and kinda light. This is where you start seeing that cookie base come alive. Add vanilla and almond extract if you’re feeling fancy.
Step three, toss in your all-purpose flour and salt. Mix it until everything comes together into a soft dough. It’ll be just right when you can roll it without it crashing apart or sticking too much. If it’s too crumbly, a tiny splash of milk can save the day.
Step four, scoop about a tablespoon of dough and roll it into a ball. Place each one on your lined baking sheet and gently press down so it’s a little flat but not bruised. Then make a small well in the center of each cookie with your thumb or back of a spoon.
Step five, fill those little wells up with about a half teaspoon of raspberry jam each. Don’t overfill cause you want that jam to stay put but still ooze out a bit while baking. Finally crumble a bit of extra dough over the jam like a cozy blanket.
Step six is baking. Pop your tray in the oven and bake for 12 to 15 minutes. You’re lookin for edges turning just golden but the jam staying shiny and soft. Once baked, let ’em cool for 5 minutes on the sheet before shifting to a wire rack so they finish firming up.
Quick Tricks That Save Your Time
- Soften butter by cutting it into small cubes and leaving it out for 20 minutes. Saves a lotta waiting.
- Use a kitchen scale for your flour to get that cookie dough perfect every time.
- Dollop jam into small ice cube trays beforehand, then just pop out perfect portions when you bake.
- Lining your baking sheet with parchment paper means no scrubbing later.
- Use quick release on your pressure cooker right away so the cookies don’t overcook after that pressure build.
The Flavor Experience Waiting for You
Each bite melts kinda soft with the buttery crumble giving way to tart raspberry jam that wakes up your tongue. You sense the subtle hints of vanilla or almond if you chose to add ’em, making the cookie feel a bit fancier than your average treat.
The crumble topping adds a gentle crunch that contrasts with the chewy dough beneath. It’s that mix of textures that really hooks you, the bits of jam shining like little jewels inside.
The sweetness is never overwhelming but balanced just right to keep you coming back for more. And the slight saltiness? It’s a total game changer, cutting through the sugary parts and making every mouthful a happy dance.
It’s the kind of cookie you can’t stop thinking about, the kind that makes you wanna whip up another batch before these are all gone.
Smart Storage That Actually Works
Once your cookies cool, store ’em in an airtight container to keep that crumble from goin soft. You gotta make sure no air sneaks in or they’ll get sad real quick.
If you wanna stash them longer, freeze in a zip-top bag with parchment in between layers. When you’re ready just thaw at room temp or do a quick warm up in your pressure cooker using a steam rack.
For a day or two, you can leave cookies out on the counter covered loosely with foil, but don’t leave ’em too long or they dry out.
Always keep your sealing ring on the pressure cooker clean when using for desserts — mixes with crumbs can mess with the float valve and pressure build.
What People Always Ask Me
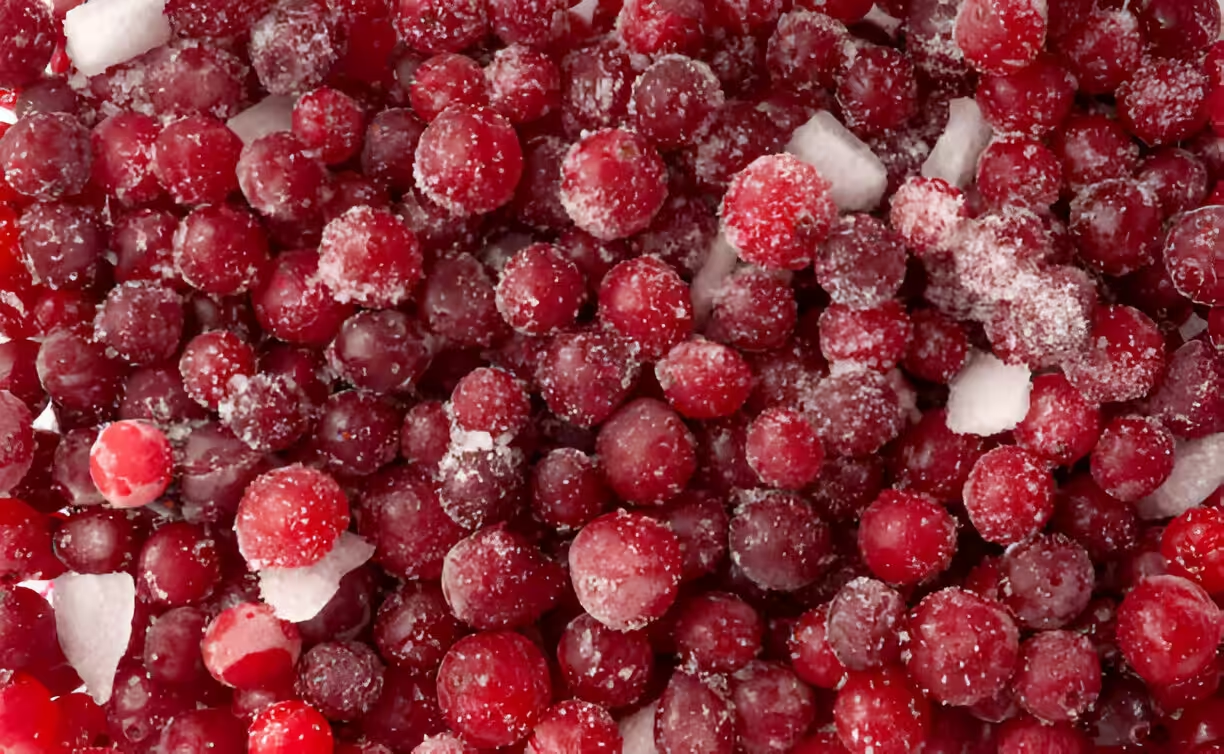
- Can I use frozen raspberry jam? Sure, just let it thaw a bit so it scoops easier and won’t cool your dough down.
- What if my dough is too sticky? Throw in a little extra flour, just a teaspoon at a time so you don’t overdo it.
- Can I swap almond extract for something else? Yeah, a bit of lemon zest or orange extract works cool too.
- How do I know when pressure cooker’s ready? Wait for the float valve to pop up and steady before setting timer to bake.
- Can I double the recipe? You can, just bake in batches to keep cookies properly spaced for even cooking.
- Why quick release over slow release? Quick release stops cooking right away so your jam stays nice and fresh, slow release makes it mushy.
Easy Raspberry Crumble Cookies (Better than Costco)
Equipment
- 1 Mixing bowl
- 1 Electric mixer recommended
- 1 Wire cooling rack
- 1 Baking sheet lined with parchment paper
Ingredients
Cookie Base and Filling
- 0.5 cup unsalted butter softened to room temperature
- 2 tablespoons granulated sugar
- 3 tablespoons powdered sugar
- 0.25 teaspoon vanilla extract optional
- 0.25 teaspoon almond extract optional
- 1.33 cup all-purpose flour weighed for best results
- 0.125 teaspoon salt
- 0.33 cup raspberry jam
Instructions
Instructions
- Preheat your oven to 350°F and line a baking sheet with parchment paper. This keeps your cookies from sticking and makes cleanup way easier.
- In a bowl, cream together the softened butter with granulated and powdered sugar until smooth and light. Add vanilla and almond extracts, if using.
- Add all-purpose flour and salt. Mix until the dough comes together. If crumbly, add a tiny splash of milk.
- Roll about a tablespoon of dough into a ball and press gently onto lined baking sheet until slightly flat.
- Create a small well in the center of each cookie using your thumb or the back of a spoon.
- Fill each well with about 0.5 teaspoon of raspberry jam. Don’t overfill.
- Crumble a small amount of extra dough over the top of the jam.
- Bake the cookies for 12 to 15 minutes until edges are just golden.
- Let cookies cool for 5 minutes on baking sheet and then transfer to a wire rack.
- Once completely cool, store in airtight container or freeze in a zip-top bag with parchment between layers.