
That first hiss from the cooker tells you something good is happening. You watch as that sealing ring tightens, locking in all the steam and flavors. It’s kinda like the start of a little adventure right in your kitchen. You catch that smell as pressure builds, and you know dang well the wait is gonna be worth it.
You notice the quick release buzzes softly, and your heart skips a beat. Opening that lid feels like unwrapping a present every single time. The aromas hit you, warming up the whole room while you get ready to enjoy whatever you cooked up.
You recall that moment when you slow release the pressure, letting everything settle. It’s like the grand finale where flavors get even better. You can’t wait to dig in and share these goodies with folks or just treat yourself.
Why Your Cooker Beats Every Other Pot
- It seals in steam, locking flavors way better than regular pans do.
- You get meals cooked super fast, no sittin’ around waitin’ forever.
- Less mess from splatters cause the lid’s on tight, no spills!
- Perfect temperature control so food doesn’t dry out or burn.
- It’s like having a mini kitchen helper who’s great at multitasking.
- You can whip up both savory dishes and sweet stuff, all in the same pot.
- The natural release option lets flavors settle slow, makin’ things tastier.
Discover why pressure cookers are a top choice for efficient cooking compared to traditional pans and pots. Want to try other quick cooking methods? Check out our guide on slow cooker recipes for cozy meals that require minimal hands-on time.
What Goes Into the Pot Today
- 2 ½ cups all-purpose flour, spooned and leveled (might add a bit more if dough feels too wet)
- 1 teaspoon baking soda for that perfect rise
- ¼ teaspoon baking powder to keep things fluffy
- 1 teaspoon salt to balance the sweetness
- 1 cup (2 sticks) unsalted butter at room temp for creamy texture
- ½ cup granulated sugar for a little crisp
- 1 cup packed dark brown sugar giving deep flavor
- 1 tablespoon pure vanilla extract adds warmth to the dough
- 2 large eggs, room temperature to bind it all together
- 2 cups semi-sweet chocolate chips for that classic cookie goodness
Gather high-quality ingredients like all-purpose flour and semi-sweet chocolate chips for best results. For a twist, explore our Easy Marinated Cheese Appetizer with Salami & Green Olives for a savory snack idea to pair with your sweet treats.
Your Complete Cooking Timeline
- Start by preheating your oven to 350 degrees F (175 Celsius). Line your baking sheets with parchment paper so cookies won’t stick.
- Grab a medium bowl and whisk together the flour, baking soda, baking powder, and salt. Set that aside, you’ll need it soon.
- In a big bowl, beat the butter with both sugars until it’s creamy and fluffy. Use your mixer or just get in there with a whisk and elbow grease.
- Add the vanilla extract, then crack in eggs one at a time. Beat well after each so it’s all smooth and mixed right.
- Slowly add the dry ingredients to the wet stuff, mixing just enough to bring it together without overdoing it.
- Fold in those chocolate chips evenly throughout the dough. If it feels sticky, you can sprinkle in up to ¼ cup more flour.
- Chill the dough for 30 minutes if you got a bit of time. It helps the cookies get nice and thick when baked.
- Use a cookie scoop or tablespoon to drop dough balls onto your lined sheets. Space ‘em two inches apart. Pop ‘em in the oven for 10 to 12 minutes until edges are golden and centers set. Let ‘em cool on the sheet 5 minutes before transferring to a rack.
Want to save time next bake? Prepare your dry ingredients bag and pre-measure sugars as explained in our Cheesy Kielbasa Hashbrown Casserole Dump Meal Recipe post, perfect for busy days.
Time Savers That Actually Work
- Mix your dry ingredients ahead and stash ‘em in a bag. Saves fuss next time you bake.
- Use room temp butter from the start so creaming is faster and you get fluffier dough.
- Your pressure cooker can steam veggies fast while those cookies bake, multitasking like a champ.
- Quick release that pressure when done to save you waiting around for natural release.
- Pre-measure chocolate chips and sugars before you start mixing to keep things moving smooth.
Boost baking speed and multitasking with the right tools. For more quick recipes, see our collection on slow cooker and pressure cooker meals to complement your cookie baking sessions.
What It Tastes Like Fresh From the Pot
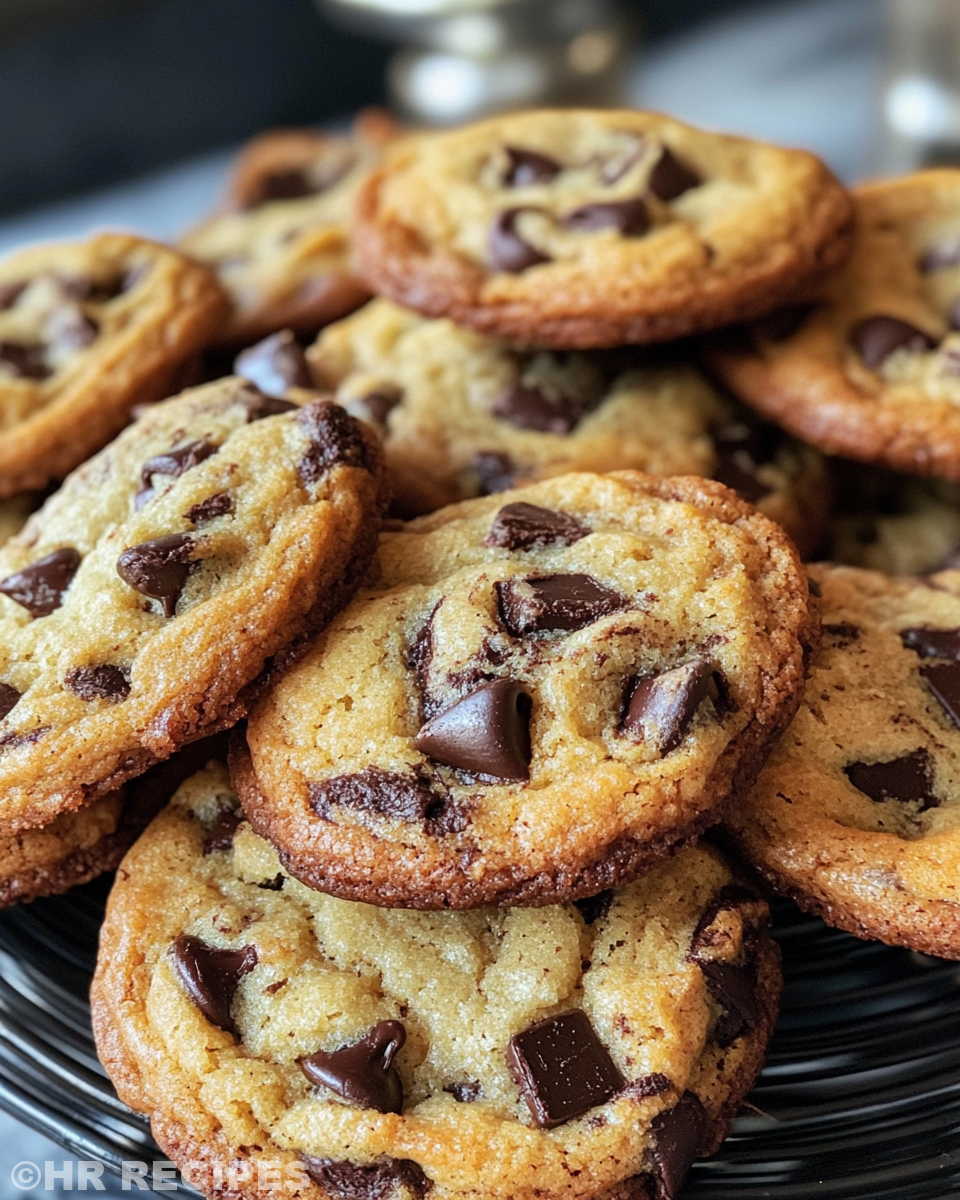
First bite hits you with warmth and that buttery softness you expect from bakery cookies. The edges are just crisp enough to give a gentle snap, but inside they stay nice and chewy.
The sweet chocolate chips melt slightly, mixing with the vanilla undertones and hint of salt for a balanced punch. You feel that hint of caramel from the brown sugar hanging around too.
Every mouthful kinda melts in your mouth, reminding you why these are fan favorites. You notice the dang perfect texture that doesn’t fall apart or get too cakey.
It’s the kinda cookie that makes you wanna grab just one more, then another. Fresh from the cooker, it’s like hugging your taste buds with love.
Enjoy the perfect melt-in-your-mouth experience with these soft cookies. Consider pairing them with a warm drink or try other baking treats like the Mozzarella Stuffed Rosemary Parmesan Soft Pretzels for a savory contrast.
Keeping Leftovers Fresh and Ready
Pop your cooled cookies into an airtight container. Keeps ‘em soft and chewable for a few days. You just gotta keep them away from anything stinky.
For longer stashing, freeze ‘em in a single layer on a sheet first, then into bags. Thaw at room temp when craving hits.
If you wanna keep that fresh-out-of-the-oven vibe, reheat cookies in a warm oven for a couple minutes or zap ‘em briefly in the microwave. Be careful not to overdo it or they get dry.
Preserve cookie freshness with proper storage techniques. Check out our other snack recipes like the Easy Marinated Cheese Appetizer with Salami & Green Olives for ideas on enhancing your snack table.
What People Always Ask Me
- Can I use light brown sugar instead of dark? Yeah, you sure can. Dark gives richer flavor but light works fine too.
- What’s the deal with quick release and natural release? Quick release means letting steam out fast after cooking. Natural release means waitin’ for it to drop pressure slowly on its own.
- Do I really gotta chill the dough? It’s better if you do, but if you’re in a rush, you can skip. Chilling helps shape and texture though.
- How do I know when cookies are done? When edges turn lightly golden and centers look set but not hard, you’re good to go.
- Can I add nuts or other mix-ins? Heck yeah! Just toss ‘em in when mixing chocolate chips.
- What if my dough feels too sticky? Keep adding a little flour till it’s easier to handle but don’t overdo it or cookies get dry.
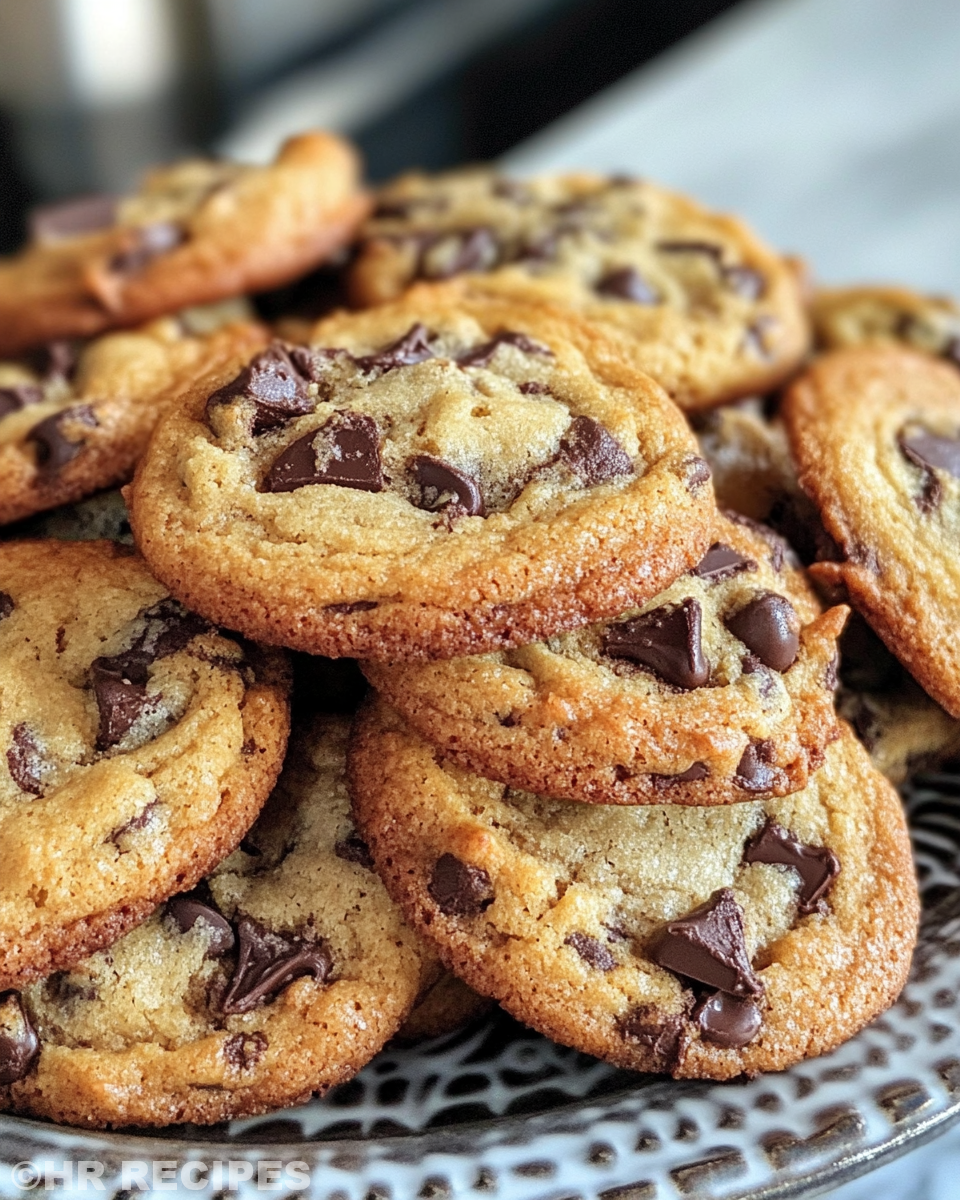
The Best Bakery Style Chocolate Chip Cookies
Equipment
- 1 Mixing bowl Medium and large sizes
Ingredients
Cookie Dough Ingredients
- 2 ½ cups all-purpose flour spooned and leveled; may add ¼ cup extra if dough is too wet
- 1 teaspoon baking soda for rise
- ¼ teaspoon baking powder to keep things fluffy
- 1 teaspoon salt to balance sweetness
- 1 cup unsalted butter at room temperature
- ½ cup granulated sugar adds some crisp
- 1 cup packed dark brown sugar gives deep flavor
- 1 tablespoon pure vanilla extract adds warmth
- 2 large eggs at room temperature
- 2 cups semi-sweet chocolate chips for classic cookie goodness
Instructions
Baking Instructions
- Preheat oven to 350°F (175°C) and line baking sheets with parchment paper.
- In a medium bowl, whisk together the flour, baking soda, baking powder, and salt. Set aside.
- In a large bowl, beat the butter with the granulated sugar and brown sugar until creamy and fluffy.
- Add vanilla extract, then mix in the eggs one at a time, beating well after each addition.
- Gradually add dry ingredients to the wet mixture, mixing until just combined. Do not overmix.
- Fold in the chocolate chips evenly throughout the dough.
- If time allows, chill the dough for 30 minutes to help cookies stay thick when baking.
- Scoop dough using a cookie scoop or tablespoon, spacing 2 inches apart on baking sheets.
- Bake for 10–12 minutes until edges are golden and centers are set. Cool 5 minutes on the sheet before transferring.
- Transfer cookies to a wire rack and let cool completely or enjoy warm with a drink!


