
The pot lid rattles and you know dinner is almost ready. That sound, that little shaking, gets your senses right. Like, you feel the warmth and smell starts sneaking out. It’s pretty hard to wait but somehow you manage while you spot the kitchen clock ticking down.
That pressure build inside your cooker, the valve hiss right before you quick release, you remember that tender pull when the timer’s done. You’re excited to see how things turned out. Sometimes it’s better than oven baking, trust me.
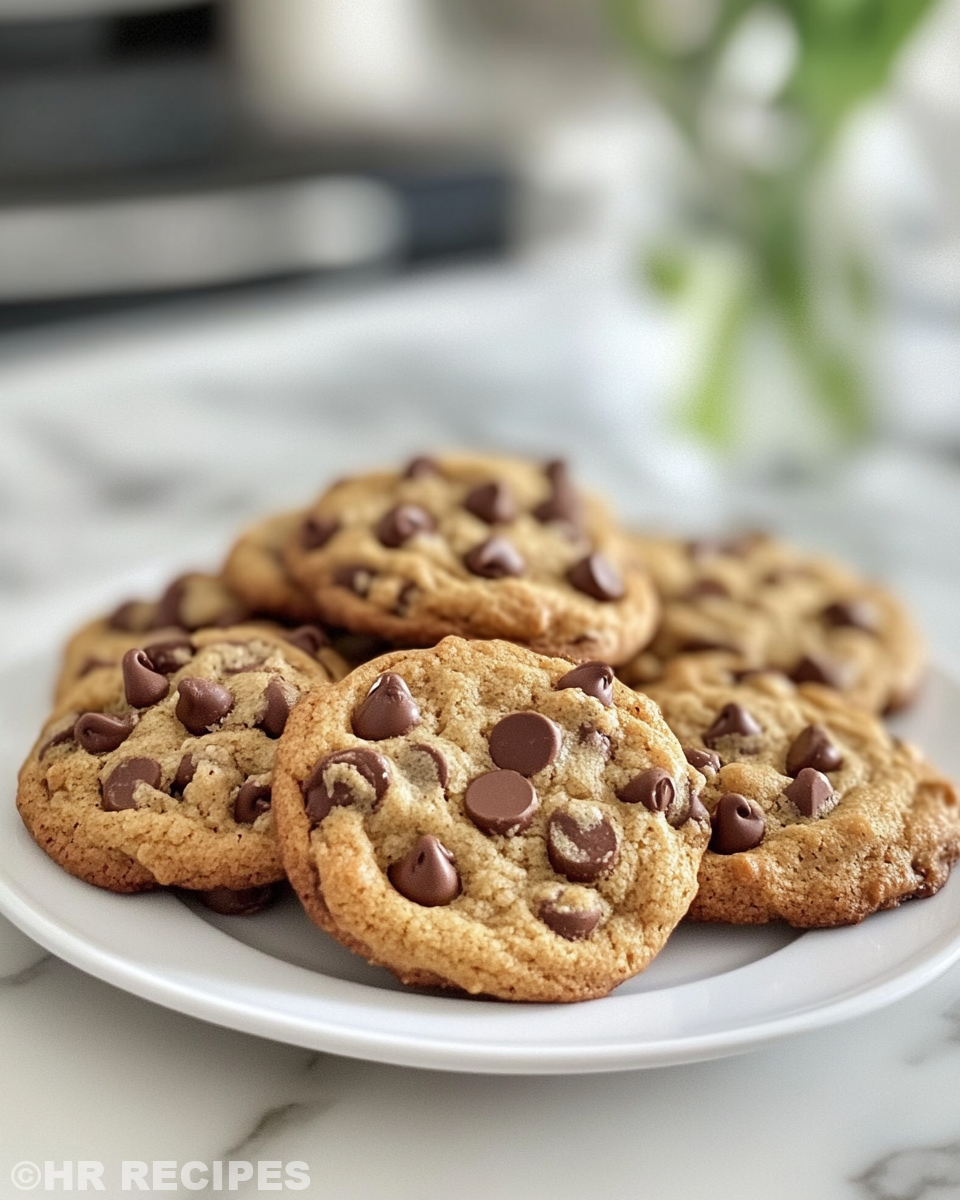
When you open that lid, the steam hits you, strong and sweet, promising soft, just-right baked goodies straight from the cooker. The smells of melted chocolate and vanilla hit your nose and you feel that little happy buzz that only fresh baked treats give. You gotta try this method if you haven’t yet.
The Truth About Fast Tender Results
- You get moist and tender muffins without waiting forever to bake in the oven.
- The pressure cooker traps steam perfectly making those chocolate chips melt just right.
- Quick release lets you stop cooking at the perfect moment so cookies stay soft in center.
- Slow release gives you extra gentle finish if you want softer texture in breads.
- Valve hiss is like a timer’s whisper—when it starts, you know your treat’s nearly done.
Learn more about slow cooker recipes to complement your pressure cooker baking. This method is a great addition to your cooking tools.
Your Simple Ingredient Checklist
Start with 1 ⅓ cups of all purpose flour, spooned and leveled so no clumps mess up the batter. Then grab half teaspoon each of baking soda and baking powder—these help your muffins and cookies get that tender lift you’re after.
A good pinch of kosher salt, about ¾ teaspoon, brings out the sweetness. Melted butter, half a cup, adds richness and smooth texture. You wanna use light brown sugar and granulated sugar too—half cup packed brown and a third cup granulated give you that perfect balance of sweet and chewy.
Don’t forget two teaspoons vanilla extract for that warm aroma. One large egg helps bind everything together. And the star, 1 ½ cups of semisweet chocolate chips, like Trader Joe’s or Guittard, makes each bite dreamy. Sprinkle some flaky sea salt on top to finish off.
For other baking inspiration, check out our Easy Marinated Cheese Appetizer with Salami & Green Olives for a savory snack idea to pair with your sweet treats.
The Exact Process From Start to Finish
Step 1: Start by preheating your oven to 350 degrees F. Line a baking sheet with parchment paper so your cookies don’t stick and cleanup’s easy.
Step 2: Mix your dry ingredients—flour, baking soda, baking powder, and salt—together in a medium bowl. Set this aside while you work the wet stuff.
Step 3: In a big bowl, whisk the melted butter with both sugars until it’s smooth and looks combined. The sugar starts dissolving into the butter and that’s good.
Step 4: Add vanilla and the egg to the sugar blend. Whisk it up till it’s fully mixed, no streaks of yolk left.
Step 5: Stir in the dry mix gently until combined. Don’t overdo it or your muffins get tough.
Step 6: Fold in those chocolate chips softly so they distribute evenly but keep the batter airy.
Using a spoon or cookie scoop, make 2-tablespoon-sized balls. Place ’em 2 inches apart on your sheet. Press a few extra chips on the top for that shiny look.
Step 7: Bake for about 10 to 12 minutes. Edges golden and center just set means you did it right. Cool ’em on the sheet 5 min before moving to a wire rack to chill out. Pressure cooker tip here: quick release the pressure just as you start baking to keep the air nice and tender in the dough.
Smart Shortcuts for Busy Days
Gotta save time? Here’s some tricks I swear by. First, melt the butter while you’re setting out other ingredients to shave off minutes.
Next, use a cookie scoop so your portions are all the same. This makes baking times predictable and no guesswork.
Mix the dry ingredients in advance and keep ’em in a jar so you can just dump and go on baking day. This works real good if you bake often.
Last, when you quick release the pressure, do it carefully with a spoon to avoid steam burns and get that perfect tender pull of your baked goods.
That First Bite Moment
You take one bite and the cookie melts soft in your mouth. Gotta love that tender pull from the quick release pressure cooker way. The chocolate chips are gooey and warm.
The crumb is moist but still crumbly kinda perfect texture that makes you wanna lick your fingers.
That flaky sea salt on top gives a tiny crunch and flavor pop that wakes up the chocolate all over again.
Vanilla and brown sugar mix with butter in the background making every nibble taste homey and just right.
Making It Last All Week Long
Store your muffins or cookies in an airtight container at room temperature. They usually stay fresh for about 3 days. You gotta keep ’em from drying out.
If you want ’em longer, pop into the freezer. Put ’em in a ziplock bag and press the air out. They keep nice for about 2 months that way.
When thawing frozen goodies, let them sit at room temp or warm slightly in the oven. That brings back the tender pull and just-baked feel.
What People Always Ask Me
- Can I use less sugar? Yeah, you can cut down a little but keep brown sugar for moisture.
- Do I gotta use parchment paper? It helps a lot but you could butter the pan if you want.
- What if I don’t have chocolate chips? Chopped chocolate or chunks work, just watch baking time.
- Can I add nuts? Definitely. Walnuts or pecans give a nice crunch.
- Why quick release and not slow release? Quick release stops cooking sooner so your cookies stay soft, slow release cooks longer and can dry ’em out.
- Can I double the recipe in pressure cooker? You can but make sure your cooker isn’t overcrowded. Better do two batches if needed.
For other quick and tasty family meals, explore our Cheesy Kielbasa Hashbrown Casserole Dump Meal Recipe or try the Mozzarella Stuffed Rosemary Parmesan Soft Pretzels for a delightful snack.

BEST Chocolate Chip Cookies
Equipment
- 1 Mixing bowl Large
Ingredients
Main ingredients
- 1 ⅓ cups All-purpose flour spooned and leveled
- ½ teaspoon Baking soda
- ½ teaspoon Baking powder
- ¾ teaspoon Kosher salt
- ½ cup Unsalted butter melted and cooled
- ½ cup Light brown sugar packed
- ⅓ cup Granulated sugar
- 2 teaspoon Vanilla extract
- 1 Large egg
- 1 ½ cups Semisweet chocolate chips plus extra for topping
- Flaky sea salt for topping
Instructions
Instructions
- Preheat the oven to 350°F. Line a baking sheet with parchment paper.
- In a medium bowl, whisk together the flour, baking soda, baking powder, and salt. Set aside.
- In a large bowl, whisk together melted butter, brown sugar, and granulated sugar until smooth and paste-like.
- Add the vanilla extract and egg to the sugar mixture and whisk until fully combined.
- Stir the dry ingredients into the wet mixture using a rubber spatula until just combined.
- Fold in the chocolate chips until evenly distributed, being careful not to overmix.
- Scoop 2-tablespoon balls of dough onto the baking sheet, placing them 2 inches apart. Press a few extra chips on top.
- Bake for 10–12 minutes until edges are golden and centers are just set. Cool on the sheet for 5 minutes before transferring.
- Sprinkle with flaky sea salt and allow cookies to cool before serving.


