
Steam curls up from the valve and your stomach starts talking back. It's that kinda smell that grabs you right at your core. You notice the kitchen fills up, warm and cozy, just like home should be.

Y'all know that feeling when you peek at your pressure cooker and see the float valve bobbing up? That’s your cue the pressure's building, and in no time, the magic (Uh, scratch that) the deliciousness is about to be ready. You feel the excitement rise with that steam cue.
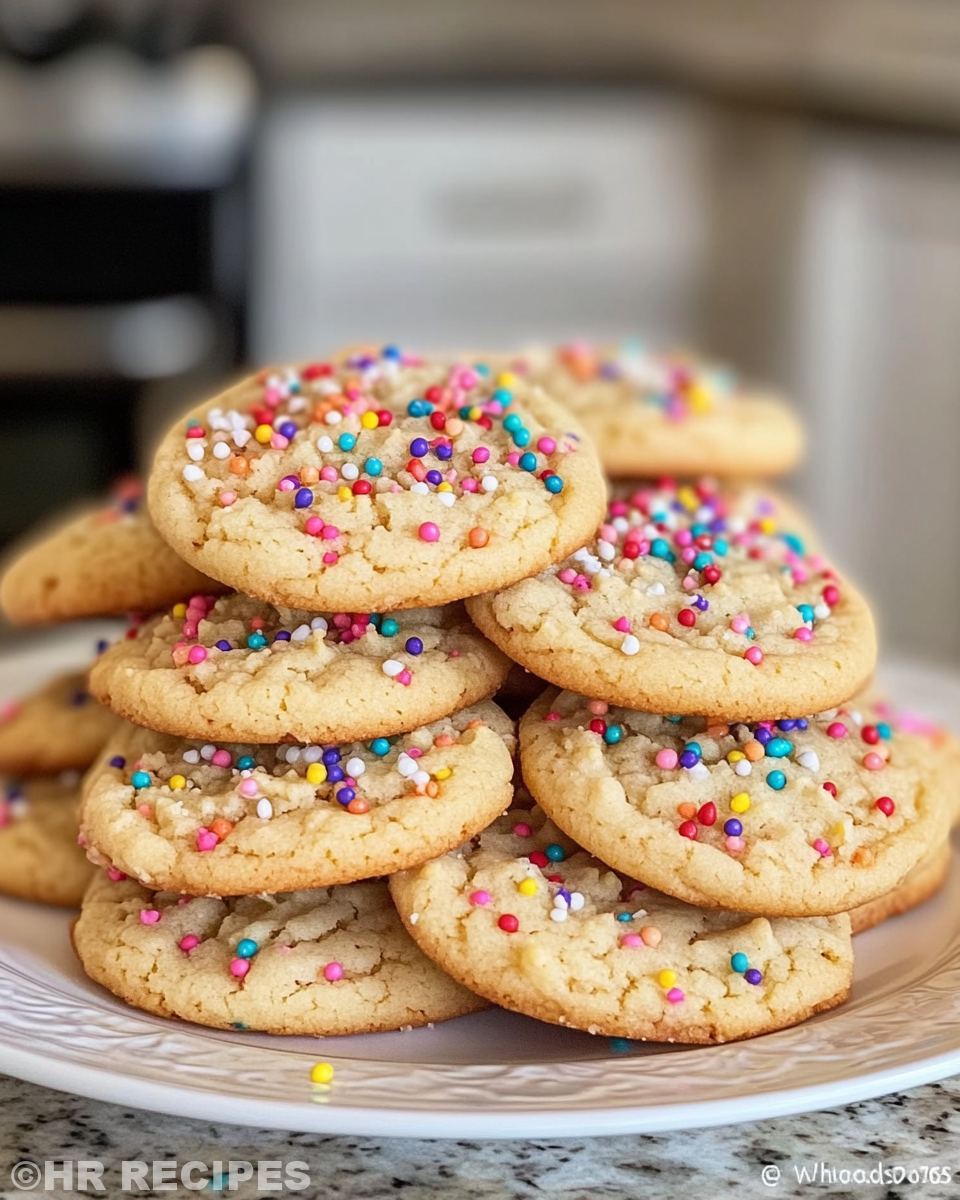
Sometimes you gotta wait for the natural release, letting the goodness settle before lifting that lid. It’s like a little pause that makes it all better. Then comes the reward. You recall the warm sugar and butter combo, soft yet perfectly rolled, ready to be devoured.
What Makes Pressure Cooking Win Every Round
- You cut down your baking time because of that quick pressure build that gets things cookin' fast.
- The broth depth created inside keeps everything moist and tender, no drying out here.
- Natural release lets flavors develop deeper instead of fast venting that leaves stuff bland.
- It’s super easy to keep an eye on the float valve so you know when it’s popping, no guessing games.
- Less babysitting the oven means you get more time to chill while the cooker works hard.
The Complete Shopping Rundown
- 2 cups white sugar – gotta have this sweet stuff to make those cookies sing.
- 1 ½ cups butter, softened – butter’s the base that brings creamy richness you can't skip.
- 4 large eggs – some good protein to help your dough stick together just right.
- 1 teaspoon vanilla extract – for that sweet aroma and flavor punch.
- 5 cups all-purpose flour – the backbone to structure your cookies so they hold shapely edges.
- 2 teaspoons baking powder – helps the cookies rise just enough, not too much.
- 1 teaspoon salt – balances out sweetness and boosts all the flavors.
- Plastic wrap – kinda needed to chill your dough like a pro for easier rolling.
Walking Through Every Single Move
Step one, you gotta cream together butter and sugar until it’s nice and smooth. That’s the start where texture begins. Getting this right makes a big difference.
Next, you beat in the eggs and vanilla extract. You notice the mix gets richer and more homely. The smell fills your kitchen, making you smile.
Then, whisk your dry stuff - flour, baking powder, salt - making sure all clumps are gone. You add these dry ingredients slowly to the wet. That dough comes together piece by piece and you feel it in your fingers.
Divide dough into two parts, wrap it up tight with plastic wrap. You gotta chill this in the fridge for at least an hour. This step's key so the dough firms up and rolls easier without sticking or falling apart.
Heat your oven to 400 degrees F. Roll out the dough on a lightly floured surface, just about ¼ inch thick. You cut shapes using your favorite cookie cutters. This part’s fun cause it’s where your cookie style shows.
Put those shapes on ungreased baking sheets and bake for 6 to 8 minutes. You watch closely till edges just start to brown. After pulling cookies out, let 'em cool a bit on the sheet before moving to wire racks. This helps keep 'em firm without breaking. You’re almost there!
Valve Hacks You Need to Know
- Speedy pressure build - Make sure your broth depth is just right so the float valve pops up quick, no wasted wait.
- Natural release patience - Instead of yanking the valve open, wait for natural release to keep moisture locked in your cookies.
- Steam cues guide - Listen for steady steam, that’s your signal things are cooking on point.
Your First Taste After the Wait
You bite into these cookies and the softness surprises you. They’re tender and kinda melt on your tongue but still hold their shape. You note that gentle crunch from edges hinting at perfect baking.
The butter and sugar sing together, warm and fragrant, with vanilla weaving in as a subtle sleeper hit. You feel the cozy vibe, this ain’t just cookies, it’s comfort you can eat.
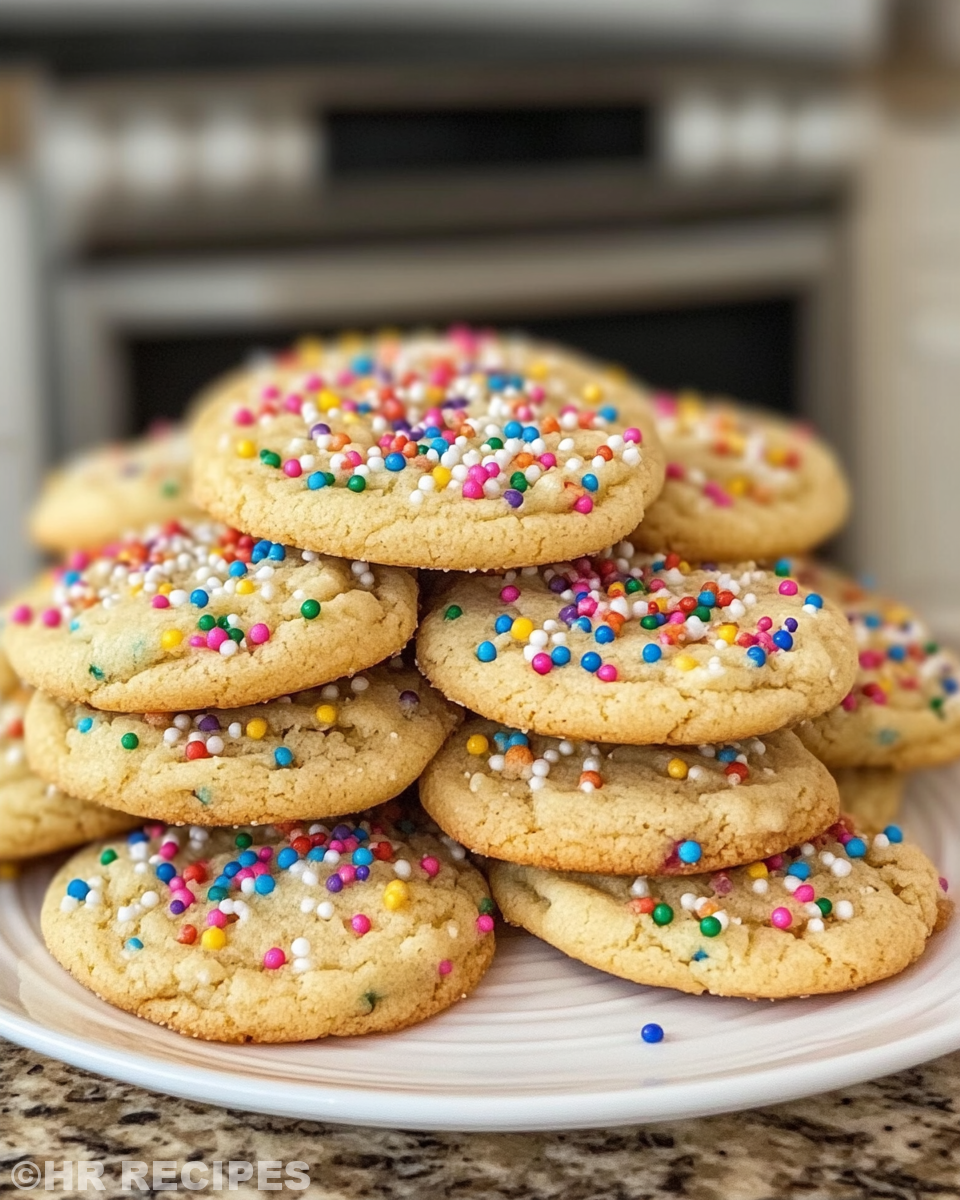
Each chew reminds you of why pressure cooking works so well for sweets. Moist inside with just enough lift, these rolled sugar cookies bring that fresh-outta-oven joy every single time.
Smart Storage That Actually Works
If you wanna keep these beauties fresh, grab an airtight container, stacking them with some parchment in between. That helps avoid stickiness and keeps their shape intact.
For longer stashes, freezing’s your friend. Wrap them up tight in plastic wrap then toss in a freezer bag. Let them defrost slowly for best texture when you’re ready.
If you just baked a batch and got a little impatient, you can cool cookies in a single layer on a wire rack. This helps keep air flowing and stops sogginess. You’ll get that snap back each time.
The FAQ Section You Actually Need
- Q: Can I use a different flour type?
A: You could try but all-purpose gives best texture for rolled sugar cookies. Other flours might change how dough feels and bakes. - Q: How important’s chilling the dough?
A: Super important! Chilling firms up the dough so it rolls smooth and cuts clean shapes instead of sticking or crumbling. - Q: Can I skip the baking powder?
A: It adds a little fluffy lift, but if you leave it out expect denser cookies that might spread more. - Q: What if my cookies turn out flat?
A: Make sure your baking powder’s fresh and dough was chilled; also don’t over-roll it thin. That helps keep shape right. - Q: Does pressure cooking change baking temps?
A: Not really here cause baking’s done in the oven after prepping with the cooker stuff. Cooker helps with dough prep and moisture. - Q: Can I add frosting or sprinkles?
A: Heck yes! Let cookies cool fully before frosting, and sprinkles add fun texture and flair to your treats.
For related recipes, check out our Cheesy Kielbasa Hashbrown Casserole Dump Meal Recipe for a quick and easy option using kielbasa, or explore Mozzarella Stuffed Rosemary Parmesan Soft Pretzels featuring cheesy, herbed treats perfect for snacks. Also, don’t miss our Easy Marinated Cheese Appetizer with Salami & Green Olives as a savory delight to complement your meals.
The Best Rolled Sugar Cookies
Equipment
- 1 Plastic wrap for wrapping dough
- 1 Baking sheet ungreased
- 1 Rolling pin for rolling dough
- 1 Wire rack for cooling
Ingredients
Main ingredients
- 2 cups white sugar
- 1 ½ cups butter softened
- 4 eggs large
- 1 teaspoon vanilla extract
- 5 cups all-purpose flour
- 2 teaspoons baking powder
- 1 teaspoon salt
- plastic wrap for dough chilling
Instructions
Instructions
- Cream together butter and sugar until smooth.
- Beat in eggs and vanilla extract until well combined.
- In a separate bowl, whisk together flour, baking powder, and salt.
- Gradually add dry ingredients to wet mixture, mixing until dough forms.
- Divide dough, wrap in plastic wrap, and chill for at least 1 hour.
- Preheat oven to 400°F. Roll out dough to ¼-inch thickness on floured surface.
- Cut dough into shapes using cookie cutters.
- Place cookies on ungreased baking sheets.
- Bake 6-8 minutes or until edges begin to brown.
- Let cookies cool on baking sheets before transferring to wire racks.


