
That first hiss from the cooker tells you something good is happening. You hear that? That little valve hiss means your sealing ring is holding tight and the pressure build is on its way. You just gotta pause and savor this moment before the kitchen fills with sweet smells.
When cooking with a pressure cooker, you kinda feel like you’re cheating time. The heat and steam get deep into the cookie dough fast, making it tender without all the waiting. You recall pressing your thumb into that soft dough ball, dropping a cherry right where the middle opens up, and now the anticipation starts to grow.
As the valve hisses and the cooker does its thing, you catch yourself thinking about the whipped cream and chocolate shavings you’re gonna throw on top after. It’s like a little celebration. You remember the slow release and the gentle unsealing. That’s when the real reveal happens, and you can’t wait to taste those Black Forest Thumbprint Cookies fresh and warm.
The Truth About Fast Tender Results
- You get even heat and steam pressure that cooks the cookies faster than the oven.
- The sealing ring keeps all that moisture inside, making cookies tender instead of dry.
- Pressure buildup kinda speeds up how the dough sets and rises just right.
- Natural release lets the texture settle gently without sudden pressure drops.
- Short cook time means you lose less of that fresh cherry’s juiciness.
- No need to babysit the oven or open the door, so the cookies come out perfect every time.
Pressure cookers aren’t just for savory meals; they bring a new fast, tender charm to sweet treats like these cookies. If you’re curious about similar quick and comforting recipes, check out our Classic Crockpot Pierogi Casserole with Kielbasa for hearty dinner ideas or our Mozzarella Stuffed Rosemary Parmesan Soft Pretzels for savory snacks.
The Complete Shopping Rundown
Before you start, make sure you got all your ingredients lined up. It’s easier to work when you don’t gotta run back and forth to the store. You’re gonna need 1 and a half cups of all-purpose flour for the base.
Don’t forget half a cup of unsweetened cocoa powder that adds that rich chocolate kick. Just a quarter teaspoon each of baking powder, baking soda, and salt helps the dough rise and keep its shape.
One cup of granulated sugar sweetens things just right, and half a cup of room-temperature unsalted butter makes everything soft and buttery. You’ll need one egg at room temp too, plus one and a half teaspoons of vanilla extract.
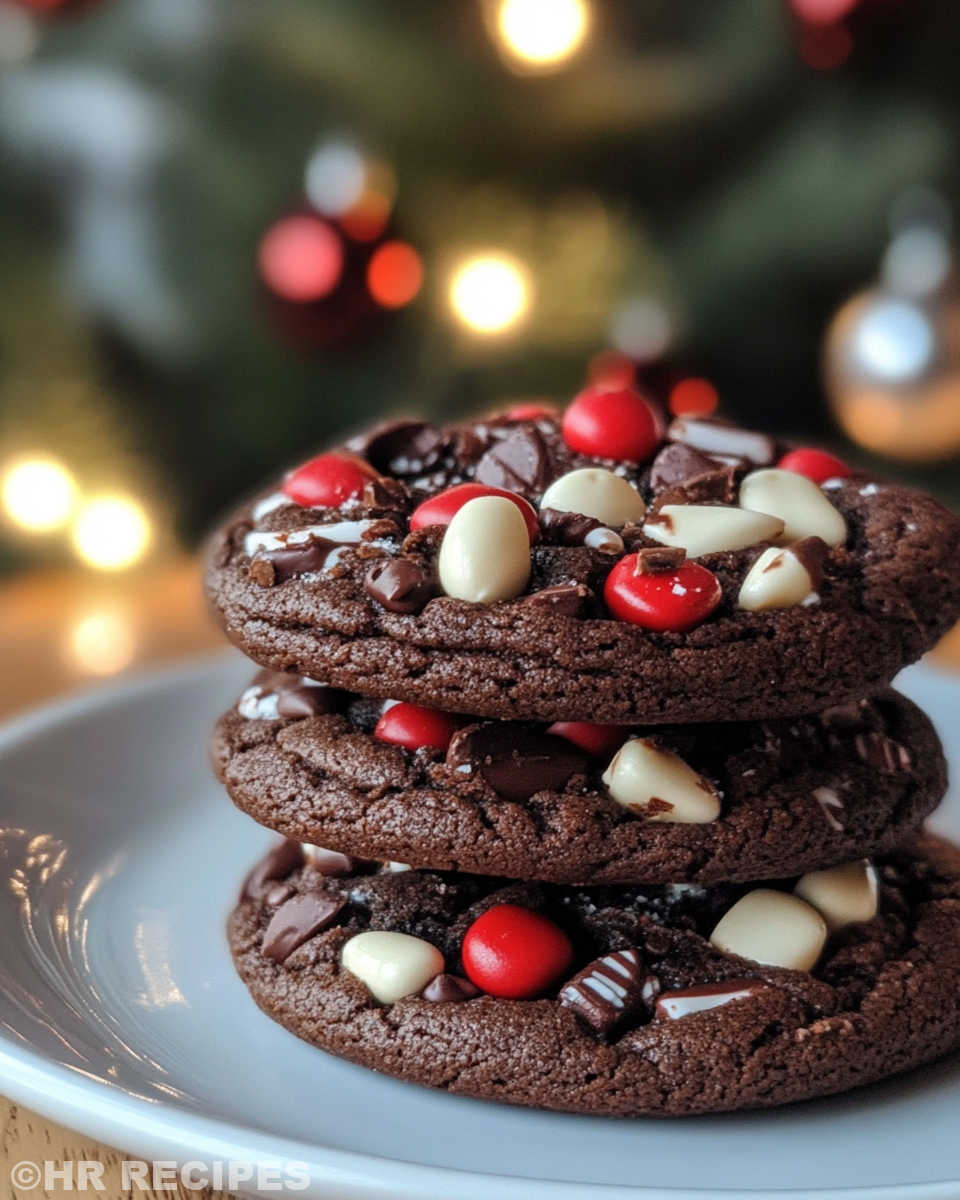
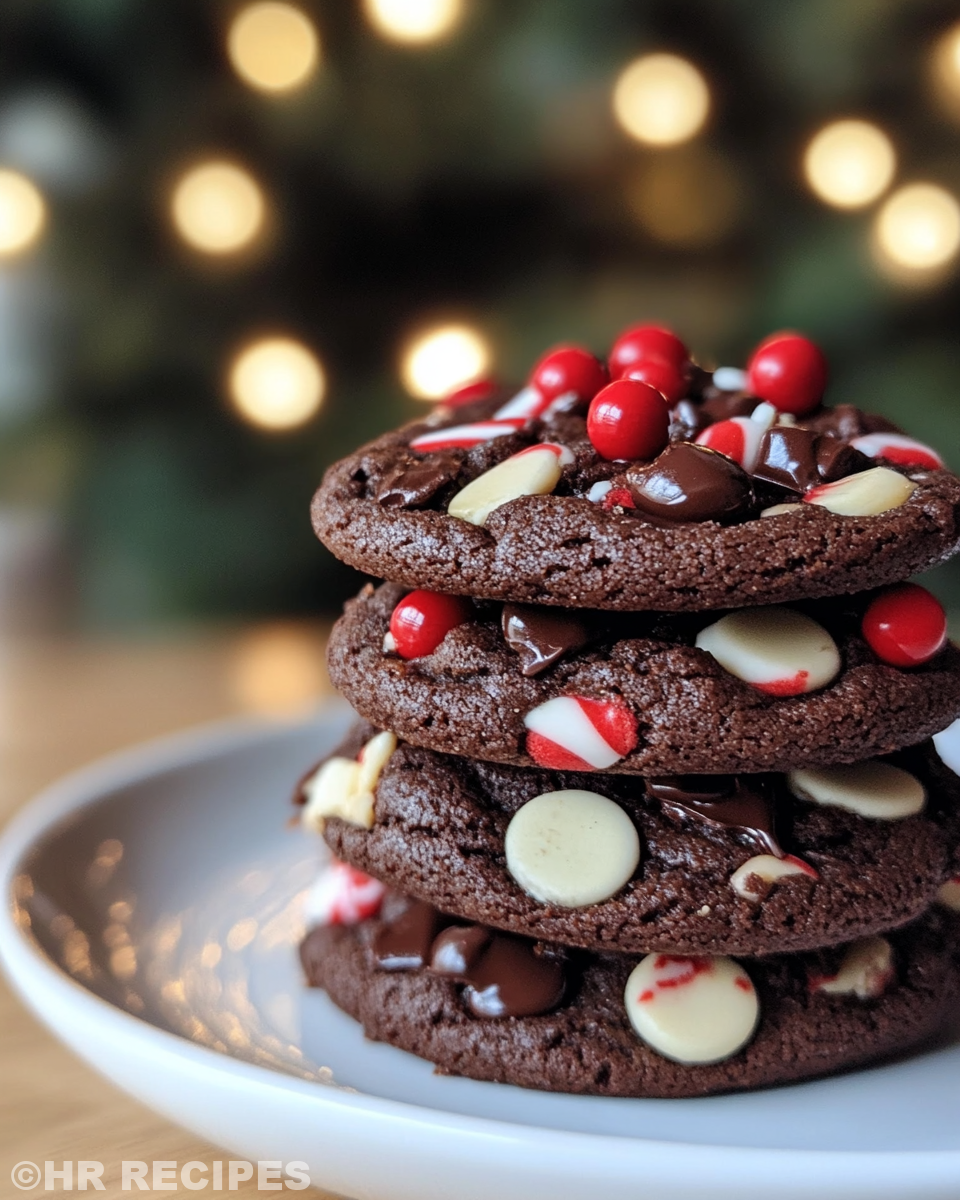
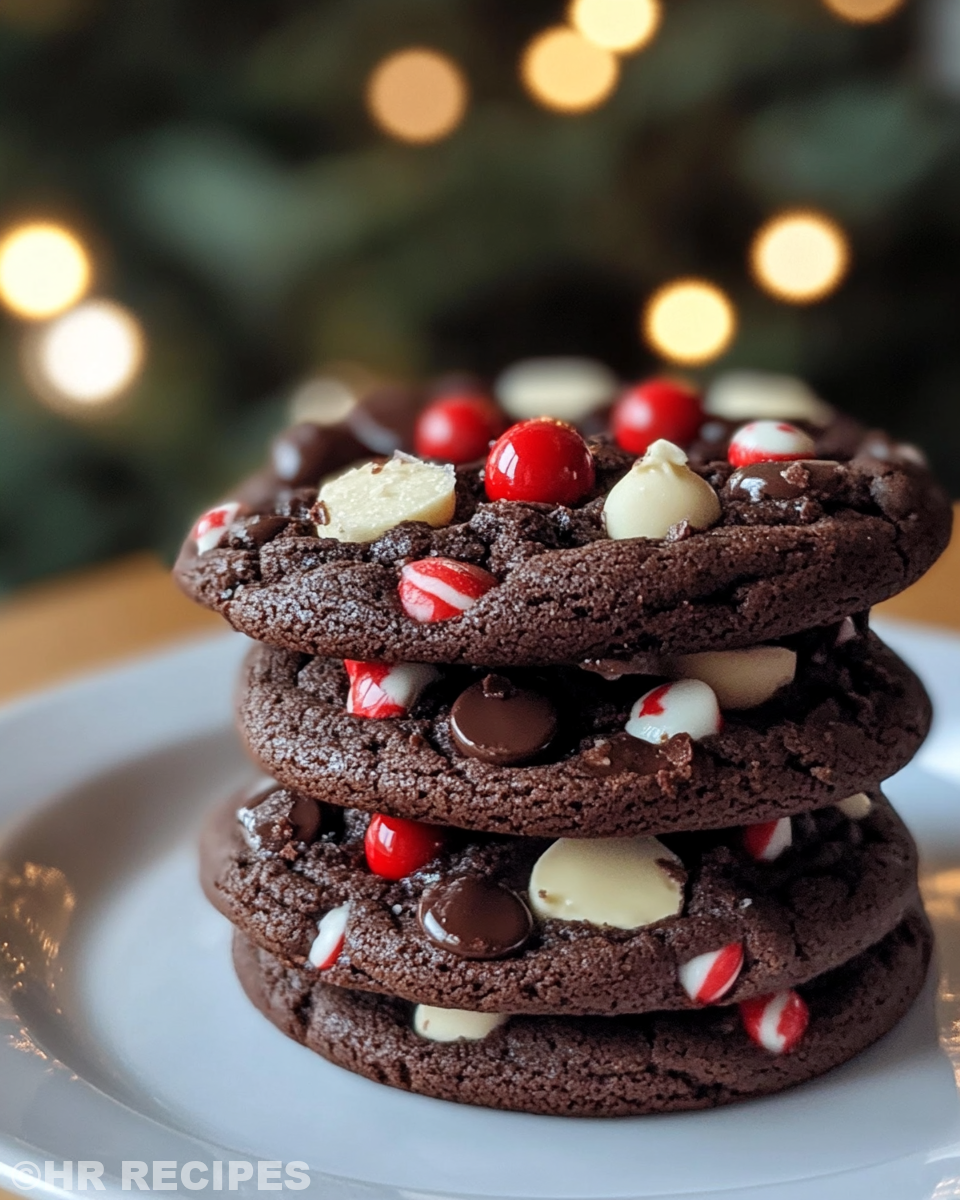
For those signature Black Forest vibes, get about one cup of cherry pie filling to put one cherry on each cookie. And finally, to finish it, whipped cream topping and some chocolate shavings for decoration (because y’all deserve it).
For easy meal prep, you might like our Cheesy Kielbasa Hashbrown Casserole Dump Meal Recipe that’s big on flavor but light on fuss.
The Exact Process From Start to Finish
Step one, preheat your oven to 350 degrees Fahrenheit and line a baking sheet with parchment paper. You want that cookie base to hold up right. Grab a medium bowl and whisk together the flour, cocoa powder, baking powder, baking soda, and salt till it’s all mixed up real good.
In a bigger bowl, cream your sugar and softened butter until you see it’s light and fluffy. This is key for a tender cookie. Then crack that egg in and pour your vanilla extract. Mix till it’s smooth and combined.
Slowly add the dry mix to your wet mix, stirring till you get a soft dough. This dough should stick just enough to roll into balls. Grab a tablespoon-sized amount and roll into 1-inch balls, then place them on your lined baking sheet spaced about 2 inches apart.
Now press your thumb or the back of a small spoon into the center of each ball. This makes the perfect little pocket for the cherry pie filling. Plop one cherry in each thumbprint indentation—yep, just one cherry per cookie.
Pop the sheet into the oven and bake for 10 to 12 minutes. Don’t walk away too far, you wanna catch them when they’re just set. When the timer dings, take them out and let cool on the sheet for 5 minutes before moving to a wire rack.
This cooling step is clutch because it lets the cookies firm up a bit. By now, you’re probably smelling that wonderful chocolate cherry combo and can't wait to add your whipped cream topping and sprinkle on those chocolate shavings.
Smart Shortcuts for Busy Days
Sometimes you gotta get these cookies out quick without fuss. First shortcut is using pre-made cherry pie filling. Saves slicing or pitting cherries and still tastes great.
You can also soften your butter in short bursts in the microwave instead of waiting hours. Just keep checking every 10 seconds so it doesn’t melt.
Another time saver is mixing dry ingredients ahead of time and keeping them in a bag. When the cookie itch hits, you just add wet stuff and go.
If you’re really rushed, use the aerosol whip cream instead of making it from scratch. It’s fast and easy and still makes your cookies look fancy.
What It Tastes Like Fresh From the Pot
Right when you bite into one, you notice the soft, tender crumb from that pressure cooker style. The chocolate is deep, rich, and melts gently on your tongue. You feel that moistness you don’t always get with regular baking.
The cherry in the center bursts with that slightly tart sweetness that cuts right through the chocolate. It’s juicy but not soggy, kinda like a little surprise in every bite.
The whipped cream on top adds a light, airy creaminess that makes each cookie feel like a tiny fancy dessert. And the chocolate shavings bring a little crackly texture and extra cocoa flavor.
For other delightful dessert ideas, see our Maple Sugared Cranberries that bring seasonal brightness to your table, or try the Sweet Potato Honeybun Cake for a Southern-inspired sweet treat with cozy flavors.
Keeping Leftovers Fresh and Ready
After you make a batch, if there’s any left (which barely happens), you wanna keep those cookies tasting fresh. First way, store them at room temp in an airtight container. They’ll stay good for about three days.
For longer, pop them in the fridge wrapped tight in plastic wrap. This keeps the cherry moist and the dough firmed up for 4 to 5 days. Just bring back to room temp before you munch again.
If you wanna freeze them, place cookies on a baking sheet to freeze solid first, then transfer to a freezer bag. Frozen cookies last up to two months and thaw fast. Just be sure to keep that whipped cream separate until ready to serve.
What People Always Ask Me
- Can I make these cookies entirely in the pressure cooker? Nope, the dough’s baked in the oven after prepping ingredients. The pressure cooker is great for prepping steps or other parts but for these cookies the oven is best for final baking.
- Why is a sealing ring important? The sealing ring keeps the pressure cooker airtight so that pressure build happens properly. Without it the cooker can’t get the right heat and steam needed.
- Do I need to do a natural release or can I quick-release? Natural release is best when you want gradual cooling and a tender texture. Quick-release could shock the dough and change texture.
- Can I swap cherry pie filling for fresh cherries? Sure, but fresh cherries need to be pitted and may add more moisture. Pie filling keeps the cookie consistent and easier to manage.
- What happens if I skip the slow release? The slow release lets pressure drop gently so cookies aren’t disturbed or cracked. Skipping could make texture less smooth and some cookies might break.
- How do I keep my cookies from sticking to the baking sheet? Using parchment paper or a silicone baking mat is key. Also, spacing cookies so they don’t touch helps them bake evenly and lift easy.
For even more snack and dessert inspiration, be sure to visit our guide on Easy Marinated Cheese Appetizer with Salami & Green Olives, perfect for any gathering.

Black Forest Thumbprint Cookies: Pressure Cooker Style
Equipment
- 1 Mixing bowl medium and large for separate mixes
- 1 Baking sheet lined with parchment paper
- 1 Wire rack for cooling
Ingredients
Cookie Dough
- 1 ½ cups all-purpose flour
- ½ cup unsweetened cocoa powder
- ¼ teaspoon baking powder
- ¼ teaspoon baking soda
- ¼ teaspoon salt
- 1 cup granulated sugar
- ½ cup unsalted butter room temperature
- 1 egg room temperature
- 1 ½ teaspoons vanilla extract
Topping and Filling
- 1 cup cherry pie filling
- whipped cream for topping
- chocolate shavings for garnish
Instructions
Instructions
- Preheat oven to 350°F and line a baking sheet with parchment paper.
- In medium bowl, whisk together flour, cocoa powder, baking powder, baking soda, and salt.
- In large bowl, cream sugar and butter until light and fluffy. Add egg and vanilla and mix until smooth.
- Gradually stir in dry ingredients to form a soft dough.
- Roll dough into 1-inch balls and place 2 inches apart on baking sheet.
- Press thumb or small spoon into each ball to create an indentation.
- Fill each indentation with one cherry from the cherry pie filling.
- Bake for 10–12 minutes or until cookies are just set.
- Cool on sheet for 5 minutes before transferring to a wire rack.
- Top with whipped cream and chocolate shavings before serving.


