
The pot lid rattles and you know dinner is almost ready. But today, instead of just waiting around, you tease yourself with thoughts of warm cookies coming up next. You sense that smell of browned butter cooling in the air.
Pressure cooking isn’t just for savory dishes. You spot that shiny pot and figure it’s time to put it to work for something sweet. Cookies with a twist kinda excite ya, especially when oats bring that hearty vibe.
When that slow pressure release starts, you start thinking about the sweet payoff. The steam cues remind you that things are cooking just right. Soon, you’ll get to ice those golden beauties and dive in.
What Makes Pressure Cooking Win Every Round
- Speedy pressure build saves you loads of time in the kitchen.
- Steam cues help you catch the perfect moment to release pressure.
- Natural release locks in moisture giving your cookies that soft center.
- Consistent heat means no more guessing if things are done or not.
- It’s hands-off once the pressure’s set, so you can chill or prep icing.
- Broth depth kinda translates here to flavor depth because heat and butter meld good.
- Pressure cooker cleanup is simpler than dealing with big messy pans.
Everything You Need Lined Up
- 1 ¼ cups (282 g) unsalted butter for that rich browned butter taste.
- 2 cups (190 g) old fashioned oats, pulsed just a bit in the processor so they pay attention to the dough but don’t get powdery.
- 2 cups plus 4 tablespoon (280 g) all-purpose flour, spooned and leveled to keep the cookies nice and chewy.
- 2 teaspoons baking soda to help the cookies rise and get that perfect texture.
- 2 teaspoons ground cinnamon with a dash of warm spice feel.
- ½ teaspoon ground nutmeg for a little extra cozy kick.
- 1 ½ teaspoons salt to balance out all the sweetness real good.
- 1 cup (200 g) light brown sugar and 1 cup (200 g) granulated sugar for just-right sweetness and a little crunch edge.
- 2 large eggs, room temp cuz mixing cold eggs in butter can be weird.
- 2 teaspoons vanilla plus 2 tablespoons molasses (not blackstrap) to deepen the flavor layers.
- For icing, 2 cups powdered sugar, 3 tablespoons milk or heavy cream, and ¼ teaspoon vanilla for that smooth, sweet finish.
Walking Through Every Single Move
Step one is preheating your oven to 350°F. Get those cookie sheets lined with parchment paper so clean up’s easier. Yeah, you gotta use the oven for baking after the pressure cooker browns that butter real good.
Next, melt your butter in a saucepan over medium heat. Watch close and give it about 5 to 7 minutes while it turns golden brown and smells dang good. That scent tells you it’s ready. Pull it off heat and let it cool down just a bit.
Meanwhile, pulse the oats a few times in your food processor. Not too much, you want them ground coarse, kinda like small rocks, not oat dust.
Whisk your flour, baking soda, cinnamon, nutmeg, and salt together in a medium bowl. Set aside so it’s ready when you need it.
In a big mixing bowl combine the browned butter with both sugars. Beat these till they look well mixed and creamy; it’s gonna give you a nice cookie base.
Add the eggs, one at a time, into the butter-sugar mix. Mix real good after each addition so you don’t get any lumps or curdles happening. Stir in vanilla and molasses last before you start adding dry stuff.
Slowly add that flour mixture into the wet ingredients. Mix only until just combined so your cookies stay soft. Then fold the ground oats in good. Scoop the dough with a tablespoon or cookie scoop onto your sheets, spacing them out about two inches apart.
Bake for 10 to 12 minutes until those edges get golden and smell is unbearable good. Let them chill on baking sheet five minutes so they firm up. Then slide those babies onto a wire rack to cool completely before getting to the next step.
Mix your icing ingredients till smooth and drizzle or spread on the cooled cookies. Wait for the glaze to set before you dig in or pack ‘em up.
Time Savers That Actually Work
- Brown the butter in advance and stash it in the fridge. When it’s cookie time, it’s ready to go.
- Pulse oats while butter is browning so you don’t waste any moments.
- Make the icing while cookies bake. That way, it’s all set right when cookies are cool.
Your First Taste After the Wait
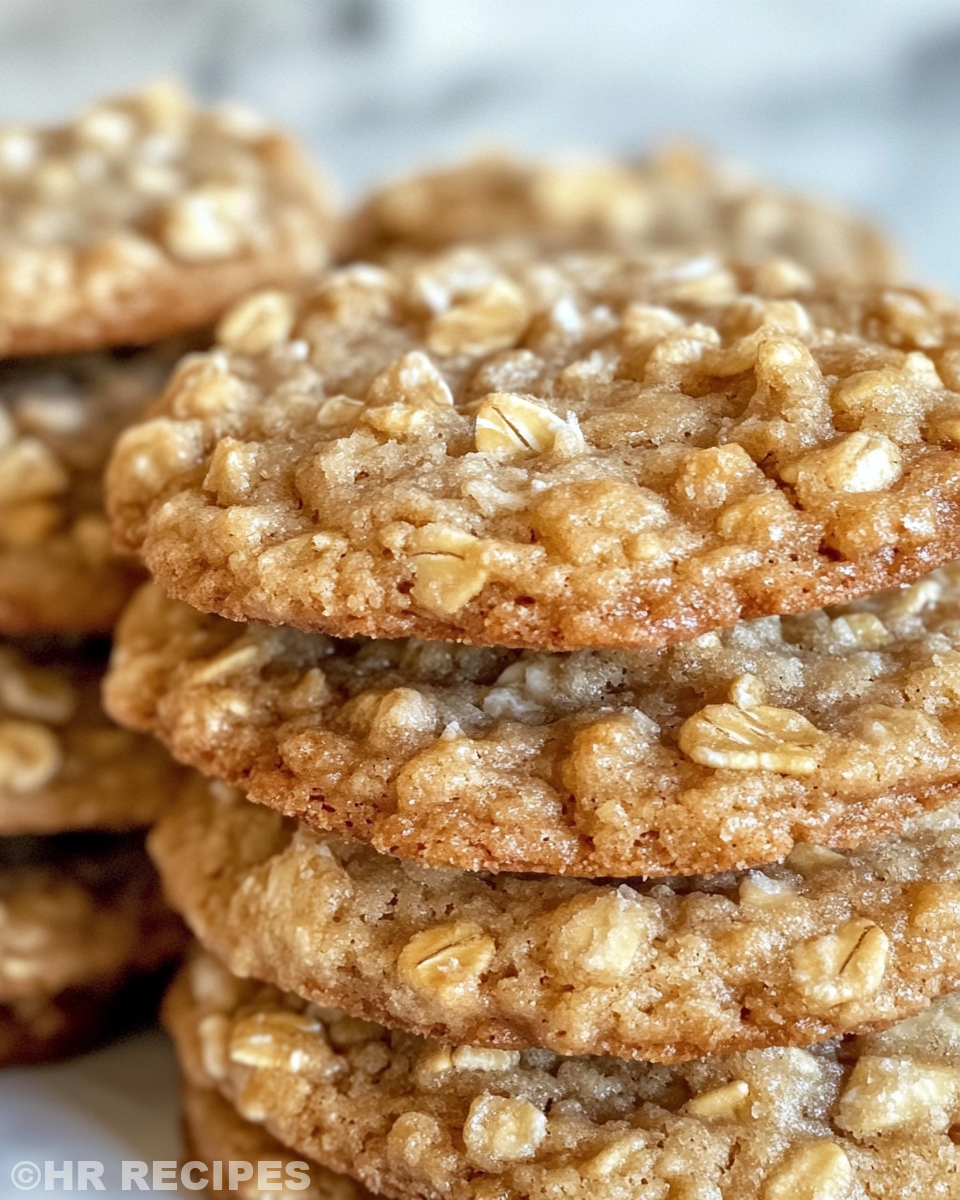
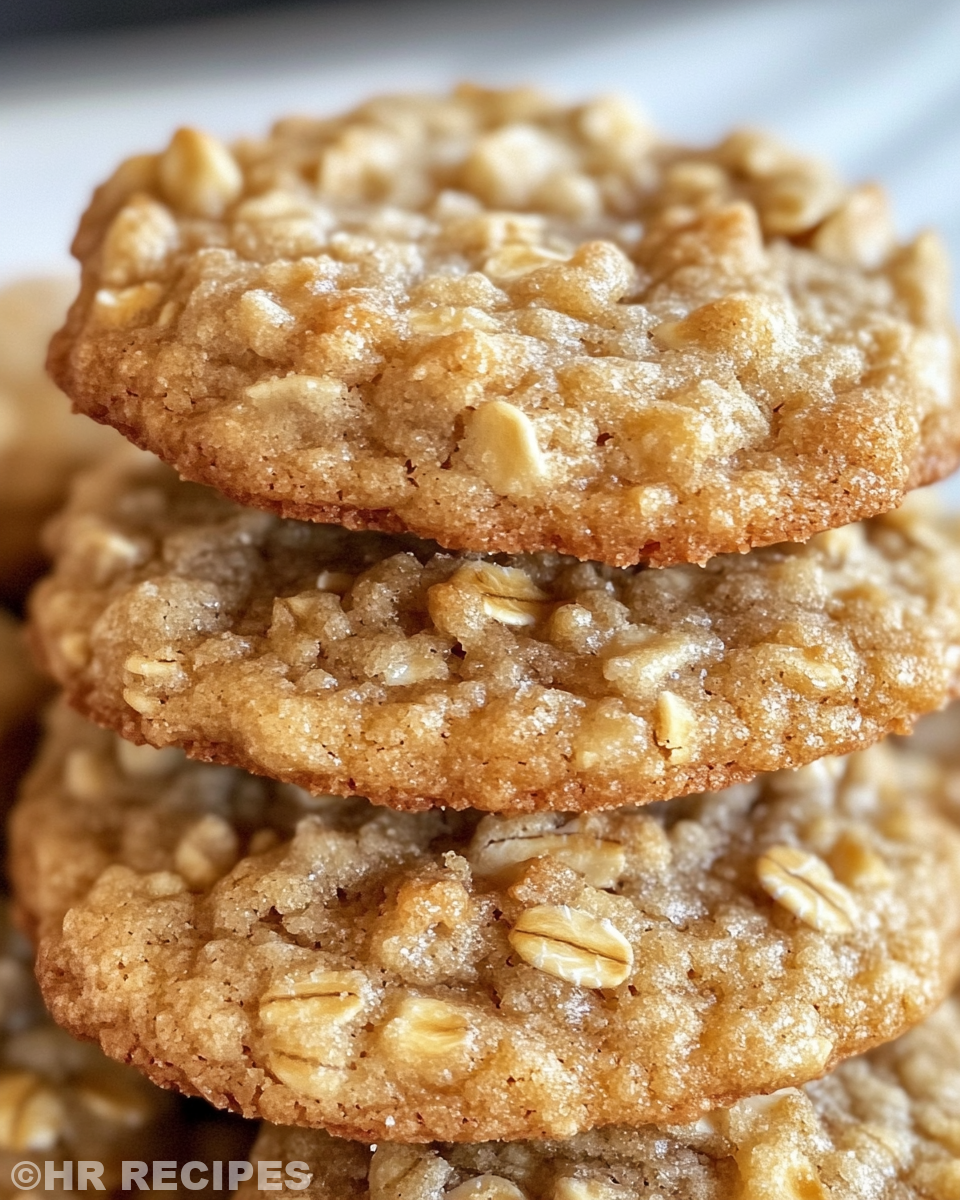
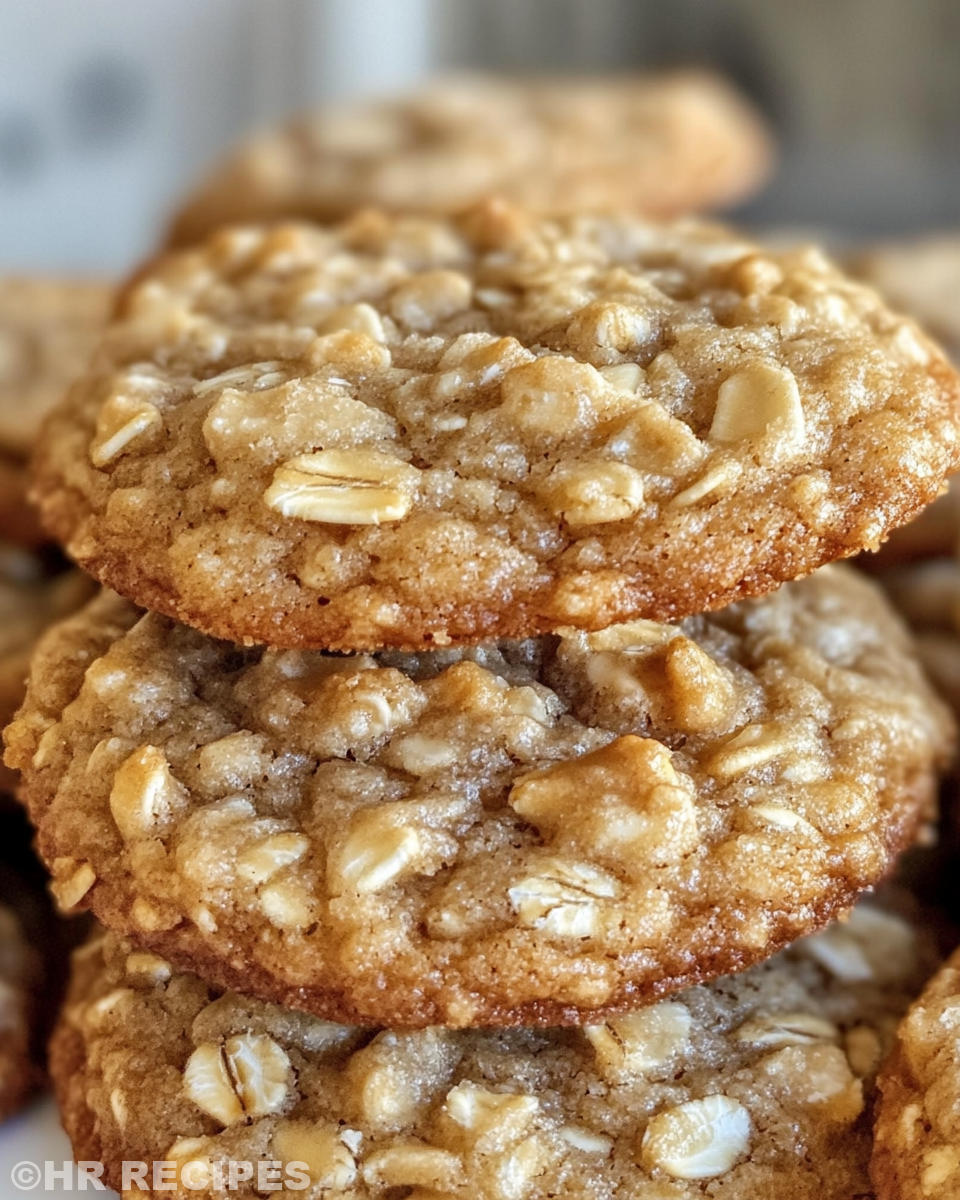
That first bite feels soft and chewy with those toasted oats giving a little texture kick. You notice the warmth from cinnamon and nutmeg sneaking in just right. The cookies got that buttery depth that only brown butter nails.
Icing melts sweet on your tongue, adding a smooth contrast to the cozy cookie flavor. It’s like a little frosting hug that keeps you reaching for more.
You sense the balance perfect between sweet and spice, soft and crisp edges. This is dang good baking that hits every spot.
How to Store This for Later
Keep your iced cookies in an airtight container at room temp if you plan to eat ‘em within 3 days. It keeps that chew going without dry out.
For a bit longer shelf life, pop them in the fridge. Make sure they’re sealed well or frost might get a little sticky but not too bad.
You can freeze these too by putting them in a freezer bag with parchment between layers. Thaw in room temp when you wanna treat yourself later.
Your Most Asked Questions Answered
- Can I skip browning the butter? You could but seriously, that brown butter flavor is what makes these cookies stand out. It adds that broth depth you just don’t get with regular melted butter.
- Will the pressure cooker bake the cookies? Nah, you use it mainly to brown the butter fast and even. Cookies gotta bake in the oven still.
- What’s the steam cue I should look for? When your butter is bubbling and smells nutty, that’s your moment to take it off heat and start cooling.
- How do I do a natural release or slow release here? For this recipe natural release means letting the butter cool by itself after browning. Slow release is carefully stirring it off the heat to stop cooking without burning.
- Can I use quick oats instead of old fashioned? Quick oats get mushy and don’t hold up the texture as good. Old fashioned oats keep the chew and bite you want.
- How long do these cookies last? Best within 3 days room temp, 1 week refrigerated, and up to 3 months frozen.
For related recipes, check out our Cheesy Kielbasa Hashbrown Casserole Dump Meal Recipe for a quick and easy option using kielbasa, or explore Mozzarella Stuffed Rosemary Parmesan Soft Pretzels featuring cheesy, herbed treats perfect for snacks. Also, don’t miss our Easy Marinated Cheese Appetizer with Salami & Green Olives as a savory delight to complement your meals.
Brown Butter Iced Oatmeal Cookies
Equipment
- 1 Mixing bowl Large
Ingredients
Main ingredients
- 1 ¼ cups unsalted butter browned
- 2 cups old fashioned oats pulsed slightly
- 2 cups plus 4 tbsp all-purpose flour spooned and leveled
- 2 teaspoons baking soda
- 2 teaspoons ground cinnamon
- ½ teaspoon ground nutmeg
- 1 ½ teaspoons salt
- 1 cup light brown sugar packed
- 1 cup granulated sugar
- 2 large eggs room temperature
- 2 teaspoons vanilla
- 2 tablespoons molasses not blackstrap
- 2 cups powdered sugar sifted
- 3 tablespoons milk or heavy cream
- ¼ teaspoon vanilla for icing
Instructions
Instructions
- Preheat the oven to 350°F and line baking sheets with parchment paper.
- Brown the butter in a saucepan over medium heat until golden and aromatic, about 5 to 7 minutes. Set aside to cool for 20 minutes.
- Pulse oats in food processor until coarsely ground. Set aside.
- In a bowl, whisk together flour, baking soda, cinnamon, nutmeg, and salt. Set aside.
- In a large bowl, combine browned butter with both sugars. Beat until creamy.
- Add eggs one at a time, beating after each addition. Stir in vanilla and molasses.
- Gradually add dry ingredients and mix until just combined. Fold in pulsed oats.
- Scoop dough onto baking sheets, spacing 2 inches apart. Bake 10-12 minutes until edges are golden.
- Cool cookies on baking sheet for 5 minutes, then transfer to wire rack to cool completely.
- Mix icing ingredients until thick and smooth. Dunk tops of cooled cookies into icing and let excess drip off.
- Place iced cookies on wire rack and let icing set for 2-3 hours before serving or storing.


