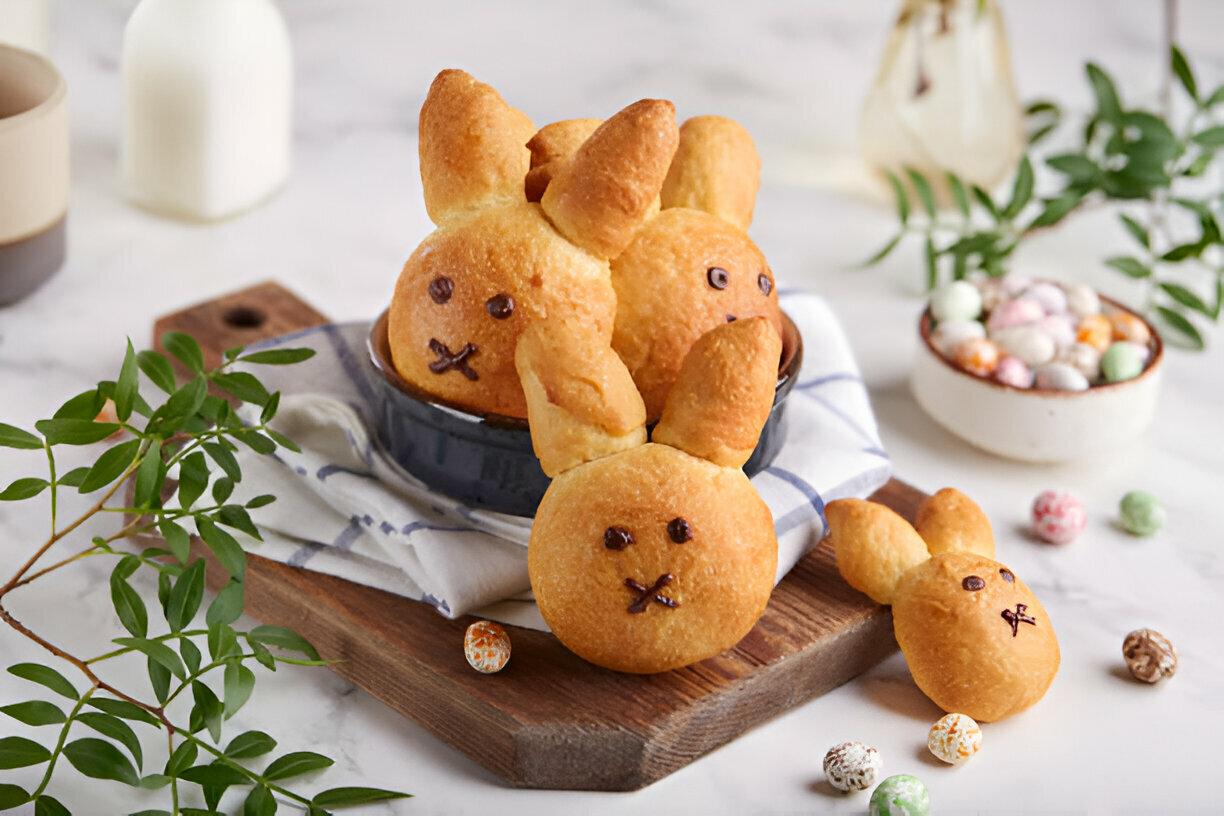
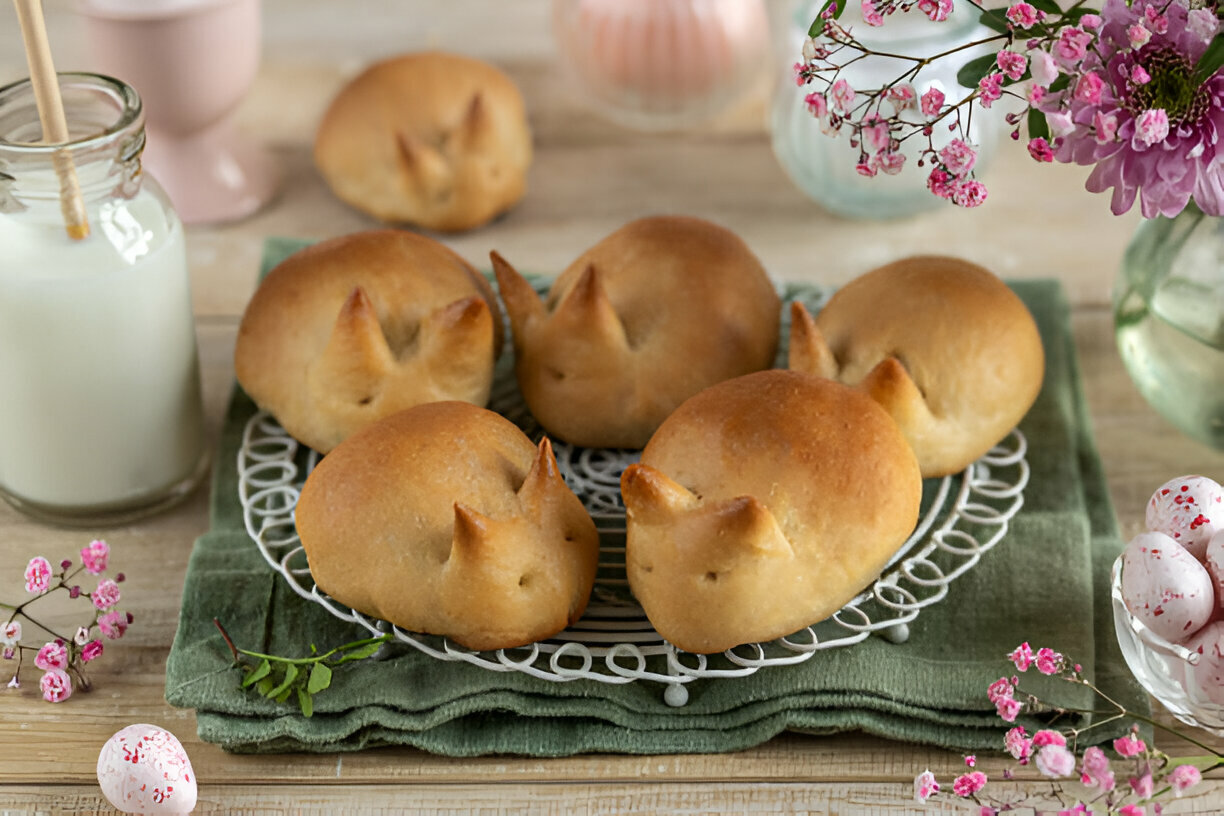
This Easter season feels extra special with those homemade Bunny Buns floating around kitchens and tables . They’re not just tasty little breads shaped like rabbits—they're memories baking right before your eyes . When folks come together to mix dough, shape ears, and sneak a taste of sweet filling , something magical happens in the kitchen .
Bunny Buns show up on so many Easter spreads not only ’cuz of their cute bunny shape that reminds us of the Easter Bunny , but also ’cuz they taste really good and are easy to change up . You can fill them with chocolate chips or jam , or frost them with fun icings . Decorating them becomes a party, where everyone grabs a spoon or piping bag and makes their own design .
In this article we’ll dig into where Bunny Buns started and how different people put their twist on them . You’ll find a simple recipe to try at home , tips for coloring and decorating , plus some ideas if you want them sweet or a bit savory . We’ll even answer your top questions so you can feel ready to bake , share and enjoy these bouncy little breads!
The Tradition of Easter Bunny Buns
Bunny Buns trace back hundreds of years to old springtime festivals that celebrated new life . The Easter Bunny was first a symbol of fertility and luck in pagan rituals . When Christianity spread , folks mixed in the idea of resurrection and it all blended together . By the 1800s people started baking little rabbit-shaped breads for holiday feasts too . Passing down recipes from one fаmily member to the next became a fun way to keep stories alive and share hope about new beginnings .
Today you’ll see Bunny Buns from Germany to Mexico to Australia , each with its own flavor or filling . Still , they all share that same cheerful shape and soft, fluffy inside that says “spring!”
Why Bunny Buns Rock for Easter
Baking Bunny Buns brings everyone together . Kids get to help shape the dough into floppy ears and puffy tails , while parents teach them how to knead or roll . That teamwork turns baking into a memory you’ll laugh about later — like the time your little cousin stuck raisins too close and they popped out in the oven .
Plus , Bunny Buns are super flexible . Want them chocolate-filled ? Go for it . Want herbs and cheese inside instead ? Sure thing . You can color the dough pink or green , add sprinkles or edible glitter , or even make them tiny or giant . This lets each household invent their own Bunny Bun signature , so no two batches are exactly the same .
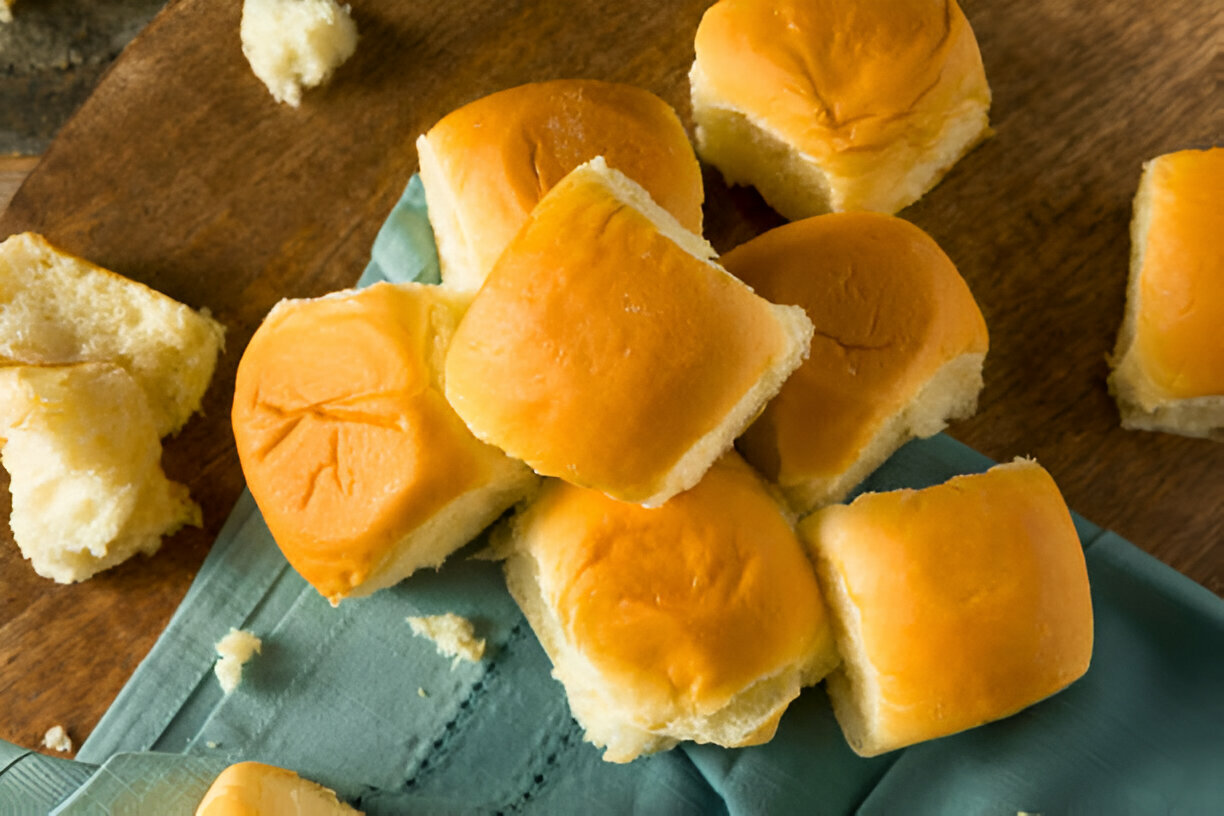
Essential Ingredients for Bunny Buns
Here’s what you’ll need to whip up soft and fluffy Bunny Buns at home :
Basic Stuff
- Active dry yeast — makes the dough rise
- All-purpose flour — for that light texture
- Sugar — adds sweetness and helps browning
- Eggs — give richness and structure
- Milk — for a soft, tender crumb
- Butter — makes it taste awesome
- Salt — balances the sweet and strengthens dough
Fun Extras
- Food coloring — tint your buns for a pop of color
- Chocolate chips or ganache — for a gooey surprise
- Nuts or dried fruit — add crunch or chewy bites
Step-by-Step Recipe
Ingredients
- 2 cups all-purpose flour
- 1 pkg (2¼ tsp) active dry yeast
- ¼ cup granulated sugar
- 1 large egg
- ¾ cup warm milk (about 110°F)
- ¼ cup melted butter
- ½ teaspoon salt
- Optional: food coloring, chocolate chips, nuts, dried fruits
Directions
Make the Dough
Mix warm milk and yeast in a bowl and let sit till it’s frothy (about 5 min) . In another bowl stir flour, sugar, and salt . Pour yeast mix, butter, and egg into the dry mix and stir till a sticky dough forms . Turn it onto a floured surface and knead for 5–7 min till it’s smooth . Put the dough in a greased bowl, cover with a damp cloth , and let rise in a warm place until doubled (around 1 hr) .
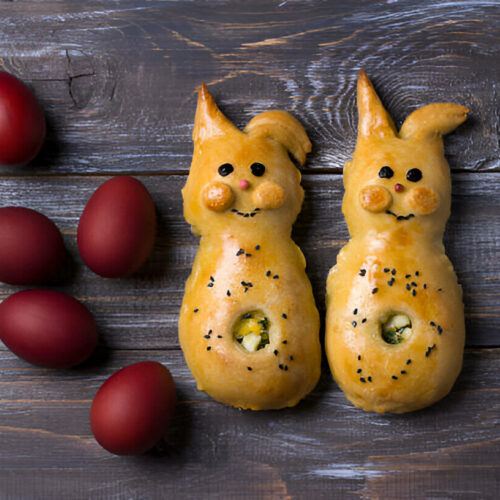
Shape Bunnies
After it’s risen punch it down to get rid of air bubbles . Divide into parts. Roll one part into a bigger ball for the body and a smaller ball for the head . Attach the head on top and form ears by rolling small bits of dough . Press raisins or choc chips into place for eyes .
Bake
Preheat oven to 350°F (175°C) . Place shaped buns on a parchment-lined pan and let rise again for 30 min . Bake 15–20 min or till golden . Cool on a rack before decorating .
Decoration Ideas
Stir powdered sugar and a bit of milk for simple icing . Tint it with food dye and pipe on faces or patterns . Sprinkle colored sugar or edible glitter for extra fun .
Sweet and Savory Twists
Sweet Versions
- Chocolate-filled: chocolate spread or chips inside each bunny
- Cinnamon sugar: roll the buns in cinnamon sugar mix
- Fruit-filled: jam or dried fruits add a juicy pop
Savory Versions
- Cheese-stuffed: mozzarella and herbs for a gooey center
- Herb-flavored: mix rosemary or thyme into the dough
Serving and Storing
Serving Tips
Set Bunny Buns on your Easter table with fruit salad , whipped cream, or jam for dipping . They’re great with coffee or tea too .
Storing
Keep cooled buns in an airtight container at room temp for up to 3 days . To freeze , wrap each in plastic and put in a freezer bag . Thaw in the fridge .
FAQs
Where did Bunny Buns come from ?
They began as springtime breads honoring renewal and got linked with the Easter Bunny over centuries .
Can I prep them a day early ?
Yes – shape and rise, then refrigerate overnight . Bake fresh next morning .
How to make them healthier ?
Use whole wheat flour, cut sugar, or swap applesauce for some butter . Add nuts or dried fruits too .
Are they vegan ?
Sub eggs with flaxseed mix or yogurt, use plant milk and vegan butter , and pick vegan toppings .
What if I don’t have yeast ?
You can try baking powder as a leavener, but texture and rise will be different .
Conclusion
Whipping up Bunny Buns this Easter turns baking into a chance to laugh, share stories, and make memories with everyone you love . Enjoy the process , and may your holiday be filled with sweetness and joy !
Bunny Buns for Easter!
Equipment
- 1 mixing bowl
- 1 whisk
- 1 set measuring cups and spoons
- 1 baking sheet
- 1 parchment paper
- 1 oven
- 1 rolling pin
- 1 sharp knife
- 1 pastry brush
Ingredients
- 4 cups all-purpose flour
- 1 cup milk Warm the milk but do not boil.
- ½ cup granulated sugar
- ½ cup unsalted butter Melted.
- 2 large eggs
- 1 packet (2 ¼ tsp) active dry yeast
- ½ teaspoon salt
- ½ teaspoon vanilla extract
- ¼ cup raisins For eyes.
- 1 egg for egg wash
Instructions
- Warm the milk in a small saucepan over low heat until it is warm to the touch; do not boil. Remove from heat and whisk in the melted butter and sugar. Allow it to cool to lukewarm.
- In a mixing bowl, combine the warm milk mixture with the yeast and let it sit for about 5 minutes until frothy.
- In another bowl, whisk together the flour and salt. Add the yeast mixture, eggs, and vanilla to the flour. Stir to combine until a dough forms.
- Transfer the dough onto a floured surface and knead for about 5-7 minutes until smooth and elastic. Place the dough in a lightly greased bowl, cover with a towel, and let it rise in a warm place for about 1 hour, or until doubled in size.
- Preheat the oven to 350°F (175°C) and line a baking sheet with parchment paper.
- After the dough has risen, punch it down gently. Divide it into 12 equal pieces. Shape each piece into a round ball and then pinch one end to create the bunny's head and the other end for the body.
- Using a sharp knife, create cuts on the bunny's head for ears, and place a raisin in each for the eyes.
- Place the shaped buns on the prepared baking sheet. Cover and let them rise for another 30 minutes.
- In a small bowl, whisk the remaining egg for the egg wash. Gently brush the tops of the buns with the egg wash.
- Bake in the preheated oven for 20 minutes or until golden brown. Transfer to a wire rack to cool.