
You catch the smell through the steam vent and suddenly you are starving. Like really starving. It’s one of those days when the city noise fades a bit and the cozy aroma just pulls you right to the kitchen. You spot that rich chocolate scent mixing with a deep hint of espresso floating up around the sealing ring of your pressure cooker.
That scent’s got you pacing, waiting impatiently. The float valve moves, and you sense the build-up of warmth and promise inside, like some secret treat about to be ready. The valve hiss sounds soft but satisfying right before the steam cues tell you it’s time to slow down.
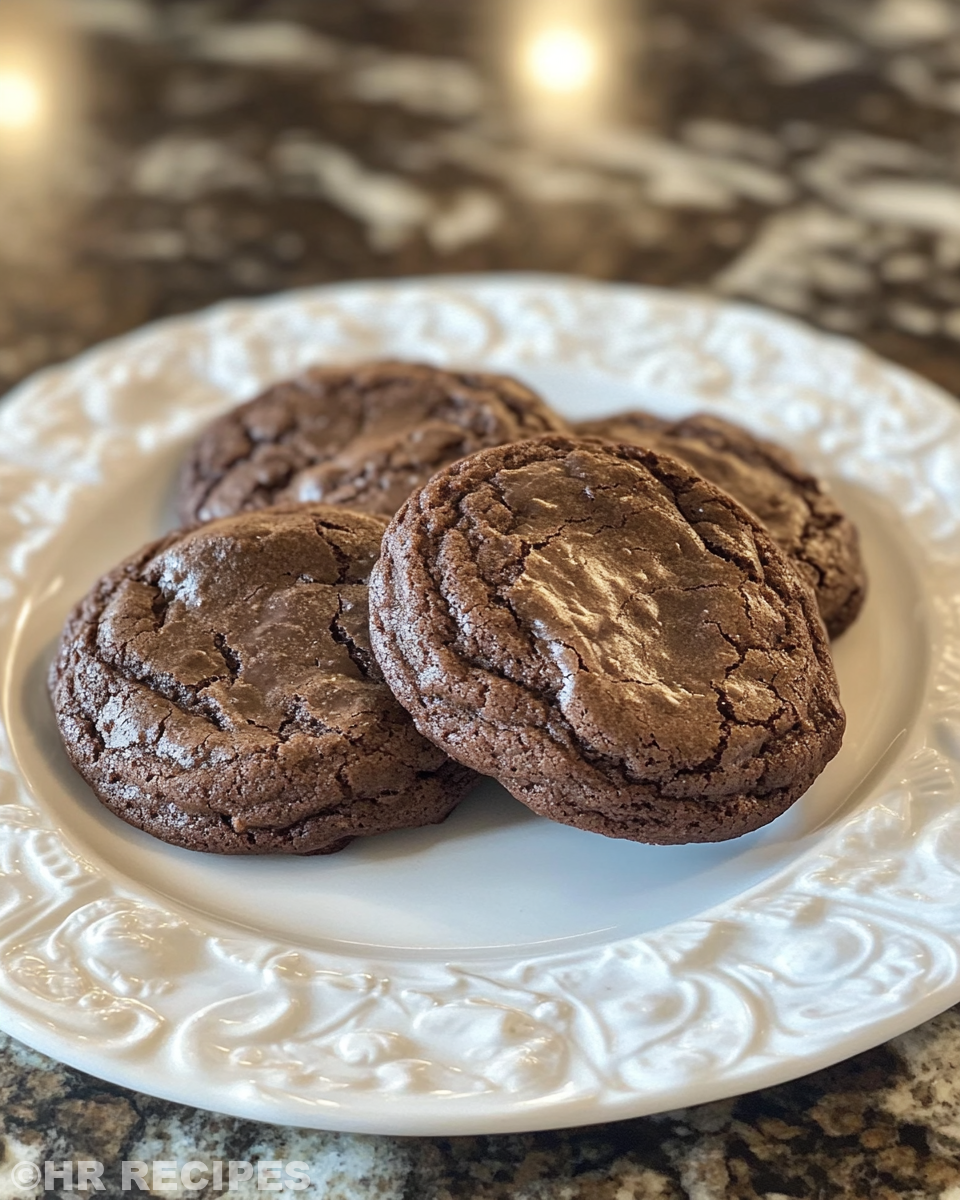
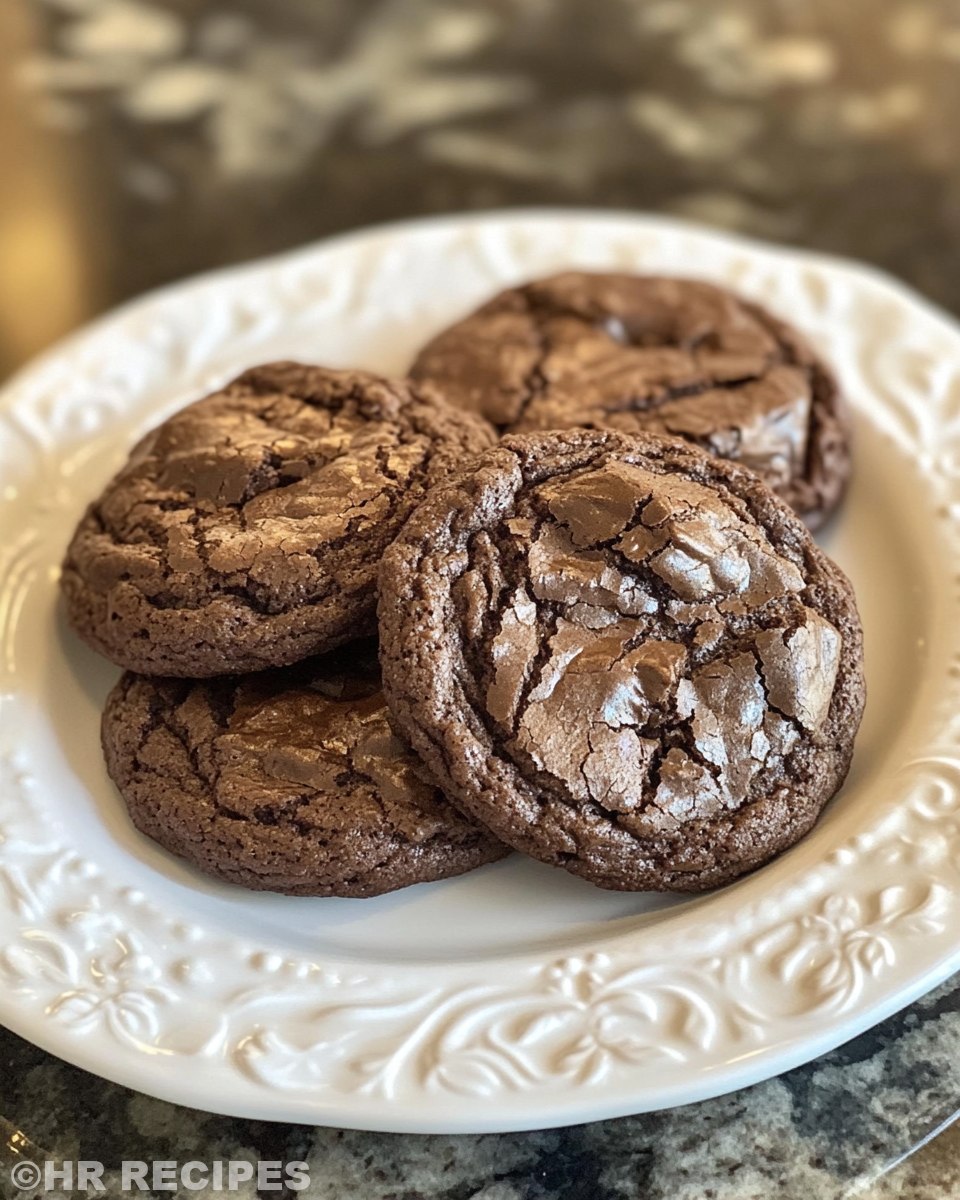
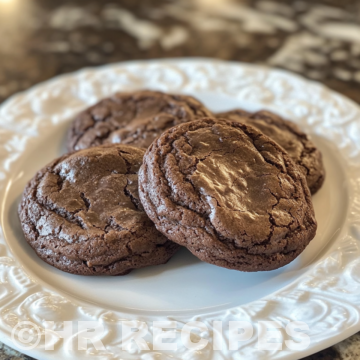
It’s kinda wild how pressure cooking brings this cookie game everywhere you want. The edges get just crisp enough and the center stays soft, packed with chocolate and coffee goodness. You gotta love how the natural release finishes it off perfectly, making the cookie moist but not soggy.
What Makes Pressure Cooking Win Every Round
- Pressure cookers speed up baking and cooking so you get treats fast without waiting forever.
- Heat and steam trap inside making cookies super moist with better flavor than regular baking.
- The sealing ring keeps pressure tight and consistent, so your cookies bake evenly every single time.
- You get the float valve and valve hiss as easy signals telling you when your cookie’s done baking right.
- Less oven heat means your kitchen won’t get all hot, which is great for summer mug cookie cravings.
- Cleanup's easier cause you’re usually working with one pot or insert, less mess to face after eating.
Your Simple Ingredient Checklist
- 1 cup semi-sweet chocolate morsels, this gives you that melty rich base you gotta have
- 2 tablespoons unsalted butter to keep things smooth and soft
- ¾ cup granulated sugar, for just the right sweet kick
- 2 large eggs at room temp to help cookies hold together and get fluffy
- 2 tablespoons milk that keeps the dough nice and tender
- 2 teaspoons vanilla extract, for warm yummy notes you can’t skip
- 1 cup all purpose flour, the backbone of your cookie dough
- ¼ cup unsweetened cocoa powder for that deep chocolate punch
- 1 teaspoon baking powder to help cookies puff up just right
- ½ teaspoon kosher salt to balance sweetness real good
- 1 teaspoon espresso powder to amp up the coffee flavor, trust me on this
- ½ cup semi-sweet chocolate morsels for topping and extra gooeyness on each cookie
Walking Through Every Single Move
Start by preheating your oven to 350°F. While it heats, get a baking sheet lined with parchment. This step is key so your cookies don’t stick and cleanup’s a breeze.
Next, toss your first batch of chocolate morsels with the butter into a microwave-safe bowl. Warm it up in 30 second bursts. Stir between rounds so it melts smooth and luscious. Cool this down a bit, don’t want baking hot mix ruining the eggs later.
In a big mixing bowl, whisk sugar and eggs till they look light and creamy. You feel the mixture getting fluffy and it’s a good sign. Stir in milk and vanilla extract together to bring it all home.

Slowly mix your cooled chocolate mixture into the wet ingredients. Take your time here, the dough comes together buttery and rich.
In a separate bowl, whisk your dry stuff: flour, cocoa, baking powder, salt, and espresso powder. Gradually add these dry bits to your wet chocolate mix. Don’t overmix it; stop when it’s just blended. Let that dough rest for about 5 to 10 minutes. It firms up and helps cookies hold shape during baking.
Drop rounded tablespoons onto your parchment lined tray, spacing each about 2 inches. Pop them in the oven for 10 to 12 minutes. You’re looking for edges set but centers still soft. When done, let cookies cool on baking sheet 5 minutes before moving to a wire rack. That little wait helps them finish firming up just right.
Time Savers That Actually Work
- Use pre-measured ingredients stored in jars so when you wanna bake, you’re set without digging through a bunch of bags.
- Microwave your butter and chocolate while prepping the rest like whisking sugar and eggs to speed things along.
- Line multiple baking sheets in advance so if you double batch, you’re ready to roll straightaway.
- Set timer for float valve action and steam cues so you don’t got stress about overcooking the cookies.
- Keep your sealing ring clean and fresh regularly, seals better and avoids steam leaks that can throw off cooking times.
When You Finally Get to Eat
That first bite feels like a warm hug on a hectic day. You notice the cookie’s cooling crust crackling softly under your teeth, giving way to gooey chocolate melted with espresso’s gentle bite.
The bittersweet cocoa pulls through without being intense while espresso powder sneaks in subtle coffee notes that wake you up without being too strong.
You feel that balance between crisp edges and soft chewy center. It’s the kind of cookie you can’t stop eating, and you won’t even feel guilty about it.
The mix of flavors dances with your morning coffee or that evening cup of tea perfectly, making these cookies easy to reach for anytime your sweet tooth calls.
How to Store This for Later
Want these cookies to last? First off, cool them completely before storing. Warm cookies trap moisture and get soggy fast, nobody wants that.
Keep your cookies in an airtight container at room temp for up to 3 days. Use parchment sheets between layers so they don’t stick together.
If you need longer storage, throw them in the fridge. Make sure container seals tight to stop fridge smells messing up your chocolate espresso vibes. They’ll stay fresh for about a week this way.
For really long haul, freeze your cookies. Wrap each one in plastic wrap then pack in a freezer safe container or bag. Thaw them at room temp when ready to eat. You get that fresh cookie feeling almost like they just came out of the pressure cooker.
Everything Else You Wondered About
- Can I bake these only in my pressure cooker without the oven? Honestly, this cookie’s best baked in your oven after mixing in the pressure cooker for melting chocolate. The oven’s heat sets the dough perfectly with crisp edges.
- What’s the purpose of the float valve and valve hiss when cooking? The float valve lets you know pressure's built up enough and it’s sealing tight. The valve hiss is like your timer telling you when steam’s escaping, meaning cooking is almost done.
- Can I swap regular cocoa powder for Dutch processed? Sure, but Dutch processed is less acidic so taste changes a bit. Your cookies might be milder chocolatey but still delicious.
- Do I have to do a natural release? For this recipe yeah, natural release helps keep cookies moist instead of drying out from quick pressure drops.
- Why does resting the dough matter? This little pause firms up dough so cookies don’t spread too thin while baking. You get a nice shape that's not flat pancakes.
- Any tip on keeping the sealing ring fresh? Wash it with warm soapy water regularly, dry completely before reinstalling. Replace yearly if it starts cracking, seals are key for pressure cooking success!
For more baking inspiration, check out our Classic Crockpot Pierogi Casserole with Kielbasa or try making some Mozzarella Stuffed Rosemary Parmesan Soft Pretzels for savory snacks that balance the sweetness of your treats.
Pressure Cooker Chocolate Espresso Cookie Recipe You Gotta Try
Equipment
- 1 Mixing bowl Large
Ingredients
Main ingredients
- 1 cup semi-sweet chocolate morsels
- 2 tablespoons unsalted butter
- ¾ cup granulated sugar
- 2 large eggs room temperature
- 2 tablespoons milk
- 2 teaspoons vanilla extract
- 1 cup all purpose flour
- ¼ cup unsweetened cocoa powder
- 1 teaspoon baking powder
- ½ teaspoon kosher salt
- 1 teaspoon espresso powder
- ½ cup semi-sweet chocolate morsels for topping cookies
Instructions
Instructions
- Preheat oven to 350°F. Line baking sheets with parchment paper.
- In a microwave-safe bowl, melt chocolate morsels and butter in 30 second intervals, stirring until smooth. Let cool slightly.
- In a large bowl, whisk together sugar and eggs until light and fluffy. Stir in milk and vanilla extract.
- Slowly add cooled chocolate mixture into egg mixture and stir until smooth.
- In another bowl, whisk together flour, cocoa powder, baking powder, salt, and espresso powder.
- Gradually stir dry ingredients into wet mixture until just combined. Don’t overmix.
- Let dough rest for 5 to 10 minutes. This helps firm it up for baking.
- Scoop dough by tablespoonfuls onto prepared baking sheets, spacing about 2 inches apart.
- Press a few chocolate morsels on top of each cookie to enhance gooey finish.
- Bake 10–12 minutes until edges are set and centers no longer look wet.
- Cool on pan for 5 minutes, then transfer to wire rack to cool completely.


