The pressure builds and you start counting down minutes until you eat. You remember that little valve hiss and the steam cues that let you know your chicken is almost ready. The tender pull comes in your mind, imagining how juicy and flavorful each bite gonna be.
You notice how the broth depth in the cooker infuses the chicken strips even before you see 'em in the oven. You can feel the anticipation as the air fills with the smell of garlic and parmesan. You’re just about ready to unwrap that foil and dig in.
There’s something about waiting that makes the first bite all the better. As you hear the slow release, your mouth waters more than ever. It’s a heck of a feeling knowing the wait was worth every second with chicken this good.
The Real Reasons You Will Love This Method
- Juicy chicken every single time thanks to the pressure cooker sealing in moisture.
- Crunchy breadcrumb coating that stays crisp after baking, no soggy mess.
- Garlic Parmesan flavor blends so well, you’ll swear it’s coming from a fancy restaurant.
- Super fast pre-bake prep with mixing sauces and coatings while cooker does its thing.
- Less oil usage but still that golden, irresistible finish you crave.
All the Pieces for This Meal
You gotta have all the right stuff ready for this one. First up is half a cup of mayo mixed with some creamy Greek yogurt or sour cream to keep it rich. Then freshly minced garlic brings that punch along with lemon juice for a little zing.
Don’t forget your herbs like flat-leaf parsley and chives chopped super fine. Sea salt flakes and cracked black pepper add that perfect balance. On the crispy side, you’ll mix panko breadcrumbs with garlic powder and a bit of paprika for warmth plus extra salt and pepper.
Flour and whisked eggs help the coating stick good. The star is your chicken tenderloins or sliced breast, around a pound and a half is perfect. You also want olive oil spray for baking, melted butter with fresh garlic and parsley for after baking touches, and parmesan to sprinkle on top while it’s still hot.
To round this out, a fresh cos lettuce cut into strips with olive oil, lemon and seasoning makes a nice side salad. Don’t forget those crispy air fryer chips or fries to complete your meal along with some lemon wedges to squeeze over all.
How It All Comes Together Step by Step
Step 1 Start by preheating your oven to 200 degrees Celsius or 400 Fahrenheit. Line a baking sheet with parchment paper or lightly grease it with olive oil spray so nothing sticks.
Step 2 Mix up your sauce in a medium bowl. Stir together mayonnaise, Greek yoghurt, minced garlic, lemon juice, parsley, chives, salt, and pepper until well blended.
Step 3 In another bowl, combine panko breadcrumbs with garlic powder, paprika, salt, and pepper. This will be your crunchy coating mixture.
Step 4 Dip each chicken tender right in the mayo mix making sure it’s fully coated. Then press it into the breadcrumb mix on all sides so it sticks real good.
Step 5 Put the coated tenders on your baking sheet spaced apart. Pop it into your hot oven and bake for about 25 to 30 minutes. Flip them halfway to get that even crisp all around.

Step 6 While baking, melt butter and stir in fresh minced garlic and parsley. This will be brushed on after cooking for extra flavor and shine.
Step 7 When timer runs out, take tenders out and let ’em rest a few minutes. Brush with the garlic butter, then sprinkle parmesan while still warm. Serve with your fresh lettuce salad, fries, and lemon wedges. Dig in.
Time Savers That Actually Work
First off, use pre-minced garlic if you’re in a rush. It’s not exactly fresh but it works real good and saves steps. Next you can mix mayo and yogurt combo the night before and keep in fridge.
Get your herbs chopped up ahead too or even grab frozen chopped ones for convenience. Lastly, line your baking sheet the night before or have it ready so you just grab and go.
These small shortcuts shave minutes off your cooking without makin’ you sacrifice on flavor or texture. It’s all about working smarter in your kitchen. Heck, you might even find you enjoy less hustle.
Your First Taste After the Wait
The first bite greets you with a crunch that’s just right. You feel that crisp coating slowly giving way to juicy chicken underneath. Garlic and parmesan flavors hit your tongue fast and linger with subtle herb notes.
There’s a warmth from the paprika and a brightness from the lemon juice mixed in the mayo coating. The tender meat pulls apart easy but still feels hearty, making every bite satisfying.
The buttery garlic drizzle on top adds that extra punch and a glossy finish that looks good as heck. That sprinkle of parmesan right after baking brings everything together perfectly.
You probably wanna go back for another, that’s just how good it gets. The steam cues of the chicken cooking still fresh in your memory as you savor each mouthful.
Keeping Leftovers Fresh and Ready
To keep your chicken tenders fresh, store leftovers in an airtight container in the fridge. They’ll stay good for about 3 to 4 days and still taste great reheated.
If you wanna freeze some, wrap them tightly in foil or plastic wrap, then put in a freezer bag. Frozen tenders keep well for up to 2 months. Just thaw overnight in the fridge before reheating.
Reheat in your oven at 350 degrees Fahrenheit or warm up in a toaster oven to keep the coating crispy. Avoid microwaving cause it might make the crunch soggy, though slow release heat helps if that’s your only option.
What People Always Ask Me
- Can I use chicken breasts instead of tenders? Yeah, sliced boneless skinless breasts work just fine. Just slice them into tender-sized strips before coating.
- Do I really need both mayo and Greek yoghurt? The mix kinda balances flavor and texture. Mayo adds creaminess while yogurt brings tang and a bit less fat.
- How do I know when chicken's done in the pressure cooker? Listen for the valve hiss and note the steam cues. Also check for the tender pull where chicken should be no longer pink inside.
- Is it okay to bake the chicken after pressure cooking? Yep, that’s what gets you the crispy breadcrumb coating everyone loves. Pressure cooker locks in moisture, oven adds crunch.
- Can I freeze these chicken tenders? Definitely. Wrap them tight and freeze up to 2 months. Thaw before reheating for best texture.
- What’s the best way to reheat leftovers? Oven or toaster oven at medium heat keeps the coating crispy. Microwaving can make it soggy but works if you gotta.
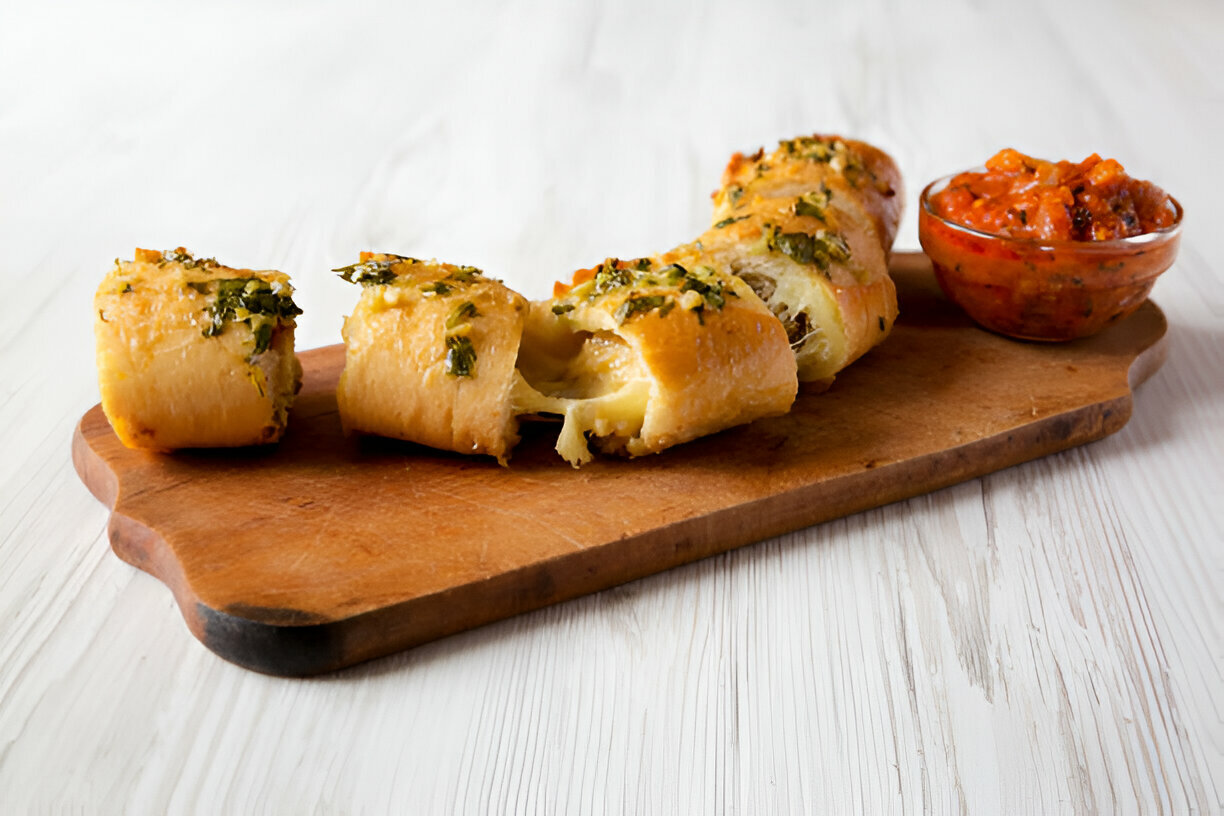
For related recipes, check out our Cheesy Kielbasa Hashbrown Casserole Dump Meal Recipe for a quick and easy option using kielbasa, or explore Mozzarella Stuffed Rosemary Parmesan Soft Pretzels featuring cheesy, herbed treats perfect for snacks. Also, don’t miss our Easy Marinated Cheese Appetizer with Salami & Green Olives as a savory delight to complement your meals.
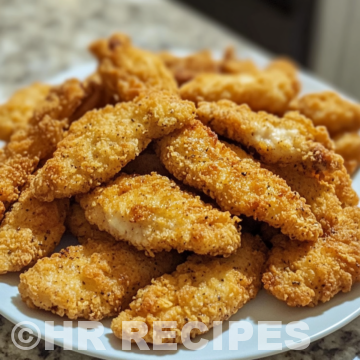
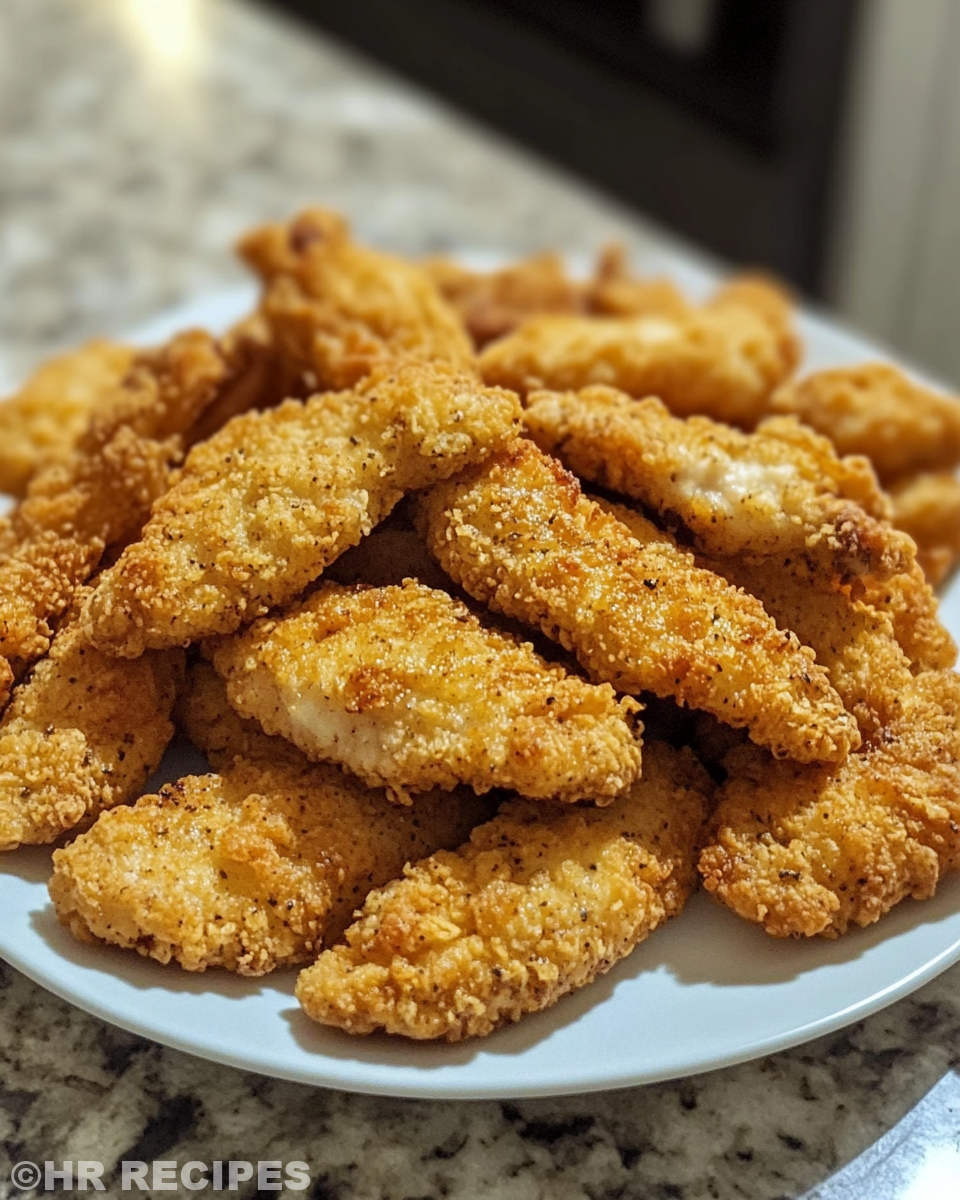
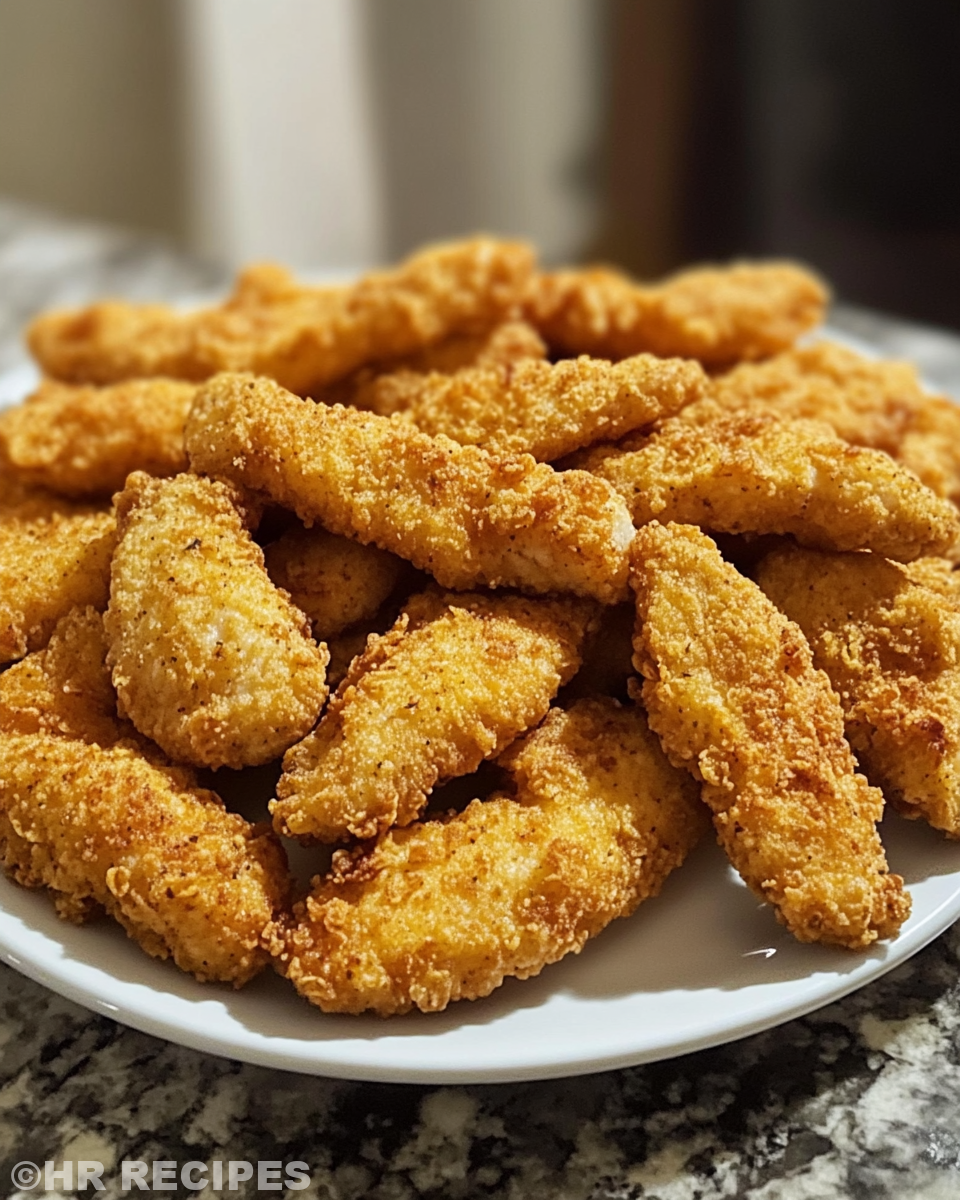
Baked Garlic Parmesan Chicken Tenders
Equipment
- 1 Mixing bowl Medium and small
- 1 Baking sheet Lined with parchment
- 1 Oven Preheated to 200C / 400F
Ingredients
Main Ingredients
- 0.5 cup Mayonnaise
- 0.25 cup Greek yoghurt or sour cream
- 2 cloves Garlic minced
- 1 tablespoon Lemon juice fresh
- 2 tablespoons Flat-leaf parsley finely chopped
- 1 tablespoon Chives finely chopped
- 0.5 teaspoon Sea salt flakes
- 0.5 teaspoon Cracked black pepper
- 1 cup Panko breadcrumbs
- 1 teaspoon Garlic powder
- 0.5 teaspoon Paprika
- 0.25 teaspoon Salt extra for coating
- 0.25 teaspoon Black pepper extra for coating
- 0.5 cup Flour
- 2 Eggs whisked
- 1.5 lb Chicken tenderloins or sliced breast
- As needed Olive oil spray for baking sheet
- 2 tablespoons Butter melted
- 1 clove Garlic minced, for butter
- 1 tablespoon Parsley chopped, for butter
- 0.25 cup Parmesan cheese freshly grated
- 1 head Cos lettuce sliced for salad
- 1 tablespoon Olive oil for salad
- 1 tablespoon Lemon juice for salad
- 1 pinch Salt and pepper for salad
- 1 serving Fries or air fryer chips to serve
- Several wedges Lemon to serve
Instructions
Instructions
- Preheat oven to 200°C (400°F). Line baking sheet with parchment or grease with olive oil spray.
- Mix mayonnaise, Greek yoghurt, garlic, lemon juice, parsley, chives, salt, and pepper in a medium bowl.
- In another bowl, combine panko breadcrumbs with garlic powder, paprika, salt, and pepper.
- Dip each chicken tender in the mayo mix, then coat in breadcrumb mixture on all sides.
- Place tenders on baking sheet and bake for 25–30 minutes, flipping halfway through.
- While baking, melt butter and mix in garlic and parsley. Brush over tenders after baking.
- Let tenders rest, sprinkle with parmesan, and serve with lettuce salad, fries, and lemon wedges.