
You catch the smell through the steam vent and suddenly you are starving. The sweet peanut butter aroma hits you first, thick and warm. It wraps round your kitchen and tugs at your belly, making you eager for the first bite.
As the pressure cooker hums low, you feel like the world is shrinking down to just you, the timer, and those little sugar-coated balls of dough. They’re cooking quicker than you expect but somehow soft and tender on the inside, just how you like them.
Then you spot the float valve pop, a little sign that tells you it’s done. You start the quick release, and the steam whooshes out fast. Hot and steamy pours out but you’ve been waiting, kinda impatient maybe, for these classic peanut butter blossoms with the melty chocolate kisses on top.
What Makes Pressure Cooking Win Every Round
- Your cookies get that tender pull texture that’s wildly addicting.
- The steam cues help lock in moisture so the peanut butter stays nice and soft.
- Quick release means you don’t gotta wait forever to dig in.
- Slow release is perfect if you wanna keep them warm without drying out.
- The float valve popping is like a little kitchen signal, so you know when the timing is right.
- Pressure cookers use way less time than ovens, which is perfect when you’re starving.
- You avoid heating up your whole kitchen, which is a win in summer or cramped spaces.
Getting savvy with pressure cooking? Check out our Classic Crockpot Pierogi Casserole with Kielbasa for more tasty pressure-cooker inspired meals that bring convenience without skimping on flavor.
The Complete Shopping Rundown
First, you gotta grab 1 ¾ cups of all-purpose flour. That’s your cookie base, so don’t skimp. Then 1 teaspoon of baking soda and half a teaspoon salt are your trusty helpers to get the right rise and flavor.
Next, you’ll want the good stuff for that rich peanut butter taste: half a cup of creamy peanut butter and half a cup of unsalted butter at room temp to get that perfect creamy mix. Don’t forget the half cup each of granulated sugar and light brown sugar, the brown sugar keeping it moist and soft.
Throw in 1 large egg, along with 2 tablespoons of milk and 1 teaspoon vanilla extract to bring everything together and add some depth.
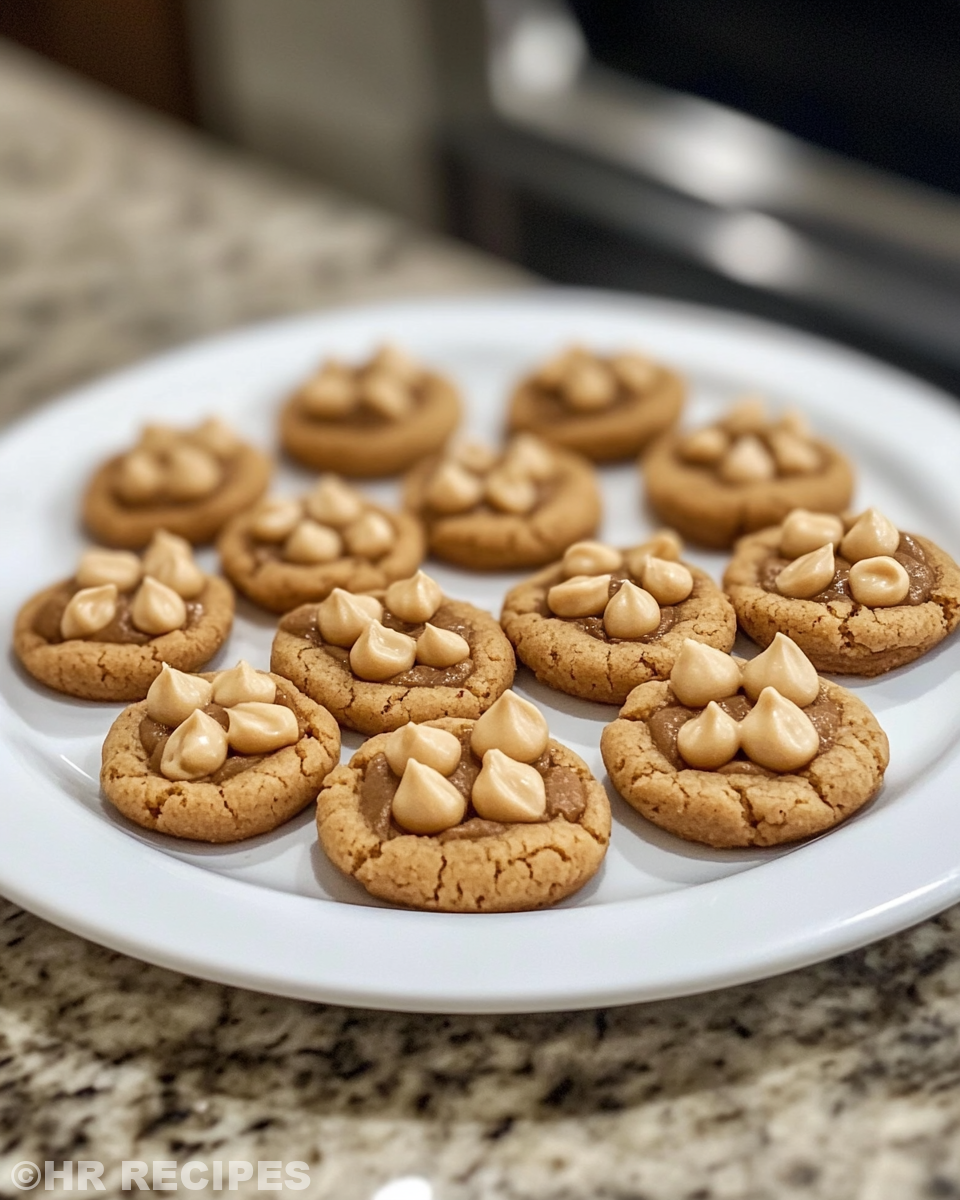
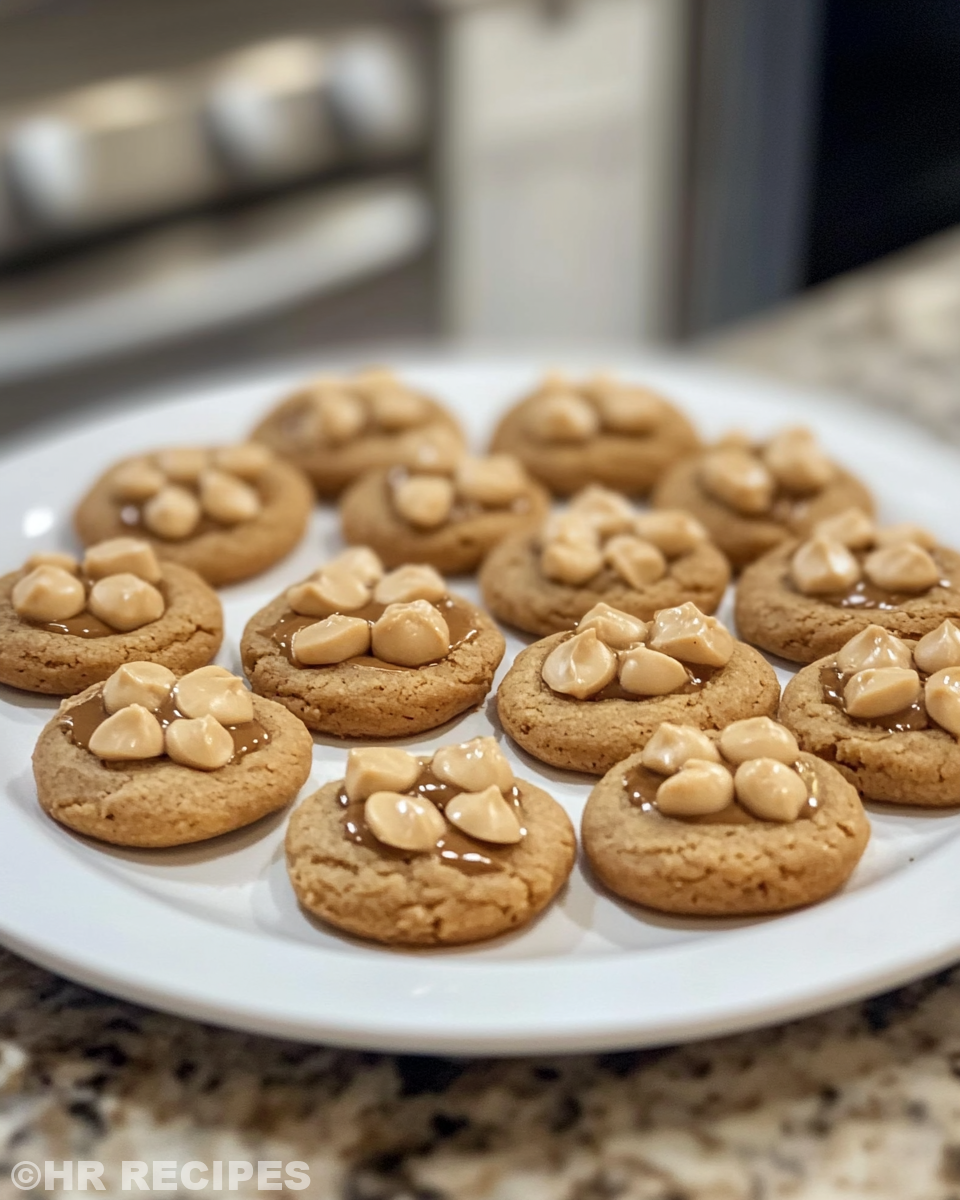
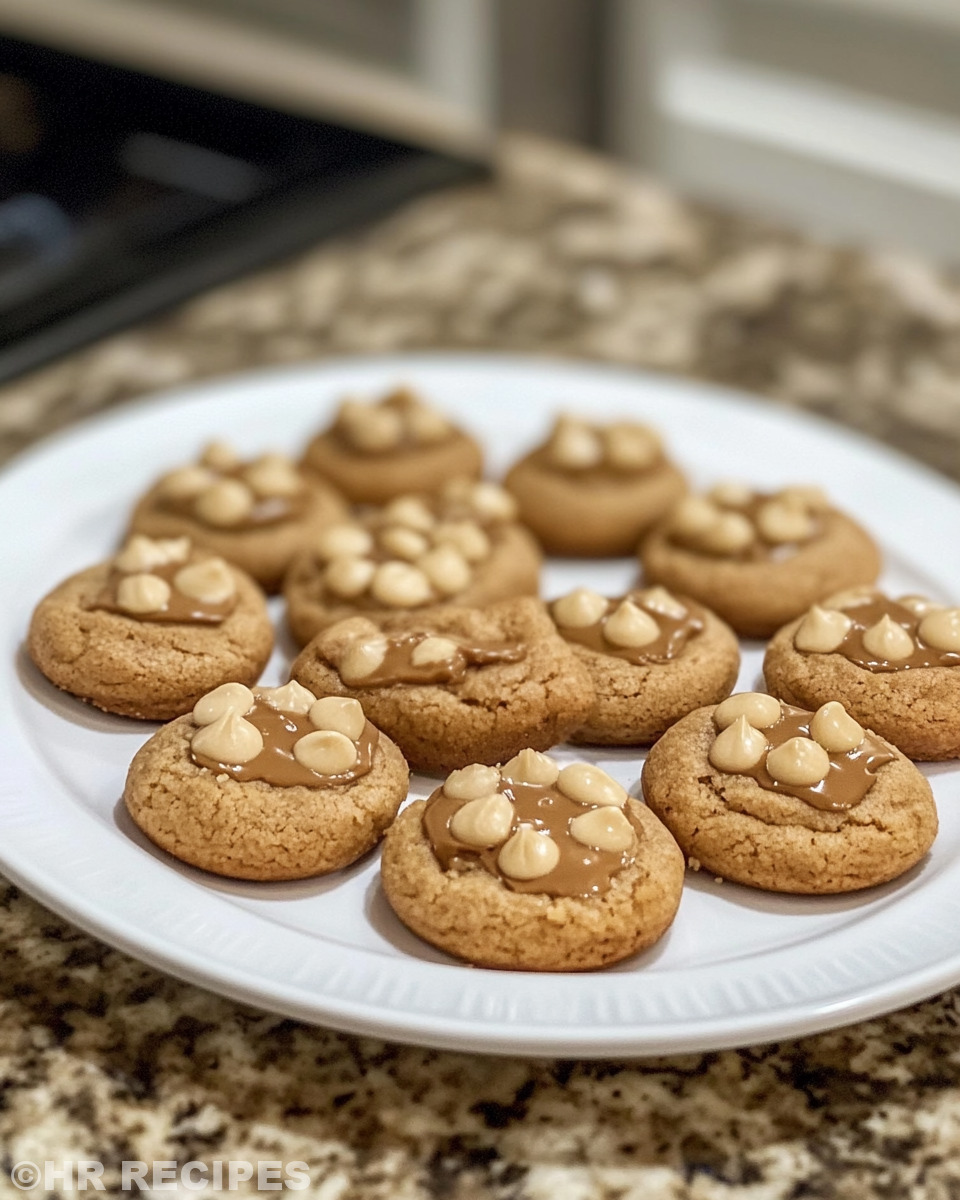
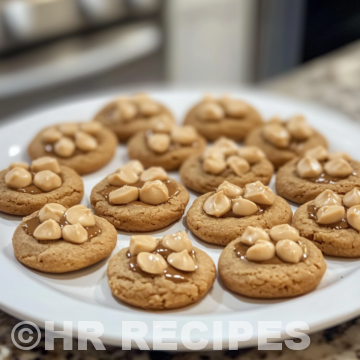
To finish off, you gotta coat your dough balls in half a cup more granulated sugar before baking. And the star? An 11 oz bag of Hershey kisses. Those little chocolate kisses just melt right on top making every bite sweet and melty.
Walking Through Every Single Move
Got your ingredients? Perfect. Start by lining a baking sheet with parchment paper and preheating your oven to 375 degrees Fahrenheit. This step is for baking the cookies after pressure cooker prep to get that just right finish.
In a medium bowl, whisk together the flour, baking soda, and salt. Set it aside so you got your dry mix ready for later.
Next in a large bowl beat together the peanut butter, butter, granulated sugar, and brown sugar until it looks light and fluffy. This mix is the heart of your cookie dough.
Add the egg, milk, and vanilla extract next. Beat that until everything is combined smooth.
Now slowly start adding the dry ingredients into the wet mix. You want it just combined, so don’t overbeat or your cookies won’t be as tender.
Shape the dough into 1-inch balls, then roll each ball in that extra granulated sugar. This gives your peanut butter blossoms their classic look and a little crunch outside.
Place each ball 2 inches apart on your lined baking sheet. This spacing helps them spread just right while baking.
Bake for 8 to 10 minutes until the edges turn lightly golden and the cookies are set but still soft in the middle. Right when they come out, press a Hershey kiss in the center of each cookie. The cookies will crack around the chocolate, and that’s the sign you got it right.
Easy Tweaks That Make Life Simple
You can swap creamy peanut butter for chunky if you want a little texture surprise in every bite. It works real good if you like a bit of crunch.
Instead of rolling in granulated sugar, you can do cinnamon sugar for a spicy twist that’s perfect for chilly days.
Got a busy schedule? Mix the dough the night before and store it covered in the fridge. The next day just roll and bake. The flavors actually get better with a little rest.
Your First Taste After the Wait
That first bite, oh man. The cookie is warm and chewy but not too soft. You feel the peanut butter flavor coat your tongue with a rich creamy hug.
The cracks around the chocolate kiss give way to melty goodness that’s just a little sweet and kinda smooth. It sorta pulls apart the cookie perfectly.
The sugar coating gives a nice slight crunch on outside, balancing out the softness beneath.
You notice all these little flavors playing together, peanut butter, sugar, chocolate, and vanilla. It’s a sweet treat that feels classic but new every time.
Keeping Leftovers Fresh and Ready
Store your peanut butter blossoms in an airtight container at room temp to keep that tender pull texture intact. They usually last about 4 days like that.
If you want to save them longer, tuck them in the fridge. Just let them come back to room temp before digging in or they can be too firm.
A quick way to warm leftovers is popping one in the microwave for 10 to 15 seconds. The chocolate kiss softens right up, and you get that fresh-baked feel again.
Common Questions and Real Answers
Can I use natural peanut butter? You sure can but it might make the dough a bit oily. Just add a little extra flour if it feels too soft.
What if my cookies puff up too much? Make sure you don’t overmix your dough. Also, press the chocolate kisses in immediately after baking so they melt right into the cookie.
Can I freeze these cookies? Absolutely. Freeze them in a single layer first, then put them in a zip bag. Thaw on the counter or microwave before eating.
What’s slow release in pressure cooking? Slow release means letting the steam come out gradually after cooking, which keeps your cookies warm and tender without drying them.
How do I know when to do quick release? Use quick release right after cooking if you wanna stop the cooking fast, so your cookies don’t overbake or dry out in the pot.
Where is the float valve and why does it matter? The float valve is that little bump near the lid that pops up when your cooker has reached pressure. It’s your signal that the timer can start and steam is building.
For more delicious desserts, try our Sweet Potato Honeybun Cake, or indulge in a savory treat with Cheesy Kielbasa Hashbrown Casserole. If you love easy appetizers, the Easy Marinated Cheese Appetizer with Salami & Green Olives is perfect for your next gathering.
Classic Peanut Butter Blossoms Pressure Cooker Recipe
Equipment
- 1 Mixing bowl Large
- 1 Baking sheet Lined with parchment
- 1 Electric mixer Hand or stand mixer
Ingredients
Main Ingredients
- 1 ¾ cups All-Purpose Flour
- 1 teaspoon Baking Soda
- ½ teaspoon Salt
- ½ cup Creamy Peanut Butter
- ½ cup Unsalted Butter room temperature
- ½ cup Granulated Sugar
- ½ cup Light Brown Sugar lightly packed
- 1 Large Egg
- 2 tablespoons Milk
- 1 teaspoon Vanilla Extract
- ½ cup Granulated Sugar additional, for coating cookies
- 11 oz Hershey Kisses
Instructions
Instructions
- Whisk together the flour, baking soda, and salt in a medium bowl, then set aside.
- Cream the peanut butter, butter, granulated sugar, and brown sugar in a large bowl until light and fluffy.
- Add the egg, milk, and vanilla extract, and beat until smooth.
- Gradually add dry ingredients to wet ingredients and mix just until combined.
- Chill the dough for at least 1 hour, covered.
- Preheat oven to 375°F and line baking sheets with parchment paper.
- Shape chilled dough into 1-inch balls, roll in sugar, and place on baking sheet 2 inches apart.
- Bake for 8-10 minutes until set and edges begin to brown lightly.
- Immediately press a Hershey kiss into the center of each cookie after baking.
- Cool on the baking sheet for 5-10 minutes, then transfer to a wire rack.


