
Steam curls up from the valve and your stomach starts talking back. You catch that little hiss and your mind kinda drifts to what you got cooking inside. It's crazy how a simple sound can get you all eager to dive right in.
The air fills with a cozy scent that sorta teases you. You spot the steam cues rising, reminds you the broth depth is perfect, and you’re almost there. The wait is short but the taste gonna be long remembered.
You feel that tender pull when you open the lid after the natural release. It’s like a little gift, a treat you earned with a slow release of all those flavors and crunch wrapped up in a sweet ball of holiday joy.
What Makes Pressure Cooking Win Every Round
- Keeps your kitchen cool since everything’s sealed tight, no crazy heat waves you don’t want.
- Speedy as heck. You get treats done way faster than usual, no standing around.
- Locks in flavors deep, making each bite pop with yum.
- You get perfect texture from that tender pull, no overcooking worries.
- Easy cleanup since it's all in one pot, no messy counters.
- Using steam cues helps you know exactly when it’s time, kinda like a cooking buddy.
- Energy saver 'cause it cooks fast and sealed, no heat lost to the air.
Pressure cooking techniques can really transform your holiday treats and meals. Check out our guide on Classic Crockpot Pierogi Casserole with Kielbasa for another easy, comforting dish that’s perfect for busy days.
What Goes Into the Pot Today
- 36 OREOs crushed fine, gotta get that cookie crunch mixed in.
- 8 oz cream cheese, softened for that creamy smooth vibe in every bite.
- 1 ½ cups melting wafers, these melt real smooth and hold together your balls.
- ½ to 1 Tablespoon shortening or coconut oil, optional but it helps make that chocolate dip silky.
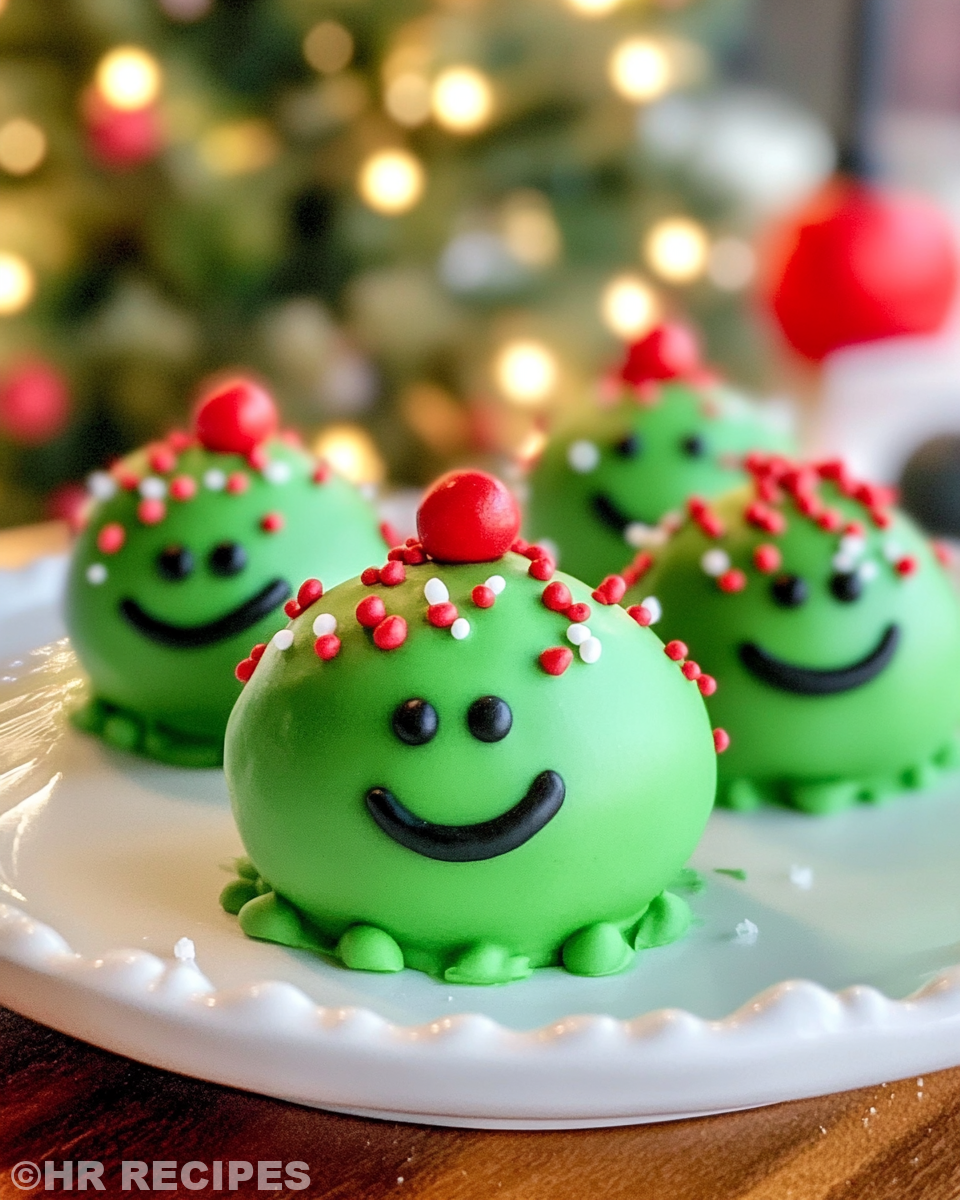
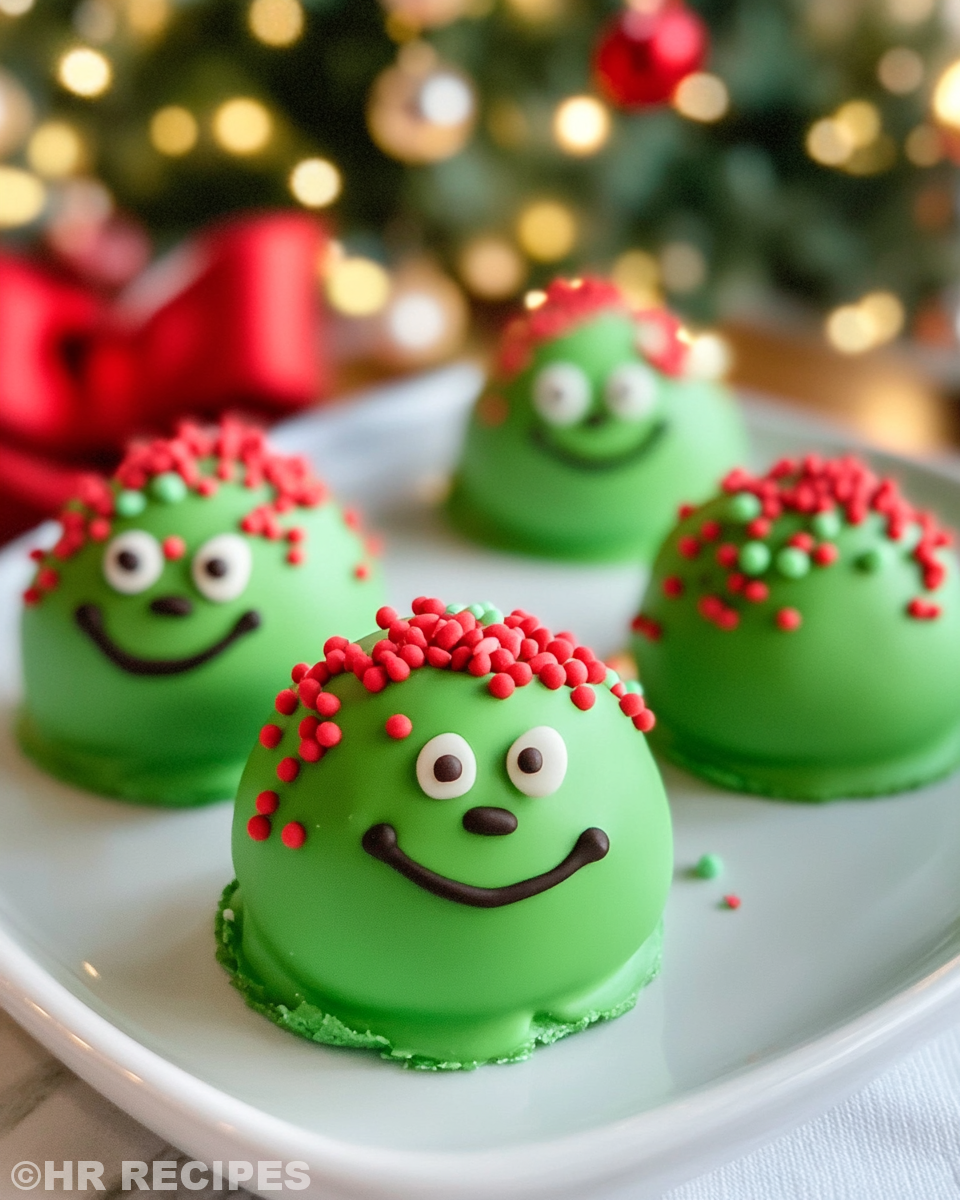
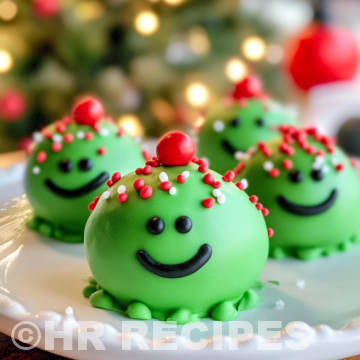
- Green food dye to paint those truffles that classic Grinch look you want.
- Sprinkles because, hey, a little sparkle makes it fun and festive.
- Parchment paper for lining your trays so nothing sticks, cleanup’s easier too.
- Microwave-safe bowl for melting that coating just right.
- Freezer space to chill the truffles just enough before the dip.
Using the right ingredients can make all the difference. For inspiration, don’t miss our Easy Marinated Cheese Appetizer with Salami & Green Olives if you’re planning appetizers or snacks alongside your holiday treats.
How It All Comes Together Step by Step
- Place your OREOs in a food processor and pulse until you get fine crumbs. No big chunks here, gotta be smooth.
- Add the softened cream cheese to the crumbs and blend ‘til smooth and fully combined. It should look kinda like cookie dough.
- Roll the mixture into small balls, about the size of a walnut, and set them on a parchment-lined baking sheet.
- Freeze these balls for about 20 minutes so they’re firm enough to dip without falling apart.
- While the truffles chill, melt your wafers in a microwave-safe bowl. Do 30-second bursts and stir well each time so nothing burns or gets lumpy.
- Add your shortening or coconut oil if you want the chocolate dip smoother and silkier to work with. Then mix in green food dye thoroughly till the color looks even.
- Grab each chilled truffle ball, dip it fully into the green coating, and let the excess drip back into the bowl. Place them back on the parchment-lined tray.
- Decorate right away with sprinkles so they stick while coating is still wet, then pop them in the fridge to set up for about 10 minutes.
If you want quick tips for making the process efficient, see our detailed notes on classic crockpot meals and shortcuts which also emphasize speeding up without losing taste.
Quick Tricks That Save Your Time
If you gotta speed thing up, freezing truffles works real good. Pop ’em in the freezer and you can do other stuff while they harden.
Using a food processor cuts crushing cookies way faster than by hand. Makes mixing smoother and less messy.
Microwave melting in bursts is the way to go. You get even heat, no burnt spots, plus less washing since you only use one bowl.

Your First Taste After the Wait
The moment you bite into a Grinch Ball, you catch that creamy crush of cookies melding with the smooth cream cheese center. It’s a sweet and tangy little party in your mouth.
The outer green coating gives a nice snap before melting into a silky finish. You feel the sprinkles adding just a tiny pop of crunch and fun.
Your senses get pulled in by the colors and textures. It’s kinda like a holiday hug wrapped in a bite size treat you wanna keep coming back to.
That tender pull right off the freezer lets you savor it while still cold enough to hold shape but soft enough to taste every layer.
If you love combining flavors and formats, our Mozzarella Stuffed Rosemary Parmesan Soft Pretzels recipe offers a savory counterpart perfect for holiday hosting.
How to Store This for Later
Pop your truffles into an airtight container and keep ’em in the fridge up to a week. They hold their green sparkle and texture great.
If you want to stash ’em longer, put them in a freezer-safe box and freeze for up to 3 months. Just remember to let ’em thaw in the fridge before serving for best taste.
When packing for a holiday party, layer parchment paper between to keep them from sticking together and looking perfect on arrival.
What People Always Ask Me
- Can I use a different cookie besides OREOs? Totally! Just pick a cookie that’s dry enough to crumble but still tastes good with cream cheese. Chocolate wafers work nice.
- Do I have to use cream cheese? Yeah, cream cheese gives that rich, smooth texture. You can try a vegan version if you wanna stay dairy-free.
- Why is shortening or coconut oil optional? It helps thin the melting wafers so dipping is easier and coating looks smooth. You can skip it if you like a thicker shell.
- Can I skip the freezing step? It’s best not to. Freezing firms up the balls so they dip cleanly without breaking apart.
- Is it safe to melt wafers in the microwave like that? For sure! Just use short bursts and stir to avoid burning. You wanna keep things smooth and perfect for dipping.
- How do I get the green color so even? Mix the food dye into the melted coating really well. If it’s streaky, keep stirring until all parts show that bright green vibe.
Explore more creative recipes and snack ideas by visiting our Cheesy Kielbasa Hashbrown Casserole Dump Meal or our Maple Sugared Cranberries for delightful holiday treats that wow the crowd.
Grinch Balls (Truffles) Pressure Cooker Recipe
Equipment
- 1 Mixing bowl Microwave-safe
Ingredients
Main ingredients
- 36 OREOs crushed fine
- 8 oz Cream cheese softened
- 1 ½ cups Melting wafers white chocolate preferred
- ½ to 1 Tablespoon Shortening or coconut oil optional
- Green food dye and sprinkles for decoration
Instructions
Instructions
- Place your OREOs in a food processor and pulse until you get fine crumbs. No big chunks here, gotta be smooth.
- Add the softened cream cheese to the crumbs and blend ‘til smooth and fully combined. It should look kinda like cookie dough.
- Roll the mixture into small balls, about the size of a walnut, and set them on a parchment-lined baking sheet.
- Freeze these balls for about 20 minutes so they’re firm enough to dip without falling apart.
- While the truffles chill, melt your wafers in a microwave-safe bowl. Do 30-second bursts and stir well each time so nothing burns or gets lumpy.
- Add your shortening or coconut oil if you want the chocolate dip smoother and silkier to work with. Then mix in green food dye thoroughly till the color looks even.
- Grab each chilled truffle ball, dip it fully into the green coating, and let the excess drip back into the bowl. Place them back on the parchment-lined tray.
- Decorate right away with sprinkles so they stick while coating is still wet, then pop them in the fridge to set up for about 10 minutes.
- Serve chilled or at room temp and enjoy the holiday cheer!


