Chоcolаte sуrup is one of those toppings we use on ice cream , pancakes and milkshakes . Its rich sweetness makes every treat feel extra special . But the store bought ones got preservatives and tons of sugar that can mess up the taste and even your health . When you make it at home you can choose what goes into it and make it just how you want .
In this article we will talk about how to make your own chocolate syrup at home . We will show what it is , a bit of history , and why its better to make it yourself . You will get a full recipe with ingredients , steps and tips so your syrup turns out great every time . No matter if your new to cooking or know a lot , you will enjoy making this syrup and feel proud of it .

What is Chocolate Syrup?
Chоcolаte syrup is a thick , sweet liquid made from cocoa powder , sugar and water . Sometimes you add vanilla or salt to make it extra good . Its glossy look and deep brown color make it perfect for pouring over desserts and drinks .
Long ago , chocolate came from Central America where people used cacao beans as drink . In the 19th century , sugar became cheap and machines helped make chocolate syrup . Since then its been a favorite topping around the world .
You can pour chocolate syrup on ice cream sundaes , brownies or yogurt . You can also stir it into milkshakes , mochas or chocolate milk . Even breakfast foods like pancakes and waffles get better with a swirl of syrup .
Benefits of Homemade Chocolate Syrup
Making chocolate syrup at home has many benefits . First , you control the ingredients so you avoid preservatives and artificial stuff . You can pick natural sweeteners and cut down on sugar if you want .
Another cool thing is you can change the flavor and thickness . If you like stronger chocolate , add more cocoa . If you want it thinner just add more water . You decide what you like best .
Its also cheaper to make your own . Store brands can cost a lot , but cocoa , sugar and water are cheap and in most pantries . So you save money and still get yummy syrup .
Ingredients in Homemade Chocolate Syrup
- Unsweetened cocoa powder: 1 cup
- Granulated sugar: 1 cup
- Water: 1 cup
- Vanilla extract: 1 teaspoon
- A pinch of salt: optionаl
In addition to these , you might like to try:
- Adding a splash of brewed coffee for a mocha flavor
- Putting in a few tablespoons of maple syrup for a different sweet taste
- Using extracts like almond or mint to mix up the flavor
- Experimenting with spices such as cinnamon or a pinch of cayenne pepper
Detailed Recipe for Homemade Chocolate Syrup
Ingredients
- 1 cup of unsweetened cocoa powder
- 1 cup of granulated sugar
- 1 cup of water
- 1 teaspoon of vanilla extract
- A pinch of salt (optional)
Directions
- In a medium saucepan over medium heat , mix cocoa powder and sugar . Stir well to stop clumps .
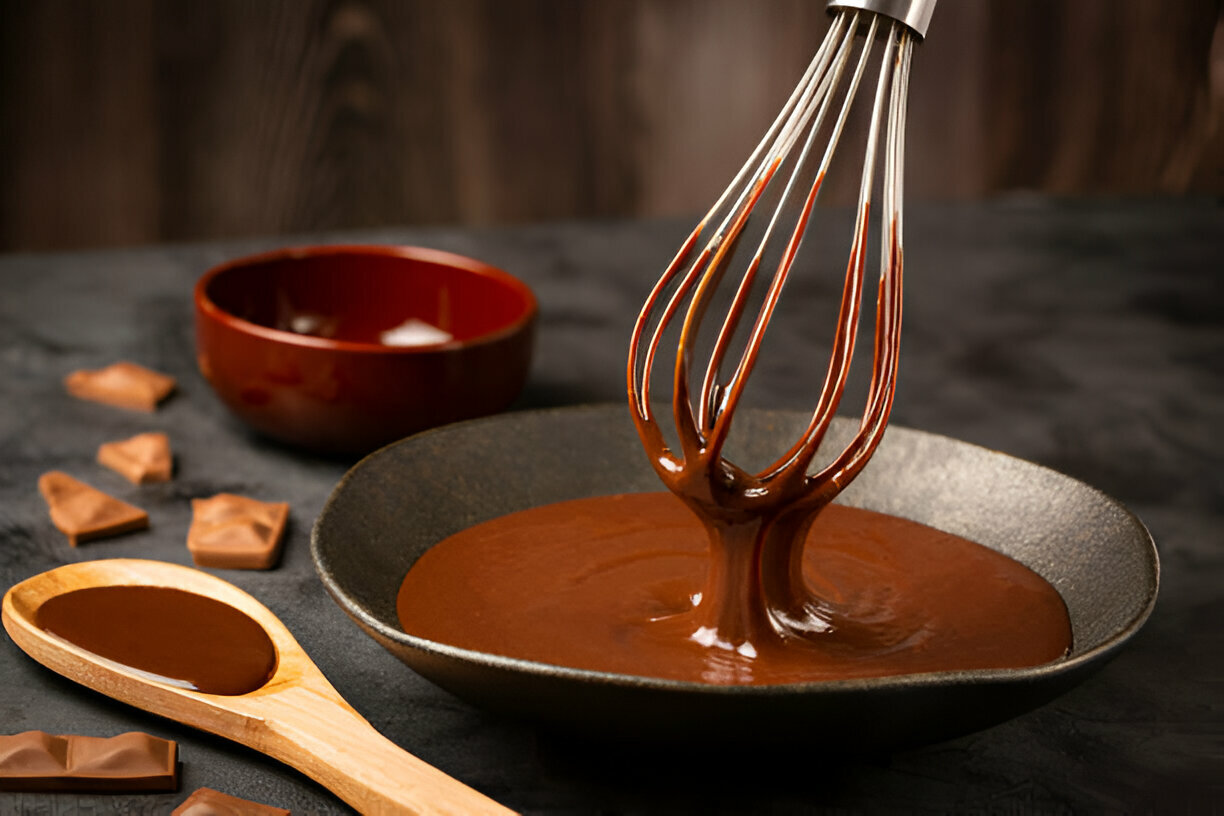
- Slowly pour in water while you whisk . Keep whisking until smooth .
- Turn up heat and bring to gentle boil , watching so it dont burn .
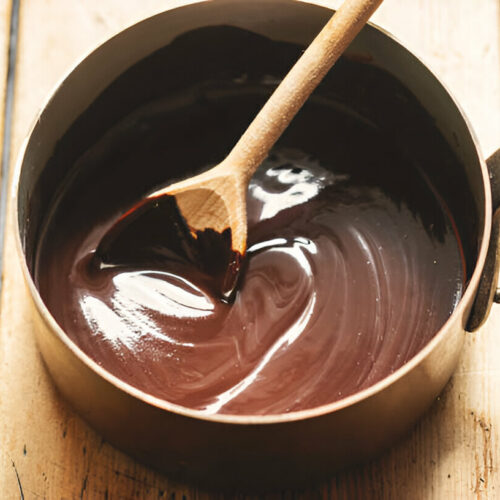
- Lower heat and simmer 5 minutes or until thick enough . Stir now and then .
- Take off heat and add vanilla extract and salt if you use it .
- Let it cool then pour into a clean jar . Store in fridge .
Tips and Advice
- Store syrup in an airtight jar in the fridge up to two weeks .
- Use on ice cream , pancakes or stir in drinks like milkshakes .
- Adjust sugar or cocoa to get the right sweetness and thickness .
Serving Suggestions for Chocolate Syrup
- Ice Cream and Desserts: Drizzle over sundaes , brownies or yogurt parfaits for a chocolatey finish .
- Beverages: Add to coffee , hot chocolate or milkshakes for extra flavour .
- Breakfast Items: Try on pancakes , waffles or French toast to start day with chocolate .
Common Mistakes to Avoid
- Overcooking or burning the syrup: Watch closely when boiling so it dont burn .
- Not mixing ingredients properly: Mix cocoa and sugar well before adding water to avoid lumps .
- Storage errors: Use an airtight container and keep in fridge to stay fresh .
Frequently Asked Questions (FAQs)
What is the shelf life of homemade chocolate syrup?
It lasts up to two weeks in the fridge if stored right . Always check for smell or mold before using .
Can I substitute cocoa powder with a chocolate bar?
Yeah , you can melt a chocolate bar . But bars got butter or milk solids , so texture and taste might change .
Is homemade chocolate syrup gluten-free?
Usually yes , cocoa powder , sugar and vanilla dont have gluten . But read labels of brands to be safe .
How can I make chocolate syrup less sweet?
Cut sugar by a little or add more water . You can also add extra cоcoa powder for more chоcolаte flavor .
Can I add other flavors to my chocolate syrup?
Sure . Try almond extract , peppermint oil or spices like cinnamon for a new taste .
Conclusion
All in all making your own chоcolаte syrup is fun and gives you control over what you eat . You get to pick ingredients and make it fit your taste . Dont be afraid to try this recipe and share how it goes for you .
Additional Resources
Homemade Chocolate Syrup
Equipment
- 1 Medium saucepan
- 1 Whisk
- 1 Measuring cups
- 1 Measuring spoons
- 1 Storage container or bottle
Ingredients
- 1 cup granulated sugar Feel free to adjust the sweetness by adding more or less sugar.
- 1 cup water
- 1 cup unsweetened cocoa powder
- ¼ teaspoon salt
- 1 teaspoon vanilla extract
Instructions
- In a medium saucepan, combine the granulated sugar, cocoa powder, and salt.
- Slowly add the water to the dry ingredients, whisking continuously to ensure everything is thoroughly combined and there are no lumps.
- Place the saucepan over medium heat and bring the mixture to a gentle boil. Continue stirring as the syrup begins to thicken.
- Once it reaches a boil, reduce the heat and let it simmer for about 5-7 minutes, continuing to stir occasionally. You want the syrup to thicken to a pourable consistency.
- Remove the saucepan from the heat and stir in the vanilla extract.
- Allow the syrup to cool slightly before transferring it to a clean storage container or bottle.
- Once cooled, it can be stored in the refrigerator for up to two weeks.