The pressure builds and you start counting down minutes until you eat. You know the float valve has popped up, signaling your cooker is locked tight, and the fun part is about to begin. That little hissing noise can be kinda soothing but you keep an eye on the clock anyway, the anticipation growing.
Though the wait feels long when you just wanna dig in, you catch yourself thinking about that sticky sweet sauce that's been soaking into the chicken. It’s not just a simple meal, it's a promise that dinner’s gonna be worth it. You spot the tender pull of the chicken soon, and that’s what keeps you patient.
When the quick release finally lets out the steam, you feel this rush of excitement and relief all at once. The smell hits you first—garlic and honey doing their dang thing. You can't wait to taste that perfect balance of flavors with every juicy bite of chicken breast that cooked just right inside your pressure cooker.
Why Your Cooker Beats Every Other Pot
- It seals in steam tight with the sealing ring, so flavors get locked in deep.
- Cooks super fast thanks to high pressure pushing heat right through the food.
- The float valve lets you know when pressure is up and it’s safe to open.
- Use quick release or slow release to manage pressure and avoid overcooking delicate stuff.
- Cleanup’s a snap since everything cooks in one pot without splatters everywhere.
Pressure cookers are truly a game changer in the kitchen, saving time without sacrificing flavor. For more tips on using different cookware efficiently, check out our Easy Marinated Cheese Appetizer with Salami & Green Olives.
All the Pieces for This Meal
- 500g (1 lb) chicken breasts, boneless and skinless, sliced to make thinner pieces
- Salt and pepper, 'cause seasoning is simple but everything
- ¼ cup flour for coating, helps create that nice texture on the chicken
- 3 ½ tablespoon unsalted butter or 2 ½ tablespoon olive oil to get things golden
- 2 garlic cloves, minced to bring out that sharp, sweet bite
- 1 ½ tablespoon apple cider vinegar (or white or clear vinegar works too)
- 1 tablespoon soy sauce light or all purpose, adds salty umami
- ⅓ cup honey (or maple syrup for a twist), makes the sauce sticky and sweet
Don’t forget to season your chicken well as it forms the base flavor. You might enjoy exploring chicken breast recipes like our Cheesy Kielbasa Hashbrown Casserole Dump Meal for hearty meal ideas involving chicken.
Walking Through Every Single Move
First, you take the chicken breasts and slice each one in half horizontally. This gives you four thinner pieces that cook faster and soak in more sauce.
Sprinkle salt and pepper on both sides. Then dust them with flour, shaking off the extra. This little step helps the sauce stick real good.
Heat 1 tablespoon butter in a big skillet on medium high. Toss in the chicken pieces and cook ’em 2 to 3 minutes each side till they turn a pretty golden brown and are cooked through. Then move them off the heat and set aside.
Turn heat down to medium and add the rest of the butter. Throw in minced garlic and swish around for about 30 seconds till the garlic starts turning golden and smells dang good.
Pour in vinegar, soy sauce, and honey. Stir this up and bring it to a simmer. Let it bubble a bit for 1 to 2 minutes till the sauce thickens up just a bit.
Slide the chicken back in the skillet and flip so every piece gets coated in that sweet garlicky sauce.
Simmer everything together for another 1 or 2 minutes so flavors soak in nice. Watch it close, you don’t want sauce burning or drying out.
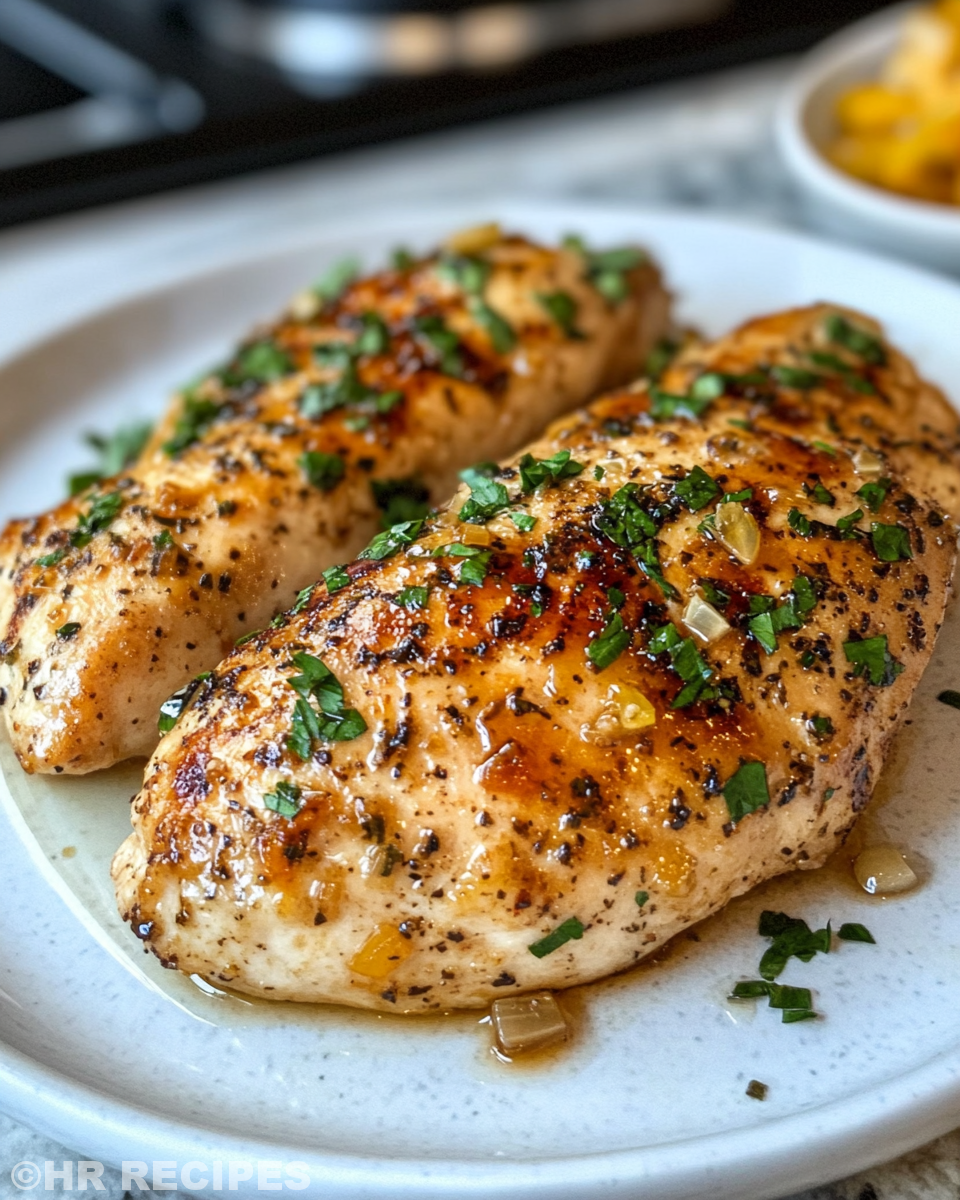
Pull it off heat and serve right away. Spoon extra sauce over chicken ’cause you gotta get every drop of that yum.
Smart Shortcuts for Busy Days
- Grab pre-minced garlic from the store, saves a minute or two and still tastes good.
- Use chicken tenders if you don’t wanna slice breasts yourself.
- Shake flour and seasoning into a big baggie then coat chicken in it, less mess.
- Make the sauce ahead and just warm it up with cooked chicken when you’re ready.
- Skip butter and cook chicken directly in olive oil if that’s easier for you.
The Flavor Experience Waiting for You
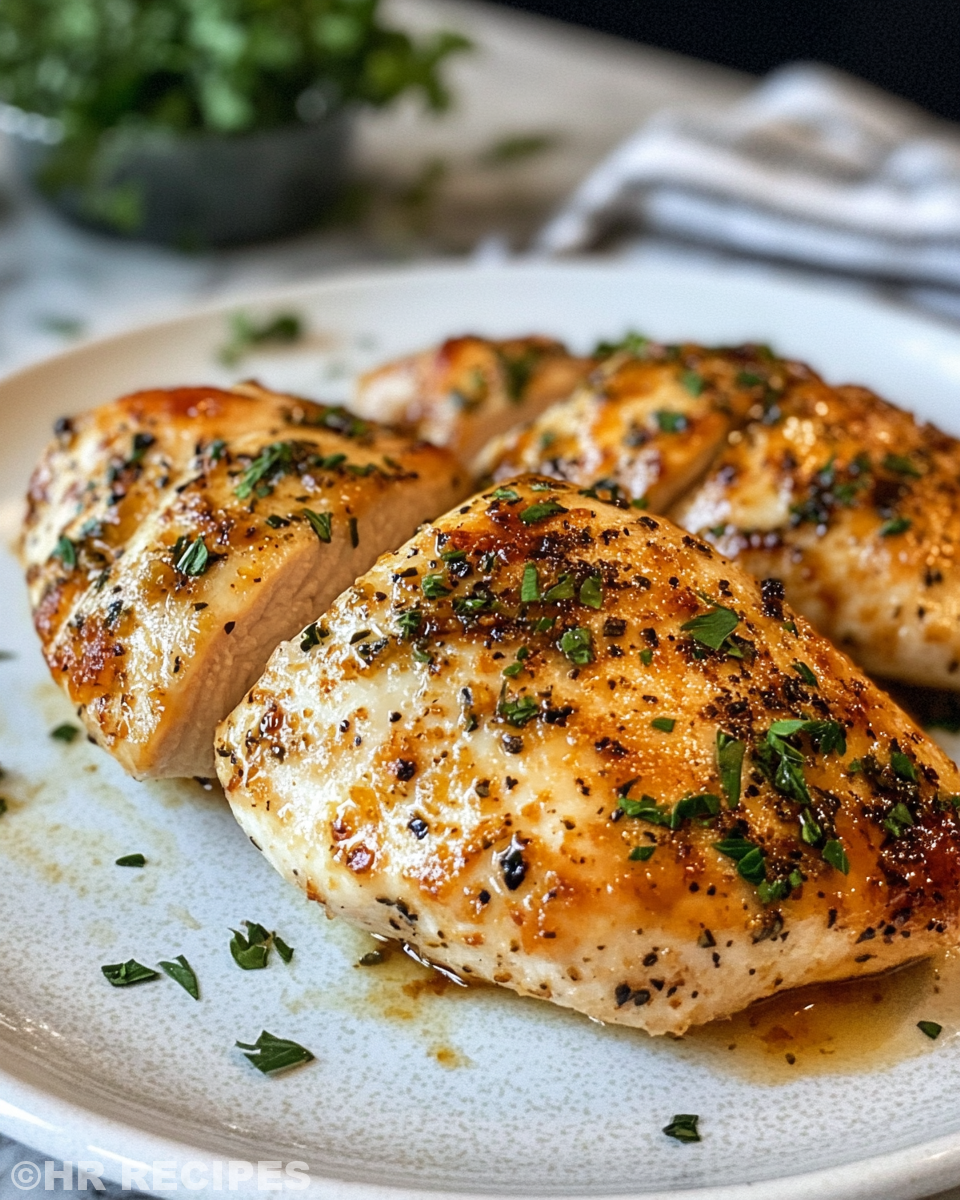
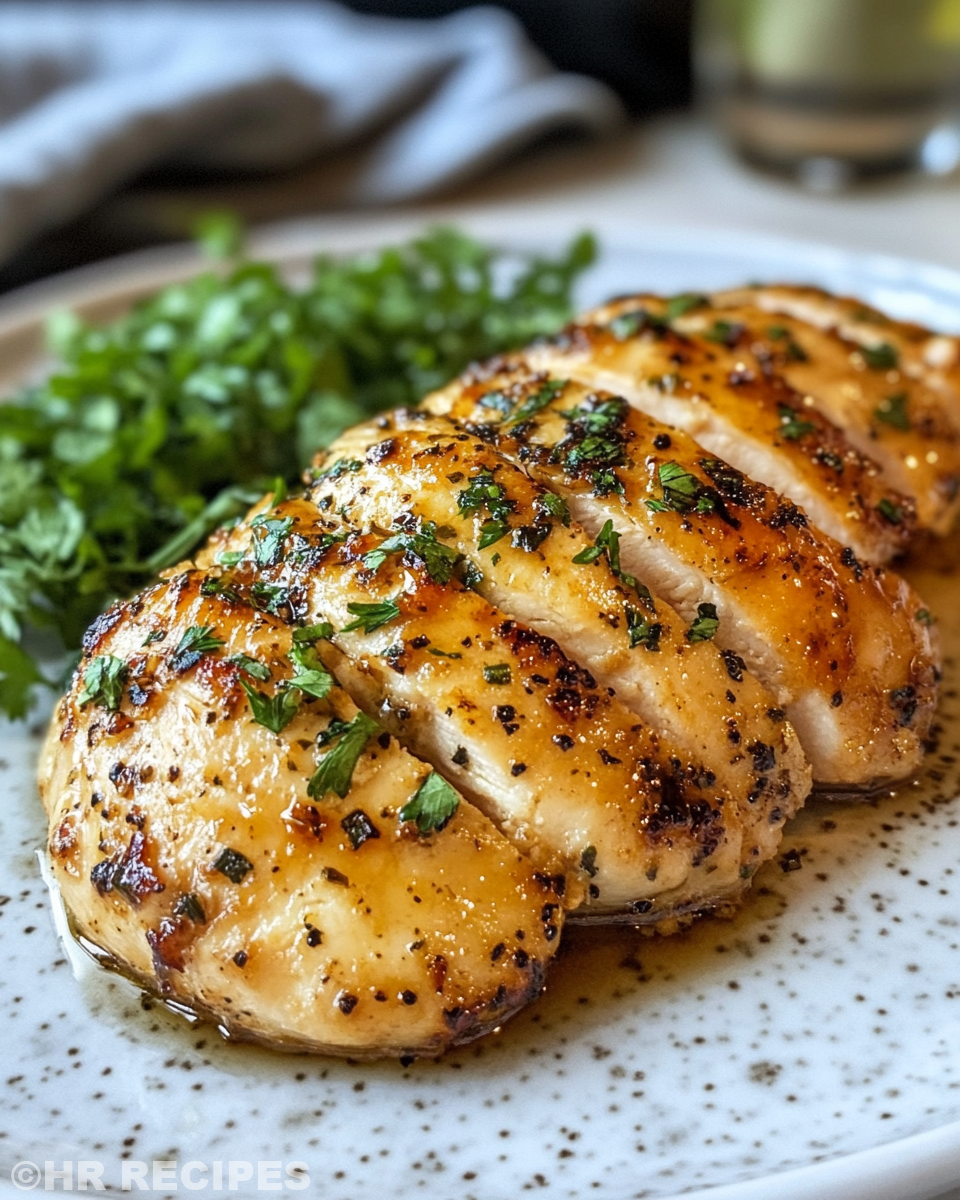
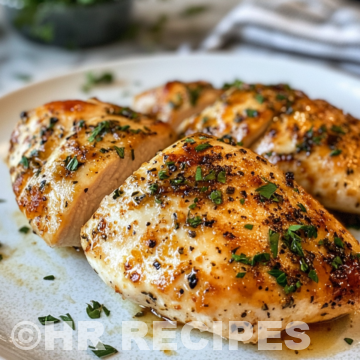
When you bite into this honey garlic chicken, the first thing you taste is that sweet honey hit with a subtle tang from the vinegar. It hits your tongue kinda like a warm hug that’s both sticky and smooth at the same time.
The garlic sneaks up next with this punchy earthiness that balances the sweetness perfectly. It’s not overpowering, just right, and you notice how the soy sauce adds a salty depth that kinda keeps everything grounded.
All these flavors cling to the tender pull chicken breast that’s juicy from the quick pressure cooker method. The sauce’s shiny glaze makes every bite feel dang special, for real.
Keeping Leftovers Fresh and Ready
If you got leftovers, toss chicken and sauce in an airtight container and pop it in the fridge. Should be good for 3 to 4 days if sealed tight.
For longer wait, freeze those pieces with sauce in a freezer-safe box or bag. They’ll hold for up to 2 months, just defrost in fridge before reheating.
Reheat gently on the stove or microwave. Add a splash of water or broth if sauce looks thick or starts drying out.
Keep your sealing ring cleaned and stored so your cooker stays a champ next time too. Gotta keep things working real good to enjoy this meal again quick and easy.
The FAQ Section You Actually Need
Q1: Can I use chicken thighs instead of breasts?
You bet! Thighs have more fat so they stay juicy even if you pressurize longer. Cooking times might change a little so watch that float valve and quick release carefully.
Q2: What’s the difference between quick release and slow release?
Quick release means you push the valve open right away to let steam out fast. Slow release lets the pressure go down gradually on its own. Quick release is faster but slow release keeps food extra tender.
Q3: My sauce was too thin what did I do wrong?
Easy fix is simmering sauce longer without the chicken after cooking. That thickens it up nice. Flour on chicken also helps sauce stick and thicken.
Q4: Can I make this dish vegan or vegetarian?
For sure make a tofu version using pressed tofu instead of chicken. Use veggie broth and soy sauce, and skip butter with olive oil to keep it plant-friendly.
Q5: Why do I hear a whistle or hissing when cooking?
That’s steam escaping from your pressure cooker valve, don’t worry it’s normal. Just check the sealing ring is snug so it doesn’t leak steam too much.
Q6: How do I know when chicken is cooked perfectly?
You look for tender pull when poking with a fork—chicken should flake easily but still be juicy inside. Also the float valve is a good sign pressure’s reached and held long enough.
Looking for more quick, comforting meals? Try our Cheesy Kielbasa Hashbrown Casserole that’s perfect for busy weeknights or check out our unique Crispy Mashed Potato Fries recipe for a fun snack twist.
Honey Garlic Chicken BreastNagi Pressure Cooker Recipe
Equipment
- 1 Skillet Large
Ingredients
Main ingredients
- 500g Chicken breasts boneless and skinless, sliced in half
- Salt and pepper to taste
- ¼ cup Flour for coating
- 3 ½ tablespoon Unsalted butter or 2 ½ tablespoon olive oil
- 2 cloves Garlic minced
- 1 ½ tablespoon Apple cider vinegar or white or clear vinegar
- 1 tablespoon Soy sauce light or all purpose
- ⅓ cup Honey or maple syrup
Instructions
Instructions
- Slice chicken breasts in half horizontally to create four thinner pieces.
- Season chicken with salt and pepper, then coat with flour and shake off excess.
- Heat 1 tablespoon butter in a skillet over medium-high heat. Cook chicken 2–3 minutes per side until golden and cooked through. Set aside.
- Reduce heat to medium, add remaining butter and minced garlic. Sauté ~30 seconds until fragrant.
- Add vinegar, soy sauce, and honey. Stir and bring to simmer for 1–2 minutes until slightly thickened.
- Return chicken to pan and coat with sauce. Simmer 1–2 more minutes.
- Remove from heat and serve immediately. Spoon extra sauce over chicken.