
The pot lid rattles and you know dinner is almost ready. You watch the little float valve pop up, signaling the pressure build inside. That valve hiss sound? It’s kinda like a countdown to something delicious.
You spot the steam escaping just right, not too much, all thanks to the sealing ring doing its job. This cake’s got some special treatment in the pressure cooker, and you can tell it’s gonna be moist and fluffy, unlike any other.
Just waiting for that perfect broth depth to hold the steam so your cake can rise like a dream. You recall the last time you tried a fancy dessert and how it was kinda tricky, but this one feels different. The pressure cooker makes it easier, faster, and the frosting with fresh berries? Oh heck yeah, you’re in for a treat.
The Real Reasons You Will Love This Method
- You get a super moist cake every single time because the pressure cooker seals in those juices.
- The float valve tells you exactly when pressure is good, so no guesswork here.
- You don’t need the oven for this, which means your kitchen stays cool and less mess pops up.
- The valve hiss sound is your reminder that things are cooking just right.
- It’s easier to keep an eye on the broth depth, so the cake never dries out or burns.
- Sealing ring keeps your steam inside, creating a perfect little humid environment for the cake.
All the Pieces for This Meal
- 2 and ½ cups (285g) cake flour, spooned and leveled
- 2 teaspoons baking powder
- ½ teaspoon baking soda
- 1 teaspoon salt
- ¾ cup (12 Tbsp; 170g) unsalted butter, softened to room temp
- 1 and ¾ cups (350g) granulated sugar
- 5 large egg whites, room temp
- ½ cup (120g) sour cream, room temp
- 1 Tablespoon pure vanilla extract (yeah, Tbsp!)
- 1 cup (240ml) whole milk, room temp
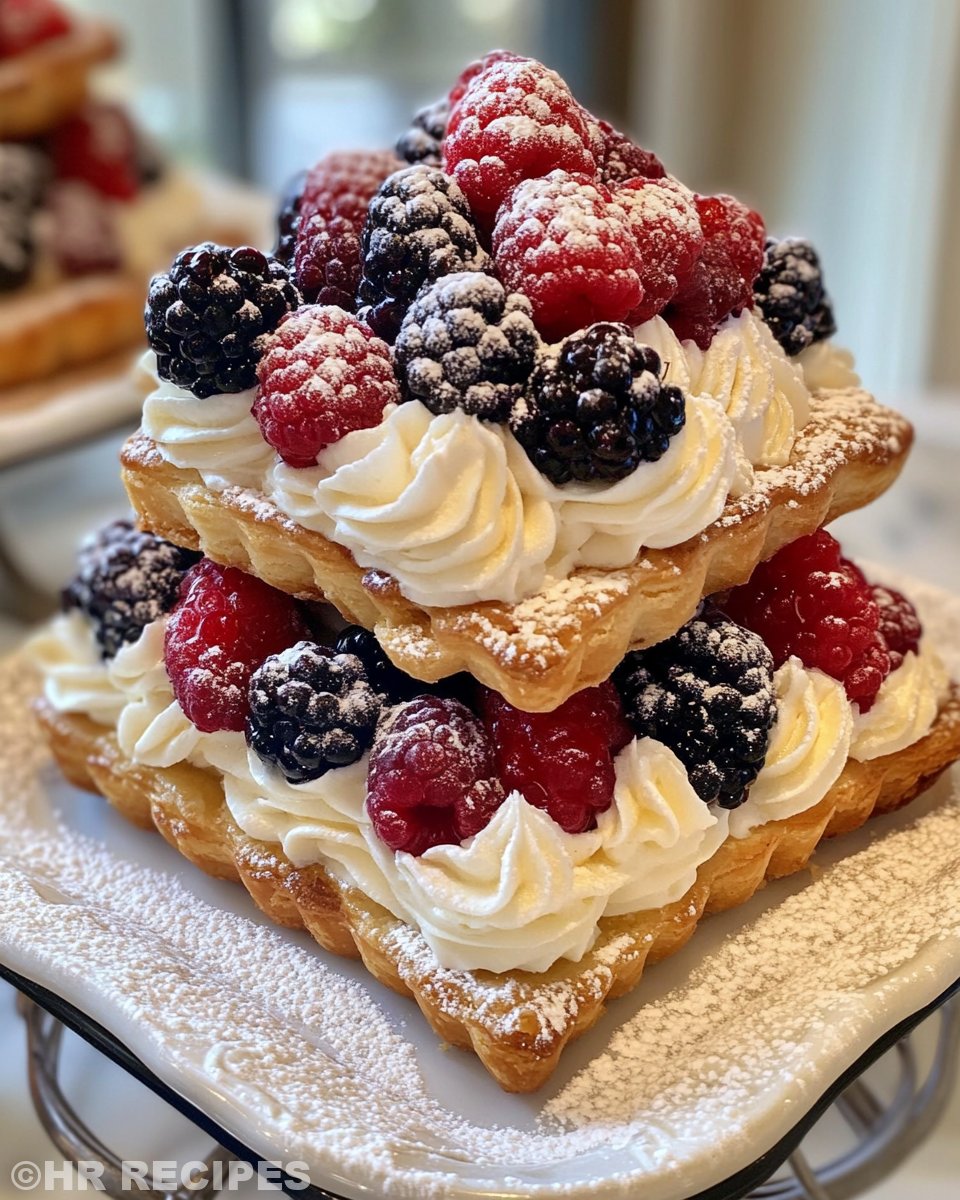
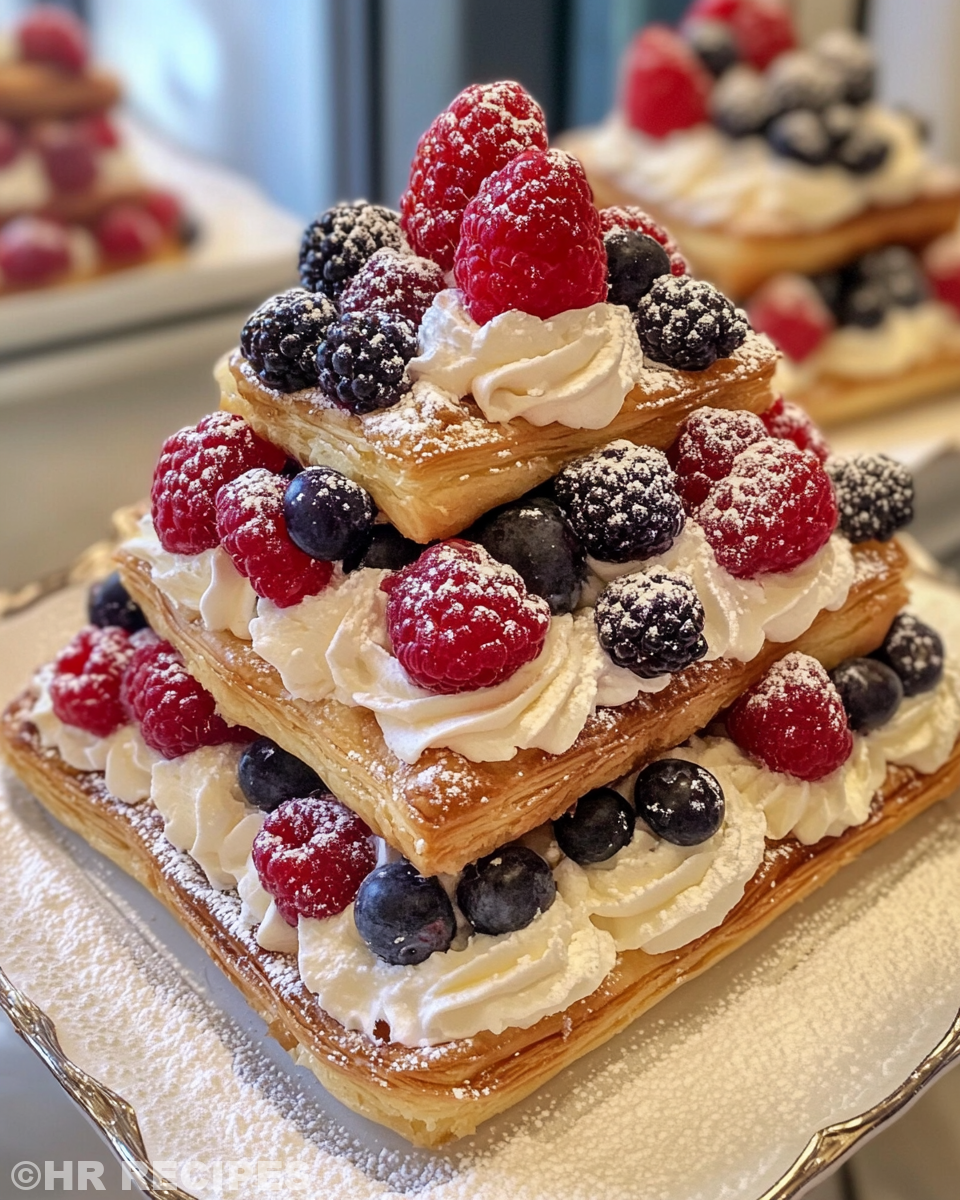
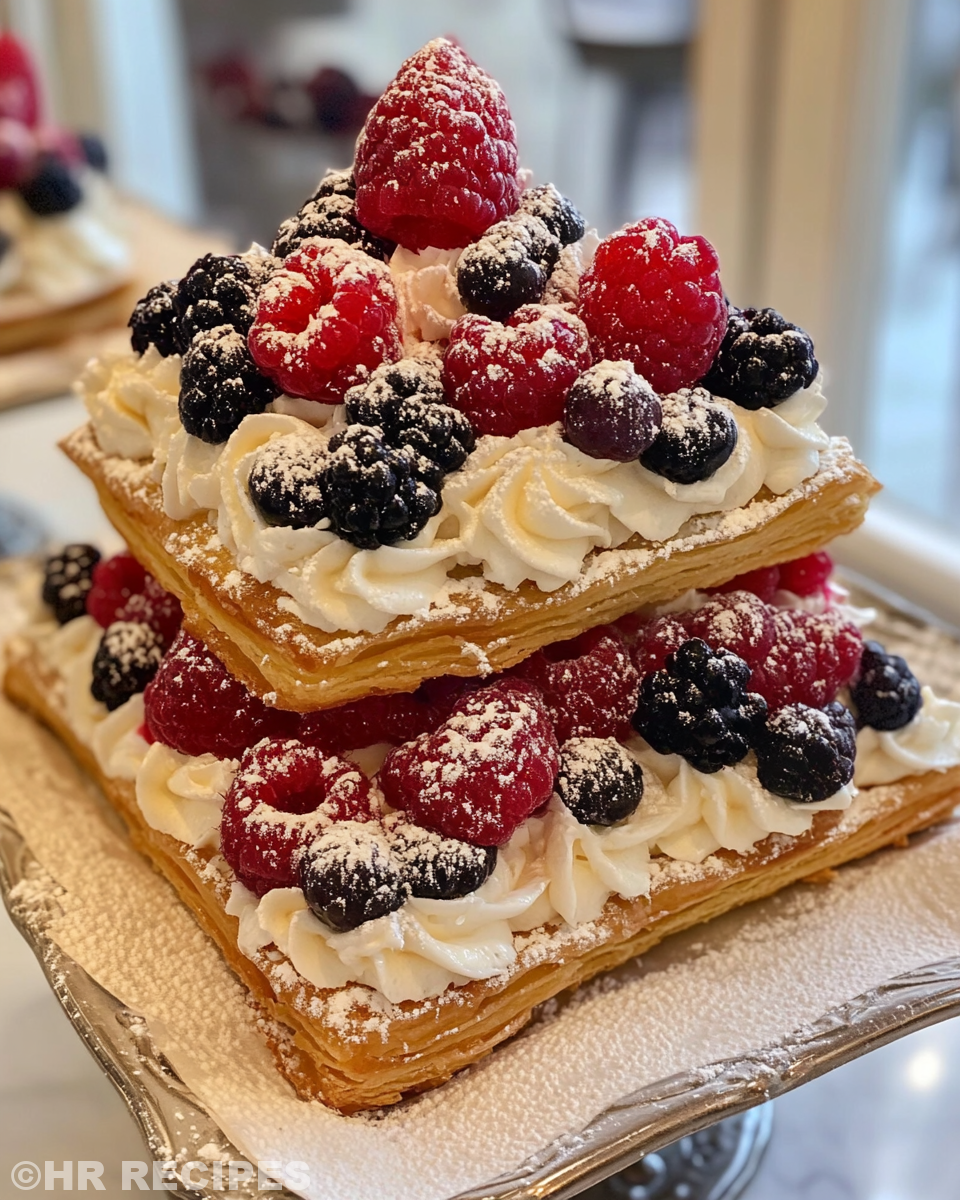
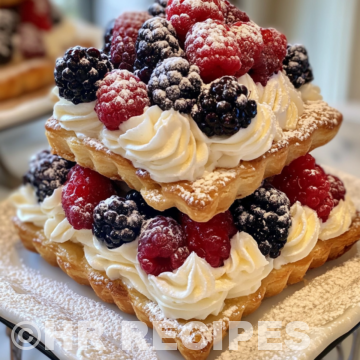
- 2 cups (480ml) cold heavy cream or heavy whipping cream
- ⅓ cup (5 Tablespoons; 40g) confectioners’ sugar
- 1 teaspoon pure vanilla extract
- ½ teaspoon almond extract (optional)
- 2 cups (280-300g) fresh mixed berries
- Optional: dusting of confectioners’ sugar and/or fresh florals for garnish
How It All Comes Together Step by Step
First things first, you gotta preheat your oven to 350°F (177°C) and grease up three 8-inch cake pans. Don’t forget to line the bottoms with parchment paper and lightly grease the paper too so nothing sticks.
Next, whisk together your cake flour, baking powder, baking soda, and salt in a big bowl. Set that aside while you get the wet stuff ready.
Using a handheld or stand mixer with a paddle attachment, beat your butter and sugar on high speed until it’s creamy and smooth, about 2 minutes. Your kitchen will smell so good already.
Then add those egg whites and keep beating on high till everything’s combined well, about 2 more minutes. Scrape down the sides to make sure no bits get ignored.
Mix in your sour cream and vanilla extract until it’s all blended like a dream. Now, slow down, turn the mixer to low, and add your dry ingredients in three parts. Alternate that with milk, start and end with the dry stuff. Be gentle here, you don’t wanna overmix.
Pour your batter evenly into those cake pans and slide them into the oven. Bake for 23 to 26 minutes, or until a toothpick poked in comes out clean, telling you it's done.
Once baked, let them cool in the pans for 10 minutes, then take them out and cool completely on wire racks. When fully cooled, layer the cakes with whipped cream and fresh berries in between and on top. Chill it for at least an hour before serving and get ready for yum.
Smart Shortcuts for Busy Days
You can totally save time by whipping up your dry ingredients ahead and keep them in an airtight container. This way, when you’re ready to bake, it’s just mix and go.
When it comes to the whipped cream, try chilling your mixing bowl and beaters in the freezer for 10 minutes first. This makes whipping cream faster and fluffier, which is kinda awesome on a rushed day.
Fresh berries can be prepped earlier too. Just wash, dry, and store them in the fridge wrapped in paper towels. They’ll stay fresh longer and ready for your cake layers with no hassle.
When You Finally Get to Eat
That first bite? It’s like clouds of soft, tender cake meltin’ with the sweet cream and bursts of fresh berry tang. You notice the perfect balance of flavors that feel so homey.
The cream is light but rich, giving a smooth texture that kinda just keeps pulling you back for more. Each layer stacked just right with berries adds brightness and a little pop to every mouthful.
You remember why you wanted to make this cake in the first place. It’s all about that fresh, simple feeling with a little wow factor that’ll have everyone asking for seconds, no matter how busy you were making it.
Your Leftover Strategy Guide
Got leftovers? No worries, this cake stores well if you do it right. Keep it covered in the fridge so the whipped cream doesn’t dry out or pick up fridge smells.
You can also use an airtight container or a cake dome to keep things fresh and the berries looking pretty. Just watch out for any crushing if you stack other stuff on top.
If you wanna freeze it, slice the cake and wrap pieces tight in plastic wrap then foil. Thaw overnight in the fridge before serving, and the texture holds up nicely.
For longer storage, consider removing fresh berries before freezing and adding fresh ones when you bring it back out to eat. This keeps flavors lively and textures nicer.
The FAQ Section You Actually Need
- Can I use frozen berries instead of fresh? Yeah, you can but drain them well first. Frozen berries hold extra water and might make your cream a bit soggy if not handled right.
- Do I have to use cake flour? Cake flour is best for that soft crumb you want, but if you only got all-purpose flour, it’ll work too just maybe not quite as tender.
- Why does my pressure cooker recipe mention broth depth? Sometimes you add water or broth to the bottom of the cooker to create steam. You gotta keep just enough so it doesn’t dry out or overflow.
- What does the float valve do exactly? The float valve shows when your cooker has reached pressure, so you know it’s sealed and cooking right.
- Can I make this cake without an oven? This recipe uses the oven to bake the cake layers, but you can sometimes adapt cooking time in the pressure cooker if you know how to adjust heat and time properly.
- How do I keep the sealing ring fresh and safe? After each use, wash the sealing ring with warm soapy water and dry it completely. Replacing it every year or when you notice cracks helps keep your pressure cooker working well.
For related recipes, check out our Cheesy Kielbasa Hashbrown Casserole Dump Meal Recipe for a quick and easy option using kielbasa, or explore Mozzarella Stuffed Rosemary Parmesan Soft Pretzels featuring cheesy, herbed treats perfect for snacks. Also, don’t miss our Easy Marinated Cheese Appetizer with Salami & Green Olives as a savory delight to complement your meals.
Fresh Berry Cream Cake
Equipment
- 1 Mixing bowl for batter and whipping cream
- 1 Electric mixer stand or handheld
- 3 8-inch cake pans greased and lined
Ingredients
Main ingredients
- 2 ½ cups cake flour 285g, spooned and leveled
- 2 teaspoons baking powder
- ½ teaspoon baking soda
- 1 teaspoon salt
- ¾ cup unsalted butter 12 Tbsp; 170g, softened to room temp
- 1 ¾ cups granulated sugar 350g
- 5 large egg whites room temp
- ½ cup sour cream 120g, room temp
- 1 Tablespoon pure vanilla extract
- 1 cup whole milk 240ml, room temp
- 2 cups cold heavy cream or heavy whipping cream
- ⅓ cup confectioners’ sugar 5 Tablespoons; 40g
- 1 teaspoon pure vanilla extract
- ½ teaspoon almond extract optional
- 2 cups fresh mixed berries 280-300g
- confectioners’ sugar and/or fresh florals for garnish, optional
Instructions
Instructions
- Preheat oven to 350°F (177°C), grease three 8-inch cake pans, line with parchment, and grease again.
- In a large bowl, whisk cake flour, baking powder, baking soda, and salt. Set aside.
- Beat butter and sugar on high speed until creamy and smooth (about 2 minutes).
- Add egg whites and continue beating on high until fully incorporated (2 minutes). Scrape bowl as needed.
- Mix in sour cream and vanilla extract until smooth.
- With mixer on low, add dry ingredients in three parts, alternating with milk. Start and end with dry. Don’t overmix.
- Divide batter evenly between pans. Bake 23–26 minutes or until a toothpick inserted comes out clean.
- Cool cakes in pans 10 minutes, then remove and cool completely on wire racks.
- Whip cream, confectioners’ sugar, and extracts until stiff peaks form. Chill before using.
- Layer cake with whipped cream and berries. Chill assembled cake at least 1 hour before serving.


