
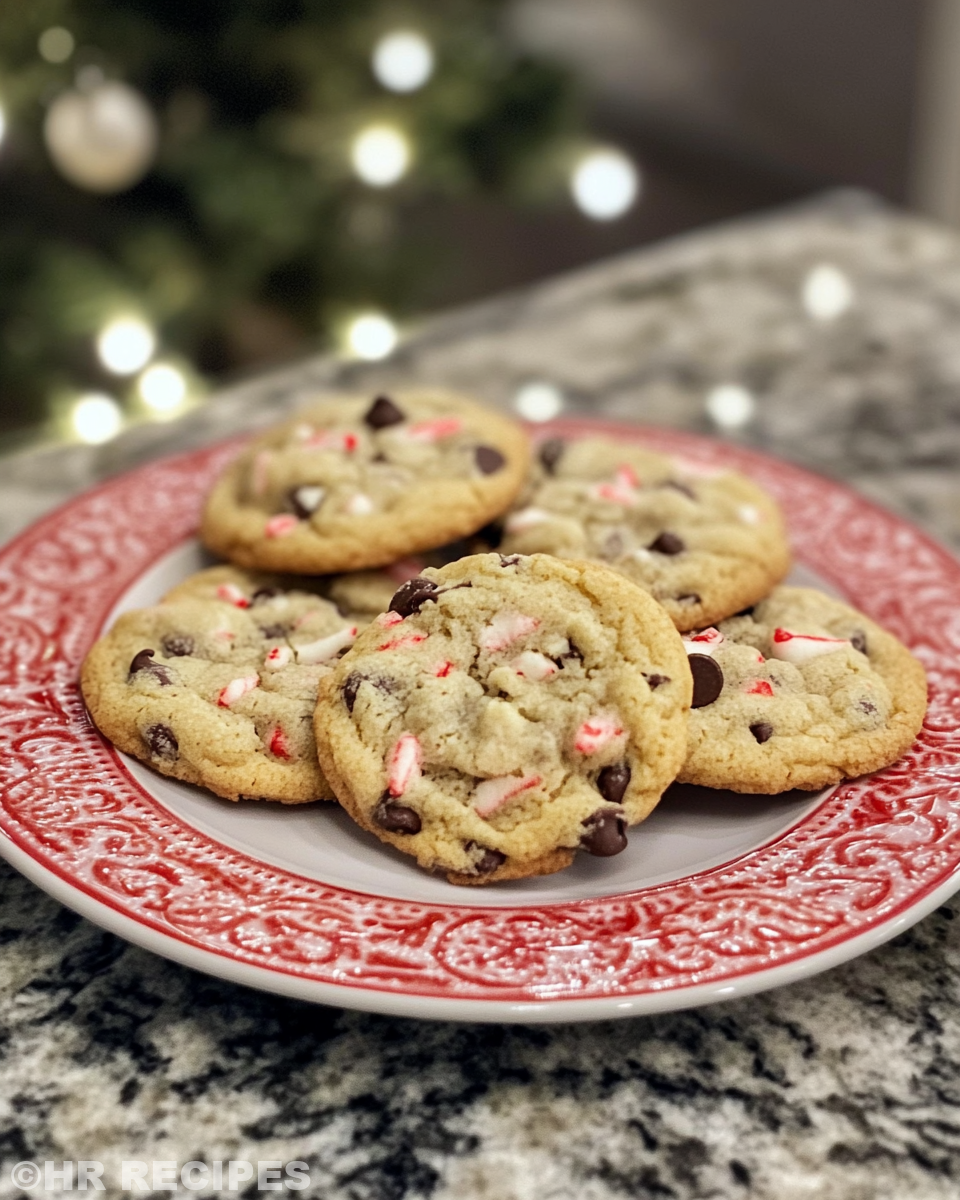
That first hiss from the cooker tells you something good is happening. You just get this little thrill when the float valve lifts and that pressure build starts. It’s kinda like the cooker’s way of saying, hang tight, tasty stuff coming soon.�You catch that rich aroma sneaking out as the broth depth gets deeper during cooking. It’s subtle but you sense the flavors melding together, with that tender pull on the food when it finishes. This whole process kinda reminds you why you love this gadget so dang much.�Making a batch of Peppermint Chocolate Chip Cookies in the cooker sounds wild but trust me, it works. You get that chewy, melty chocolate hit with bursts of peppermint crunch that’s just perfect for the season. This recipe and others like Tomato Rice or Cinnamon Sugar Pretzels show you how to do sweet and savory right, all with less wait and way more fun.
The Real Reasons You Will Love This Method
- Pressure cooker extracts deep flavor fast you won’t find baking normally.
- Broth depth in dishes builds up rich taste without extra effort.
- Your cookies, rice, and pretzels get that perfect tender pull every time.
- The float valve gives you a clear sign when the cooker is ready to go.
- Natural release keeps food from overcooking and holds moisture better.
- This method saves you from babysitting the stove constantly.
- It works dang quick so you can enjoy more time chilling or prepping other stuff.
What Goes Into the Pot Today
- ½ cup unsalted butter softened (1 stick)
- ⅔ cup granulated sugar
- ¼ cup brown sugar lightly packed
- 1 large egg
- 2 teaspoons pure vanilla extract
- 1 ½ cup all-purpose flour
- ½ teaspoon kosher salt
- ½ teaspoon baking soda
- ½ cup Peppermint Crunch baking chips
- ¾ cup bittersweet chocolate chips
These ingredients come together in such a nice balance. The unsalted butter and sugars cream up into a fluffy base that holds your peppermint and chocolate chips perfectly. The vanilla extract adds that warm touch you gotta have in cookies.
Flour, kosher salt, and baking soda bring just the right texture and rise so every cookie has a tender pull with a little crisp on the edges. Peppermint Crunch chips give that refreshing zing, while bittersweet chocolate chips melt into irresistible pockets of yum.

The Exact Process From Start to Finish
- Preheat the oven to 350°F (175°C) and line a baking sheet with parchment paper.
- In a large bowl, cream together the softened butter, granulated sugar, and brown sugar until light and fluffy.
- Add the egg and vanilla extract, mixing until fully incorporated.
- In a separate bowl, whisk together the flour, kosher salt, and baking soda.
- Gradually add the dry ingredients to the wet ingredients, mixing until just combined.
- Fold in the peppermint crunch baking chips and bittersweet chocolate chips.
- Scoop tablespoon-sized amounts of dough onto the prepared baking sheet, spacing them about 2 inches apart. Bake for 10–12 minutes, or until the edges are lightly golden and the centers are set. Let cool 5 mins on the sheet then transfer to wire rack.
This whole cookie thing happens kinda quick once you get the mixing started. The key is not to over mix once you add the dry ingredients or you lose that great tender pull you want in cookies.
Keep an eye on the edges when baking. When they turn a light golden you know it’s time to pull them out. The centers might look set but still soft, that’s the dang good part.
Easy Tweaks That Make Life Simple
- Swap out peppermint chips for white chocolate chunks if you want a milder flavor.
- Use pre-measured flour mixture from a baking kit to save time on measuring.
- Double the batch and freeze half the dough for quick cookie rounds later.
These shortcuts keep your cookie game strong even when you’re short on time or ingredients. Prepping flour mix ahead means less mess when you’re ready to bake.
Freezing some dough means you don’t gotta whip up a whole batch every time cookie cravings hit. Just scoop and bake fresh cookies whenever you want.
Your First Taste After the Wait
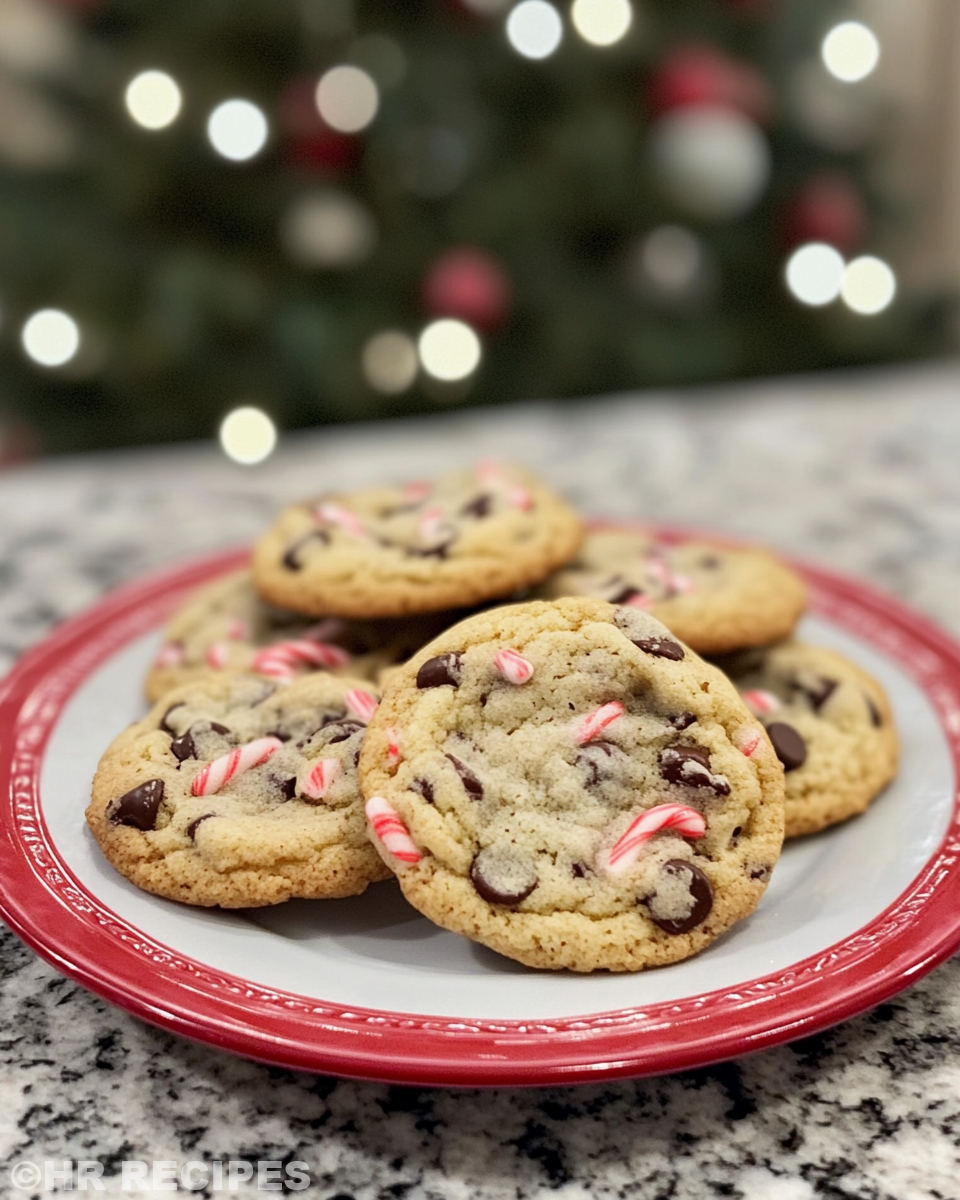
When you finally bite into these cookies you catch a rush of that peppermint chill right away. It’s contrasty and cool against the warm melt of bittersweet chocolate that kinda lingers just right on your tongue.
The cookie texture is dang perfect too. You sense that tender pull and just enough crunch on the edges to make eating them a real joy. It’s like every bite tells a little story of cozy winter nights and holiday fun.
And the smell man, it’s a huge part of the experience. You’re gonna notice the vanilla and butter mingling with peppermint in the air even before the first bite. It’s a full sensory treat that meant to be savored slow.
How to Store This for Later
- Keep cooled cookies in an airtight container at room temperature for up to a week. Makes your kitchen smell dang nice every time you open it.
- Freeze cookies in a tight container or zip bag for up to 3 months. Thaw on the counter or warm in the oven a bit to get that fresh baked feel.
- If you freeze dough, just thaw overnight in the fridge before baking. This helps keep that tender pull perfect when baked fresh.
Storing the cookies right keeps you from losing any of that delicious texture or flavor. Airtight containers help keep moisture balanced so you don’t end with dry or soggy results.
Thawing frozen cookies slowly is the trick to maintaining that just-baked bite and aroma. Trust me, it works dang good when you wanna make batches ahead or keep treats ready for guests.
Common Questions and Real Answers
- Can I make these cookies completely in the pressure cooker? Not really, the cooker is great for quick meals and some desserts but cookies bake best in the oven for that tender pull and crisp edge combo.
- What if I don’t have peppermint chips? You can swap them with white chocolate chips or even small crushed candy canes for peppermint flavor.
- Will using melted butter work the same? Creaming softened butter helps trap air and leads to better texture than melted so stick with softened butter if you can.
- How important is natural release in recipes like rice bowls? It’s super important. Natural release lets pressure drop slowly which helps keep veggies tender and flavors locked in.
- Can I double the recipe for bigger crowds? Yeah for sure, just be careful not to overfill your cooker or oven pans. Keep an eye on cooking times, they may shift a bit.
- How do I know when the float valve is working right? When it’s up and steady you got a proper pressure build. If it’s flickering or down, you might need to check your sealing ring or liquid levels.
For more hearty comfort food recipes, try our Classic Crockpot Pierogi Casserole with Kielbasa packed with cheesy goodness and savory kielbasa. If you love snacks with a twist, check out our Mozzarella Stuffed Rosemary Parmesan Soft Pretzels that combine gooey cheese and herbs for an unforgettable bite. And for a quick cheesy meal idea, our Cheesy Kielbasa Hashbrown Casserole Dump Meal Recipe is a perfect family-friendly option. Dive in and enjoy these delicious inspirations!
Peppermint Chocolate Chip Cookies and More: Pressure Cooker Treats You Gotta Try
Equipment
- 1 Mixing bowl Large
Ingredients
Main Ingredients
- 0.5 cup unsalted butter softened (1 stick)
- 0.66 cup granulated sugar
- 0.25 cup brown sugar lightly packed
- 1 large egg
- 2 teaspoons pure vanilla extract
- 1.5 cups all-purpose flour
- 0.5 teaspoon kosher salt
- 0.5 teaspoon baking soda
- 0.5 cup Peppermint Crunch baking chips
- 0.75 cup bittersweet chocolate chips
Instructions
Instructions
- Preheat the oven to 350°F (175°C) and line a baking sheet with parchment paper.
- In a large bowl, cream together the softened butter, granulated sugar, and brown sugar until light and fluffy.
- Add the egg and vanilla extract, mixing until fully incorporated.
- In a separate bowl, whisk together the flour, kosher salt, and baking soda.
- Gradually add the dry ingredients to the wet ingredients, mixing until just combined.
- Fold in the peppermint crunch baking chips and bittersweet chocolate chips.
- Scoop tablespoon-sized amounts of dough onto the prepared baking sheet, spacing them about 2 inches apart.
- Bake for 14–15 minutes, or until the edges are lightly golden and the centers are set. Let cool 5 mins on the sheet.
- Transfer cookies to wire rack and let cool completely before storing or serving.


