
Steam curls up from the valve and your stomach starts talking back. You remember that feeling when the valve hiss kinda lets you know the pressure build is just right. It’s that impatient, sweet kinda ache that’s almost endless. That pressure cooker you got isn’t just for dinners now, is it?
You notice the sealing ring keeps the vapor inside well, making sure the broth depth in the pot does what it should. Your mind flips to that idea you read somewhere about baking cookies inside this thing. It sounds weird but also like a dang good time.
And right as you mix and mash the dough, you feel that thrill. Like, how is this gonna turn out? You got cocoa, red coloring, and that sweet sugar coat waiting. The smell of those crinkles crackling as they cook? You’re all in. It’s a new kinda baking adventure and you’re ready to roll.
What Makes Pressure Cooking Win Every Round
- Pressure cookers speed things up even for your sweet treats, shortening bake times in surprising ways
- The sealed environment keeps moisture locked in, making cookies with a tender pull that’s just right
- It’s perfect for small batches, so you don’t gotta have a ton of dough messing up your fridge
- You’re less worried about overbaking since the steam keeps the texture soft, not tough
- Easy cleanup cause you can bake right inside the pot, no extra trays or pans to wash
- Cooks evenly thanks to consistent pressure build, no hotspots like in ovens
What Goes Into the Pot Today
- 2 cups (280 g) all-purpose flour
- ⅓ cup (32 g) unsweetened natural cocoa powder
- 1 teaspoon (5 g) baking powder
- ¼ teaspoon baking soda
- ½ teaspoon (3 g) salt
- ½ cup (112 g) unsalted butter, room temperature
- ¾ cup (150 g) granulated sugar
- ½ cup (100 g) light brown sugar
- 2 large eggs (100 g)
- 1 teaspoon (4 g) vanilla extract
- 1 teaspoon (5 g) lemon juice
- 1 tablespoon (21 g) red gel food coloring
- 1 ½ tablespoon (22 g) milk
- ¾ cup (128 g) white chocolate chips
- ½ cup (100 g) granulated sugar for rolling
- ½ cup (60 g) powdered sugar for rolling
Yeah, it looks like a lot but you know each plays its part. The cocoa makes the red velvet real rich, not just red and sad. You gotta blend those sugars well with butter for the fluff you need. The food coloring ain’t just for show, it’s what makes these crinkles pop.
White chocolate chips throw in a sweet surprise inside every bite. You rolling dough balls in sugar? That’s a must for that crinkle effect as they cook super nice in your pressure cooker.
Your Complete Cooking Timeline
First up, whisk all your dry stuff together. That flour, cocoa, baking powder, soda, and salt gotta be set aside ready.
Next, cream butter with both sugars. You’ll see it turning light and fluffy, perfect for adding eggs.
Add eggs one at a time, beating good after each. Then stir in vanilla and that bright red gel food coloring so the dough gets that signature look.
Slowly add the dry mix to wet ingredients. Don’t overdo it though, just enough to pull it together nice.
Cover the dough and pop it in your fridge. Let it chill for at least an hour, it helps with rolling later and keeps the dough firm.
When you’re ready, heat up that pressure cooker pot. You gotta set it with a little broth at bottom, about an inch deep, so your cookies steam not swim. Place a rack or trivet inside and line parchment on that for the dough balls.
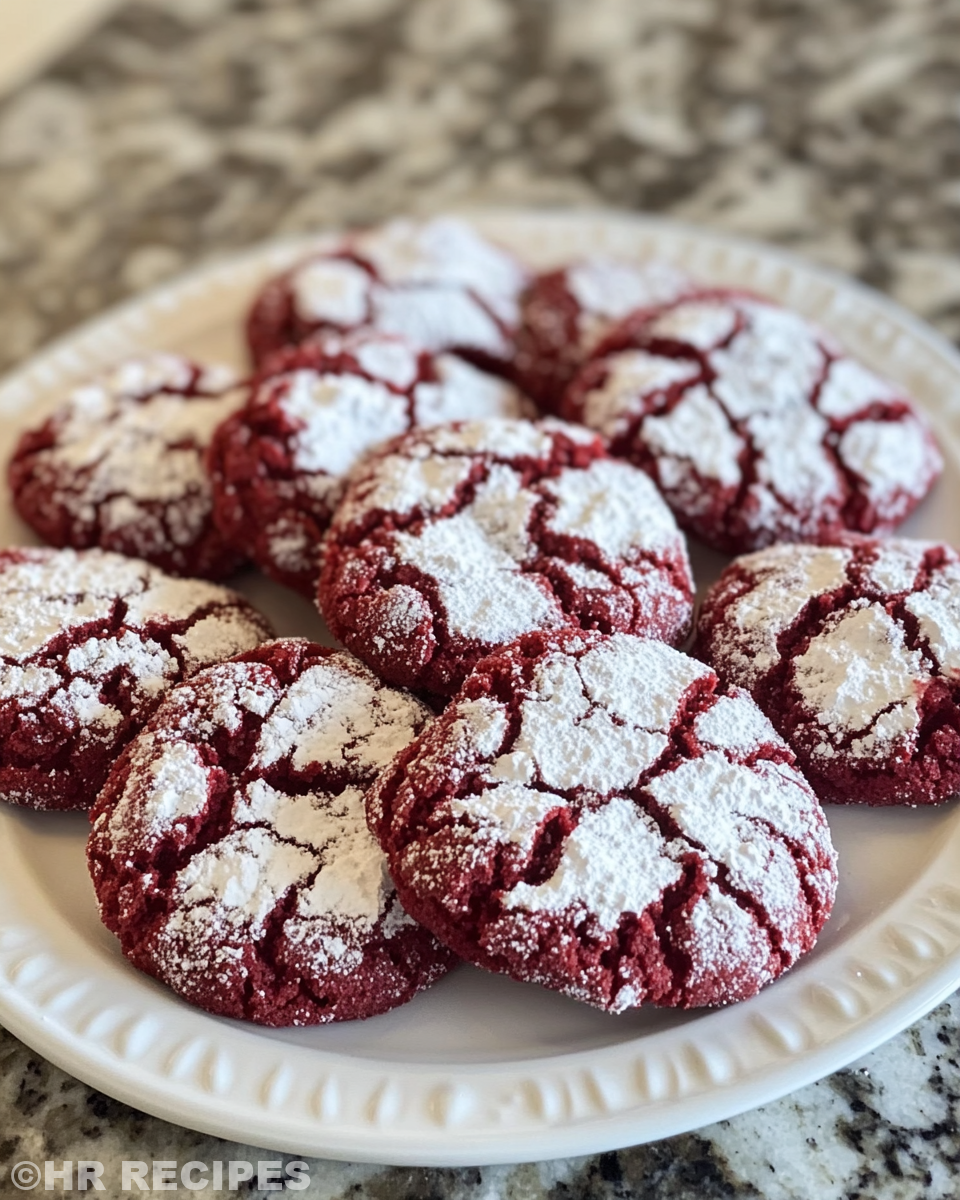
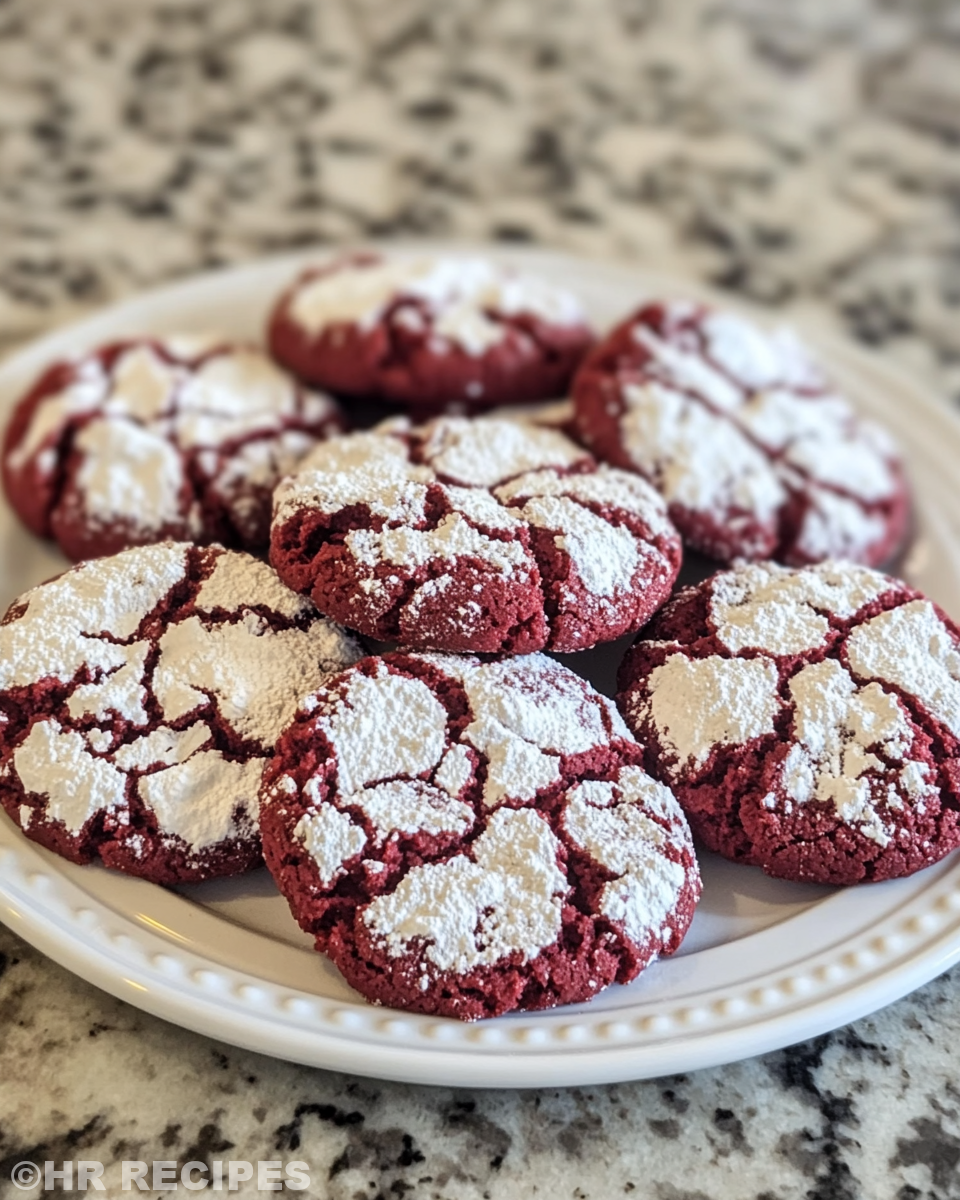
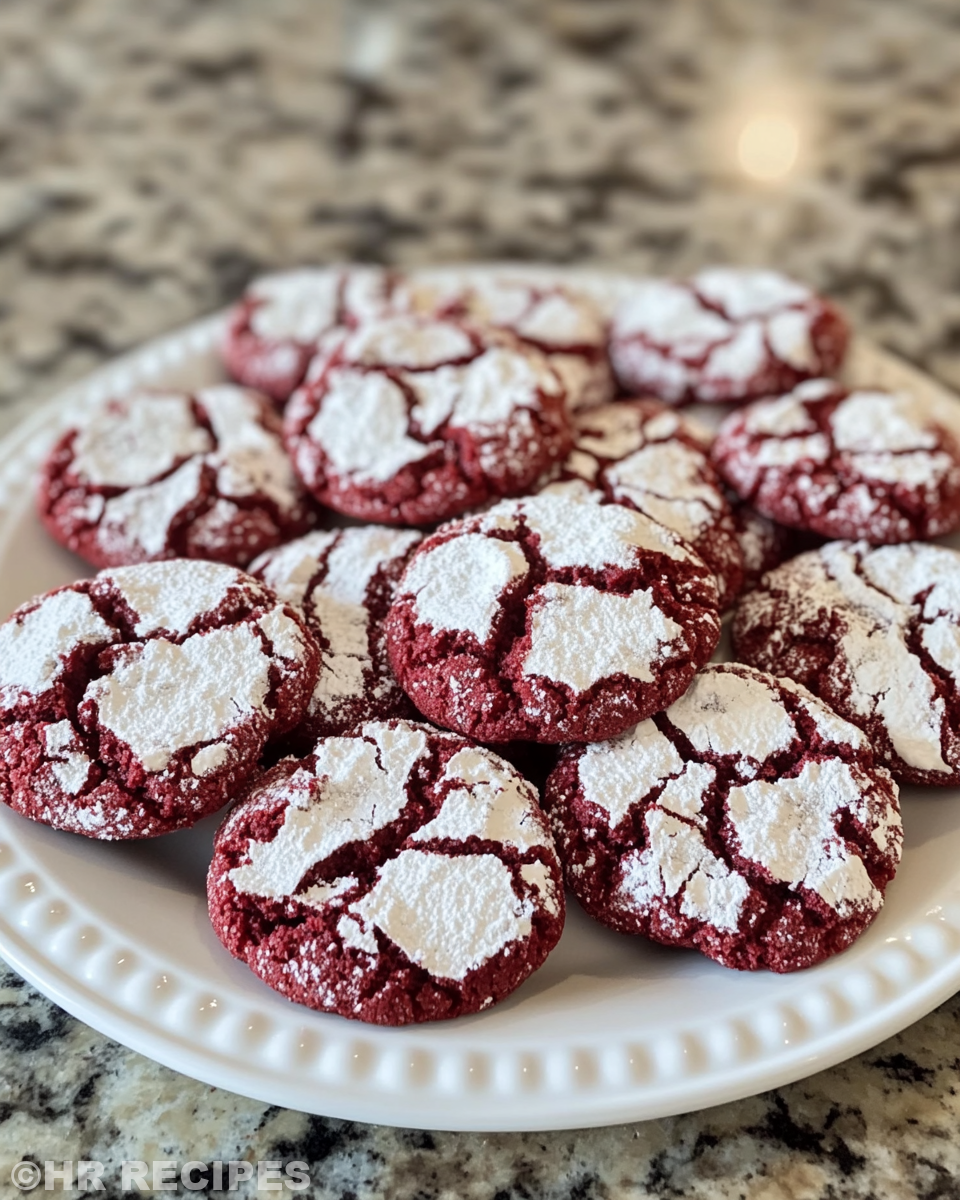
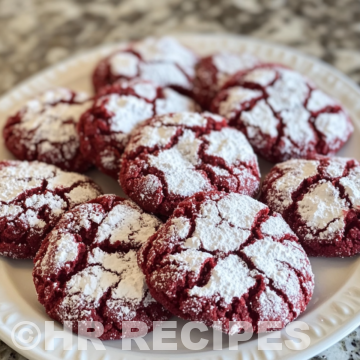
Roll your dough into balls about a tablespoon each. Now here’s the trick you roll in a mix of granulated and powdered sugar. Drop those right on parchment with about 2 inches space.
Seal the lid, make sure the sealing ring is set and the valve is on sealing. Cook on high pressure for about 10 minutes. When done, do a quick release but watch that valve hiss carefully so no steam burns.
Let cookies cool for a bit, they firm up just right and show their classic crackled tops looking dang tasty.
Easy Tweaks That Make Life Simple
- You can swap lemon juice with apple cider vinegar if that’s what you got on hand
- Use dark brown sugar instead of light for a deeper molasses vibe to your cookies
- Roll dough balls ahead and freeze them separately, ready to drop straight in the pot next time
- Skip the white chocolate chips if you want a more classic red velvet taste
- Use silicone parchment liners shaped to your pot for less mess and easier cleanup
That First Bite Moment
When you finally taste that warm cookie, your mouth kinda melts into that tender pull right away. The red velvet flavor has this soft rich cocoa beat mingled with sugar that’s just sweet enough.
As you chew, the crinkle sugar crust gives a little sugary crunch then fades into melt-in-your-mouth softness. It’s that kinda cookie where you find yourself sneaking another, then another.
Plus those white chocolate chips sneak little creamy pockets of sweet surprise biting in. The whole cookie feels like a warm hug, a perfect sweet break in your busy day.
Smart Storage That Actually Works
If you got leftovers well that’s a happy problem. You wanna keep these cookies as soft and sweet as you made ‘em.
First, keep them in an airtight container at room temp. They stay good for a few days that way, nice and chewy. You can toss in a slice of bread to keep moisture just right.
Got more time? Freeze cookies in single layers with parchment paper between. Just thaw at room temp and you’re back in business. No sogginess, just that tender red velvet pull.
For quick snacks, seal a few in a zip bag then warm in a microwave for 10 to 15 seconds. It’s like just-baked again without the wait.
If plan ahead, store dough balls frozen and bake straight from freezer for fresh cookie feel anytime.
Your Most Asked Questions Answered
Q 1: Can I use regular oven to bake these cookies instead? Sure, you can bake at 350 degrees Fahrenheit for about 10 to 12 minutes. But pressure cooker adds that steamed softness you won’t get in an oven. Check out our Classic Crockpot Pierogi Casserole with Kielbasa for another easy comfort meal.
Q 2: What’s the broth depth supposed to be in the pot? An inch or so of water at the bottom is enough for your pressure cooker to work well without drowning your cookies. You want steam, not soup.
Q 3: Can I use a different food coloring? Yeah, but gel food coloring gives you that vibrant pop without watering down dough.
Q 4: How important is the sealing ring? It’s super key. It keeps the pressure sealed so your cookies get that tender pull and proper rise.
Q 5: Do I need to do quick release with the valve hiss? Yes, quick release stops cooking fast and saves you from soggy cookies but watch out for steam escapes so you don’t get burned.
Q 6: Can I make these without white chocolate chips? Absolutely, just means your cookies will have that pure red velvet taste. Chips just add surprise pockets of creaminess.
Also consider our Easy Marinated Cheese Appetizer with Salami & Green Olives for a savory treat to complement your baking adventures.
Red Velvet Crinkle Cookies in the Pressure Cooker
Equipment
- 1 Pressure cooker with rack and parchment lining
Ingredients
Main Ingredients
- 2 cups all-purpose flour
- ⅓ cup unsweetened natural cocoa powder
- 1 teaspoon baking powder
- ¼ teaspoon baking soda
- ½ teaspoon salt
- ½ cup unsalted butter room temperature
- ¾ cup granulated sugar
- ½ cup light brown sugar
- 2 large eggs
- 1 teaspoon vanilla extract
- 1 teaspoon lemon juice
- 1 tablespoon red gel food coloring
- 1 ½ tablespoon milk
- ¾ cup white chocolate chips
- ½ cup granulated sugar for rolling
- ½ cup powdered sugar for rolling
Instructions
Instructions
- Whisk together flour, cocoa, baking powder, baking soda, and salt. Set aside.
- Cream butter with granulated sugar and brown sugar until light and fluffy.
- Add eggs one at a time, then stir in vanilla and red gel food coloring.
- Gradually add dry mixture into the wet ingredients until combined.
- Cover dough and chill in the fridge for at least 1 hour.
- Prepare pressure cooker with 1 inch broth in bottom and insert rack lined with parchment paper.
- Roll dough into tablespoon-sized balls and coat in granulated and powdered sugar mix.
- Place on rack, seal pressure cooker, and cook on high pressure for 10 minutes.
- Perform quick release carefully to avoid steam burns.
- Let cookies cool before serving to allow crinkles to set.


