
The pot lid rattles and you know dinner is almost ready. That sound gets you every time right? It’s like a little countdown, and you spot that valve hiss starting up just before the float valve pops. You start thinking about what’s next on your plate and how soon you can dig in.
Y’all, when you’re cooking with a pressure cooker you gotta learn these little signals. The steam cues aren’t just noise; they tell you the broth depth is just right and the tender pull of whatever’s inside is about to happen. You kinda feel like you’re in on a secret with all these little hints.
By the time the lid moves and the rattling stops, you know you got a meal ready that’s gonna be good. Soft and juicy or tender and rich, pressure cooking changes your kitchen game. It’s just waiting for you to jump in and try it for yourself.
The Truth About Fast Tender Results
- You’ll hear the valve hiss when pressure starts to build, that’s your timer kicking in.
- The float valve gives you the green light for safe pressure release.
- Steam cues help you tell if the broth depth is right for cooking without burning.
- Tender pull means your food’s just soft enough to enjoy but still holds shape.
- Quick pressure changes keep everything moist and flavorful, no dry bites here.
- Even simple recipes like soft butter cookies get a little boost from the pressure environment.
Everything You Need Lined Up
- 1 cup unsalted butter, softened to room temp for easy creaming
- ⅔ cup granulated sugar, because you want that sweet balance
- 2 egg yolks, brings richness and helps texture
- 1 teaspoon vanilla extract, or any other extract you like; almond works great too
- 2 cups all purpose flour, the base that holds it all together
- ¼ teaspoon salt, skip this if you’re using salted butter
- 2 tablespoon milk, whole or 2% works best but add a little more if dough feels dry
- Some parchment paper for lining your baking sheet, helps with cleanup and sticking
Once you got these lined up on your counter, you’re set to roll. Everything matters here, from soft butter to that precise milk splash. You remember, pressure cooking needs perfect timing but the dough should always feel soft, not sticky.

The Full Pressure Cooker Journey
Step one is to preheat your oven to 350°F and get your baking sheet ready with parchment. You want this done before your dough is ready.
Next you cream that butter and sugar in a big bowl till it looks light and fluffy. This step is where the good stuff starts happening.
Then add the egg yolks and vanilla extract in there. Mix it good till you get a smooth blend with no lumps.
Now gently add your flour and salt bit by bit. Don’t over mix or your cookies might get tough which you definitely don’t want.
Pour milk in a little at a time till the dough pulls together soft but not sticky. If it gets too wet, just add a touch more flour.
Scoop or roll tablespoon-sized balls and place them with some space on your sheet. Flatten ’em slightly with fingers or a glass bottom.
Bake for 12 to 15 minutes till edges just turn golden. Let them cool five minutes on the sheet then move ’em to a wire rack or you’ll get steamy bottoms.
Valve Hacks You Need to Know
- Use the float valve rise as your "all clear" signal before opening. Trying to rush will only hurt texture.
- Listen close to the valve hiss stopping, it means pressure is almost gone so you can open soon.
- For quick releases, tilt the lid away to let steam escape faster but be careful of the hot burst.
Y’all gotta get comfortable with these little tricks to feel confident in your pressure cooker. The valve is your best indicator and that hiss you hear shows the system’s working like it should.
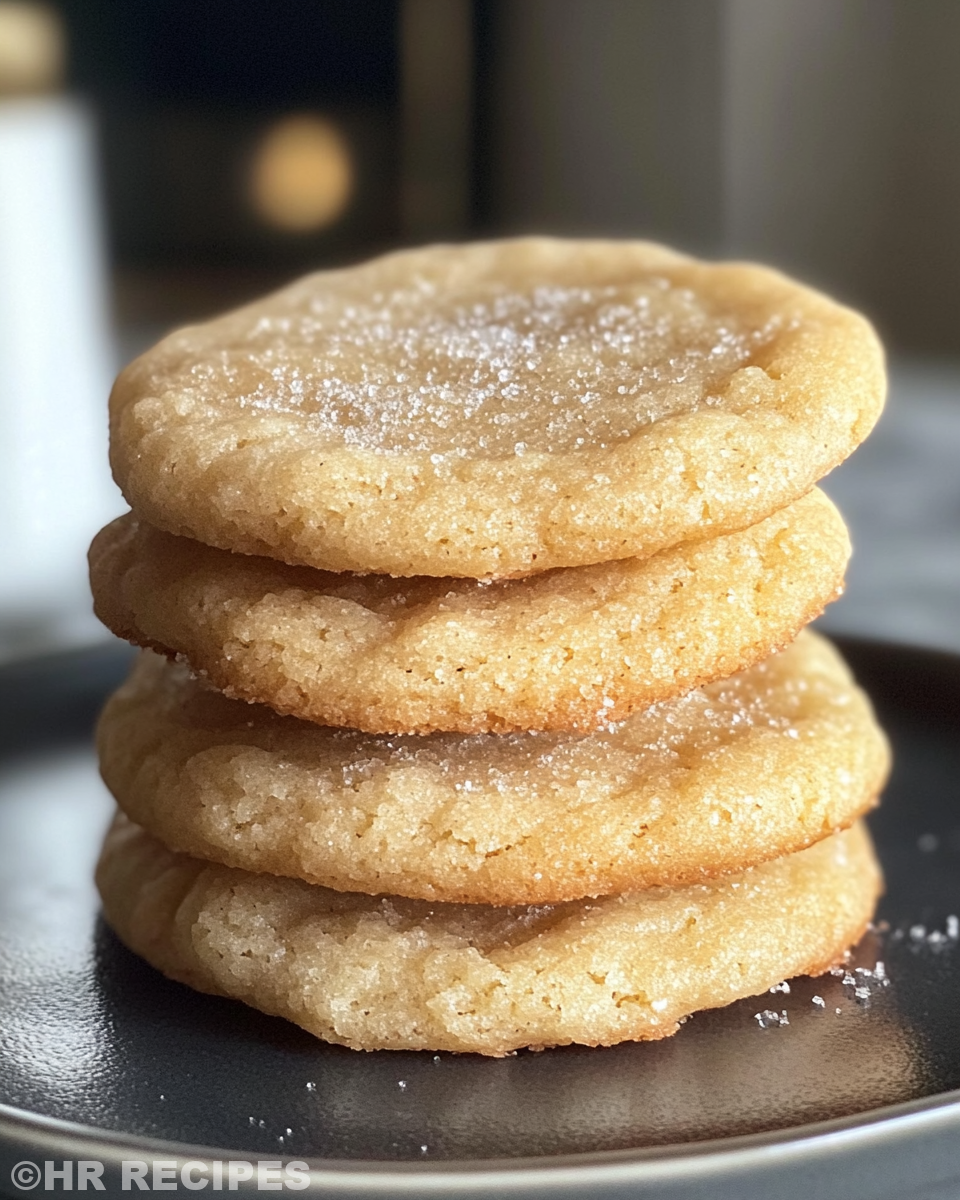
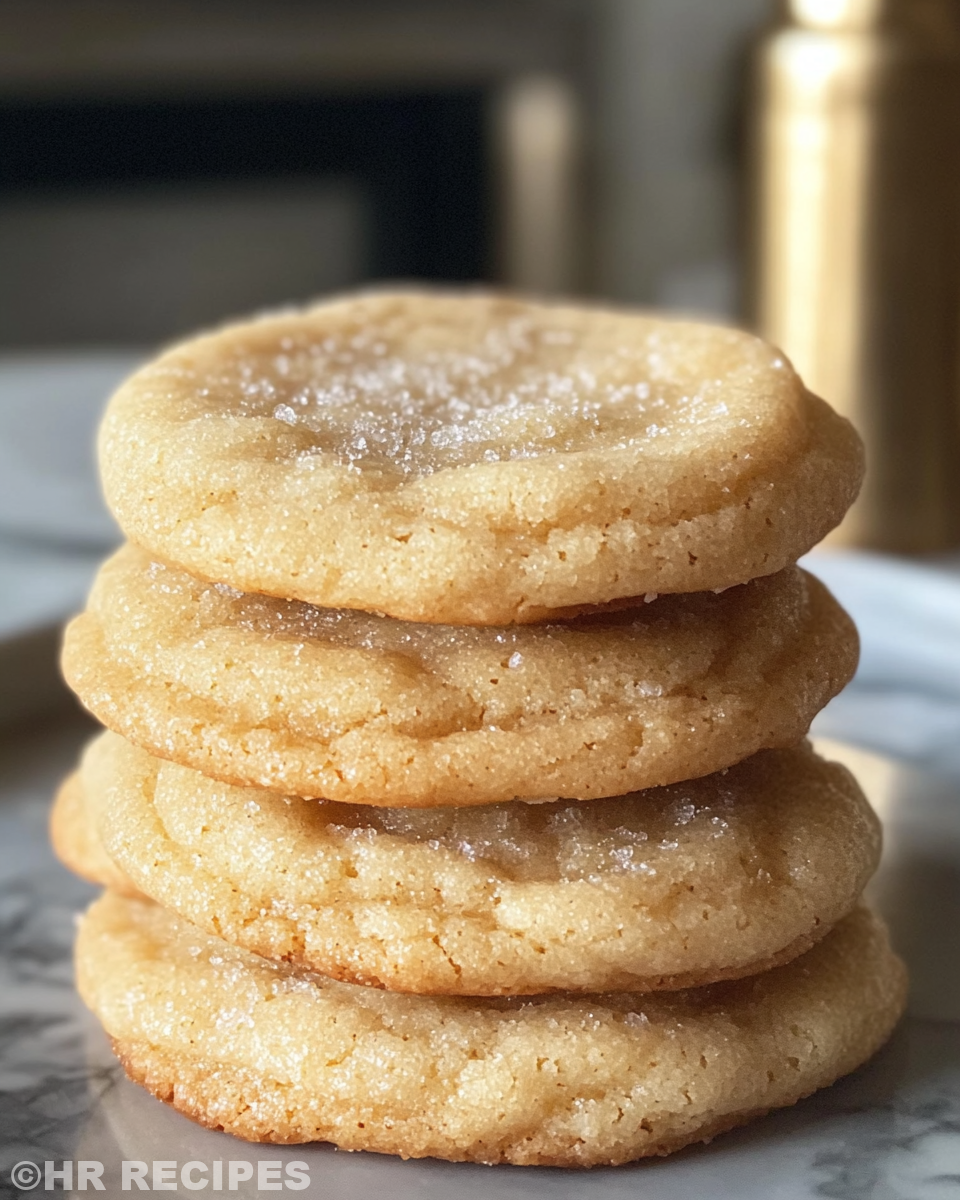
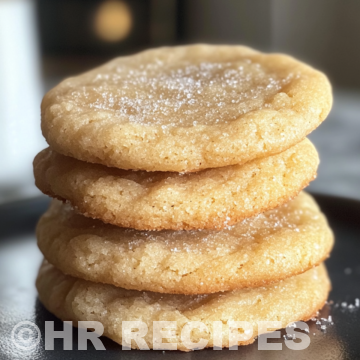
That First Bite Moment
When you finally grab one of those soft butter cookies, you gonna feel that delicate crumb that melts in your mouth. The texture’s just right, not too firm and not crumbly either.
That buttery flavor really shines, and you’ll notice the hint of vanilla sneaking through with every bite. It’s homey and comforting like a warm kitchen on a chilly day.
You remember how those edges hold a tiny golden crisp but inside stays soft and tender. No need for a fancy bakery when you get these at home with your pressure cooker tricks.
Smart Storage That Actually Works
Keep your cookies in an airtight container at room temp for up to a week. This stops ’em from drying out and keeps ’em soft.
For longer storage, pop the cookies in the freezer. Make sure they’re well wrapped, then thaw at room temp before munching.
If your kitchen feels humid, add a slice of bread in the container. It helps absorb moisture and keeps cookies tender.
You can also layer cookies between parchment paper inside the container so they don’t stick together. This keeps ’em looking fresh and ready to eat anytime.
What People Always Ask Me
- Can I use salted butter instead of unsalted? Absolutely, just skip the added salt in the recipe so it doesn’t get salty.
- Is it okay if I use whole eggs instead of just yolks? You can try but the texture will change a bit. Yolks give more richness and help keep cookies soft.
- Can I add chocolate chips or nuts? Heck yes! Add about a half cup for extra flavor and texture.
- Why do cookies sometimes come out too dry? Probably overmixing or baking too long. Keep an eye on those edges turning golden.
- How do I know when the dough is right? It should be soft and slightly sticky but should come together easily. Add milk little by little to get there.
- Can I really use my pressure cooker for baking? Yes you can! Just keep an eye on steam cues and timing. It works real good for lots of recipes, not only stews.
For more delicious recipes, check out our Classic Crockpot Pierogi Casserole with Kielbasa, perfect for hearty dinners. Also, try our Easy Marinated Cheese Appetizer with Salami & Green Olives for a savory snack that pairs nicely with these buttery treats. Don't miss the Mozzarella Stuffed Rosemary Parmesan Soft Pretzels for another delightful homemade snack option.
Soft Butter Cookies in Your Pressure Cooker
Equipment
- 1 Mixing bowl Large
- 1 Hand mixer
- 1 Piping bag with star tip
- 1 Baking sheet lined with parchment
Ingredients
Main ingredients
- 1 cup Unsalted butter softened to room temp
- ⅔ cup Granulated sugar
- 2 Egg yolks
- 1 teaspoon Vanilla extract or substitute extract like almond
- 2 cups All purpose flour
- ¼ teaspoon Salt omit if using salted butter
- 2 tablespoon Milk whole or 2%
Instructions
Instructions
- Preheat oven to 350°F and line baking sheet with parchment paper.
- Cream butter and sugar in a large bowl with mixer until light and fluffy.
- Add egg yolks and vanilla extract and mix until smooth.
- Gradually mix in flour and salt just until combined.
- Add milk slowly until dough is soft but not sticky. Add more milk or flour if needed.
- Pipe or scoop tablespoon-sized dough balls onto sheet. Flatten slightly.
- Bake 13–15 minutes or until edges are light golden.
- Cool on baking sheet 5 minutes, then transfer to rack.
- Store in airtight container at room temperature for up to 1 week.


