The pressure builds and you start counting down minutes until you eat. The float valve pops up, and you can't help but peek at that sealing ring working hard to hold in all the yum. It's like your kitchen is buzzing, waiting for that quick release moment so you can dive in.
You remember the last time you tried frying chicken and how long it took to get just right. Now you got this shortcut with a pressure cooker that kinda does the hard work for you. The natural release lets the flavors settle while you get ready for dinner, maybe toss a salad or even just wipe down the counters.
That sweet and spicy aroma starts filling your kitchen, and you sense dinner is almost here. It's a dang good feeling knowing you don't gotta slave over the stove all night. Soon, you'll be tasting that crispy, saucy chicken and thinking, yep, this was totally worth it.
The Truth About Fast Tender Results
- You get tender chicken way faster than traditional cooking.
- The pressure cooker seals in moisture with its sealing ring, no drying out.
- Quick release lets you stop cooking exactly when you want, no overdone meat.
- Float valve lets you know when pressure's right so timing is spot on.
- Natural release cools down gently, keeping meat juicy and flavors locked in.
- The cornstarch slurry thickens sauce perfectly under pressure for that great stickiness.
- You avoid constant stirring and babysitting with this one-pot wonder.
The Complete Shopping Rundown
You gotta start with boneless, skinless chicken breasts, about a pound, cut into bite-sized pieces. Don't forget salt and pepper for seasoning right at the beginning.
Grab half a cup of cornstarch and ½ cup flour for that crispy double coating. Two eggs beaten are waiting for you to dip the chicken in so it sticks good.
For frying, vegetable oil is your best buddy, enough for deep frying or shallow frying in a skillet.
Your sauce is where the sweet and spicy comes alive: ⅓ cup honey, 2 tablespoons soy sauce, and 1 tablespoon apple cider vinegar play a big role.
Don't miss 2 tablespoons ketchup and about 1 tablespoon hot sauce, which you can adjust if you like it more or less spicy. Toss in a teaspoon crushed red pepper flakes and 3 garlic cloves minced for that extra kick.
Add a teaspoon black pepper and for thickening, 2 tablespoons water mixed with 1 tablespoon cornstarch to make a slurry.
For garnish, you want chopped green onions and some sesame seeds to sprinkle on top just before serving. They make the look and flavor pop.
Your Complete Cooking Timeline
Step one: Season your chicken with salt and pepper real good. This is gonna bring out the flavors before any frying or cooking starts.
Next, in a shallow dish mix flour and cornstarch together. In another bowl, beat those two eggs till smooth so they're ready for the chicken dip.
Dredge each chicken piece in the flour mix, dip it into the beaten eggs then coat it again in the flour mix. This double coat locks in crispiness for later.
Heat vegetable oil in a skillet or wok over medium-high heat. Fry the chicken batches until golden and cooked through, around 5 to 7 minutes each batch. Drain on paper towels to kick out excess oil.
While that’s happening, combine honey, soy sauce, apple cider vinegar, ketchup, hot sauce, crushed red pepper flakes, garlic, and black pepper in a saucepan over medium heat. Stir and bring to simmer.
Make that slurry by mixing water and cornstarch, then add it to the sauce stirring for 2-3 minutes till it thickens up nicely.
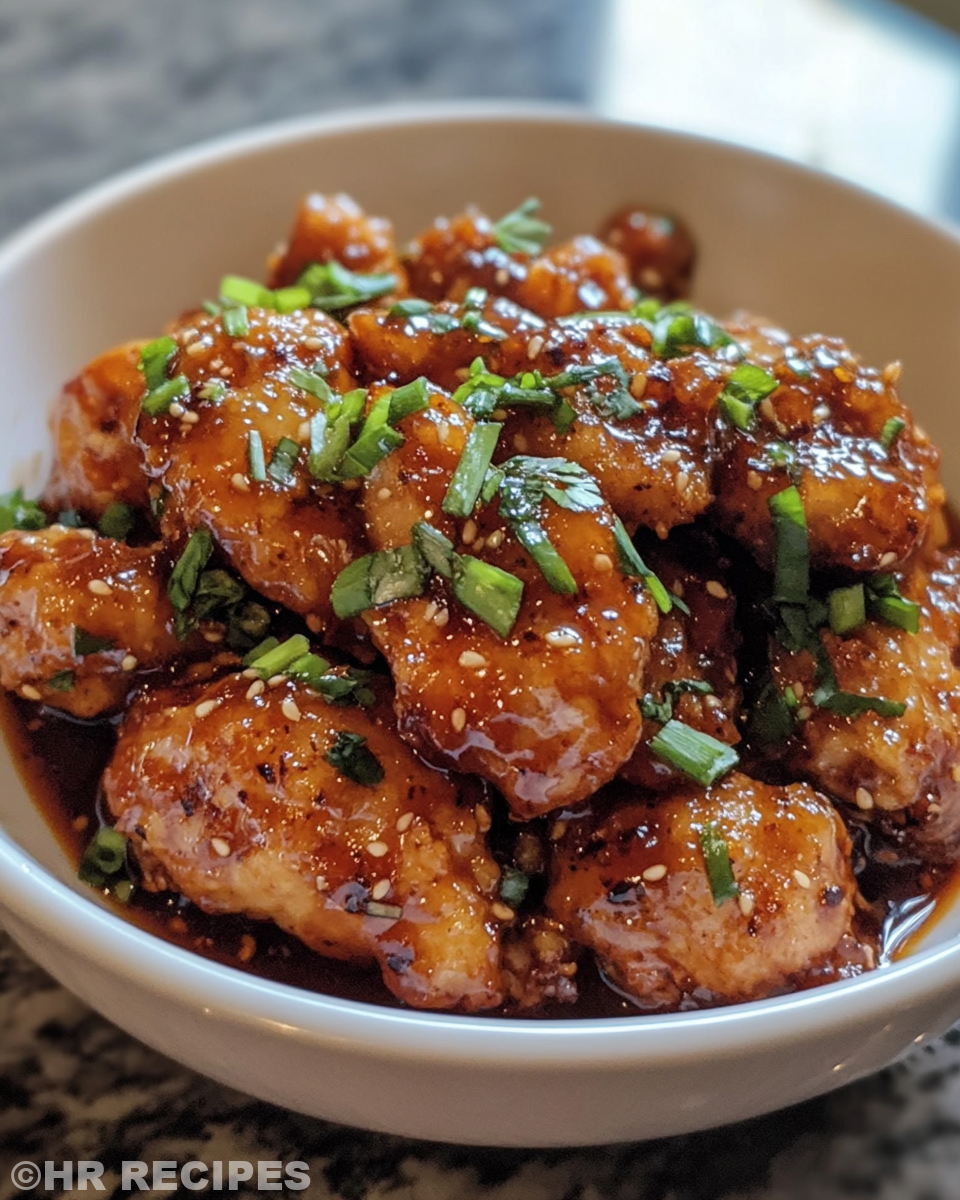
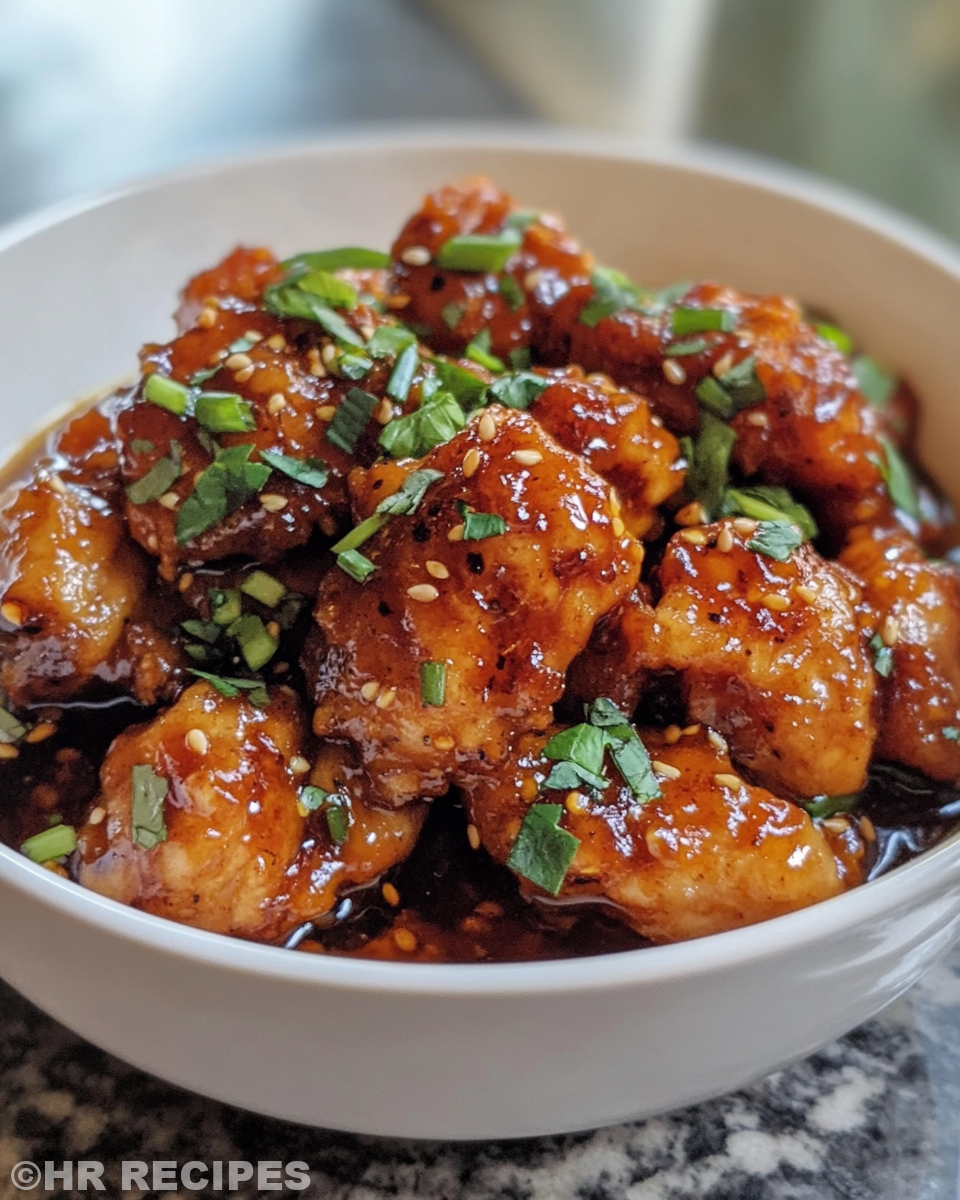
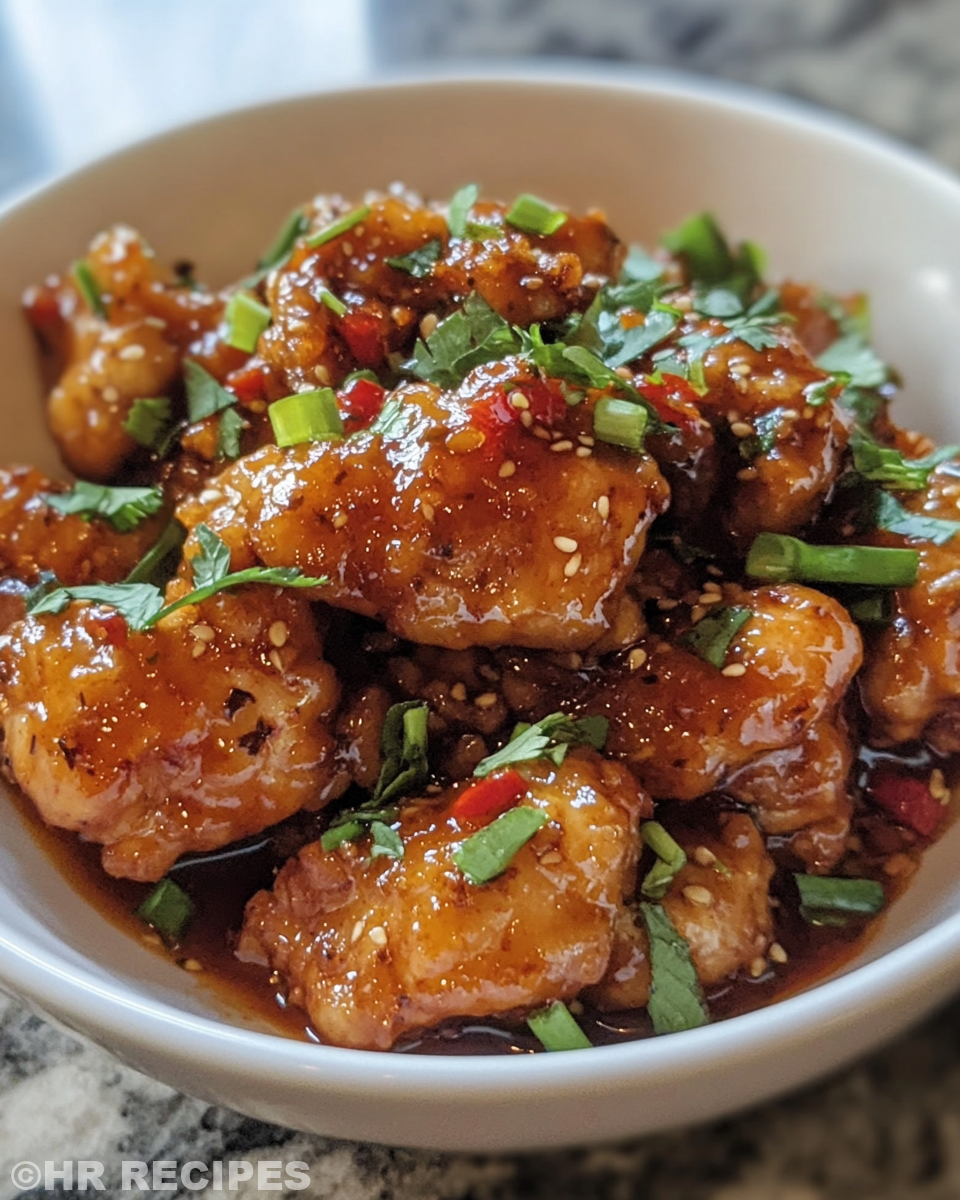
Finally, toss the fried chicken in the sauce coating it real good. Serve it hot with rice or veggies and sprinkle chopped green onions and sesame seeds on top for that perfect finish.
Easy Tweaks That Make Life Simple
- If you want less fuss, use store-bought fried chicken pieces and just toss 'em in the sauce while it simmers.
- Make the sauce ahead of time and keep it sealed in the fridge to cut prep time on busy nights.
- Swap out chicken breasts for thighs if you want juicier meat, they hold up great in this sauce.
- If you've got a small kitchen, use a big frying pan for the chicken instead of deep frying to avoid messy oil spills.
When You Finally Get to Eat
That first bite hits all the right spots, sweet with a spicy kick that wakes up your taste buds. The crispy chicken soaked in the honey pepper sauce gives you a crispy and sticky texture kinda like the best finger food you wanna keep eating.
Green onions bring that fresh sharp bite and the sesame seeds add a little crunch and nutty flavor that rounds out every mouthful. You catch yourself going back for seconds without a second thought.
Warm rice or steamed veggies paired with this dish make it feel like a full meal you didn’t have to slave over. It’s dang satisfying to know you whipped it up in less than an hour.
Making It Last All Week Long
After you've enjoyed your first meal, store leftovers in an airtight container in the fridge. They'll keep for about 3 to 4 days and taste great reheated.
To reheat, use your microwave or stove on low heat, adding a splash of water if the sauce got too thick or sticky in the fridge.
If you want to keep portions for even longer, this chicken freezes well too. Just thaw overnight in the fridge before reheating, and it’s almost like fresh.
Common Questions and Real Answers
Can I use chicken thighs instead of breasts? Absolutely. Thighs may stay juicier after pressure cooking and frying, so it’s a great swap.
Should I use quick release or natural release for this recipe? The chicken is fried first so pressure cooker is mainly for the sauce simmer part. Use quick release once sauce thickens to avoid overcooking.
Is the double dredge necessary? Yeah, it helps get that crispy, sticky coating that clings to the sauce well.
Can I make this spicy or mild? Totally up to you! Adjust the hot sauce and red pepper flakes. Less for mild, more for heat.
Do I have to deep fry? No way. You can pan-fry in a bit of oil too if you wanna keep things lighter or cleaner.
What’s the sealing ring and float valve do? The sealing ring keeps all the pressure and steam trapped inside for cooking. The float valve pops up when the cooker is pressurized so you know it's working right.
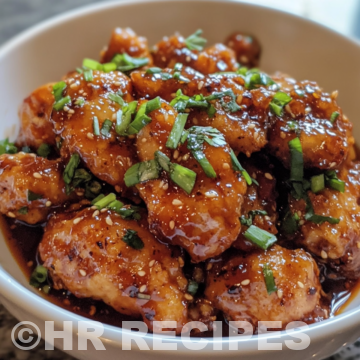
Sweet and Spicy Honey Pepper ChickenClara
Equipment
- 1 Mixing bowl for coating mixtures
- 1 Frying pan or wok for frying chicken
- 1 Saucepan for making sauce
Ingredients
Ingredients
- 1 lb Boneless skinless chicken breasts cut into bite-sized pieces
- Salt and pepper to taste
- ½ cup Cornstarch
- ½ cup Flour
- 2 Eggs beaten
- Vegetable oil for frying
- ⅓ cup Honey
- 2 tablespoon Soy sauce
- 1 tablespoon Apple cider vinegar
- 2 tablespoon Ketchup
- 1 tablespoon Hot sauce adjust to taste
- 1 teaspoon Crushed red pepper flakes
- 3 cloves Garlic minced
- 1 teaspoon Black pepper
- 2 tablespoon Water for slurry
- 1 tablespoon Cornstarch for slurry
- Chopped green onions for garnish
- Sesame seeds for garnish
Instructions
Instructions
- Season chicken pieces with salt and pepper.
- Mix flour and ½ cup cornstarch in a shallow dish. Beat eggs in another bowl.
- Coat chicken in flour mix, dip in eggs, then dredge again in the flour mix to double coat.
- Heat vegetable oil over medium-high and fry chicken in batches 5–7 minutes until golden. Drain on paper towels.
- In a saucepan, mix honey, soy sauce, apple cider vinegar, ketchup, hot sauce, red pepper flakes, garlic, and black pepper over medium heat. Simmer.
- Make a slurry with water and cornstarch. Add to saucepan and stir 2–3 minutes until thickened.
- Toss fried chicken with thickened sauce until coated well.
- Serve hot over rice or veggies. Top with chopped green onions and sesame seeds.