
That first hiss from the cooker tells you something good is happening. You feel that little buzz of excitement as the steam starts building, and you just know your sweet treat is underway. No waiting around wondering if things are gonna work out right.

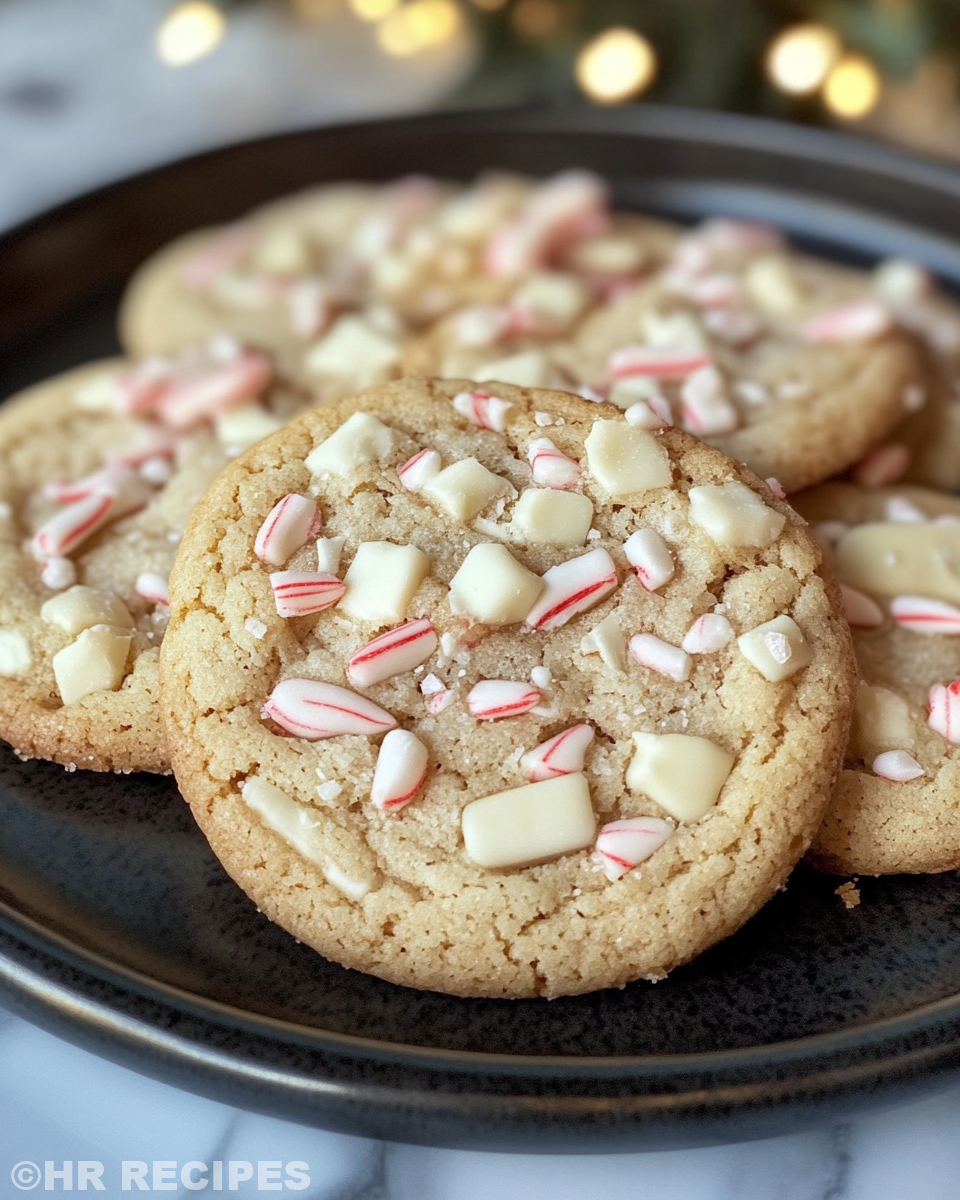
With these Peppermint White Chocolate Cookies, you get that perfect blend of cozy flavors and the kinda crisp chew that just makes you wanna reach for another. And using the pressure cooker helps you nail it every time, keeping things tender but just the right pull for a cookie.
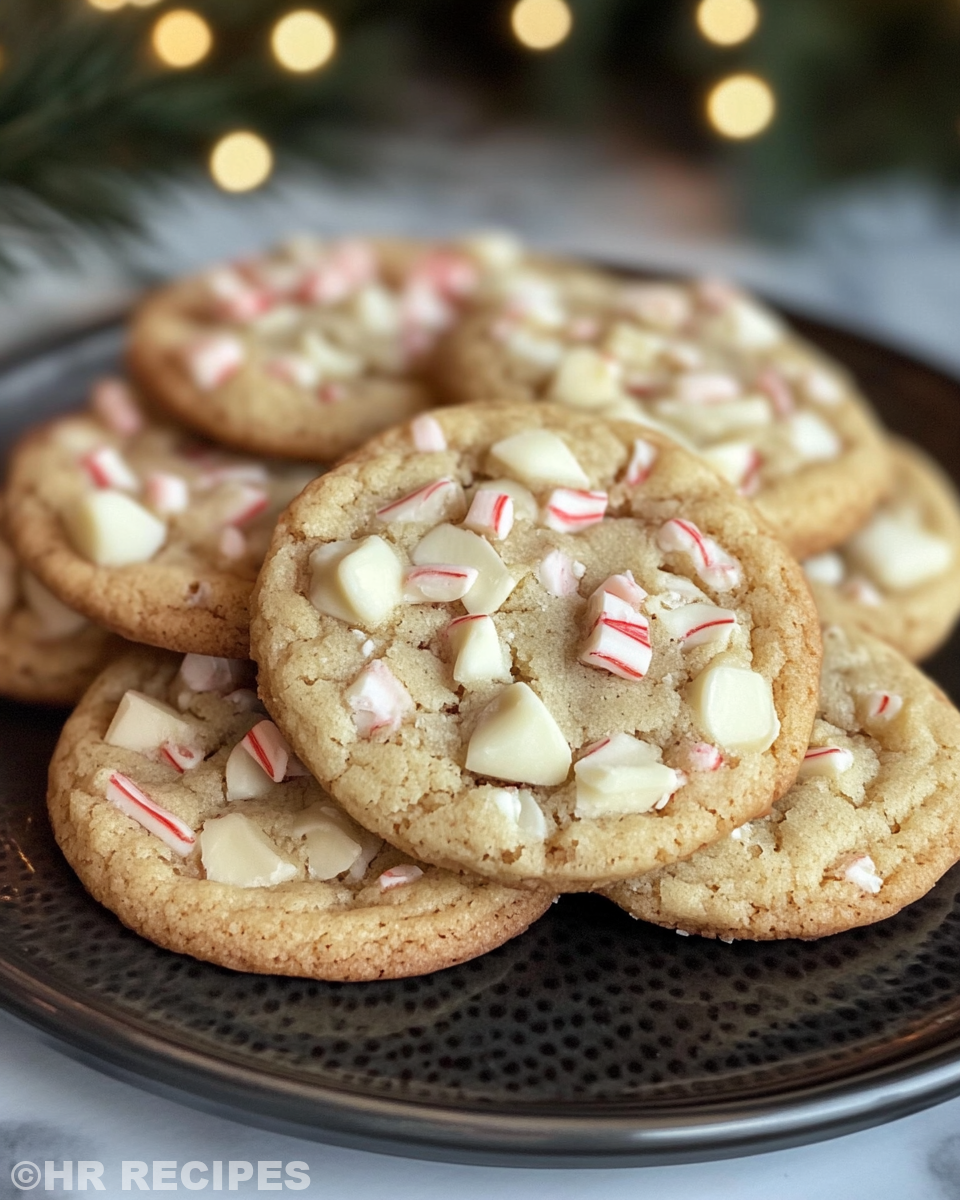
As you watch the sealing ring do its job and the broth depth keep everything moist inside, you catch that sweet peppermint scent filling your kitchen. It’s sorta like a holiday hug in cookie form, and it’s coming together real good.
What Makes Pressure Cooking Win Every Round
- Saves you time with a way faster baking cycle than your regular oven.
- Keeps moisture locked in thanks to that trusty sealing ring, no dry crumbs here.
- The broth depth works like a gentle steam bath for your cookies so they stay tender.
- Quick release makes it easy to check your cookies without overcooking.
- You get consistent results even if you’re still new to baking techniques.
- Less mess around the kitchen and energy used compared to turning on a big oven.
Everything You Need Lined Up
- 2 cups all-purpose flour, spooned and leveled for best texture.
- 1 teaspoon cornstarch to help keep it soft and chewy.
- 1 teaspoon baking soda to get that perfect rise.
- ½ teaspoon salt to balance the sweetness.
- ¾ cup unsalted butter, softened so it blends real smooth.
- ½ cup packed light brown sugar and ½ cup granulated sugar for the perfect sweet combo.
- 1 large egg, room temperature helps it mix better.
- 1 and a half teaspoons pure vanilla extract plus ¾ teaspoon peppermint extract for that festive flavor.
- ¾ cup white chocolate chips and ½ cup crushed candy cane pieces plus 4 ounces coarsely chopped white chocolate for some melty fun.
Your Complete Cooking Timeline
First, you gotta preheat your oven to 350 degrees Fahrenheit and line your baking sheets with parchment paper to keep things from sticking. This step sets you up smooth for baking later.
Next, grab a medium bowl, and whisk the flour, cornstarch, baking soda, and salt together. This dry mix is what gives your cookies that tender pull without being heavy.
Using your mixer, beat the softened butter with both sugars on medium-high until it turns light and creamy. You gonna see it fluff up nice after about two minutes.
Then add in the egg, vanilla, and peppermint extracts. Beat again till everything’s mixed well and smells super good.
Slowly add the dry stuff into your wet mix on the low setting so you don’t overwork the dough. Just mix until its all combined enough, you don’t wanna stir too hard or your cookies will get tough.
Fold in the chopped white chocolate and crushed peppermint candies by hand. You gotta be gentle here so your baubles don’t melt before they hit the oven.
Scoop out tablespoon-sized dollops onto your lined baking sheets, giving space about two inches between each so they get room to puff up. Bake ’em for 9 to 11 minutes until the edges get just a light golden color. The centers might still look a little soft, but that's perfect.
Let the cookies rest on the baking sheet for five minutes before moving them to cooling racks. That little time helps ’em set right without breaking.
Valve Hacks You Need to Know
- Make sure your sealing ring fits snug so you get full pressure every bake, no leaks or hissing escapes.
- If you wanna test your cookies early, use quick release to drop the pressure fast without waiting for slow release.
- Keep an eye on broth depth in the pot, you only need enough water to keep steam but not so much it turns your cookies soggy.
- Switch to slow release if you’re doing bigger batches to avoid cookie cracks from sudden temp changes.
- Give the pot a quick shake after sealing to check if the dough is sitting evenly for even baking.
The Flavor Experience Waiting for You
When you bite into these cookies, you’re greeted with the creamy sweetness of white chocolate melting perfectly along with that peppermint burst. It’s like a winter fresh kiss in each bite.
The texture hits that tender pull you want with the outside edges crisp enough to catch your teeth but never too hard. Your mouth feels cozy with every chew.
That crushed candy cane inside adds a little crunch and a sharp sparkle of minty zing that keeps you guessing what’s next. It’s a delightful contrast to the creamy chunks.
You’ll notice how the gentle steam cooking from your pressure cooker helps keep these cookies moist but still holds their shape just right. It’s kinda like they baked slower but in way less time.
Keeping Leftovers Fresh and Ready
If you got extras, put your cookies in an airtight container at room temp. They’ll stay chewy and tasty for a few days without any fuss.
You can also freeze your cookie dough balls on a tray, then later bake just what you want fresh whenever you like. It’s a cool way to have treats always ready with no waiting.
Wrap individual cookies in plastic wrap and toss ’em in the freezer for a quick thaw later. They keep their texture well this way.
Or store baked cookies in a cookie tin with a slice of bread if you want ’em soft and ready for munching the next day. Just remember to replace the bread every couple days so it stays fresh.
Common Questions and Real Answers
Can I skip the peppermint extract? Sure, but it’s kinda the star here. You can swap it for vanilla if you want a more plain sweet cookie, but you’ll miss the fresh zing.
Do I really need both baking soda and cornstarch? Yep, baking soda helps cookies rise right while cornstarch keeps them tender not tough. They work together nice.
How do I handle the pressure cooker for baking specifically? Make sure to watch the broth depth and use the sealing ring to keep pressure steady. Quick release works best to stop baking right on time.
Will these cookies spread too much? This dough holds up tight well thanks to the flour and chill time. If you wanna be safe, chill the dough 30 minutes before baking.
What makes white chocolate good here instead of regular chocolate? White chocolate melts softer and sweeter, perfect with the peppermint and candy cane crunch. It’s less bitter, more creamy.
Can I add nuts? Totally! Chopped pecans or walnuts mix well and add a little extra texture if you’re feelin’ adventurous.
For related tips and ideas, be sure to check out our Classic Crockpot Pierogi Casserole with Kielbasa for hearty meal inspiration, the playful Coyote Droppings Caramelized Cheetos Recipe and Insights, and our tasty Easy Marinated Cheese Appetizer with Salami & Green Olives perfect for snacking and entertaining.
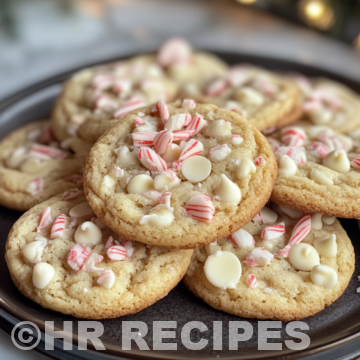
Peppermint White Chocolate Cookies Made Easy in Your Pressure Cooker
Equipment
- 1 Mixing bowl Medium
- 1 Electric mixer Handheld or Stand
- 1 Baking sheets Lined with parchment paper
- 1 Cooling rack
Ingredients
Main ingredients
- 2 cups all-purpose flour spooned and leveled for best texture
- 1 teaspoon cornstarch helps keep it soft and chewy
- 1 teaspoon baking soda for the perfect rise
- ½ teaspoon salt to balance the sweetness
- ¾ cup unsalted butter softened
- ½ cup light brown sugar packed
- ½ cup granulated sugar
- 1 egg room temperature
- 1 ½ teaspoons pure vanilla extract
- ¾ teaspoon peppermint extract
- ¾ cup white chocolate chips
- ½ cup crushed candy cane pieces
- 4 ounces white chocolate coarsely chopped
Instructions
Instructions
- Preheat oven to 350°F and line baking sheets with parchment paper.
- Whisk flour, cornstarch, baking soda, and salt in a medium bowl.
- Beat softened butter, brown sugar, and granulated sugar until fluffy.
- Add in egg, vanilla, and peppermint extract and beat until combined.
- Slowly mix in dry ingredients until dough just comes together.
- Fold in white chocolate chips, chopped chocolate, and crushed candy canes.
- Scoop tablespoon-sized dough balls onto lined baking sheets spaced 2 inches apart.
- Bake for 9-11 minutes until edges are golden but centers still soft.
- Let cool on baking sheet for 5 minutes before transferring to wire racks.


