Steam curls up from the valve and your stomach starts talking back. That warm, cozy feeling hits right as you hear the gentle hiss of your pressure cooker doing its thing. You catch a whiff of sweet and salty mixing in the air and you know something dang good is about to happen.
The sealing ring works overtime to keep that steam locked inside while the flavor builds up. It’s kinda like a little holiday secret trapped in your pot, just waiting for you to release. That steam cue is what tells you the cookie’s about to get that perfect tender pull you love.
When you pop that lid and let the natural release do its work, you’re rewarded with cookies packed with all sorts of goodness. You feel those little bursts of sweetness and crunch, making every bite a holiday adventure. This ain’t your regular cookie recipe — it’s a kitchen sink kind of deal, where everything but the kitchen sink goes in.
The Truth About Fast Tender Results
- You don’t gotta wait forever for soft, tender cookies.
- Pressure cookers use steam cues to lock in moisture.
- The sealing ring is a small but mighty player in keeping your food juicy.
- Natural release lets flavors deepen, giving you broth depth even in cookies.
- Using your pressure cooker means you get a tender pull that’s hard to beat.
- Cookies finish much faster without drying out.
- It’s a totally hands-off way to nail those sweet treats every time.
The Truth About Fast Tender Results
For more on getting soft bakes effortlessly, check out our how to make soft cookies and pressure cooker desserts posts that explore similar techniques for tender treats.
What Goes Into the Pot Today
- 1 cup unsalted butter, softened just right to cream up smooth
- 1 cup light brown sugar for deep sweetness that sticks with you
- ½ cup granulated sugar to balance the mix just right
- 1 large egg makes the dough come together and hold it all tight
- 1 teaspoon vanilla extract to give that classic warm holiday vibe
- 2 ½ cups all-purpose flour brings it all to a cookie structure
- ¼ teaspoon salt to make those flavors pop
- 1 teaspoon baking soda for that perfect rise and tender pull texture
- ¾ cup mini baking M&Ms throw in bursts of color and chocolate fun
- ½ cup white chocolate chips, coarsely crushed pretzels, potato chips, and Christmas sprinkles add lots of crunch and festive flair
What Goes Into the Pot Today
Looking for variations on mix-ins? Check out our holiday cookie variations and best chocolate chip cookies for tasty ideas and inspiration to get creative in the kitchen.
The Full Pressure Cooker Journey
First things first, preheat your oven to 350°F and get some parchment paper ready on your baking sheets. Even though you’re gonna use a pressure cooker, you still wanna follow a couple old-school steps for the best results.
Next, cream together that butter, brown sugar, and granulated sugar until light and fluffy. You’ll feel it change texture and smell that sugary sweet goodness growing.
Add the egg and vanilla extract, mix it well. This combo gets sticky and smooth, kinda like the promise of a good cookie right there.
Then whisk together flour, salt, and baking soda in a separate bowl. Gradually add that dry mix into your wet ingredients, stirring just enough so it all combines without toughening up.
Carefully fold in the mini M&Ms and white chocolate chips. Now mix in those crushed pretzels, potato chips, and maybe a handful of Christmas sprinkles to sprinkle joy into the dough.
Grab tablespoon-sized dollops of dough and space them out a couple inches apart on your lined baking sheets. You don’t want ’em all smooshed together or they won’t cook right.
Bake for about 10 to 12 minutes or until the edges start to look lightly golden. Careful not to overbake or you’ll lose that tender pull you’re chasing.
Once out of the oven, let the cookies cool 5 minutes on the sheet before moving them to a wire rack. This little pause helps them set just right, firm on the outside but soft in the middle.
Quick Tricks That Save Your Time
- Use room temp butter to speed up cream time.
- Prep all your mix-ins before you start mixing so you don’t get distracted.
- You can mix dry and wet ingredients in advance and store the dough in your fridge for a day.
- Line your baking sheets with parchment paper ahead to skip cleanup hassle.
- Give the cookies a quick flip on the baking sheet halfway to get a more even bake.
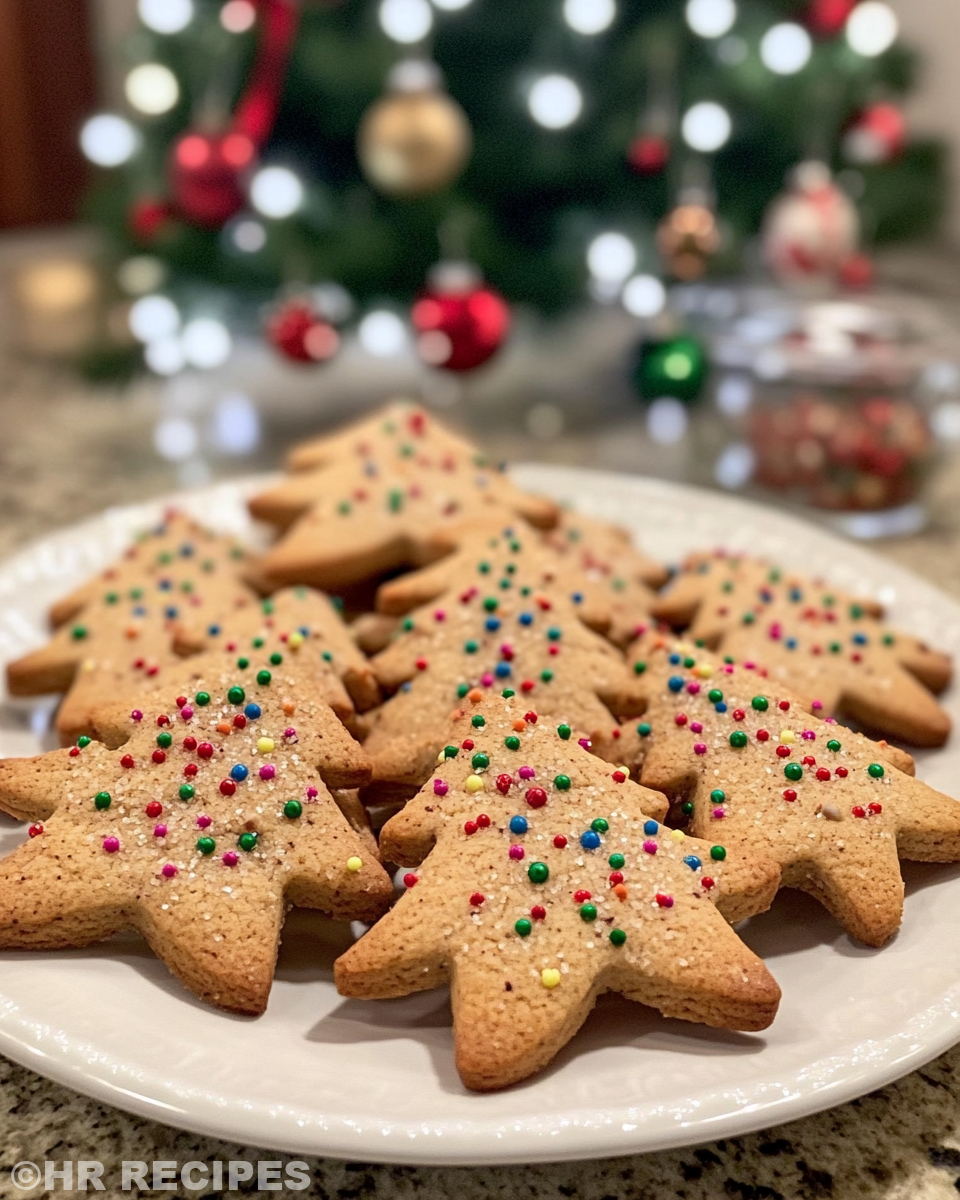
What It Tastes Like Fresh From the Pot
Right outta the oven, these cookies hit you with a tender pull that melts your stress away. You sense the rich butter and brown sugar’s caramel notes mingling with the salty crunch from pretzels and chips.
The M&Ms pop little surprises of chocolate here and there while white chocolate chips give a creamy sweetness that’s unexpected but dang good together. The Christmas sprinkles add a festive crunch and color, making every bite feel like a holiday party.
The contrast between sweet and salty makes you wanna keep eating even after you said you’d stop. Each cookie’s got a jam-packed flavor depth that’s hard to find anywhere else — kinda a takeaway from that broth depth you get with pressure cooker recipes.
Make sure to also visit our holiday treats from the pressure cooker and salty and sweet desserts posts to explore more flavor depth with pressure cooker recipes.
How to Store This for Later
Once you got a batch done, you wanna keep the yum going right? Storing these cookies right helps you enjoy that tender pull even days later.
You can stash ’em in an airtight container at room temp for up to a week. Just make sure you layer parchment paper between ’em so they don’t stick together into one giant cookie blob.
If you wanna keep ’em longer, pop the cookies in a freezer-safe bag and freeze. When you’re ready, let ’em thaw naturally at room temp — they soften right up like fresh baked.
Another neat trick is making the dough in advance and freezing it in balls. When holiday cravings hit, bake fresh cookies straight from frozen—adds a little extra fluff to the texture.
What People Always Ask Me
- Can I use a microwave instead of a pressure cooker? You can, but you’ll miss out on the tender pull and broth depth the pressure cooker gives your cookies. It won’t be quite the same experience.
- Are all the mix-ins necessary? Nope. You can swap or skip any you don’t like. That’s the beauty of kitchen sink cookies; they’re super flexible.
- How do I know when the pressure cooker is sealed properly? Check your sealing ring is in place with no cracks. When it’s sealed, the steam cues will start, and the valve will pop up steadily.
- What’s natural release and why’s it important? Natural release means you let the pressure go down slowly on its own instead of quick releasing it. It helps the cookies finish tender, locking flavors in good.
- Can I double the recipe for a bigger batch? Absolutely. Just be sure not to overfill your pressure cooker. You want at least one-third space left for steam to build properly.
- Will the cookies stay soft if I store them overnight? Yes, if you store them in an airtight container with parchment paper layers. The tender pull stays with you, even next day.
Christmas Kitchen Sink Cookies in Your Pressure Cooker
Equipment
- 1 Mixing bowl Large
Ingredients
Main ingredients
- 1 cup unsalted butter at room temperature
- 1 cup light brown sugar
- ½ cup granulated sugar
- 1 large egg
- 1 teaspoon vanilla extract
- 2 ½ cups all-purpose flour
- ¼ teaspoon salt
- 1 teaspoon baking soda
- ¾ cup mini baking M&Ms
- ½ cup white chocolate chips
- ½ cup coarsely crushed pretzels
- ½ cup coarsely crushed potato chips
- ¼ cup Christmas sprinkles
Instructions
Instructions
- Preheat oven to 350°F and line baking sheets with parchment paper.
- Cream together the butter, brown sugar, and granulated sugar until light and fluffy.
- Add the egg and vanilla extract, mixing well until smooth.
- In a separate bowl, whisk together flour, salt, and baking soda.
- Gradually add dry ingredients to the creamed mixture and stir just until combined.
- Fold in M&Ms and white chocolate chips, then mix in pretzels, potato chips, and sprinkles.
- Scoop dough into tablespoon-sized portions onto parchment lined baking sheets, leaving space between each.
- Bake for 10–12 minutes, or until edges are lightly golden.
- Cool cookies on the baking sheet for 5 minutes before transferring to a wire rack.