That first hiss from the cooker tells you something good is happening. It's like the sound of anticipation y'all wait for when the kitchen turns into a warm little oasis. You might notice the little steam cues and the float valve pop up, showing this pot's getting serious about your rolls.
You remember that moment watching the pressure build inside makes you feel like a pro chef without all the fuss. There's something about bakin' cinnamon rolls in this way that’s just different. The dough gets this tender pull that you absolutely can't fake with regular ovens.
It’s kinda wild to think you’re making these rich, Biscoff-filled vegan treats without even breaking a sweat. The cooker’s gentle, persistent heat wraps around your dough and filling, kinda like a cozy hug that turns into a soft, caramel-y dream you can tear apart with your fingers.
The Real Reasons You Will Love This Method
- Faster than classic oven baking, cutting down wait time dramatically so you can eat sooner.
- Your rolls come out super soft and even throughout, thanks to the controlled broth depth and steam cues.
- Pressure cooker keeps moisture in, so no dry edges or crunchy bits—just pillowy goodness.
- Yeast dough rises nicely with the pressure build process, making a perfect tender pull texture that impresses everyone.
- It's super hands-off once you set it up, freeing you to do other kitchen things or chill a bit.
- Great for vegan baking because the steady heat treats dairy-free and eggless doughs gently without toughness.
Your Simple Ingredient Checklist
- 1 cup dairy-free milk, warm but not hot (about 115°F)
- ¼ cup light brown sugar (divided into 2 parts)
- 2 ¼ teaspoon active dry yeast
- 3 cups all-purpose flour
- 1 teaspoon ground cinnamon plus 1 tablespoon for filling
- ½ teaspoon salt
- 3 tablespoon vegan butter (melted) plus 3 tablespoon softened for filling
- ¼ cup melted Biscoff Cookie Butter and 5-6 crushed Biscoff cookies for filling
- 1 teaspoon vanilla extract (plus extra for filling and optional for icing)
- For vegan cream cheese icing: 2 tablespoon vegan cream cheese, 1 cup powdered sugar, 2 tablespoon melted Biscoff cookie butter, 1-2 teaspoon dairy-free milk
Make sure you got a digital kitchen scale or measuring cups 'cause precise measurements mean happy rolls. The stuff you need's pretty baker-friendly and easy to track down, especially if you like cooking vegan or dairy-free.
Walking Through Every Single Move
Step 1: Activate the yeast by mixing your warm dairy-free milk with half the brown sugar. Sprinkle in the dry yeast, stir a quick bit, then set it aside for about 10 minutes till you see it gets frothy and bubbly—those are your steam cues that life’s brewing.
Step 2: In a big bowl, mix together flour, the rest of the brown sugar, salt, and cinnamon. Make a little well in the middle to pour the yeast mixture in along with melted vegan butter and vanilla. Stir it up till dough starts to form.
Step 3: Knead that dough on a floured surface for 8-10 minutes. It might be sticky but keep sprinkling flour bit by bit until it transforms into a soft, springy ball that’s not sticking to your hands.
Step 4: Cover with a damp towel and let it rise for about 1 ½ hours in a warm spot. The dough will double and show you it's ready by the float valve rising in spirit if it was in a pressure cooker.
Step 5: Roll the dough into a 12x7 inch rectangle about ¼ inch thick. This part’s fun because you’re shaping your soon-to-be rolls into a perfect canvas for the filling.
Step 6: Mix melted cookie butter, softened butter, brown sugar, cinnamon, and vanilla into a spreadable filling. Spread this all over the dough leaving a half-inch border. Sprinkle crushed Biscoff cookies on top for crunch and caramel surprise.
Step 7: Roll the dough up tight from the long side into a log and slice into 8 rolls, each about 1 ½ inches thick. Place these snug in a greased baking dish and cover with a damp cloth to rise again for 20-30 minutes until puffed up.
Step 8: Bake at 375°F for 20-23 minutes till golden brown. While baking, whip up vegan cream cheese icing that’s smooth enough to drizzle. Let rolls cool slightly then cover with frosting, extra cookie butter drizzle, and crushed cookies if you want.
Time Savers That Actually Work
- Warm your milk in the microwave for about 30 seconds to speed up yeast activation.
- Use a digital scale to measure flour and sugar fast and accurate—you won’t have to guess or sift twice.
- Knead the dough in the mixing bowl to save cleanup time and avoid sticky mess.
- Prepare the filling while the dough’s rising to multitask like a champ.
- Cover rolls with plastic wrap instead of cloth for the second rise to keep a super moist surface and speed up puffing.
What It Tastes Like Fresh From the Pot
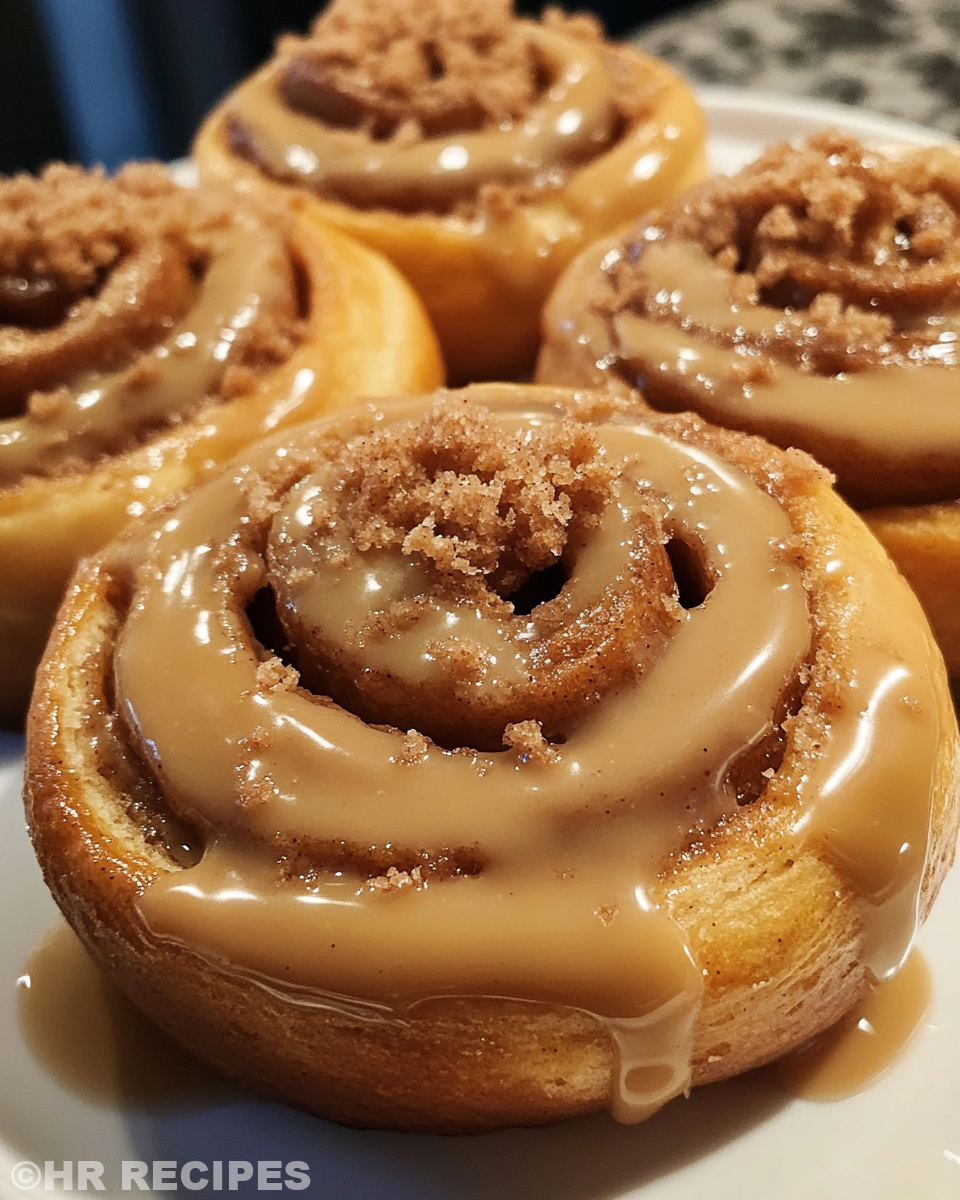
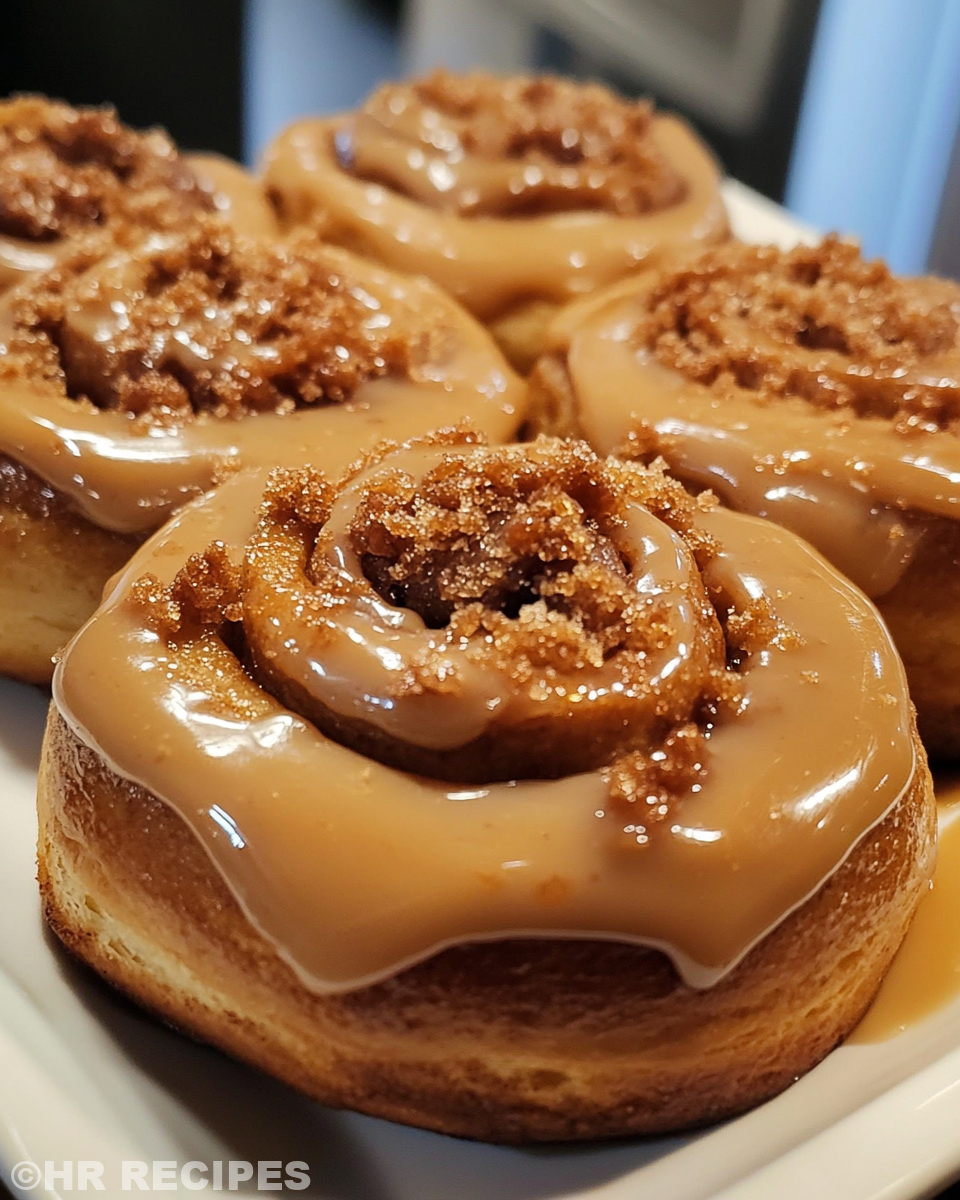
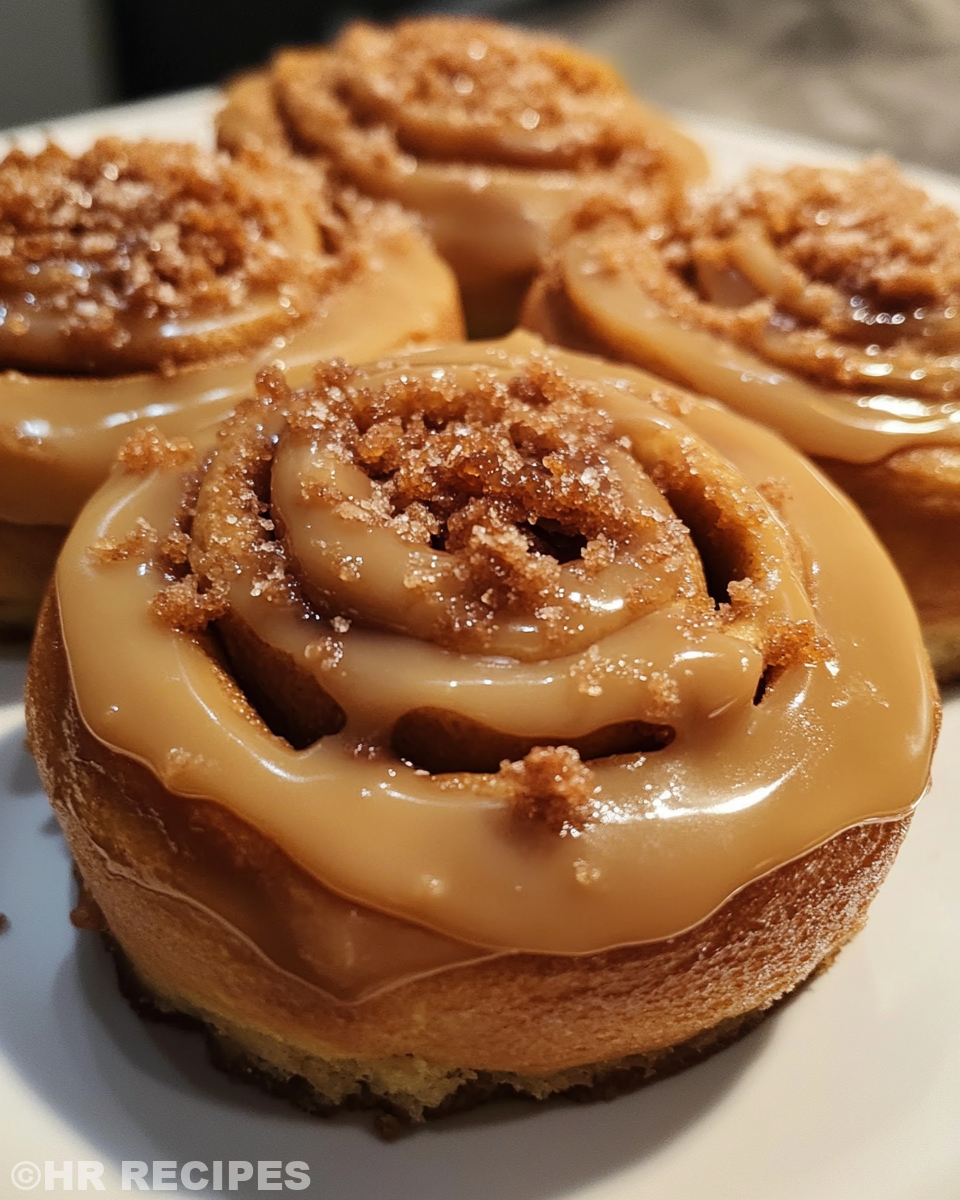
When you pull these rolls fresh from the oven, the scent hits you first. Warm cinnamon, caramel cookie butter, and sweet vanilla swirl around your kitchen inviting you in closer. You notice that soft dough that pulls apart with just the right tender pull—so pillowy and gentle on your tongue.
The filling is a dreamy ooey gooey layer that’s rich and buttery without being heavy. The crushed Biscoff bits add a little crunch surprise that works perfectly with the soft rolls themselves. You'll find that caramel and cinnamon mix is absolutely luscious.
The icing drizzles on smooth and creamy, giving a sweet tangy finish that balances the sugar just right. It melts slowly into the rolls and makes every bite feel like a cozy, warm hug, exactly what you want from cinnamon rolls that just came outta the cooker.
Your Leftover Strategy Guide
For storing leftover rolls, wrap them tightly in foil or in an airtight container to keep moisture in. This is best if you plan to eat them within 2 days, so the dough stays nice and soft.
If you want to save them longer, pop ‘em in the freezer wrapped in plastic wrap and foil. When ready to eat, thaw rolls overnight in the fridge, then warm in the microwave or oven for that tender pull feel again.
Reheating in a low oven or covered skillet with a splash of water can bring back the steam cues and keep your rolls from drying out. Just cover loosely so they don’t get too crusty while warming.
What People Always Ask Me
- Q: Can I make these cinnamon rolls without yeast?
A: You can try vegan cinnamon rolls without yeast but they won’t have quite the same fluffy texture or tender pull. This recipe relies on yeast for that rise. For a fun alternative, check out our Mozzarella Stuffed Rosemary Parmesan Soft Pretzels that use a different type of dough rise! - Q: Is Biscoff cookie butter really vegan?
A: Yep! Biscoff spread doesn’t have any animal products so it fits vegan and dairy-free diets perfectly. - Q: Can I use regular milk instead of dairy-free?
A: Totally, just keep in mind that using plant-based milk keeps it vegan-friendly. - Q: Do I gotta use crushed Biscoff cookies on top?
A: Nah, that’s optional but it adds a nice texture and extra caramel flavor that’s kinda addictive! - Q: How do I know when the dough’s risen enough before baking?
A: The dough should double in size and feel airy. You can do a little float test: if a bit of dough floats in water, it’s ready! - Q: Can I bake these in the pressure cooker instead of oven?
A: You can steam cinnamon buns in pressure cookers, but the top won’t brown like the oven does, so if you want golden brown, stick to the oven bake after the rise.
Biscoff Cinnamon Rolls and More: Your Pressure Cooker Adventure
Equipment
- 1 Mixing bowl Large
Ingredients
Dough
- 1 cup dairy-free milk warm but not hot
- ¼ cup light brown sugar divided
- 2 ¼ teaspoon active dry yeast
- 3 cups all-purpose flour
- 1 teaspoon ground cinnamon
- ½ teaspoon salt
- 3 tablespoon vegan butter melted
- 1 teaspoon vanilla extract
Filling
- ½ cup light brown sugar loosely packed
- 1 tablespoon ground cinnamon
- 3 tablespoon vegan butter softened
- ¼ cup Biscoff cookie butter melted
- 5-6 Biscoff cookies crushed
- 1 teaspoon vanilla extract optional
Cream Cheese Frosting
- 2 tablespoon vegan cream cheese softened slightly
- 1 cup powdered sugar
- 2 tablespoon Biscoff cookie butter melted
- 1-2 teaspoon dairy-free milk as needed
Instructions
Instructions
- Activate the yeast by mixing your warm dairy-free milk with half the brown sugar. Sprinkle in the yeast, stir briefly, and let sit for about 10 minutes until frothy.
- In a large bowl, mix together the flour, remaining brown sugar, salt, and cinnamon. Create a well and add yeast mixture, vanilla, and melted vegan butter. Stir into a dough.
- Knead dough on floured surface for 8-10 minutes, adding flour as needed until it becomes smooth and springy.
- Place dough in a bowl, cover with a damp towel, and let rise for 90 minutes until doubled in size.
- Roll out dough into a 12x7 inch rectangle about ¼ inch thick.
- Mix together cookie butter, softened butter, brown sugar, vanilla, and cinnamon. Spread on dough and top with crushed cookies, leaving ½ inch border.
- Roll into a log and slice into 8 rolls. Place in greased baking dish, cover, and let rise again for 20–30 minutes.
- Bake rolls at 375°F for 20–23 minutes until golden brown.
- While baking, mix icing ingredients. Let rolls cool slightly before drizzling icing and garnish with extra cookie butter and crushed cookies if desired.