You catch the smell through the steam vent and suddenly you are starving. It's like this rich sweet vanilla and chocolate scent just sneaks right into your kitchen, making your mouth water. You kinda forget what else you were doing, cause this smell's got your full attention.
Steam cues are telling you something good is happening inside that pressure cooker. You remember last time you tried baking cookies the usual way and how long it took. This pressure build and cook method is totally different, and it works real good for soft cookie lovers.
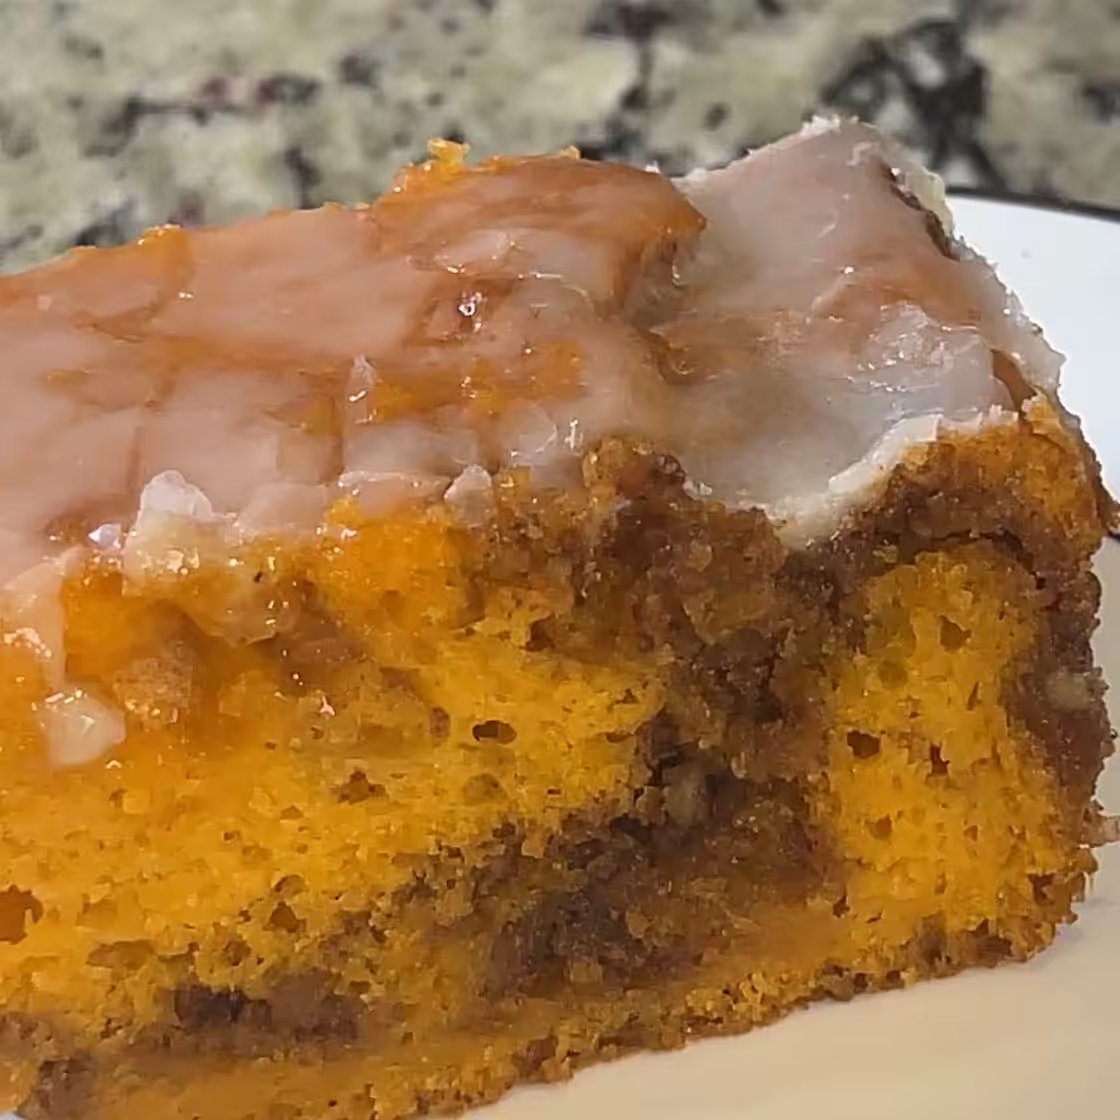
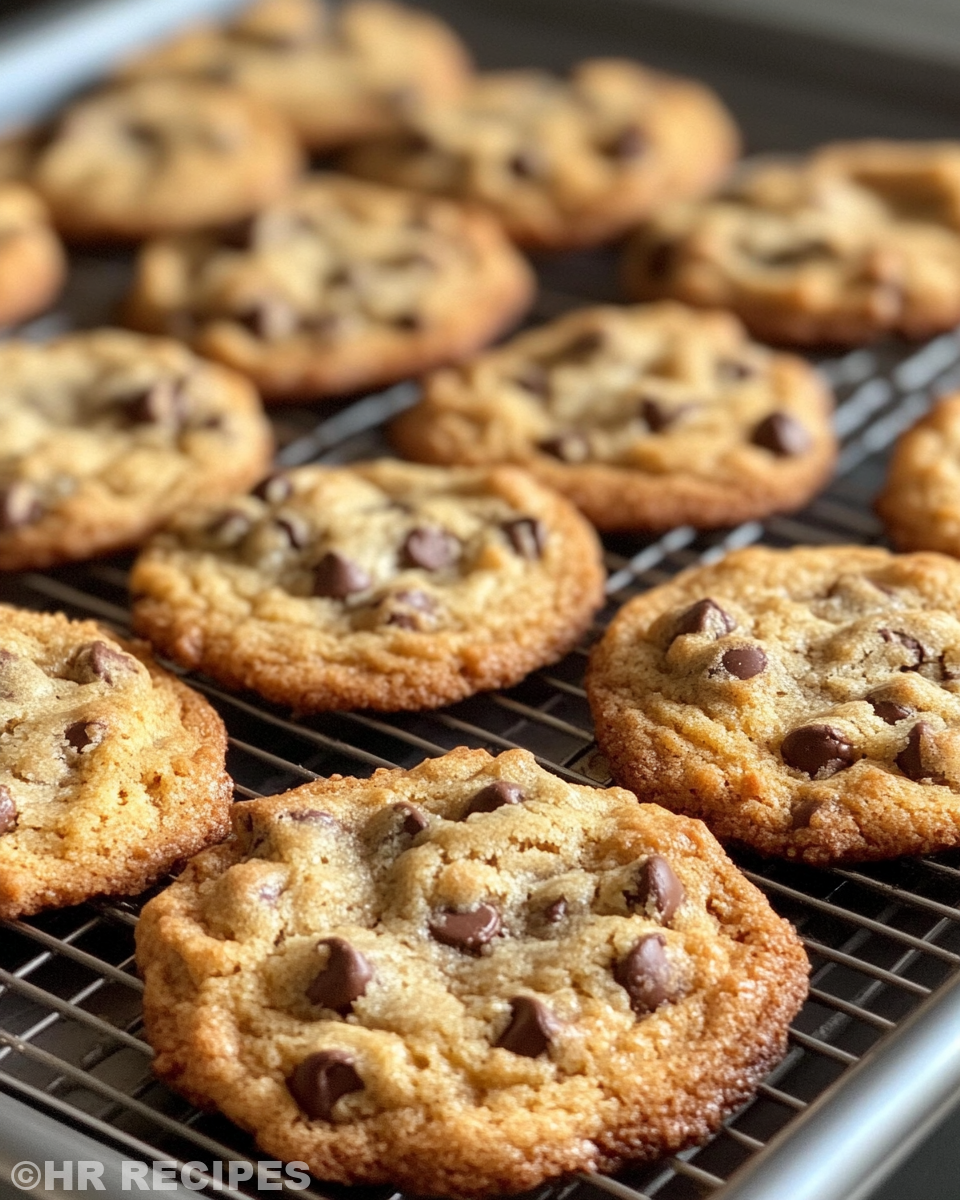
You spot those little chocolate chips melting just right, but you gotta wait just a little longer for that tender pull moment. Your patience is gonna pay off when you finally taste these soft, gooey treats fresh outta your pressure cooker.
The Truth About Fast Tender Results
- Pressure build traps steam inside for even cooking and moisture retention.
- Quick release avoids overcooking the cookies and keeps them soft.
- Slow release can make cookies a little more firm if you like that texture better.
- Steam cues help you know exactly when cookies have reached perfect tenderness.
- Using a pressure cooker shortens baking time without drying out your cookies.
- Pressure cooking keeps the butter and sugars melding together for tender pulls every time.
To learn more about cooking techniques that speed up baking time, check our Classic Crockpot Pierogi Casserole with Kielbasa for tips on moisture retention and tenderness, or our Mozzarella Stuffed Rosemary Parmesan Soft Pretzels post for another soft and delicious treat.
Your Simple Ingredient Checklist
- 8 tablespoons salted butter
- ½ cup white sugar (I like to use raw cane sugar with a coarser texture)
- ¼ cup packed light brown sugar
- 1 teaspoon vanilla extract
- 1 egg
- 1 ½ cups all purpose flour (6.75 ounces)
- ½ teaspoon baking soda
- ¼ teaspoon salt (you can add a bit extra if you like)
- ¾ cup chocolate chips (a mix of chips and chunks works great)
Each ingredient has its role to play in getting you that tender, soft cookie you want. Butter melts just right to make the dough silky. The sugars add sweetness and also keep things soft cause of their moisture content. Vanilla gives smell and flavor a warm hug.
Don't rush on the flour and baking soda or salt — these balance the texture and the rise. And chocolate chips gotta be your pick since they melt kinda different based on what type you use. I like using both chips and chunks for texture fun.
The Exact Process From Start to Finish
Step 1: Preheat your oven to 350 degrees Fahrenheit. It’s important to get it nice and warm before you even start mixing.
Step 2: Melt the butter in a saucepan or microwave just until it’s melted, not browned. You want smooth melted butter, not cooked butter.
Step 3: In a big bowl, stir together the melted butter with your white sugar and brown sugar until it looks smooth and creamy. No big lumps.
Step 4: Mix in vanilla and the egg. Stir it all up until it’s combined nicely.
Step 5: Add your flour, baking soda, and salt to the bowl. Mix it just enough so it comes together. You don’t want to overwork this dough or cookies can get tough.
Step 6: Fold in the chocolate chips and chunks carefully. This keeps the dough tender by not over mixing.
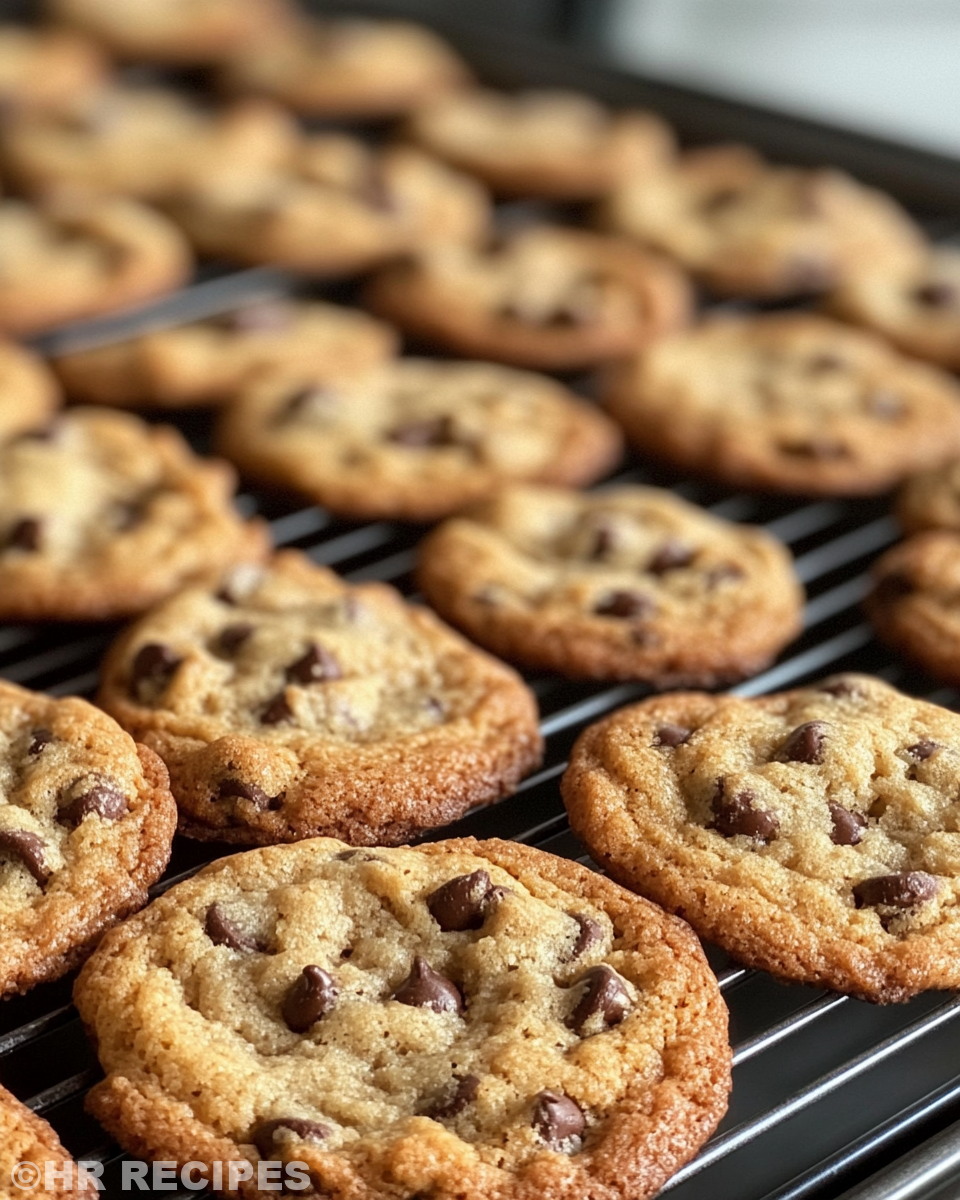
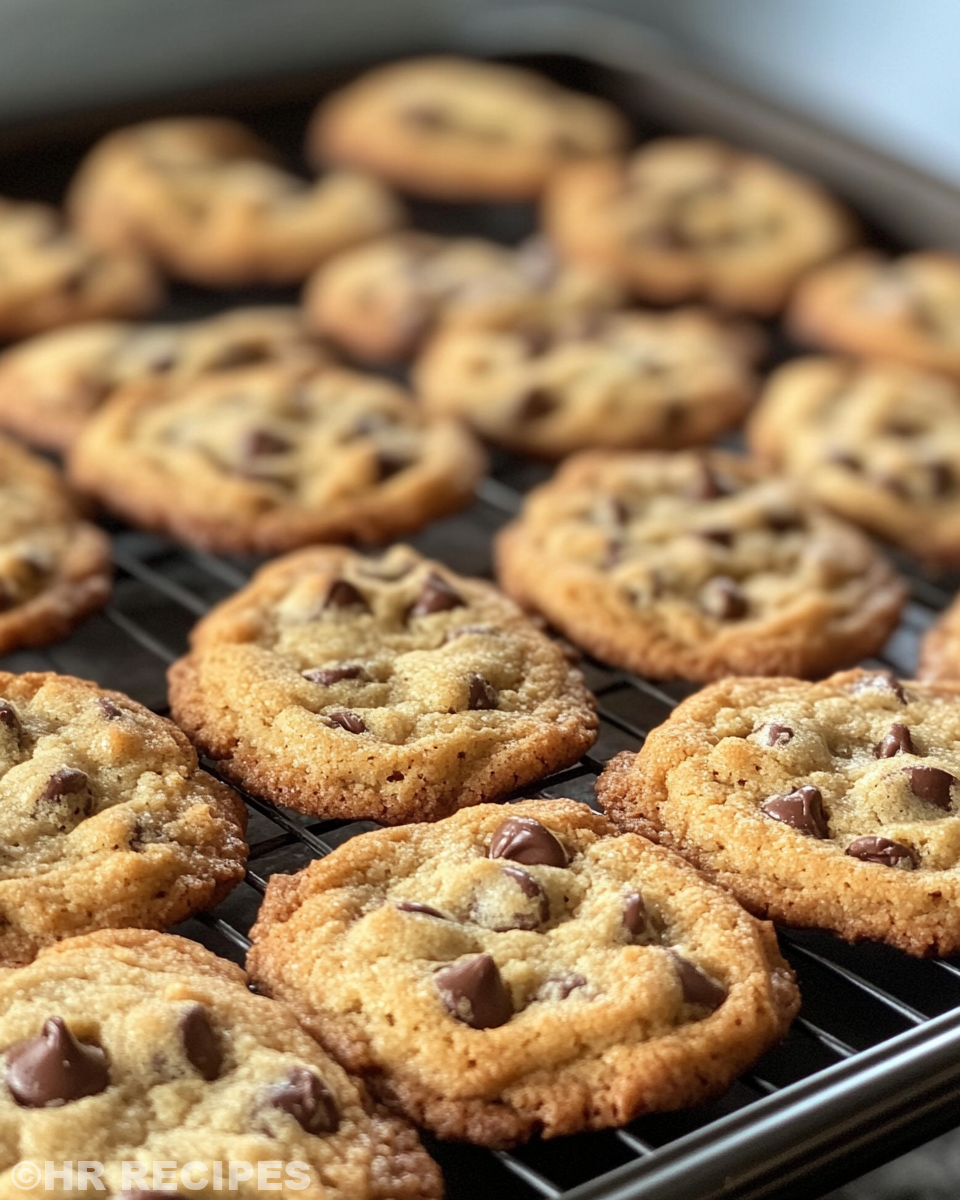
Step 7: Scoop dough onto a greased or lined sheet, leaving space between each one so they don’t stick. Bake for about 9 to 11 minutes until edges look a little browned but centers stay soft. Let cool on sheet 5 minutes before moving to a rack.
Smart Shortcuts for Busy Days
- Use pre-measured butter stuck in little squares in the freezer. Thaws fast and ready when you are.
- Swap out vanilla extract with vanilla bean paste if you got it for extra smooth flavor, no measuring hassle.
- Keep your sugars mixed ahead in a jar, ready to pour in for quick mixing.
- Scoop cookie dough onto parchment lined baking sheet then freeze cookie balls. Bake from frozen later with just a couple extra minutes.
- If you forget to preheat oven, just pop dough in after a few minutes of heat, close pressure cooker, and trust the pressure build to do some work.
Your First Taste After the Wait
You bite into that soft cookie and it kinda melts right in your mouth. The warmth from the chocolate chips is dang comforting, and you feel that tender pull as you bite in.
The sugar sweetness hits just right and the vanilla peeks through gently. You remember why you love soft cookies so much. They’re chewy, sweet, with edges that hold a little snap without getting hard.
When cooled, the texture is still rich but not crumbly or dry. You catch those steam cues from the pressure cooker, you realize this is next-level soft cookie baking that you can do anytime at home.
Keeping Leftovers Fresh and Ready
If you got leftovers, first things first make sure cookies cool completely before storing. Warm cookies create steam that can make ’em soggy.
Wrap your cookies in wax paper or parchment before placing in an airtight container to keep moisture balanced. A pretty safe method for 3-4 days.
For longer storage, you can pop cookies in a freezer bag with parchment in between layers. Freeze for up to 2 months. Thaw at room temp when you wanna munch.
If you want that sorta just-out-of-the-oven feel later, microwave 2-3 seconds for a warm melt or heat in a low oven for a few minutes. That tender pull comes back with a little heat love.
Common Questions and Real Answers
- Q: Can I use unsalted butter instead of salted?
A: Yup, just add a pinch more salt to balance flavors since salted butter adds seasoning already. - Q: What’s the deal with quick release and slow release timing for this recipe?
A: Quick release keeps cookies soft and tender. Slow release makes ’em firmer. Depends on your texture mood. - Q: Can I double the recipe in the pressure cooker?
A: You can but be careful not to overcrowd the cookie dough. Bake in batches if needed for even cooking. - Q: Why use raw cane sugar instead of regular sugar?
A: Raw cane sugar has a coarser texture that helps keep cookies soft and adds a little chewiness. It’s dang good. - Q: How do I know when cookies are done in the pressure cooker?
A: Watch for steam cues and edges lightly browned. The centers should still look soft but cooked. - Q: Can I use only chocolate chunks or only chips?
A: Sure thing. Chunks give you bigger melty bites, chips melt smoother and spread flavor through the cookie. Mix or match!
For related recipes, check out our Cheesy Kielbasa Hashbrown Casserole Dump Meal Recipe for a quick and easy option using kielbasa, or explore Mozzarella Stuffed Rosemary Parmesan Soft Pretzels featuring cheesy, herbed treats perfect for snacks. Also, don’t miss our Easy Marinated Cheese Appetizer with Salami & Green Olives as a savory delight to complement your meals.

The Best Soft Chocolate Chip Cookies
Equipment
- 1 Mixing bowl large
Ingredients
Main ingredients
- 8 tablespoon Salted butter
- ½ cup White sugar raw cane sugar works well
- ¼ cup Light brown sugar packed
- 1 teaspoon Vanilla extract
- 1 Egg
- 1 ½ cups All purpose flour 6.75 ounces
- ½ teaspoon Baking soda
- ¼ teaspoon Salt add more if desired
- ¾ cup Chocolate chips mix of chips and chunks works great
Instructions
Instructions
- Preheat your oven to 350 degrees Fahrenheit.
- Melt the butter in a saucepan or microwave until just melted, not browned.
- In a big bowl, stir together melted butter, white sugar, and brown sugar until smooth and creamy.
- Mix in vanilla and the egg. Stir until well combined.
- Add flour, baking soda, and salt. Mix until dough forms without overworking it.
- Fold in chocolate chips and chunks gently.
- Scoop dough onto greased or lined baking sheet, spacing cookies evenly.
- Bake for 9 to 11 minutes until edges are slightly browned and centers are soft.
- Let cool on baking sheet 5 minutes before transferring to a rack.