The pressure builds and you start counting down minutes until you eat. That hiss of the valve sounds like a countdown clock sometimes, and you just can’t wait to see what’s inside your cooker. You sense that broth depth rising, ready to turn your regular recipe into something much better and faster.
When you spot the float valve pop up, you know things are heating up, kinda like your anticipation. You recall the moment you place the batter in and hear that subtle valve hiss as it locks in. It’s like a signal telling you the cookies are gonna be great.
Then, while you wait for natural release, you start imagining how crispy the edges will be and how soft that middle bite tastes. The timer runs, and you keep looking at the cooker, sometimes tapping it, almost like egging it on to finish quicker. That’s the kinda moment that makes pressure cooking worth the wait.
What Makes Pressure Cooking Win Every Round
- Speedy cooking that cuts down your baking and prep time real good.
- Locking in all the flavors so your treats come out super tasty and moist.
- Consistent heat and pressure help cook even the trickiest dough perfectly.
- Less mess to clean because the cooker traps steam and spills inside.
- You don’t gotta babysit it as much, especially once the float valve seals it up tight.
Everything You Need Lined Up
- 1 cup unsalted butter softened (make sure it’s not melted or cold)
- 1 ¼ cups powdered sugar for that sweet creamy mix
- ½ teaspoon salt to balance the flavors
- 2 teaspoons key lime zest to bring that tangy punch
- 1 teaspoon key lime juice for the fresh citrus kick
- ¼ teaspoon vanilla extract to round out the sweetness
- 2 ¼ cups all-purpose flour to bring that dough together
- Baking sheet lined with parchment paper for that perfect bake finish
Make sure your butter's softened just right or your dough won't come together smooth. The zest and juice gotta be fresh, y'all, it really lifts these cookies. And don’t forget to line your tray so the cookies won't stick and get messed up when you pull them out.
Your Complete Cooking Timeline
- Preheat your oven to 350 degrees Fahrenheit and line a baking sheet with parchment paper. This step gets the stage ready for the pressure cooker finish.
- In a big bowl, cream together the softened butter and powdered sugar until it’s light and fluffy. This bit takes some muscle but it really makes a difference.
- Stir in the salt, key lime zest, key lime juice, and vanilla extract until everything looks combined and smells awesome.
- Gradually add the flour, mixing until you get a soft dough that feels just right, not too sticky and not dry.
- Scoop out tablespoon-sized portions of the dough and roll them into balls. Then place ’em on the baking sheet with about 2 inches between each.
- Press down on each ball a bit with your fingers or the bottom of a glass to flatten. This helps them bake evenly inside the pressure cooker.
- Bake for about 12-15 minutes until the edges are lightly golden. Let your cookies cool on the sheet for 5 minutes before moving them to a wire rack to cool off fully. You wanna let that natural release happen with the cookies so they firm up just right.
This whole thing takes around 45 minutes, including your peak pressure build time and that satisfying valve hiss when it’s timed well.
Quick Tricks That Save Your Time
- Use powdered sugar instead of granulated to get the butter creamed faster and smoother.
- Prep your zest and juice the day before and store it in the fridge so it's ready and waiting.
- Roll dough balls ahead of time and chill 'em for 10 minutes before flattening and baking to make shaping easier.
- Keep your parchment paper reusable by cleaning off crumbs carefully instead of tossing after one use.
- Let the cooker do the heat work while you clean up nearby stuff, multitaskin' saves loads of time.
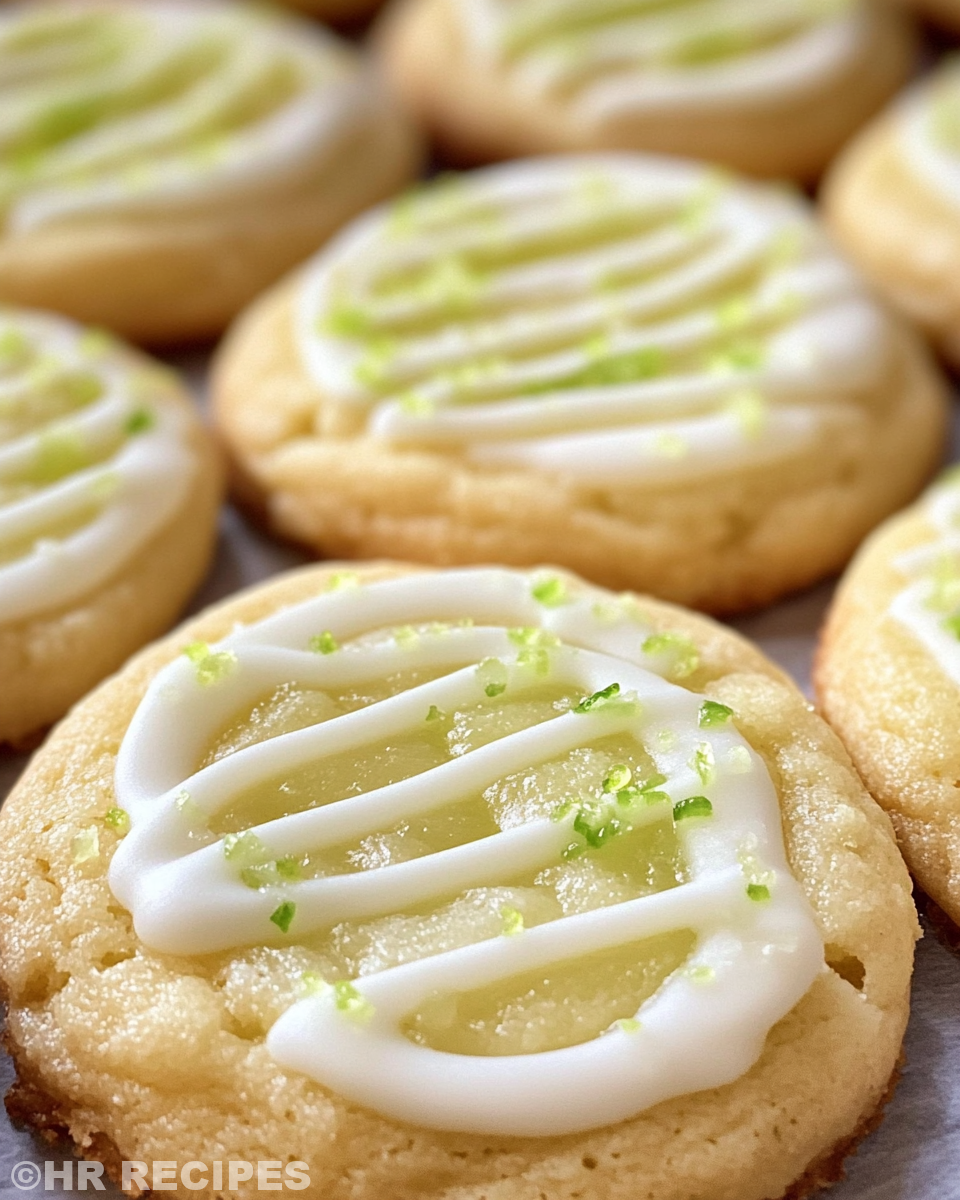
When You Finally Get to Eat
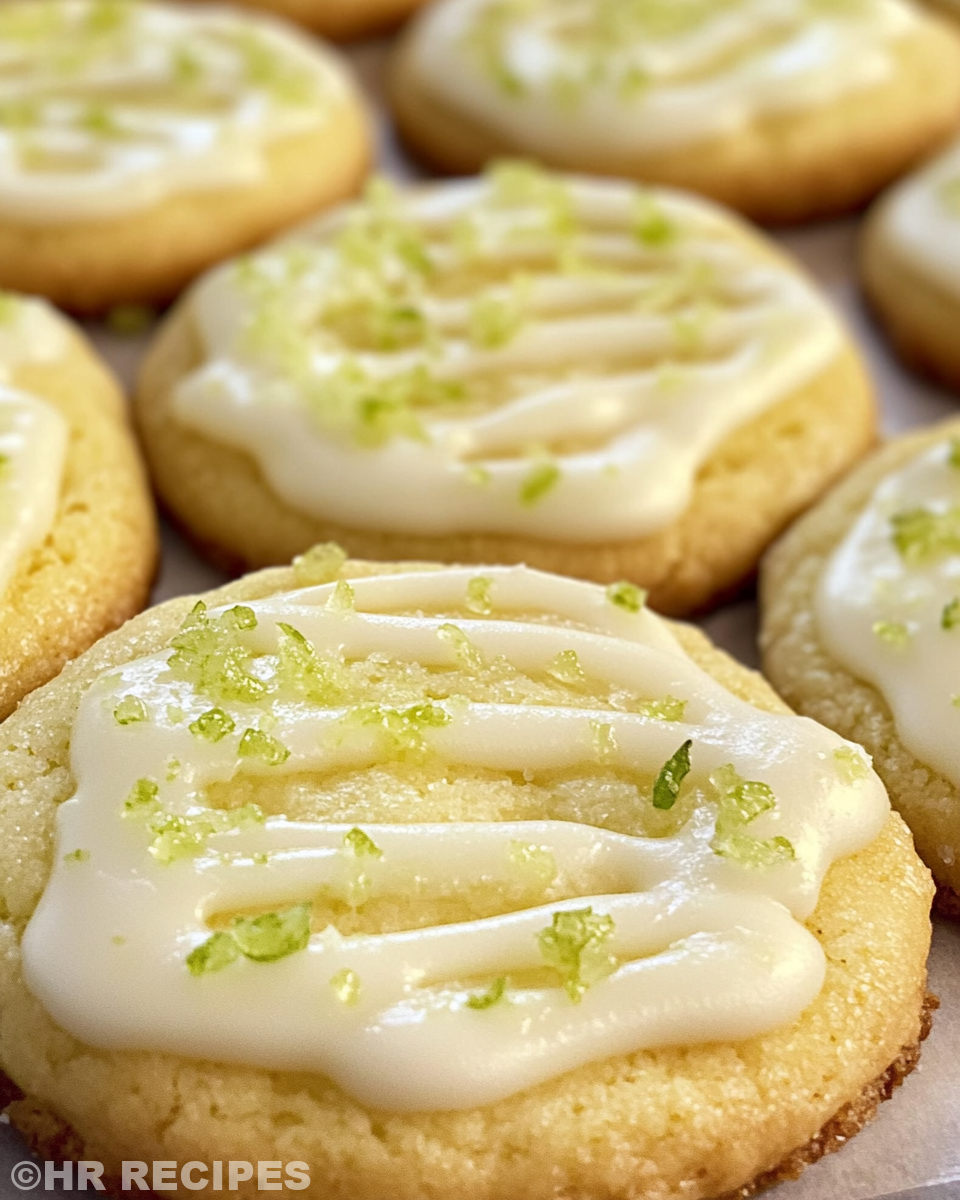
You bite into the cookie and you notice that perfect crisp at the edge mixed with the soft melt inside. The key lime zest hits you first, bright and fresh, then the sweetness dances with a hint of vanilla. It’s that kinda cookie that makes your mouth kinda smile without even trying.
The aroma lingers, kinda like a beach breeze mixed with sugar, making you wanna reach for another one faster than you planned. You sense the buttery dough melting slowly, each crumb a little burst of yum.
Sharing these is optional ’cause you might feel tempted to keep the whole batch to yourself. But when you see others enjoying the zing and sweetness you crafted, that’s pretty sweet too.
Making It Last All Week Long
- Wrap ‘em tight in plastic wrap or beeswax wrap to lock in moisture and keep them fresh for a few days.
- Store cookies in an airtight container at room temperature but separate with parchment sheets to stop ’em from sticking together.
- Pop leftovers in the fridge if your house is warm, but bring them back to room temp before munching for soft texture.
- If you wanna save for longer, freeze in a sealed bag or container with layers separated by wax paper. Thaw at room temp when ready to enjoy again.
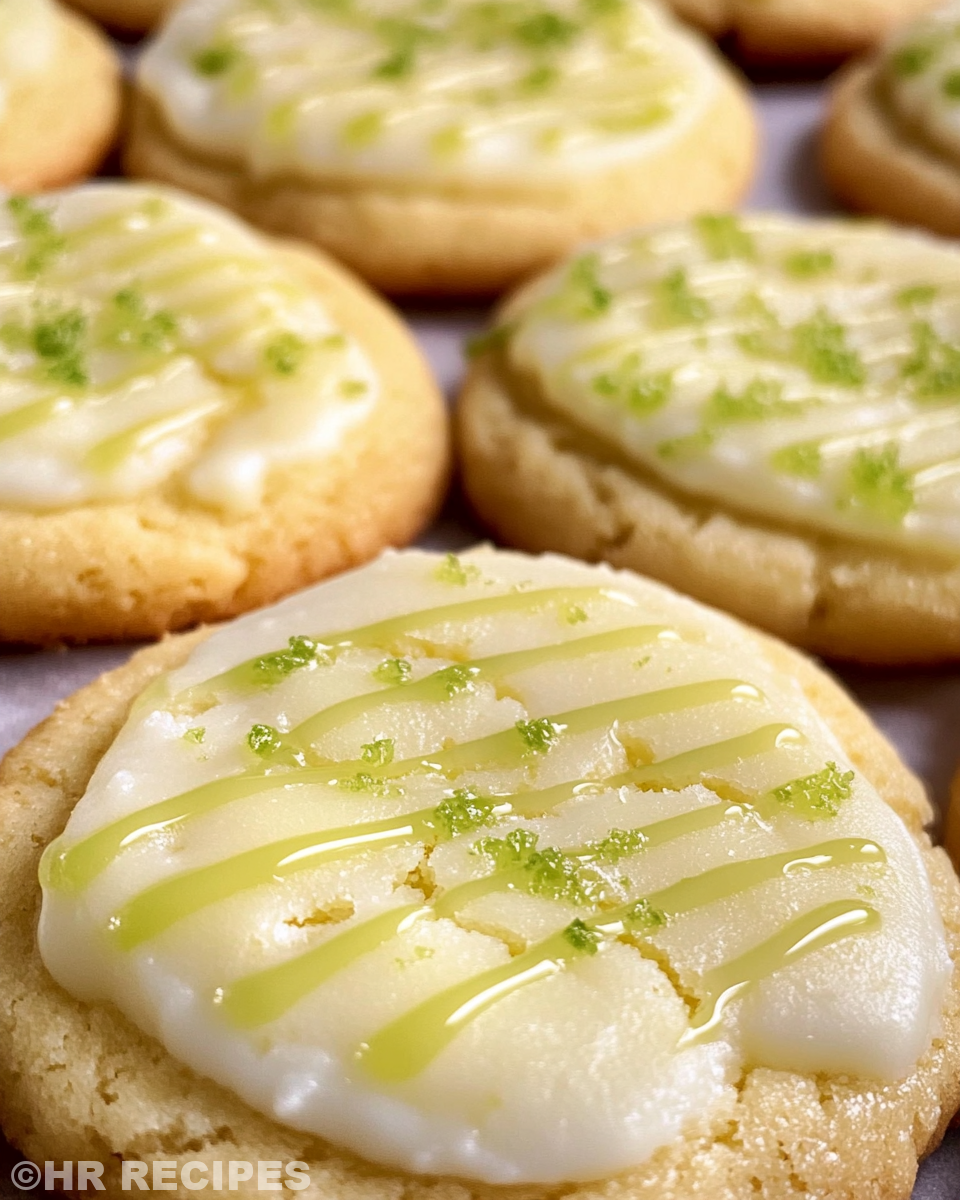
Keeping these cookies fresh means you get to enjoy that fresh key lime zing even days later, no rush and no waste.
Common Questions and Real Answers
- Can I use regular lime instead of key lime? Sure thing, but key limes give a stronger tang that really makes these cookies pop. Check out other citrus treats on our site for more delightful recipes.
- Do I have to let the dough chill? Not required, but chilling helps with shaping and prevents spreading too much in the cooker. For tips on chilling dough effectively, see our guide on baking secrets.
- What’s the best way to tell when cookies are done? Edges should look lightly golden and set, middle can still be soft but firm up as they cool. Our baking tips post has more about timing and doneness indicators.
- Can the pressure cooker replace the oven? You can use a pressure cooker for cooking quicker but here we still finish baking in the oven for best texture. Learn more about pressure cooking in our pressure cooker basics article.
- How do I know when to do natural release? For baking like this, natural release helps keep cookies soft by letting heat settle gradually instead of sudden cooling. We detail pressure cooker releases in another post if you want to master the technique.
- Can I add chips or nuts? Absolutely, fold in your favorite mix-ins after the butter/sugar stage before flour so they’re mixed in evenly. Try some of our favorite add-ons for cookies for inspiration.
For related recipes, check out our Cheesy Kielbasa Hashbrown Casserole Dump Meal Recipe for a quick and easy option using kielbasa, or explore our Mozzarella Stuffed Rosemary Parmesan Soft Pretzels featuring cheesy, herbed treats perfect for snacks. Also, don’t miss our Easy Marinated Cheese Appetizer with Salami & Green Olives as a savory delight to complement your meals.
Key Lime Cookies in the Pressure Cooker and More Tasty Treats
Equipment
- 1 Baking sheet lined with parchment paper
Ingredients
Main ingredients
- 1 cup unsalted butter softened, not melted or cold
- 1 ¼ cups powdered sugar for sweet creamy mix
- ½ teaspoon salt to balance the flavors
- 2 teaspoons key lime zest brings tangy punch
- 1 teaspoon key lime juice for fresh citrus kick
- ¼ teaspoon vanilla extract to round out sweetness
- 2 ¼ cups all-purpose flour to bring dough together
Instructions
Instructions
- Preheat your oven to 350 degrees Fahrenheit and line a baking sheet with parchment paper.
- Cream together the softened butter and powdered sugar until light and fluffy.
- Stir in the salt, key lime zest, key lime juice, and vanilla extract until combined.
- Gradually mix in the flour until dough forms and is not too sticky.
- Roll tablespoon-sized portions of dough into balls and place 2 inches apart on baking sheet.
- Flatten each ball lightly with your fingers or glass bottom.
- Bake 12–15 minutes until edges are lightly golden. Cool on sheet 5 minutes before transferring to a rack.