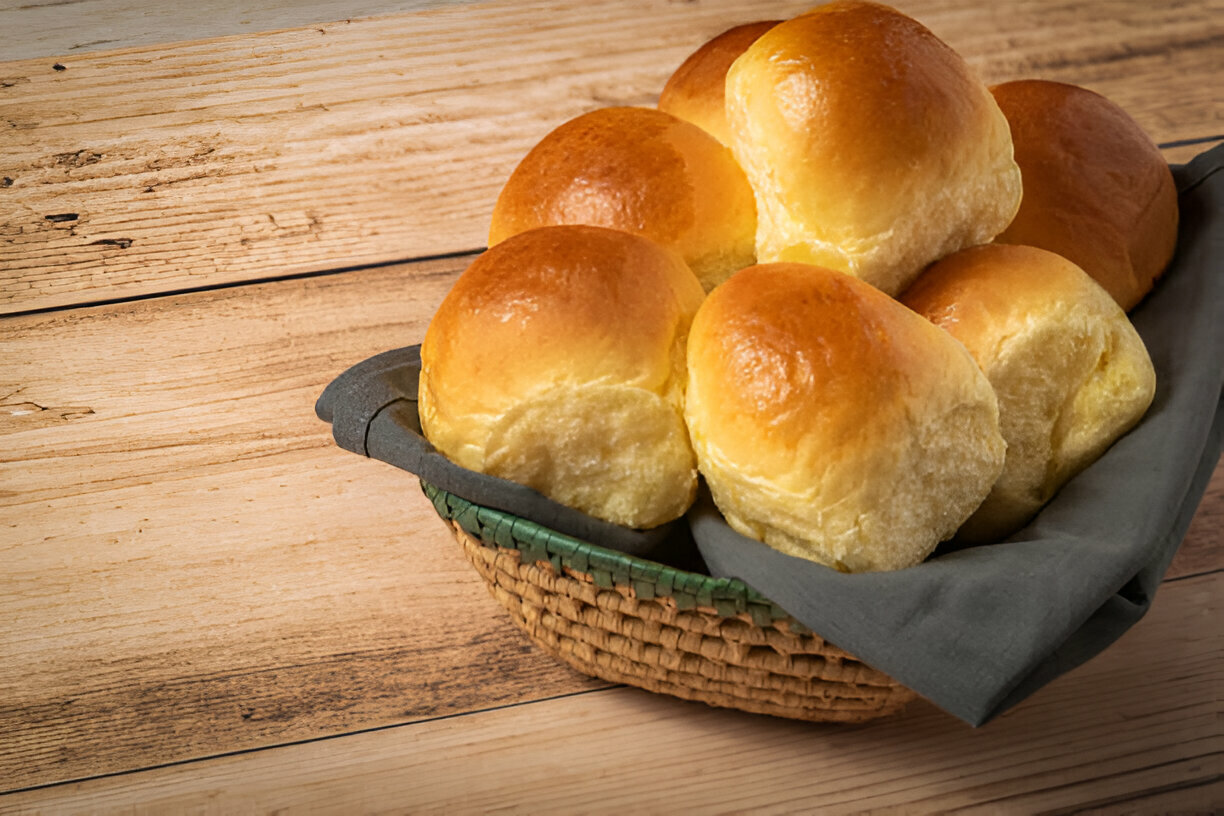
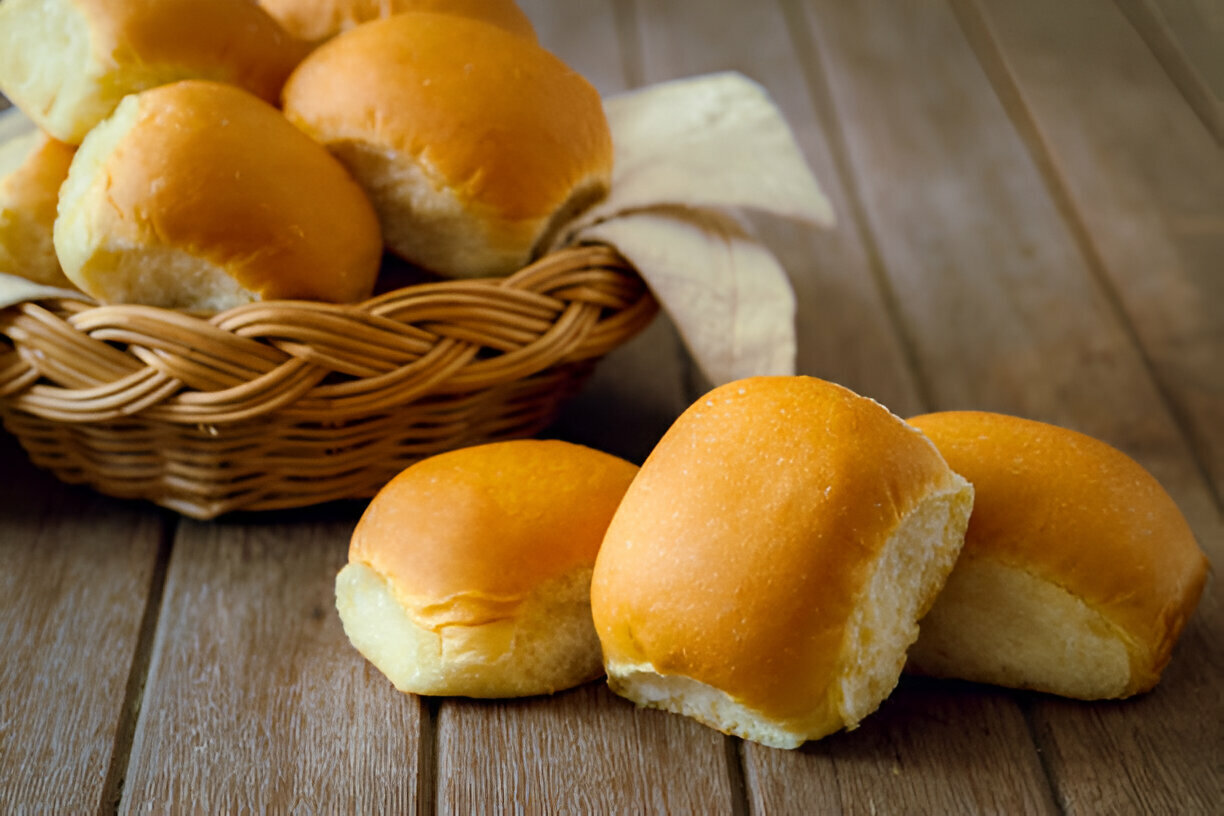
Аunt Shirley are a beloved figure in our family , she not only smile warmly but she cook all sorts of food too . Among all her creations , her famous homemade dinner rоlls stand out as a symbol of comfort and tradition . The rolls have a soft , pillowy texture and a golden brown crust that makes any meal feel special . Whether its a weeknight dinner or a holiday gathering , Aunt Shirley’s rоlls bring everyone to the table and create memories that last .
The nostalgic essence of homemade dinner rolls goes beyond baking . It is about love , family and being together . There is something magic when you smell the rolls baking . The kitchen fills with warmth and you feel like you belong somewhere . It reminds us of our roots and the moments we share with people we love .
This recipe lives on The Food Charlatan where it can be share easily by any cooking lover . Charlotte , the person behind the blog , wants to celebrate recipes that tell story . With Aunt Shirley’s Famous Homemade Dinner Rolls , readers get a tasty new dish plus a slice of family and tradition in each bite . Whether you knead the dough for first time or you made these rolls many times before , this recipe will become part of your family cooking history .
The Legacy of Aunt Shirley’s Dinner Rolls
Aunt Shirley is more than just a relative ; she are the heart of our gatherings . She grew up in a home where meals was always home cooked . She learn baking from her mom whose kitchen smelt of fresh bread . Over the years , Aunt Shirley’s work to perfect her dinner rolls turned a simple recipe into a family heirloom . When these rolls show up , they bring back memorie of laughs , warmth and old stories . It reminds us food can connect people to each other and to the past .
Aunt Shirley's dinner rolls are full of history , carrying the love and effort she put into each batch . This recipe has go through many generations , changing little but keeping its core qualities . Making the rolls is often a family job , with everyone gathering to knead the dough and share kitchen tales , making the family bond stronger through cooking .
Why Homemade Dinner Rolls Matter
Homemade dinner rоlls hold a special place in our heart , they are a symbol of love and tradition . Family recipes like Aunt Shirley’s rolls often pass down through generations , creating a link to our roots . Each bite is not only tasty but also remind us of stories and memories . Baking together can build emotional ties that go beyond the meal , like a time capsule of moments and feelings .
The joy of making rolls goes past the kitchen ; it becomes a tradition that brings family closer . Whether it's a holiday or a simple dinner , these rolls make the meal better , inviting talk and laughter around the table . The warmth from fresh baked rolls is not about food alone ; it is about togetherness , comfort and nostalgia . So Aunt Shirley’s Famous Homemade Dinner Rоlls are more than a recipe ; they express family ties and the joy of cooking and sharing memories .
Overview of the Recipe
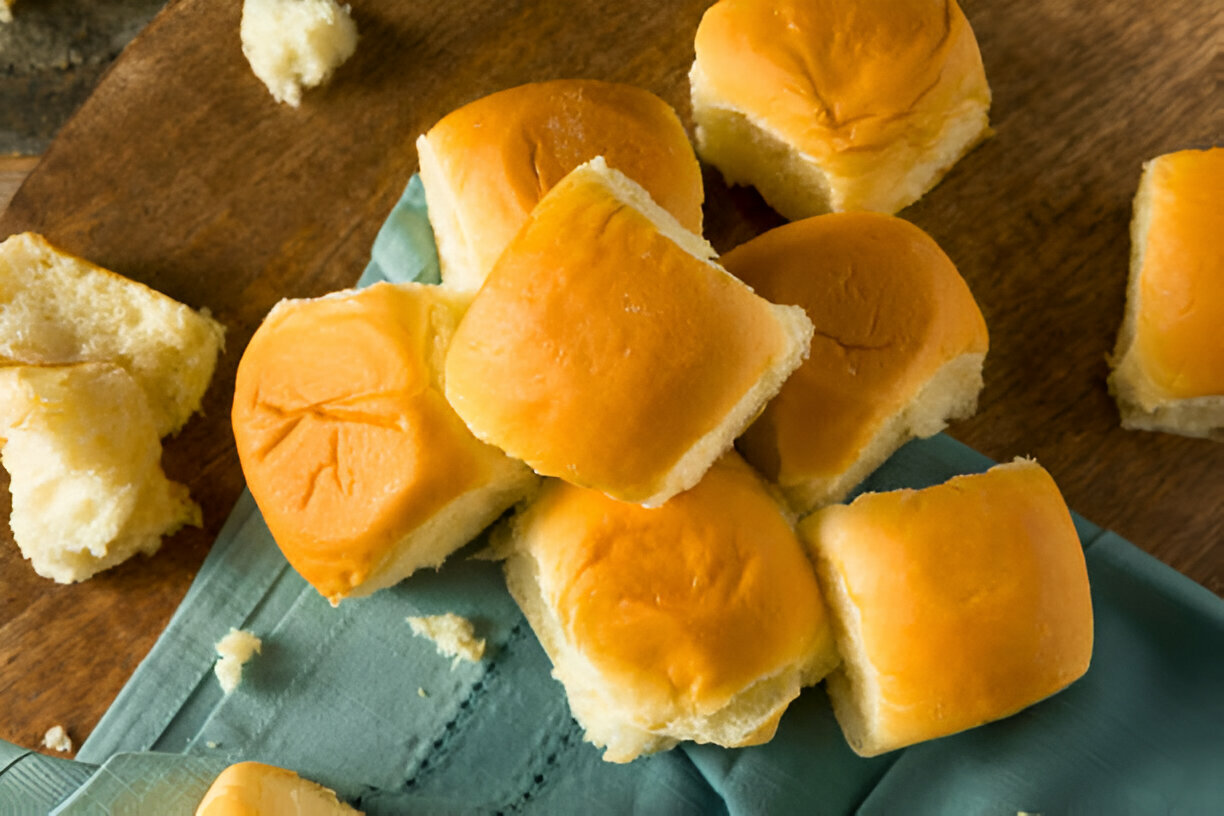
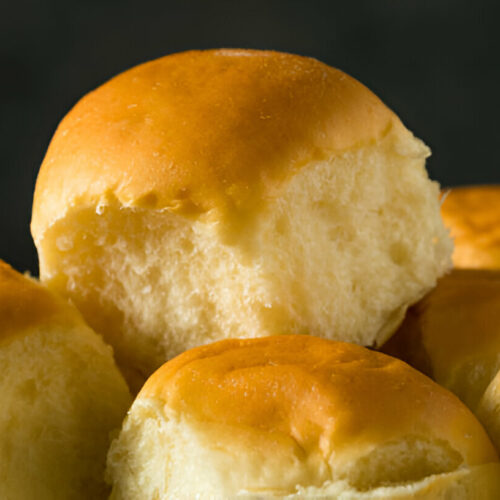
Aunt Shirley’s Famous Homemade Dinner Rоlls are a mix of buttery taste and soft , fluffy inside . When you bite , the warm rolls melt in your mouth with a hint of sweet that goes well with any dish . The golden brown crust not only looks good , it makes a nice contrast with the tender center . Perfect for any occasion , these rolls turn a family dinner , holiday feast or even a weeknight meal into something special .
Making these rolls takes some time and patience , but its easy enough for bakers of all levels . From beginners to pros , anyone can try this with confidence . Dont be scared of the dough ; with a bit of care , youll bake a batch to impress your family and friends .
Ingredients List
- Flour: 4 to 5 cups of all purpose flour for the right texture .
- Milk: 1 cup whole milk , warmed to wake up the yeast .
- Sugar: ¼ cup granulated sugar to sweeten .
- Yeast: 2 ¼ teaspoons active dry yeast for rising .
- Butter: ¼ cup unsalted butter , melted for richness .
- Eggs: 2 large eggs to make the dough richer .
- Salt: 1 teaspoon to bring out the flavors .
Step-by-Step Directions
Preparing the Dough
Step 1: Activate the Yeast - In a small bowl combine warm milk ( about 110°F ) and sugar . Sprinkle the yeast on top and let it sit for 5 to 10 minutes until it goes frothy .
Step 2: Combine Dry Ingredients - In a big mixing bowl whisk together 4 cups of flour and salt . Make a well in the center for the wet ingredients .
Step 3: Mix Wet Ingredients - In another bowl whisk the melted butter and eggs into the yeast mixture . Pour it into the dry mix and stir with a wooden spoon until just combined .
Step 4: Knead the Dough - Add more flour ( up to 5 cups ) until the dough is soft and a bit sticky . Turn it onto a floured surface and knead for about 8 minutes until smooth and elastic .
First Rise
Put the dough in a greased bowl , cover with a towel or plastic wrap and let it rise in a warm spot for 1 to 2 hours or until it doubles in size . This step is key for the right texture and flavor .
Shaping the Rolls
When the dough has risen , punch it down and turn it out on a floured surface . Divide it into equal pieces and shape each into a smooth ball . Place the balls in a greased baking dish leaving a little space for them to grow during the second rise .
Second Rise
Cover the rolls with a towel and let them rise again for about 30 minutes , or until they are puffy and touching .
Baking and Finishing Touches
Preheat the oven to 350°F ( 175°C ) . Bake the rolls for 20 to 25 minutes or until golden brown and hollow sounding when tapped on the bottom . If you want , brush the tops with melted butter right after they come out for a shiny look .
Tips for Perfect Dinner Rolls
Common Mistakes to Avoid
To get perfect rolls , avoid these mistakes :
- Over-kneading the Dough: Knead only until the dough is smooth ; over-kneading can make rolls tough .
- Ignoring Rise Times: Let the dough rise until double ; this gives the rolls their fluffiness .
- Using the Wrong Flour: Stick with all purpose flour for a light texture ; bread flour can make them dense .
Storing and Freezing
To keep leftover rolls fresh , store them in an airtight container at room temperature for up to 3 days . To freeze , wrap them tight in plastic wrap and drop in a freezer bag . They stay good for up to 3 months . When ready , thaw at room temp and warm in the oven for a few minutes .
Pairing Suggestions
Aunt Shirley’s rоlls go great with lots of main dishes . Try serving them with :
- Roast chicken for a comforting family meal .
- Holiday turkey to up your festive feast .
- Aromatic beef stew perfect for cold nights .
These rolls not only go well with main dishes but they also bring warmth and comfort to your table , making everyone feel closer .
Why You Should Try Aunt Shirley’s Rolls
This recipe stands out because of its rich history and all the love baked into each roll . Aunt Shirley’s rolls arent just food ; they connect us to family memories and kitchen moments . Every roll is made with care so the tradition lives on with each new generation . We encourage you to gather your loved ones , try this recipe and feel the joy of baking and sharing . Dont forget to share your pics and stories with our community to inspire others to join in this culinary legacy .
FAQs
How long do these dinner rolls take to make?
From start to finish , these rolls take about 3 hours including rising time . Hands on time is only around 30 minutes .
Can I use instant yeast instead of active dry yeast?
Yes , you can use instant yeast . Just mix it with the dry ingredients without proofing in milk .
What should I do if my dough doesn’t rise?
If the dough doesnt rise , check your yeast is fresh , give it more time or try a warmer spot for proofing .
How can I make these rolls ahead of time?
Make the dough , let it rise and shape the rolls , then refrigerate overnight before the final rise and bake next day .
Are there any gluten-free alternatives to this recipe?
For gluten free , swap in a gluten free all purpose blend and add 1 teaspoon xanthan gum . Follow the flour instructions on the package .
How should I store leftover dinner rolls?
Store leftover rolls in an airtight container at room temp for 3 days or freeze them in a tight package for up to 3 months .
Conclusion
As you make Aunt Shirley’s famous dinner rolls , remember the memories and joy they bring to family gatherings . This recipe doesnt just give you tasty rolls , it creates moments of bonding while baking and sharing . Make it yours , experiment , and share your wins with friends and family . Enjoy the warmth and love from home cooked meals , and may these rolls become a favorite in your family kitchen tradition .
Aunt Shirley's Famous Homemade Dinner Rolls from The Food Charlatan.
Equipment
- 1 large mixing bowl
- 1 set measuring cups and spoons
- 1 wooden spoon or spatula
- 1 kitchen towel
- 1 baking sheet
- 1 parchment paper (optional)
- 1 oven
Ingredients
- 4 cups all-purpose flour
- ¼ cup granulated sugar
- 1 packet instant yeast 2 ¼ teaspoons
- 1 teaspoon salt
- ¼ cup unsalted butter, softened
- 1 cup warm milk About 110°F or 43°C
- 1 large egg
Instructions
- In a large mixing bowl, combine the warm milk, sugar, and yeast. Let it sit for about 5 minutes or until foamy, indicating that the yeast is activated.
- Add the softened butter and egg to the milk mixture. Stir well until combined.
- Gradually add the flour and salt to the wet ingredients. Mix with a wooden spoon or spatula until a dough forms.
- Transfer the dough to a floured surface. Knead the dough for about 6-8 minutes until it becomes smooth and elastic.
- Place the kneaded dough into a lightly greased bowl. Cover with a kitchen towel and let it rise in a warm place for about 1 hour or until doubled in size.
- After the dough has risen, punch it down to release air. Divide it into 12 equal pieces and shape each piece into a ball.
- Arrange the dough balls on a baking sheet lined with parchment paper, spacing them slightly apart. Cover them again and let them rise for another 30 minutes.
- Preheat the oven to 375°F (190°C).
- Bake for 15-20 minutes, or until the rolls are golden brown on top.
- Remove from the oven and brush with melted butter if desired. Serve warm.