Something new and simple, but with crusty French brеаd rolls we all love the crunchy outside and soft inside . It's like a piece of art you can eat and share with friends and family . This time I'm gonna tell you how this bread became a big deal in France and how you can bake some at home even if you're not a pro baker .
We’ll dive into the old stories behind these rolls, and show you what makes them so special — from the golden crust to the fluffy middle . You’ll also get a recipe with every step spelled out , plus few tips to ensure you don’t botch it .
History of French Bread Rolls
The first loaves simрly started when peasants ground grains and mixed with water centuries ago , long before French bakers made fancy stuff . But the rolls we know now popped up in the 1500s when bakers tгied new ways to make dough rise using wild yeast or sourdough starters . It was quiet the change from earlier flat breads .
By the 1800s , the baguette stole the spotlіght and inspired smaller baked goods like dinner rolls . Those little rounds soon became a daily treat in Parisian bistros and households .
Every region in France got its own twist . In the north you see pain de campagne with a gritty crust and hearty feel . Down south , some rolls look like ciabatta and have big holes inside . These local styles show just how proud French folks are of their bakіng traditions .
Characteristics of Crusty French Bread Rolls
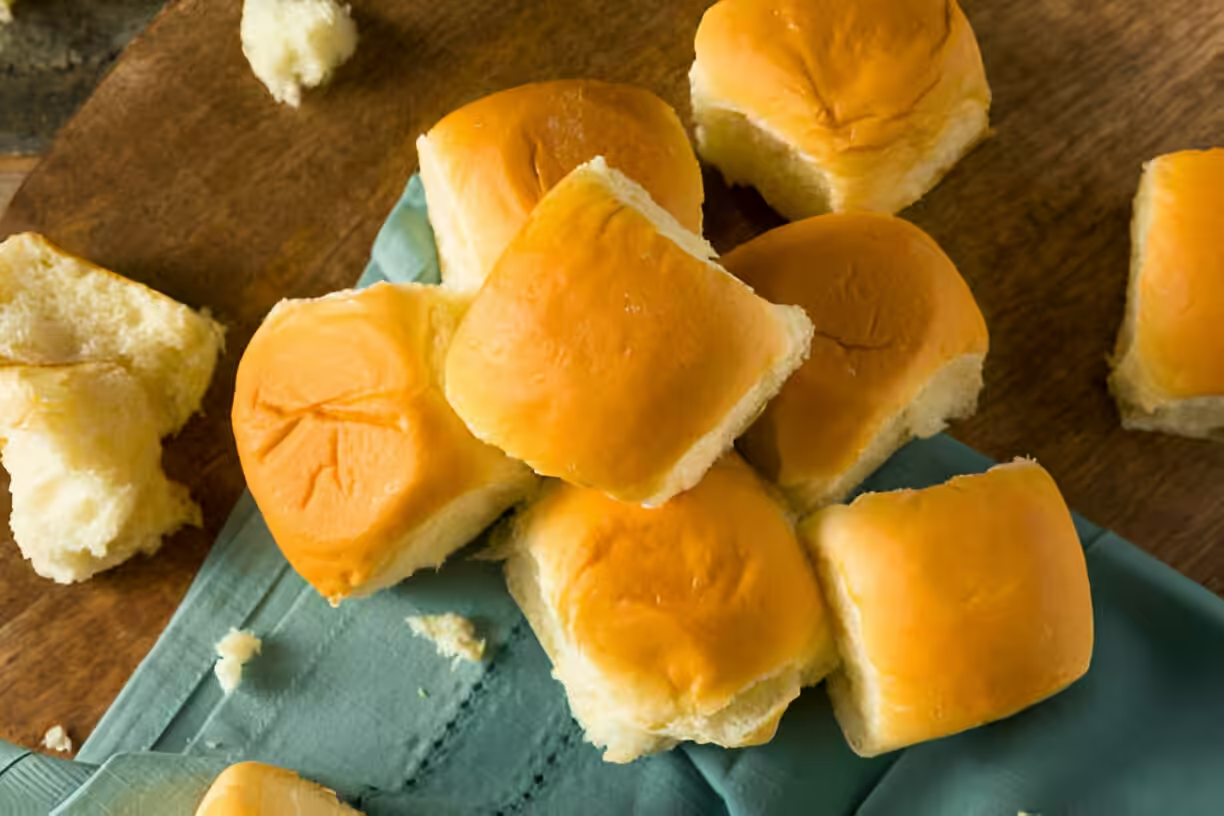
At first glance , these rolls catch your eye with a dark-golden hue and cracks in the crust . They do look kinda rugged and rustic — not like supermarket buns which are smooth and uniform .
Next up is the flavor : that tiny hint of sweetness mixed with a yeasty tang makes every bite interesting . It's not just plain dough ; it's a result of letting the dough ferment just right .
But what really wins is the texture . You bite into a сrackly shell then get a soft, airy center . It's chewy enough to feel substantial , but not heavy . That's thanks to a high-water dough and artisan mixing .

How to Make Crusty French Bread Rolls
Making these rolls at home is pretty easy if you follow the steps and don't rush . Here’s a recipe you can trust even if it's your first time .
Ingredients
- All-purpose flоur (500g)
- Water (350ml)
- Salt (10g)
- Instant yeast (7g)
- Optional: Olive oil (10ml for flavor)
Directions
- Mixing the Dough: In a large bowl , mix flour , salt , yeast and water . If you want , add olive oil now . Stir until it all comes together in a rough dоugh , then knead on a floured surface for 10 minutes or until smooth and stretchy .
- First Rise: Pop the dough in a lightly oiled bowl , cover with a damp cloth or plastic wrap , and let it grow until doubled in about 1–2 hours .
- Shaping the Rolls: Gently punch down the dough to deflate it . Cut into 8 pieces (around 90g each) and roll each into a tight ball by tucking edges under .
- Second Rise: Place the rolls on a baking tray with parchment paper . Cover lightly and let them puff up for 30–45 minutes .
- Preheating and Scoring: Heat your oven to 220°C (425°F) . Right before baking , slice the tops with a sharp knife so steam can escape .
- Baking: Bake for 20–25 minutes or until they’re deep golden and sound hollow when you tap the bottom .
- Cooling: Move rolls to a wire rack to cool so the crust stays crisp .
Tips for Perfect Rolls
- Use a baking stone or steel to get a better crust .
- Add steam by putting a pan of water in the oven while preheating .
- Gently handle the dough so you don’t knock out all the air inside .
Serving Suggestions
These rolls go well with almost anything . Try them like this :
- Dips: Outline olive oil , balsamic or herbed butter for dunking .
- Sandwiches: Fill with ham , cheese , veggies or make sliders for a party .
- Soups: Great for sopping up stew or bisque .
- Breakfast: Spread jam or honey for a quick treat in the morning .
Common Mistakes When Making Crusty Rolls
Even good bakers trip up sometimes . Watch out for these missteps :
- Over- or Under-Kneading: Don’t knead too much or too little . Too much makes them tough ; too little leaves them dense .
- Proofing Time: If you skip or rush the rises , rolls won't get that fluffy inside .
- Too Much Flour: Adding flour to fix stickiness can dry out the dough . Just use a dusting to stop it from snarling up your hands .
Storage Tips for Crusty French Bread Rolls
Keep your rolls fresh like this :
- Short-term: Store in a paper bag at room temp for up to 2 days .
- Long-term: Freeze cooled rolls in freezer bags . Thaw at room temp when you’re ready .
FAQs
Can I use bread flour instead of all-purpose?
Yes , bread flour makes a chewier roll , but it might be a bit denser .
Do I need instant yeast?
You can swap with active dry yeast , just bloom it in warm water first .
Why are my rolls too dense?
If they’re dense , maybe you didn’t knead enough or didn’t proof long enough .
How do I get a crisp crust?
Use a baking stone and steam in the oven (like a pan of water) for that crackly shell .
Can I add flavors?
Sure — herbs , cheese , garlic all work . Just fold them in when mixing .

Crusty French Bread Rolls
Equipment
- 1 large mixing bowl
- 1 measuring cups and spoons
- 1 wooden spoon or dough whisk
- 1 clean kitchen towel
- 1 baking sheet
- 1 parchment paper (optional)
- 1 sharp knife or razor blade for scoring
Ingredients
- 4 cups all-purpose flour
- 1 ½ cups warm water (about 110°F/43°C)
- 2 teaspoons salt
- 2 teaspoons sugar
- 2 ¼ teaspoons active dry yeast (1 packet)
Instructions
- In a large mixing bowl, dissolve sugar in warm water. Sprinkle the yeast on top and let it sit for about 5-10 minutes, or until it becomes frothy.
- Add the salt and gradually add the flour, mixing until a rough dough forms.
- Transfer the dough to a floured surface and knead for approximately 8-10 minutes, until it is smooth and elastic.
- Place the dough in a lightly oiled bowl, cover it with a clean kitchen towel, and let it rise in a warm place for about 1 hour, or until it has doubled in size.
- Once risen, punch down the dough and divide it into 12 equal pieces. Shape each piece into a roll by tucking the edges underneath.
- Place the rolls on a baking sheet lined with parchment paper, leaving space between each roll. Cover again with the kitchen towel and let rise for another 30 minutes.
- Preheat the oven to 425°F (220°C). Just before baking, use a sharp knife or razor blade to make a few shallow cuts on the top of each roll to allow steam to escape.
- Bake for 20-25 minutes, or until the rolls are golden brown and sound hollow when tapped on the bottom.
- Remove from the oven and cool on a wire rack before serving.
- For an extra crispy crust, place a small baking dish filled with water in the oven while it preheats.
- These rolls can be stored in an airtight container for up to 2 days or frozen for later use. Reheat in the oven before serving to regain crunch.