
The pot lid rattles and you know dinner is almost ready. You can hear that float valve do its thing, telling you the pressure build is just right. It’s kinda satisfying, really, when the sealing ring snaps tight and the steam starts swirling inside.
You spot the steam puffin’ out just a little at the sides before the lid locks firmly. It’s almost like the cooker is saying hold on, just a bit more time to get everything perfect. You remember how fast this is compared to waiting forever in the oven.
Then when you do a quick release, you hear that hiss and the pressure dropping real fast. You lift the lid, and bam, that tender pull you expect from quick, well-controlled pressure cooking. It’s the kinda moment that feels like a little victory in your kitchen routine.
The Real Reasons You Will Love This Method
- You get desserts whipped up way faster than traditional baking.
- No need for fancy glassware since you’re using disposable cups—it’s super convenient.
- Cleanup’s a breeze, which means less time scrubbing and more time chillin’.
- The pressurized environment helps flavors blend in a snap, making it taste extra fab.
- Perfect for last minute sweet cravings since this whole deal takes about 20 minutes.
- Kids and guests get their own individual cups, so sharing’s easier and less messy.
- Easy slow release after pressure lets your dessert set just right, no rush necessary.
All the Pieces for This Meal
- 1 cup graham cracker crumbs
- 2 tablespoons melted butter
- 1 tablespoon sugar
- 1 package (8 oz) cream cheese, softened
- ½ cup powdered sugar
- 1 teaspoon vanilla extract
- 1 cup whipped topping
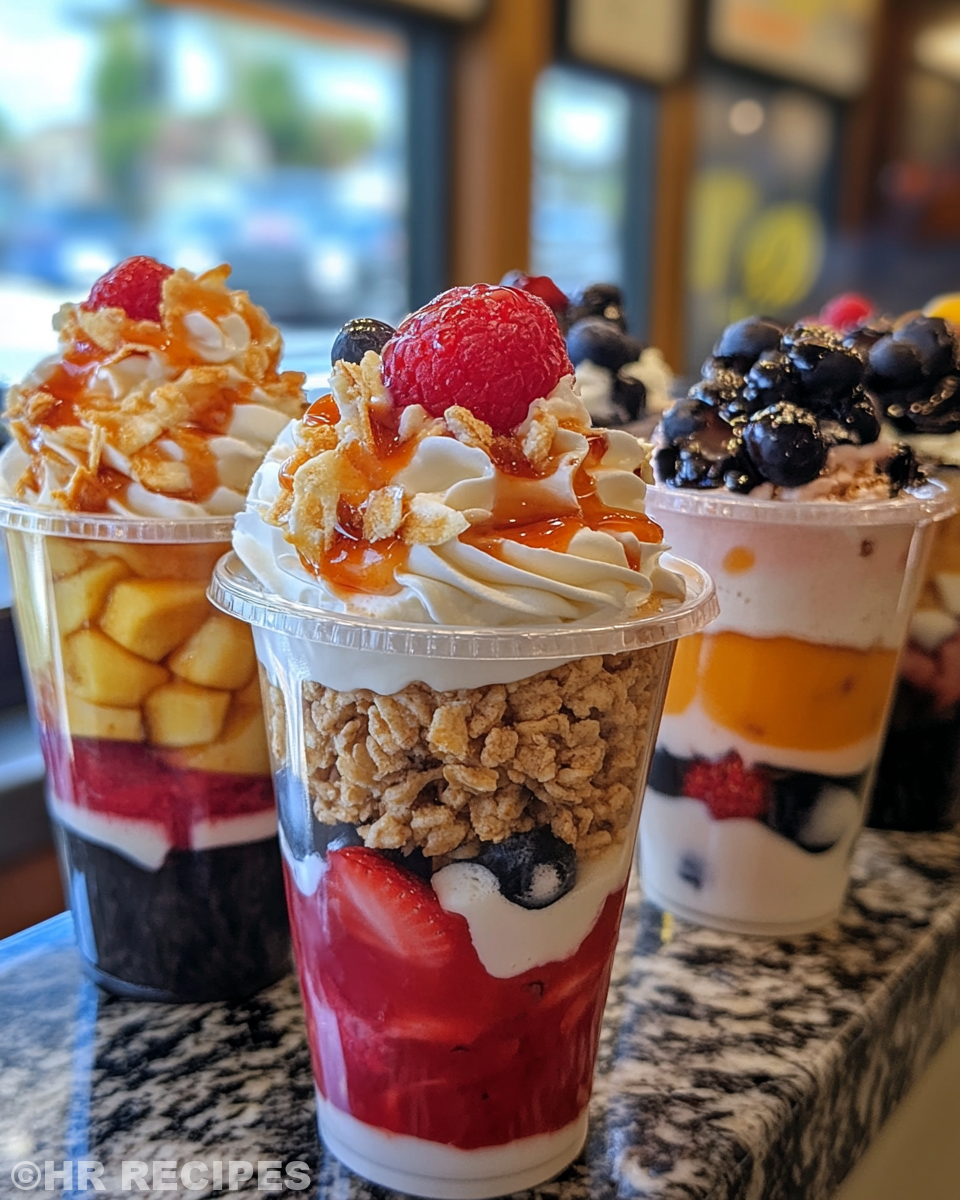
- 1 cup fresh berries (whatever you like, strawberries or blueberries work great)
- Disposable dessert cups (gotta have these so no fuss with dishes afterward)
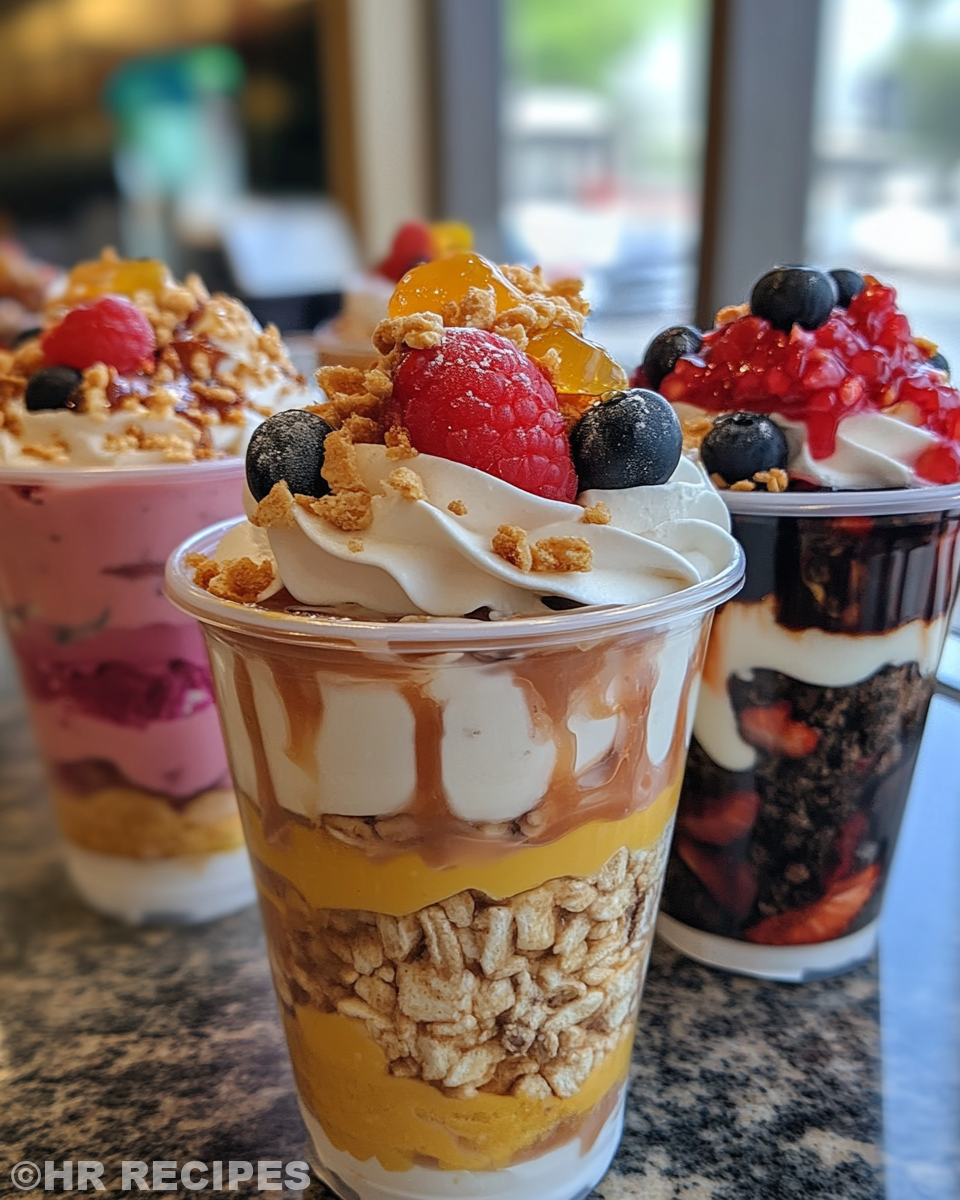
Make sure your cream cheese is softened nice and smooth or it gets tricky mixing. The graham cracker crumbs are your crunchy base, mixed with that melted butter and sugar to hold it together. Fresh berries give this dessert its bright pop of flavor, making it fresh and light.
How It All Comes Together Step by Step
Step 1: Start by mixing the graham cracker crumbs, melted butter, and sugar in a bowl. You wanna get everything combined well so the crust’s ready to press.
Step 2: Spoon about 2 tablespoons of that crust mix into the bottom of each disposable cup. Press down gently so it’s packed but still kinda crumbly.
Step 3: In another bowl, beat the cream cheese until it’s smooth and creamy, no lumps anymore. Add powdered sugar and vanilla extract, then mix until blended good.
Step 4: Fold the whipped topping right into that cream cheese mix real gentle-like. You don’t wanna lose the fluffiness, so slow and steady is the key.
Step 5: Spoon or pipe the cream cheese mixture over the crust layer in each cup. Make sure each cup gets enough so you taste all that creamy goodness in every bite.
Step 6: Top each one off with fresh berries for a nice colorful finish. Pop the cups in the fridge and chill at least 30 minutes so everything sets and flavors get real cozy.
Easy Tweaks That Make Life Simple
- Use store-bought graham cracker crumbs if you’re short on time—it works real good.
- Swap whipped topping with coconut cream for a dairy-free twist that’s still tasty.
- You can pipe the cream cheese mixture using a zip-top bag cut at the corner instead of a fancy tool.
- Make extra crust and keep it in the freezer—it saves ya when you wanna whip this dessert quick.
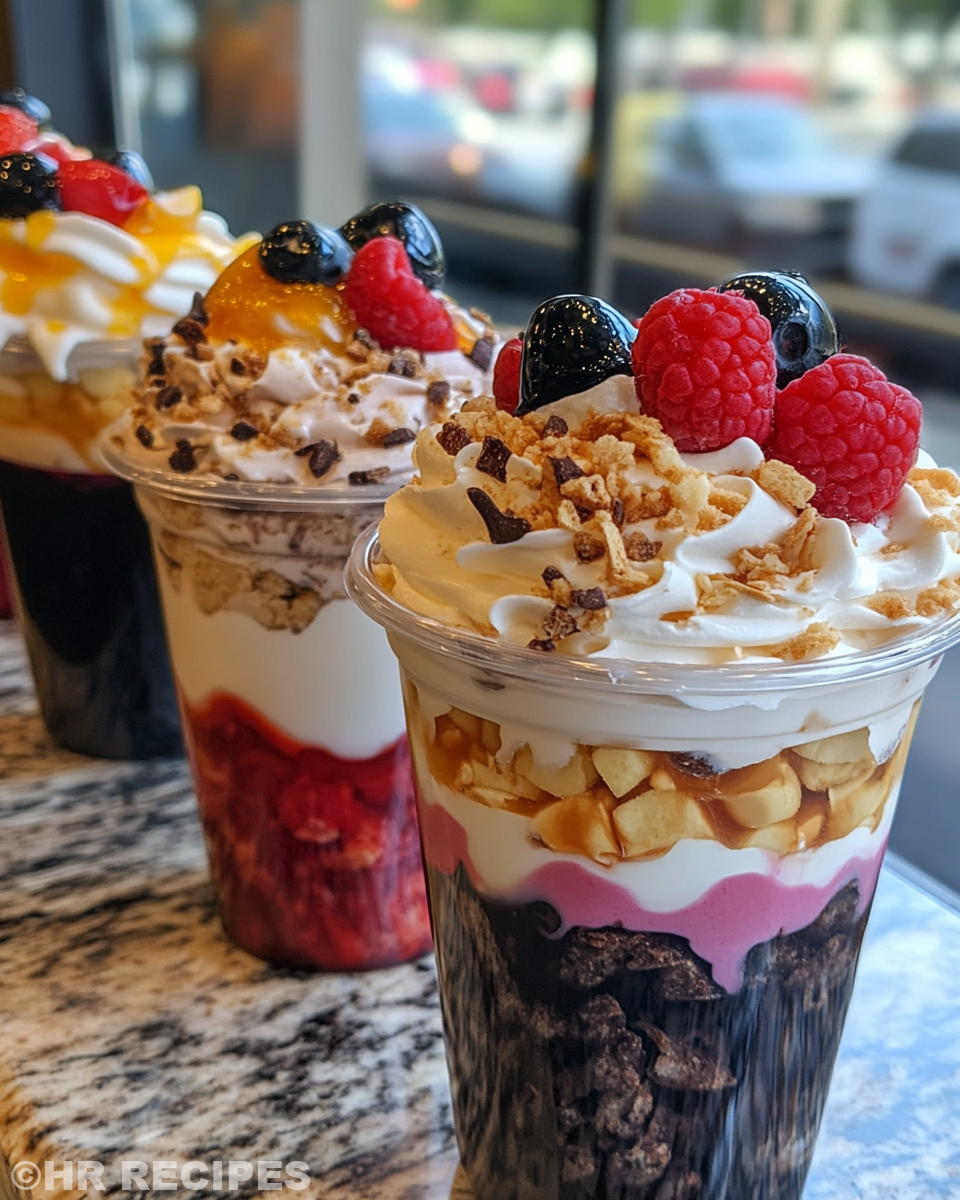
What It Tastes Like Fresh From the Pot
Right out the pot, these cups are kinda like a sweet cloud of creamy delight with a little crunch holding it all. That cream cheese fills your mouth with smooth richness, while the whipped topping keeps things light and airy.
You notice the berry juices mingle just a touch with the cream, adding a bit of natural sweetness and bright color that makes every bite feel fresh. It’s simple but so good, kinda like a mini fruit party in your mouth.
Each mouthful gives you that tender pull from the pressure cooker’s quick release magic, making everything taste like it’s been slow-cooked with care but ready in a flash. Perfect every time, no matter the day.
Keeping Leftovers Fresh and Ready
If you have leftovers, cover the cups tightly with plastic wrap or foil to keep air out. This helps keep that fresh-tasting cream cheese layer from drying out.
Store them in the fridge and try to eat within 2 days so berries don’t get mushy and crust stays nice. You remember fresh berries gotta stay happy too.
For longer storage, pop the cups in a sealed container and keep in the refrigerator. Just be sure to check the texture before serving again ’cause whipped topping can separate over time.
Common Questions and Real Answers
- Can I use metal cups instead of disposable ones? You can but be mindful those cups gotta be pressure cooker safe and able to handle steam. Disposable works best for no hassle.
- What if I don’t have whipped topping? You could substitute cold heavy cream whipped yourself or try coconut whipped cream for something different.
- How do I stop the crust from getting soggy? Press the crust well in the cups and chill immediately after assembling. Quick release helps keep moisture balanced too.
- Can I add other fruits? Totally, peaches, kiwi, or mango all would taste great with this creamy base. Just chop ’em bite-size.
- Is it okay to slow release instead of quick release? Slow release works nice too if you want to let flavors blend further, but quick release gets you deliciously ready faster.
- How thick should the cream cheese layer be? Aim for about half an inch or a little more so you get that creamy tender pull in every bite. It makes a difference, trust me.
Check out our Classic Crockpot Pierogi Casserole with Kielbasa for a hearty dinner that complements your quick desserts well. For a savory snack to pair, see our Mozzarella Stuffed Rosemary Parmesan Soft Pretzels, perfect for parties. If you're looking for easy appetizers, our Easy Marinated Cheese Appetizer with Salami & Green Olives offers a flavorful and simple choice.
Simple and Tasty Disposable Dessert Cups in Your Pressure Cooker
Equipment
- 1 Mixing bowl
Ingredients
Ingredients
- 1 cup graham cracker crumbs
- 2 tablespoons melted butter
- 1 tablespoon sugar
- 1 package cream cheese 8 oz, softened
- ½ cup powdered sugar
- 1 teaspoon vanilla extract
- 1 cup whipped topping
- 1 cup fresh berries strawberries or blueberries
Instructions
Preparation Steps
- Start by mixing the graham cracker crumbs, melted butter, and sugar in a bowl.
- Spoon about 2 tablespoons of that crust mix into the bottom of each disposable cup. Press down gently.
- In another bowl, beat cream cheese until smooth. Add powdered sugar and vanilla extract, then blend well.
- Fold whipped topping gently into cream cheese mixture, keeping it fluffy.
- Spoon or pipe the cream mixture onto crust layer in each cup.
- Top each with fresh berries for a colorful touch.
- Chill cups in fridge for at least 30 minutes before serving.


