The pressure builds and you start counting down minutes until you eat. You can almost taste that sweet honey butter mix before it even hits your plate. The valve hiss sounds like music, signaling things are cooking just right inside your pot.
That tender pull of the chicken when it’s perfectly cooked under the pressure makes everything worth the wait. You feel the anticipation like kinda a countdown game going in your mind every second. You remember the last time you made it and how it was gone in a flash.
As the pressure starts to build and the broth depth fills the cooker, you feel ready to dig in. You sense those juicy bites coated in glossy sauce ready to melt in your mouth. This is the kinda meal that turns a plain day into something special.
Why Your Cooker Beats Every Other Pot
- The pressure build inside seals in flavor better than just stovetop cooking does. See how pressure cooking can enhance flavors in our Classic Crockpot Pierogi Casserole with Kielbasa.
- Its broth depth lets the chicken soak into juices making it tender every time.
- Quick release saves you from overcooking while keeping that perfect texture.
- Valve hiss lets you know the heat is just right so nothing gets dry or burnt.
- You can crisp chicken after pressure cooking in the same pot if you want that golden brown finish.
All the Pieces for This Meal
- 1.3lb boneless skinless chicken thigh cut into large bite sized chunks; you want pieces that cook evenly but still stay juicy.
- ⅓ cup flour to coat the chicken, helps get that nice golden crust.
- Salt plus ½ teaspoon each onion powder, garlic powder, black pepper for seasoning that hits all the right spots.
- 1 tablespoon unsalted butter and 1 tablespoon olive oil; butter for richness, oil to keep it from sticking.
- ⅓ cup honey for that sweet glaze you can’t resist.
- 5 tablespoons unsalted butter diced into chunks to melt perfectly in the sauce.
- 2 tablespoons apple cider vinegar to bring a slight tang that balances the honey.
- 1 tablespoon soy sauce for that depth of flavor that kinda rounds everything out.
- Extra salt and black pepper to tweak it exactly how you like before serving.
How It All Comes Together Step by Step
First, you mix flour, salt, onion powder, garlic powder, and black pepper in a big bowl. Toss your chicken chunks right into this and make sure every piece gets coated evenly. You gotta get your hands in there for best coverage.
Next, heat 1 tablespoon unsalted butter and 1 tablespoon olive oil in your large skillet over medium-high heat. Add the coated chicken and cook for about 6 to 8 minutes. Turn it occasionally so every side gets that golden brown look.
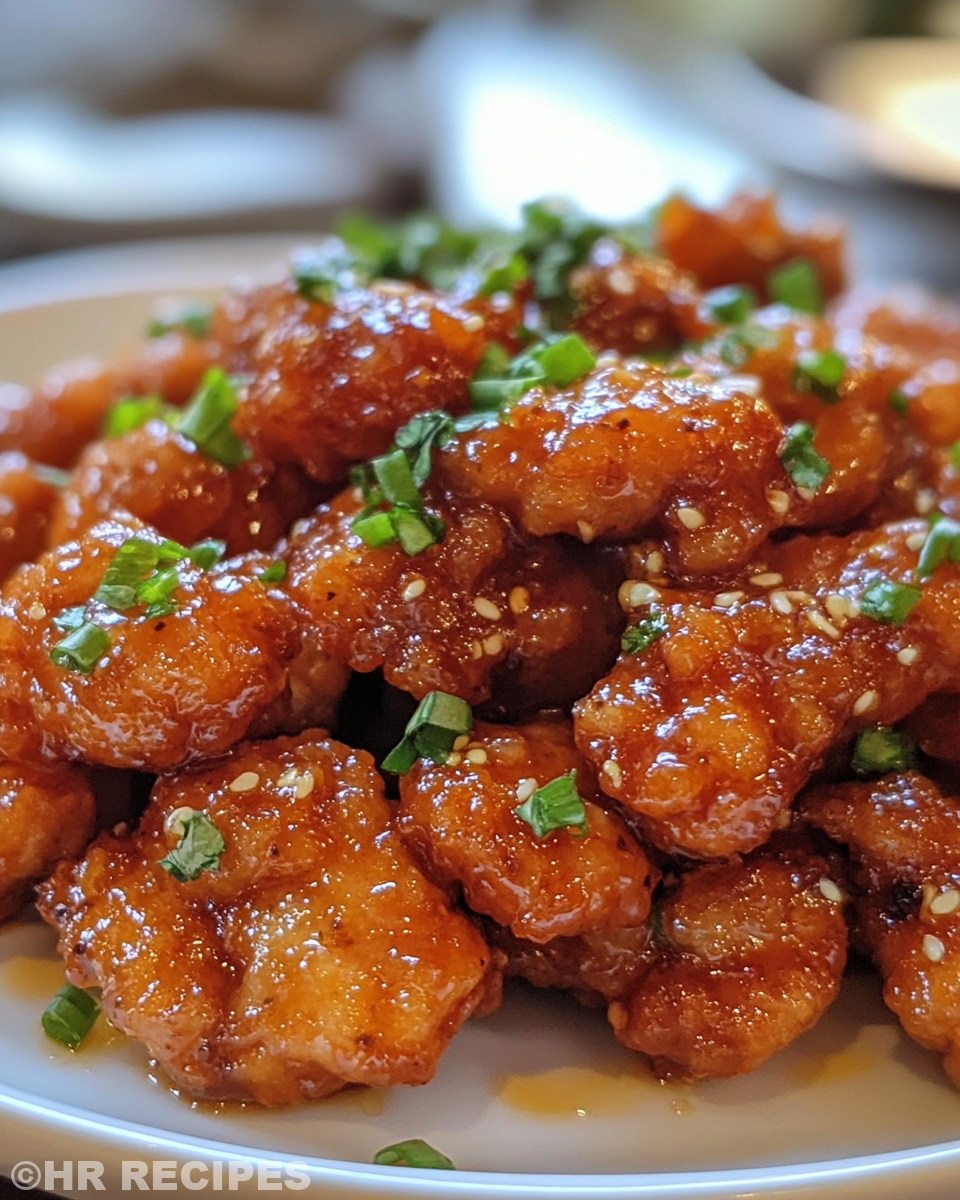
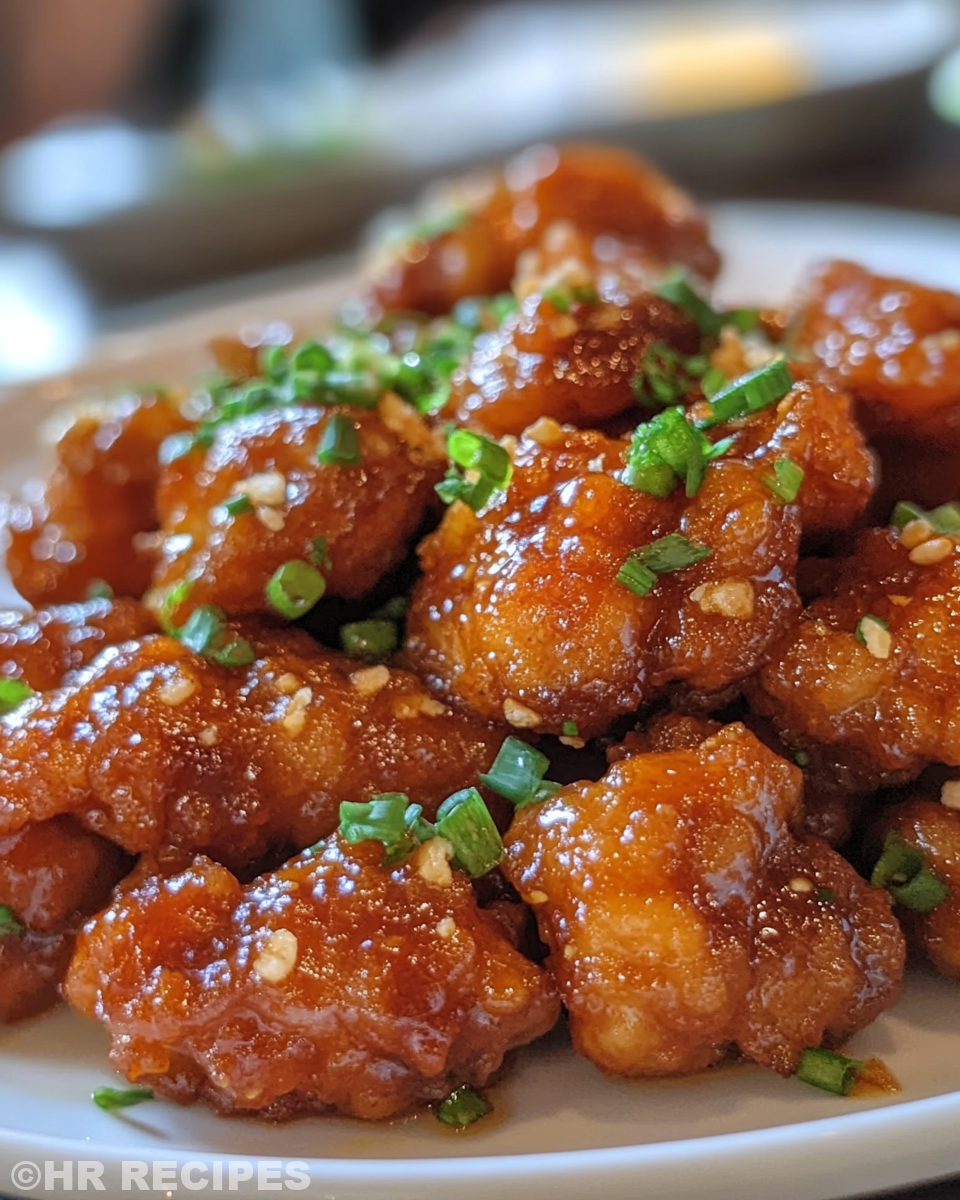
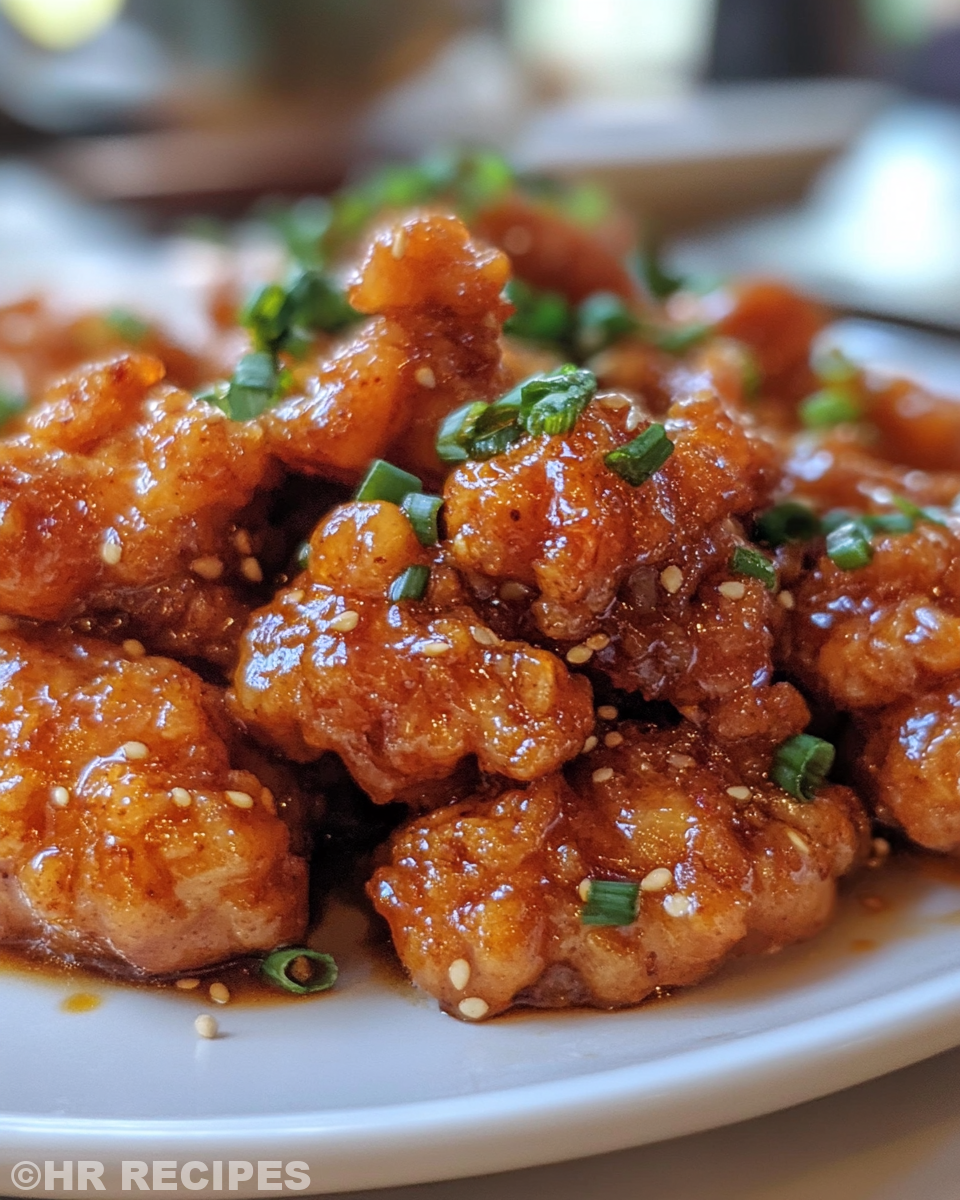
Once your chicken looks good, pull it off the heat and set it aside. Now lower the heat to medium and add honey, those 5 tablespoon chunks of butter, apple cider vinegar, and soy sauce right to the skillet. Stir it gently so it starts to thicken up.
Let the sauce simmer for 3 to 4 minutes. You’ll notice how it changes from watery to glossy real quick. Then you toss the chicken back into the sauce, making sure each piece gets coated well.
Simmer this combo together for another 2 to 3 minutes so everything blends and gets that rich glaze. Stir here and there, don’t leave it alone too long though.
Now it’s time to season with salt and black pepper to your taste. This part is kinda where you make it your own. Finally, serve it up immediately before that sauce starts to cool.
This whole process takes around 30 minutes tops. That’s fast for something that tastes this indulgent. You’ll love how your pressure cooker makes everything come together with no fuss.
The quick release on the valve means you don’t overcook and lose that tender pull you want from the chicken pieces. It’s just perfect.
Valve Hacks You Need to Know
- When pressure cooking, use quick release right after time’s up to keep chicken tender and juicy without overdoing it.
- If you wanna get that slightly browned edge, let pressure release naturally for a couple minutes then switch to quick release.
- Keep a kitchen towel handy around the valve area during quick release to catch any valve hiss steam and avoid surprises.
Your First Taste After the Wait
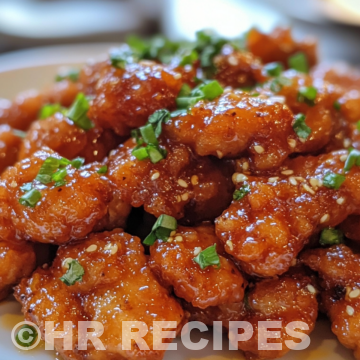
You bite into the chicken and feel that tender pull right away. The sauce clings beautifully with its sticky sweet and buttery richness.
Honey’s sweetness hits first then that apple cider vinegar’s subtle tang unfolds behind it.The soy sauce adds a mellow depth you didn’t expect to love so much.
The chicken pieces stay juicy and soft because of the broth depth inside your cooker locking in moisture. It’s kinda like a little hug from your food.
The buttery aroma fills your kitchen and your senses with comfort, making you feel right at home. This first taste reminds you why you trust your pressure cooker so much.
Making It Last All Week Long
Leftovers from your honey butter chicken? No worries, you can keep it fresh in a few ways.
Store it in an airtight container in the fridge for up to 4 days. Just reheat over low heat to keep that tender pull intact.
If you want longer storage, freeze individual portions wrapped tight in foil then popped into freezer bags. It lasts about 2 months solid.
Microwave reheats fine but stir halfway through to avoid hot spots. Or reheat gently on stovetop with a splash of water to bring broth depth back.
You could also turn leftovers into wraps with fresh veggies or toss with rice for a quick second meal. It stretches your effort without feeling boring.
Common Questions and Real Answers
- Can I use chicken breast instead of thighs? Sure you can but thighs stay juicier here. Breasts sometimes dry out fast under pressure.
- Do I need to crisp the chicken first? It’s highly recommended for that golden crust which adds texture and seals flavor in better.
- What’s the best vinegar to use? Apple cider vinegar works perfect because it’s mild and adds brightness without overpowering honey.
- Is quick release always better than natural? For this recipe quick release keeps your chicken tender with that perfect broth depth. Natural release can make it a bit overdone.
- Can I add veggies? Definitely, stuff like bell peppers or snap peas added after pressure cooking keep their crunch and pair nicely.
- How thick should the sauce be? It’s gotta coat chicken but still be pourable. Simmer till it’s glossy and a little syrupy but not stuck to the pan.
Honey Butter Chicken Pressure Cooker Recipe You Gotta Try
Equipment
- 1 Large skillet
- 1 Mixing bowl
- 1 Tongs
Ingredients
Main Ingredients
- 600 g Boneless skinless chicken thigh diced into large bite-sized chunks
- ⅓ cup Flour
- 1 teaspoon Salt
- 0.5 teaspoon Onion powder
- 0.5 teaspoon Garlic powder
- 0.5 teaspoon Black pepper
- 1 tablespoon Unsalted butter
- 1 tablespoon Olive oil
Honey Butter Sauce
- ⅓ cup Honey
- 5 tablespoon Unsalted butter diced into chunks
- 2 tablespoon Apple cider vinegar
- 1 tablespoon Soy sauce
- Salt and black pepper to taste
Instructions
Instructions
- Combine flour, salt, onion powder, garlic powder, and black pepper in a mixing bowl.
- Add diced chicken and toss until fully coated in the seasoned flour.
- Heat 1 tablespoon butter and 1 tablespoon olive oil in a large skillet over medium-high heat.
- Add chicken to the skillet and cook, turning occasionally, until golden brown on all sides (6–8 minutes).
- Remove the chicken from the skillet and set aside.
- Lower heat to medium and add 5 tablespoon butter, honey, apple cider vinegar, and soy sauce to the skillet.
- Stir sauce gently and let simmer for 3–4 minutes until it thickens and turns glossy.
- Return the chicken to the skillet and toss in the sauce to coat evenly.
- Simmer chicken and sauce together for another 2–3 minutes.
- Season with salt and black pepper to taste and serve immediately.