
Steam curls up from the valve and your stomach starts talking back. You spot that little hiss from the float valve and your mouth kinda waters just waitin for something sweet. You remember the buttery smell that snaps right into your brain, making patience a heck of a challenge.
Cookies and pressure cooker? Yeah, this might sound odd but lemme tell ya you’re about to see dough transform in the best possible way. When that sealing ring holds tight and the steam builds up, it turns your kitchen into a quick baking zone without heating all day long. You get that warm coziness from baking but way faster and softer results.
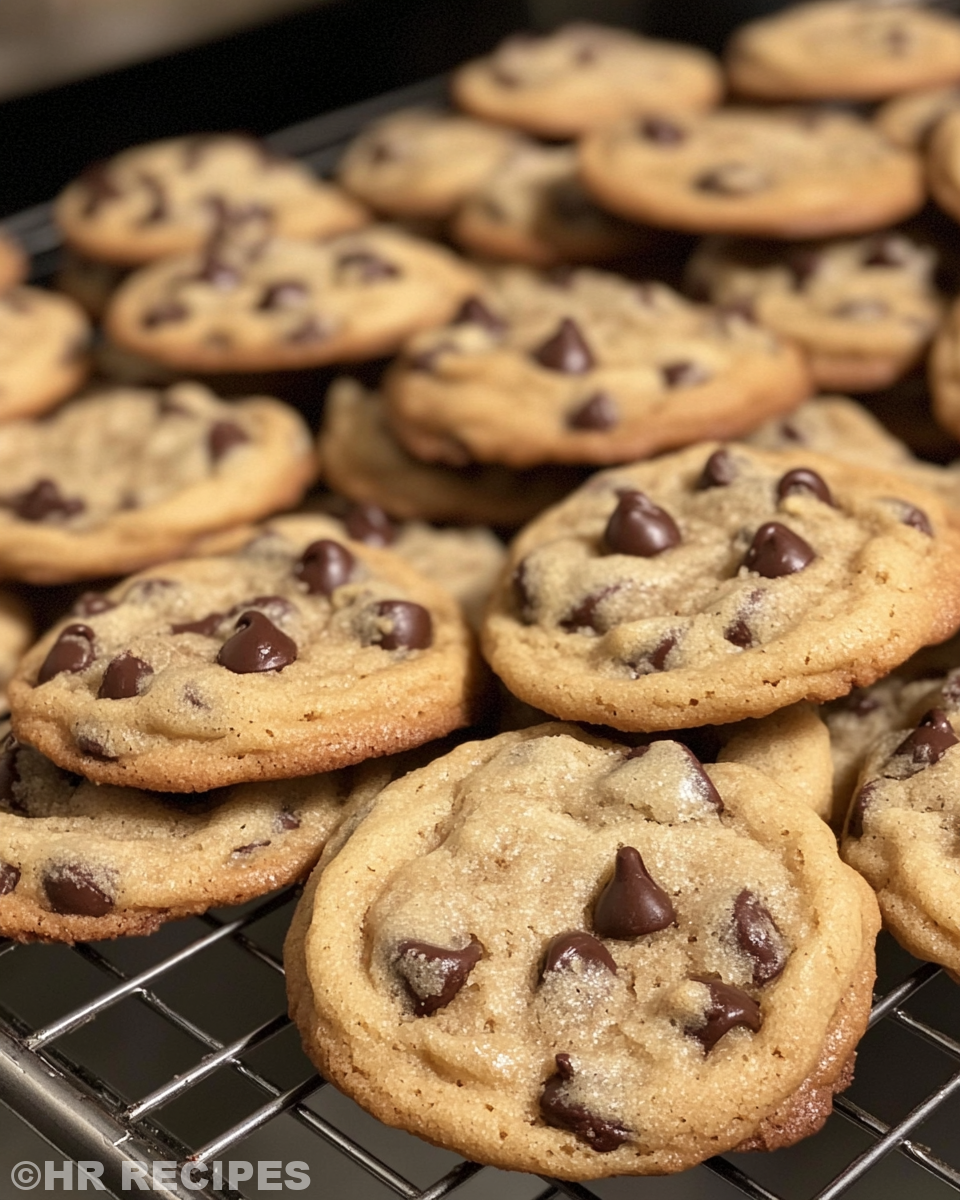
By the time you hear that quick release popping and lift the lid, you’re already dreaming of that first bite. Chocolate chips melted just right, edges soft but not doughy, all packed with buttery yum. It’s like the oven took a little vacation and your pressure cooker stepped up big time.
Why This Recipe Works Every Single Time
- The sealing ring traps just enough moisture to keep cookies super soft.
- Using the slow release step gives a gentle finish so cookies don’t get too dry.
- The combination of granulated and brown sugar adds that chewy texture with a hint of caramel.
- Extra flour helps balance dough consistency for perfect drop-cookie shape.
- The float valve’s hiss tells you it’s pressurized perfectly for even baking.
- Chocolate chips spread evenly because you fold them gently instead of mixing too hard.
What Goes Into the Pot Today
- 14 tablespoons unsalted butter, softened just right — gotta get it nice and creamy.
- 1 cup granulated sugar for that sweet snap.
- ½ cup light brown sugar bringing depth and softness.
- 2 eggs to hold everything together with a tender touch.
- 1 teaspoon vanilla extract, the secret hug in every bite.
- 2½ cups all-purpose flour; plus a couple extra tablespoons to fix stickiness.
- 1 teaspoon baking soda to help your cookies rise just enough.
- ½ teaspoon salt or sea salt to balance sweet and add flavor pop.
- 3 cups chocolate chips–any kinda your fave, chunks included.
- And a bit of patience while that float valve does its thing.
The Exact Process From Start to Finish
- Preheat your oven to 350°F (175°C), and line some baking sheets with parchment paper for easy cleanup.
- In a large bowl, cream the softened butter with granulated and brown sugar until it’s light and fluffy. You’ll wanna really get that air in.
- Beat in the eggs one at a time, not rushing, so they blend smooth. Stir in vanilla extract for that cozy scent.
- Slowly add the flour, baking soda, and salt. Watch the dough come together but if it’s too soft or sticky, sprinkle extra flour a tablespoon at a time until it feels just right.
- Fold in the chocolate chips gently so they spread evenly without smashing ‘em up.
- Drop rounded spoonfuls of dough onto your lined baking sheets ‘bout 2 inches apart so they don’t smoosh.
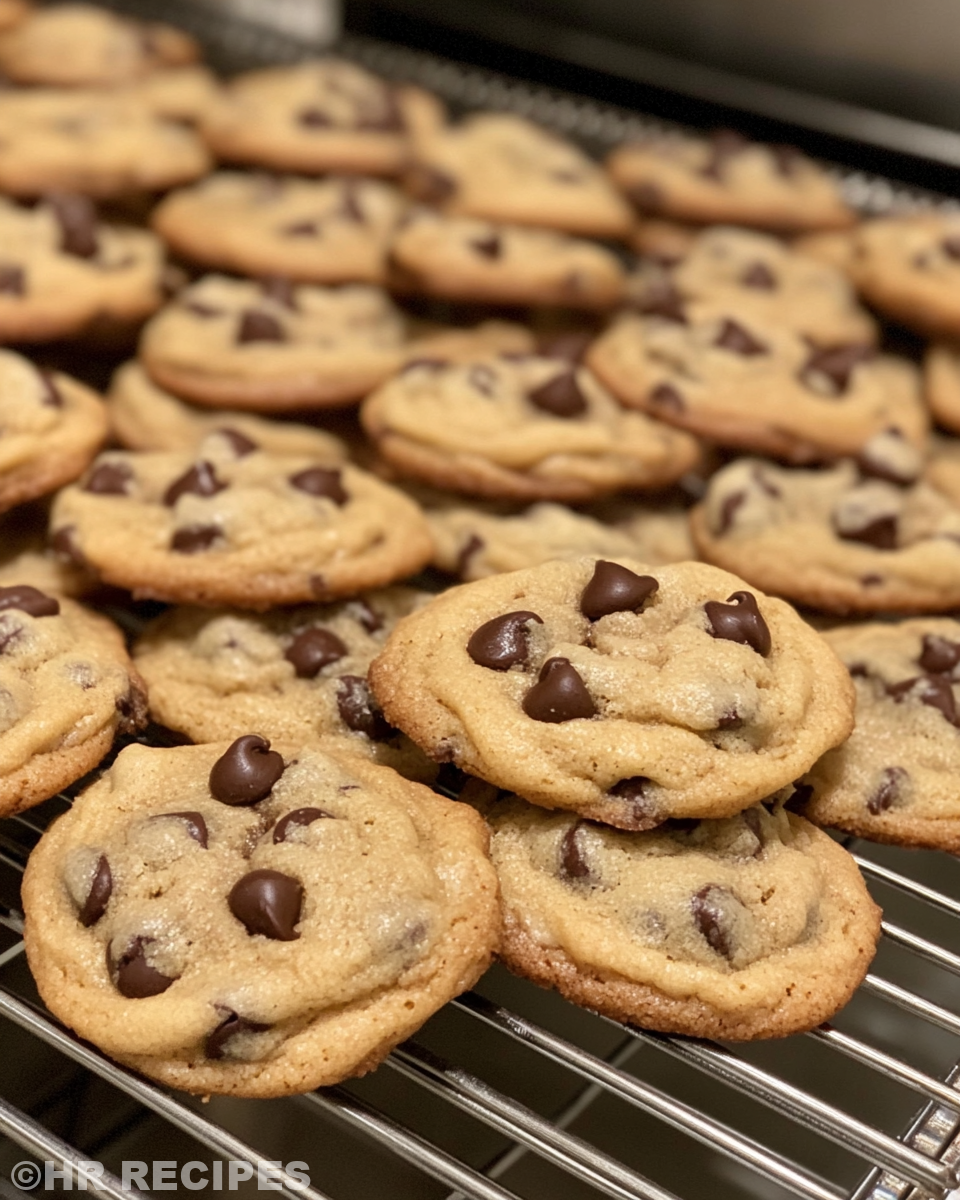
- Bake those beauties for about 10 to 12 minutes until the edges look lightly golden but centers still feel soft and squishy.
- After baking, let them chill on the sheet for 5 minutes before popping onto a wire rack to cool. That’s when they really get tender.
Valve Hacks You Need to Know
- Make sure your sealing ring is snug and clean before starting; it keeps the steam right where it belongs.
- When releasing pressure, start with a quick release to avoid overcooking, then let it slow release for a minute or two to keep softness.
- If you hear a crazy loud hiss from the float valve, just turn the heat down a tad; steady steam is better for cookies.
- Use a long spoon or towel to flip the valve for quick release so you don’t burn your fingers.
- Wrap the cookie tray in foil before putting in the pressure cooker if you want easier cleanup or to keep the bottom super soft.
That First Bite Moment
You pick up your cookie and it feels soft but kinda sturdy, like it knows it won’t fall apart on you. The warmth still hugs your fingers as you take that first bite, and the chocolate chips melt slowly into little puddles of yum.
The edges are just lightly golden and give a tiny crispiness that’s nothing like a boring hard cookie. It kinda melts on your tongue with every chew. That buttery, sweet taste sneaks in and stays in your memory long after the crumb’s gone.
It’s the kinda snack that makes you close your eyes and smile wide because you didn’t expect soft batch cookies could come out so perfect from a pressure cooker. You’re pretty sure you’re never gonna bake cookies any other way now.
Making It Last All Week Long
- Store your cookies in an airtight container at room temp for up to 5 days. You’ll wanna keep parchment paper between layers so they don’t stick.
- If you want to freeze them, put cookies in a single layer on a tray first, freeze till solid, then transfer to a freezer bag. Thaw out at room temp when craving strikes.
- For a quick warm-up, microwave a cookie for about 10 seconds wrapped in a damp paper towel. It rekindles that soft, gooey feeling real good.
Everything Else You Wondered About
- Can I use salted butter instead of unsalted? You can but skip extra salt, or just reduce it. Salted butter might make the cookies a bit saltier than expected.
- Does dough need chilling before baking? Nope, this recipe’s good to go right after mixing. The pressure cooker speeds things up so no fridge time needed.
- How do I know when this cookie batch is done in the pressure cooker? Listen for the float valve’s hiss steadying, then follow the baking steps and timing for finishing in the oven.
- Any substitutes for chocolate chips? Sure thing. Try white chocolate, butterscotch, or chunks of your favorite candy bars for fun twists.
- Can I make these cookies gluten-free? You can swap in a gluten-free blend but gotta be careful with moisture levels. Might need slight flour adjustments.
- What if my dough’s too sticky? Add a tablespoon or two more flour until it reaches the perfect scoopable texture. It works real good every time.
For more pressure cooker cooking inspiration, check out our Classic Crockpot Pierogi Casserole with Kielbasa, a filling dish perfect for busy weeknights. Or try out our Mozzarella Stuffed Rosemary Parmesan Soft Pretzels to satisfy your snack cravings with gooey cheese. For a quick and hearty one-dish meal, the Cheesy Kielbasa Hashbrown Casserole Dump Meal Recipe is a must-try that'll keep everyone happy.
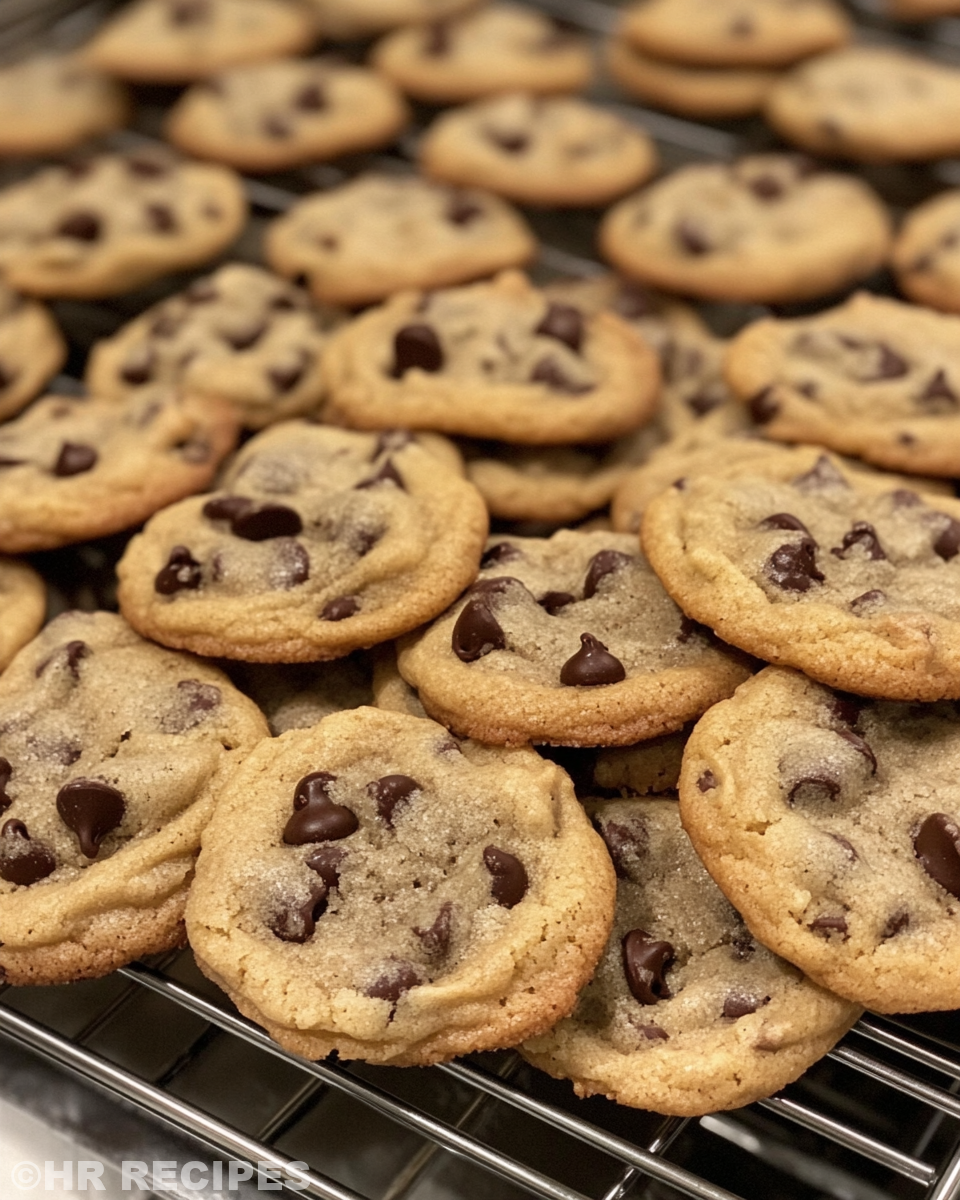
Omg Soft Batch Chocolate Chip Cookies! Pure Nirvana!
Equipment
- 1 Mixing bowl Large
Ingredients
Main ingredients
- 14 tablespoons unsalted butter softened
- 1 cup granulated sugar
- 0.5 cup light brown sugar
- 2 eggs
- 1 teaspoon vanilla extract
- 2.5 cups all-purpose flour plus extra if dough is sticky
- 1 teaspoon baking soda
- 0.5 teaspoon salt
- 3 cups chocolate chips or chunks
Instructions
Instructions
- Preheat oven to 350°F (175°C) and line baking sheets with parchment paper.
- Cream the softened butter with granulated and brown sugar until light and fluffy.
- Beat in eggs one at a time. Stir in vanilla extract.
- Gradually add flour, baking soda, and salt. Add extra flour if dough is sticky.
- Fold in chocolate chips gently until evenly distributed.
- Drop spoonfuls of dough onto baking sheets, spaced about 2 inches apart.
- Bake for 10–12 minutes until edges are golden but centers remain soft.
- Let cool on sheet 5 minutes, then transfer to wire rack to finish cooling.


