The pressure builds and you start counting down minutes until you eat. You can almost smell that sticky garlic sauce bubbling inside. The cooker valve hiss lets you know things are moving right along, and you�27re already picturing the first bite.
You remember the last time you tried a chicken noodle recipe that took forever, and dang, this one�27s running so much smoother. The sealing ring does its thing holding in all those flavors tight. It�27s kinda amazing how fast the chicken gets tender inside.
You sense the steam cues�26mdash;little puffs escaping here and there�26mdash;as the timer ticks down. You can hardly wait to crack open that lid with a quick release and mix those noodles all up with that sauce. Sticky, savory, and perfectly garlicky, this one�27s a winner every time.
The Truth About Fast Tender Results
- You trust the pressure cooker to deliver that juicy chicken real fast compared to stovetop methods. Check out our Classic Crockpot Pierogi Casserole with Kielbasa for another speedy yet hearty recipe.
- The quick release makes sure noodles don�27t get mushy by stopping cooking right when you want. This is similar to techniques used in our Cheesy Hamburger Rice Casserole Recipe for perfect texture.
- The sealing ring won�27t let flavor escape, keeping everything rich and packed in. Similar sealing techniques are vital in slow cooker dishes like the Crockpot Pierogi Kielbasa Casserole.
- Steam cues let you know when to expect the end of pressure time, so you�27re not left guessing. Familiarize yourself with steam cues in recipes such as Crispy Mashed Potato Fries where timing is key to crunch.
- Slow release also works but takes longer and keeps things simmering gently for a few extra minutes. This gentle cooking method is perfect for delicate ingredients as explained in our Amish Dinner Rolls Recipe.
Your Simple Ingredient Checklist
- 300 g chicken breast, thinly sliced
You want chicken thin so it cooks quick and stays tender inside the cooker.
- 250 g noodles (egg noodles or ramen work well)
These soak up all the sticky sauce damn good.
- 3 tablespoons soy sauce
Classic salty base that�27s gotta be in here.
- 2 tablespoons oyster sauce
Makes the sauce rich and a little sweet too.
- 2 tablespoons honey
Gives that lovely sticky glaze effect.
- 1 tablespoon dark soy sauce
Adds color and a deeper savory kick you won�27t wanna skip.
- 5 garlic cloves, minced
Because garlic is king in this dish.
- 1 tablespoon cornstarch + 2 tablespoons water
Mixed for thickening that sauce till it clings perfectly.
- 1 tablespoon vegetable oil and 1 teaspoon sesame oil
For stir-frying and finishing with that nutty edge.
How It All Comes Together Step by Step
First, you mix the soy sauce, oyster sauce, honey, dark soy sauce, and minced garlic in a little bowl. Set that sauce aside; it�27s gonna be your flavor powerhouse.
Next up, stir the cornstarch with water in another small bowl to make your slurry. This stuff's gonna thicken your sauce up real nice later.
Bring a pot of water to boil. Toss in your noodles and cook 'em just like the package says. Drain and ignore distractions while you get the rest ready.
Heat up the vegetable oil in a large pan or wok. When it�27s good and hot, add your thinly sliced chicken. Stir-fry that chicken till it browns and looks cooked through, usually around 5 to 7 minutes.
Now pour your sauce mixture over the chicken, stirring good to coat every piece in that sticky goodness. Drop the heat to medium.
Slowly stir in the cornstarch slurry. Keep the sauce moving until it thickens up in 2 to 3 minutes. Watch it get glossy and clingy.
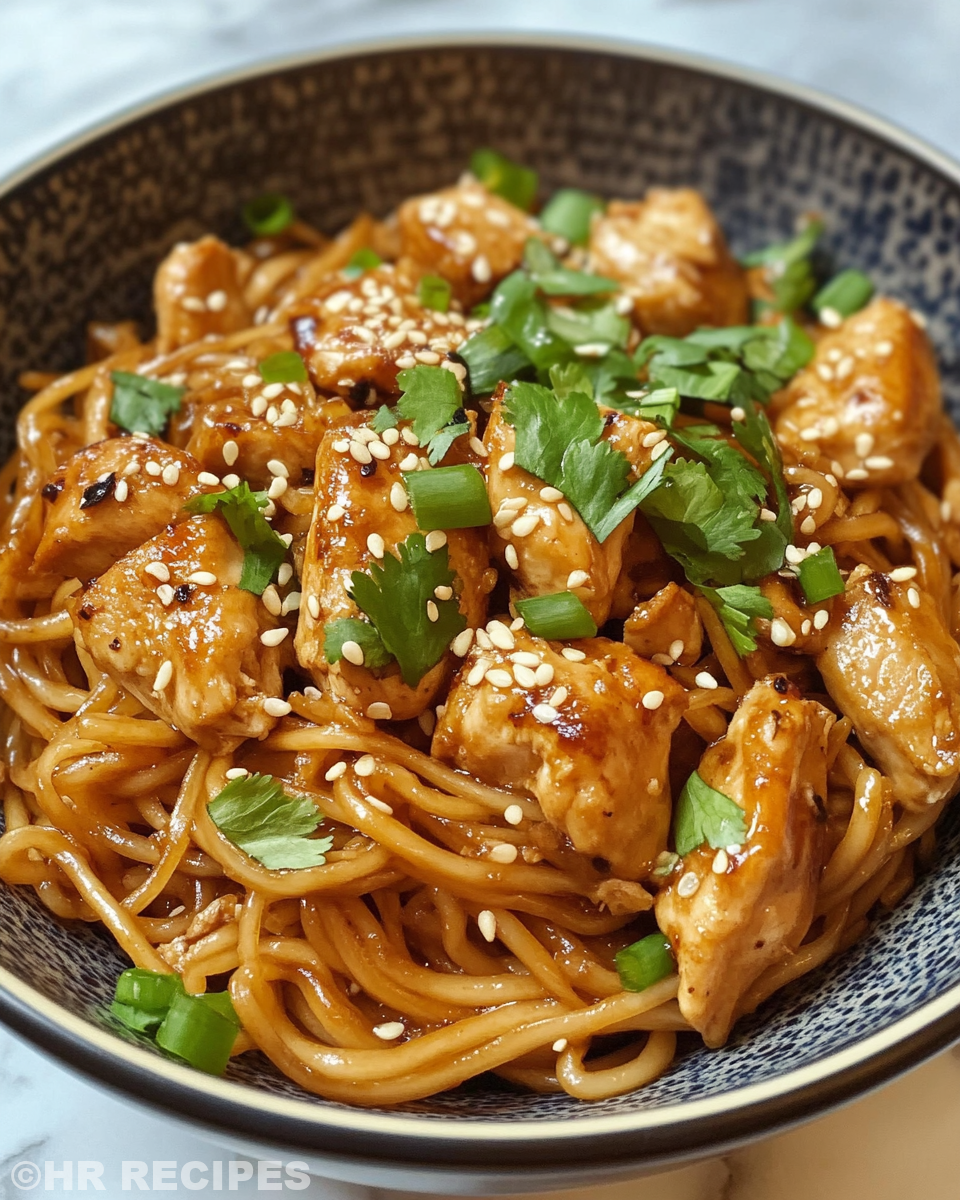
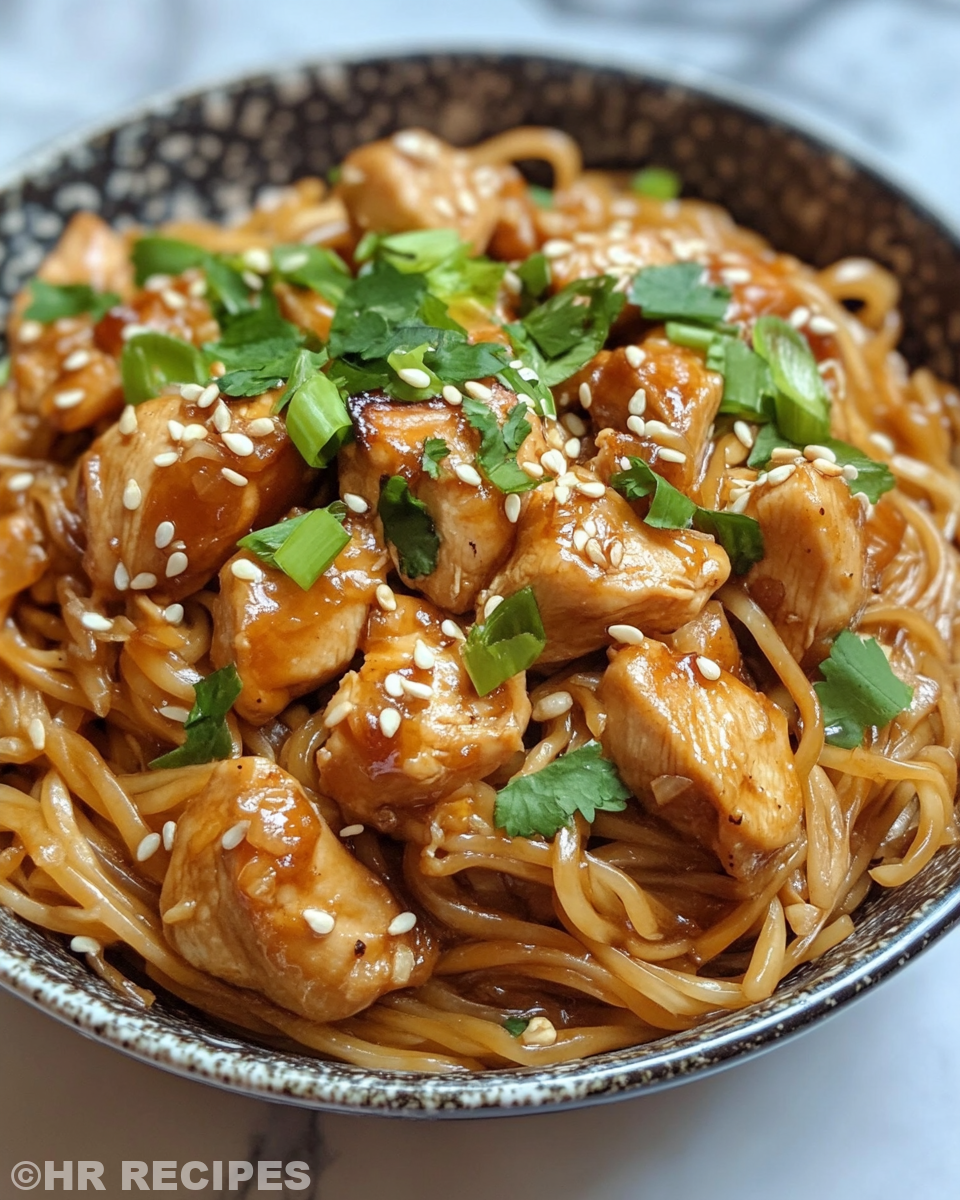
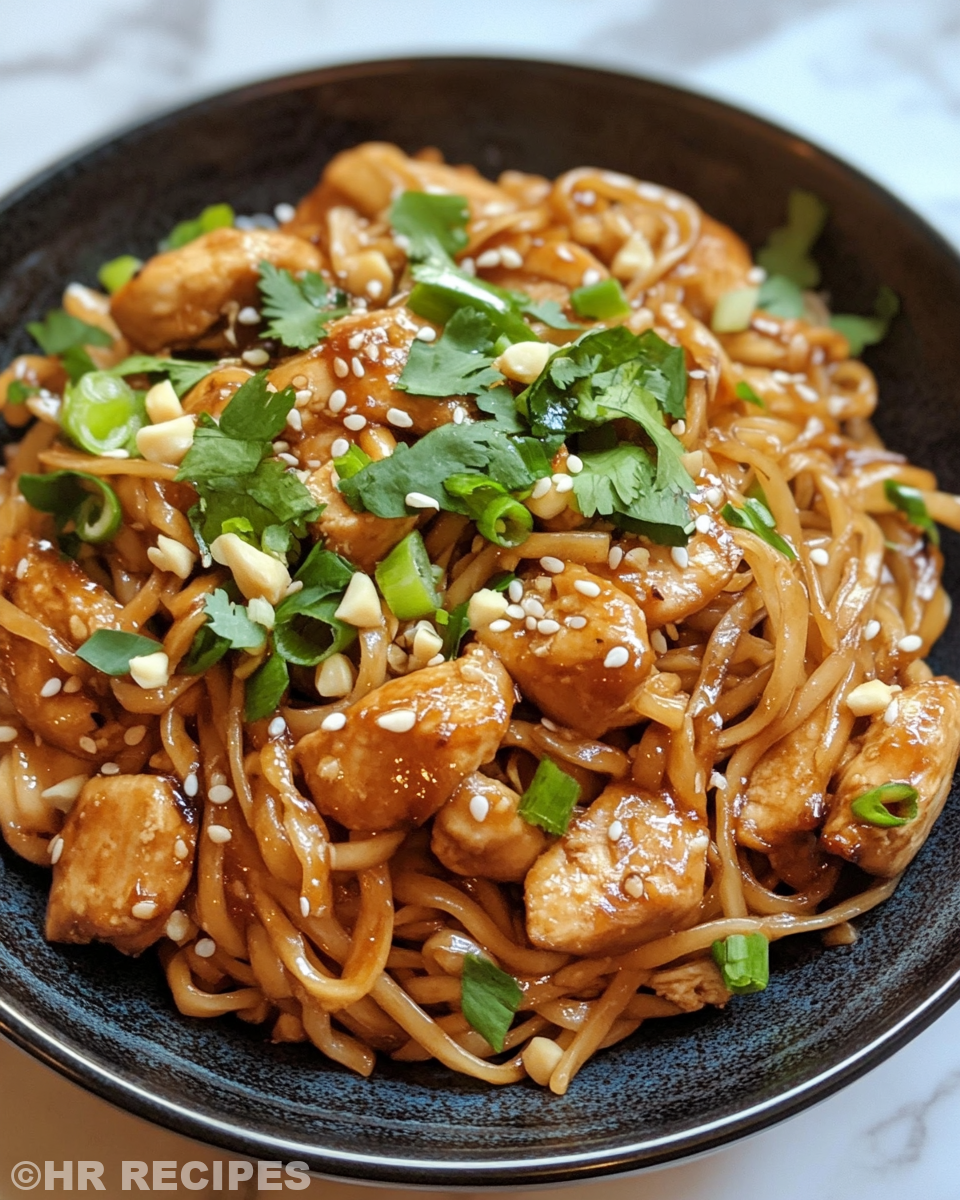
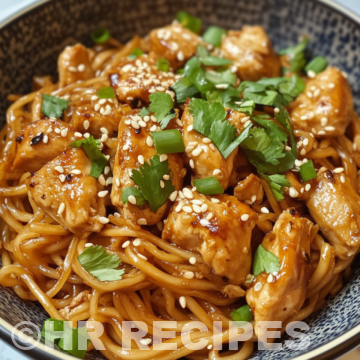
Finally, in go the cooked noodles. Toss everything together so the chicken and noodles are evenly coated with sauce. Let it cook another couple minutes till it�27s heated all the way through. Top with chopped green onions or sesame seeds if you wanna get fancy before you dig in.
Easy Tweaks That Make Life Simple
- Use pre-cooked rotisserie chicken to cut down on cook time. This approach is handy as seen in our Cheesy Kielbasa Hashbrown Casserole.
- Swap fresh garlic for garlic powder if you�27re in a hurry.
- Instant noodles work too, just cut the cooking time on the pressure cooker accordingly.
- Double the sauce to have leftovers that taste even better the next day.
- Add frozen veggies like peas or bell peppers during the last step for some color and crunch.
Your First Taste After the Wait
That first bite hits with a burst of sticky garlic sweetness that sticks to your tongue. You notice the savory soy and oyster sauce blend wrapping around each noodle just right. It�27s a dang satisfying mouthful.
The chicken is tender but not mushy, each piece soaking in that thick sauce. You recall how that quick release saved your noodles from getting soggy and it totally worked out.
There�27s a little kick if you added chili flakes, but mostly you�27re savoring that perfect balance of sweet, salty, and garlicky. You gotta make this again soon because it just hits the spot.
Smart Storage That Actually Works
If you got leftovers, pack 'em in airtight containers and shove 'em right in the fridge. They last about 3 to 4 days before they start getting meh.
For longer storage, freeze any extra noodles in freezer-safe bags with sauce separated if possible. Thaw overnight in the fridge before reheating.
When reheating, toss it in a hot pan with a splash of water or broth to loosen up the sauce and warm it evenly. Don�27t forget to watch the valve hiss on your pressure cooker if you use it to reheat.
Everything Else You Wondered About
- Can I use chicken thighs instead? Yeah, they work great and stay juicy but might need a couple extra minutes under pressure.
- What if I don�27t have oyster sauce? You can swap it with hoisin or just add more soy sauce and a drizzle of honey for sweetness.
- How do I avoid sticky noodles clumping? Drain 'em and toss with a tiny bit of oil after cooking before mixing with sauce.
- Is quick release always best? Usually yeah for noodles so they don�27t overcook, but slow release works if you want the sauce thicker.
- Can I make this vegan? Switch chicken with tofu and skip oyster sauce or use a mushroom-based alternative.
- Why won�27t my sauce thicken? Make sure you stir the cornstarch slurry smooth and add it gradually while stirring; heat activates the thickening.
For more great ideas and cooking tips, try our Easy Marinated Cheese Appetizer with Salami & Green Olives for a savory snack, or check out the Mozzarella Stuffed Rosemary Parmesan Soft Pretzels recipe for a cheesy and herb-filled delight perfect for entertaining. For a comforting side, explore the Crispy Mashed Potato Fries, a fun twist on a classic favorite.
Sticky Garlic Chicken Noodles Pressure Cooker Recipe
Equipment
- 1 Mixing bowl for sauces
- 1 Pot for boiling noodles
- 1 Pan or wok for stir-frying
Ingredients
Main ingredients
- 300 g chicken breast thinly sliced
- 250 g noodles egg noodles or ramen
- 3 tablespoons soy sauce
- 2 tablespoons oyster sauce
- 2 tablespoons honey
- 1 tablespoon dark soy sauce
- 5 cloves garlic minced
- 1 tablespoon cornstarch
- 2 tablespoons water for slurry
- 1 tablespoon vegetable oil
- 1 teaspoon sesame oil
Instructions
Instructions
- Mix the soy sauce, oyster sauce, honey, dark soy sauce, and minced garlic in a small bowl. Set aside.
- Stir cornstarch and water together in another bowl to make a slurry for thickening.
- Bring a pot of water to boil. Cook noodles according to package directions, then drain.
- Heat vegetable oil in a large pan or wok on high heat.
- Add thinly sliced chicken and stir-fry until browned and cooked through, about 5–7 minutes.
- Pour the sauce mixture over the chicken and stir to coat. Reduce heat to medium.
- Slowly stir in cornstarch slurry and keep mixing until the sauce thickens, about 2–3 minutes.
- Add cooked noodles and toss well until everything is evenly coated with sauce.
- Cook everything together another 2 minutes until heated through.
- Top with optional chopped green onions or sesame seeds and serve hot.