
You catch the smell through the steam vent and suddenly you are starving. It’s like this warm, sweet chocolate hug sneaking up on you and grabbing your attention real quick. Somehow, that little whiff brings back all those memories of cozy kitchens and happy times at the same time.
You spot little bubbles dancing around the float valve while your heart beats faster wondering if these brownie cookies gonna taste as good as they smell. The kitchen feels small but full of promise. You just gotta wait a little bit longer before that quick release lets you in on the secret.
Then you remember this is no ordinary cookie recipe. It’s pressure cooker magic in the best way, getting that perfect tender pull without hours of waiting. The broth depth inside keeps things moist enough to get that fudgy texture you crave. Dang, y’all, you already know fresh from the cooker it’s gonna be a treat.
The Truth About Fast Tender Results
- Pressure cookers create a humid environment that locks in moisture so your cookies don’t dry out.
- Float valve let’s pressure build evenly, giving your baked goods the perfect lift and tender pull.
- Broth depth underneath the rack provides steam, acting like a gentle oven seasoning your treat.
- Quick release is perfect for stopping the cooking at just the right time, so your cookies stay fudgy inside.
- Slow release works great for recipes that need extra time but for these cookies quick release keeps things soft and chewy.
- Using the pressure cooker cuts down on oven use and heating time, especially when you’re hungry and short on time.
What Goes Into the Pot Today
- ¼ cup unsalted butter for smooth richness that melts perfectly with chocolate.
- 4 ounces semi sweet chocolate, chopped or chips, about ½ cup for deep, intense flavor.
- 2 large eggs that bring moisture and help these cookies keep their chewy tender pull.
- 1 cup granulated sugar adds sweetness but also that slight crisp to edges.
- 1 teaspoon vanilla extract to brighten up all that chocolatey goodness.
- 1 cup all purpose flour as the base that holds everything together without being heavy.
- ¼ teaspoon kosher salt which boosts flavor and balances the sugar.
- 3 tablespoons cocoa powder plus ⅛ teaspoon baking soda to give some rise and extra chocolate oomph.
These ingredients come together simple but mighty. You gotta let the melted butter and chocolate cool a bit before mixing, else you might scramble the eggs. That’s a little trick to keep everything smooth and glossy. Also, don’t overmix your dry ingredients once added; it helps keep the brownie cookies dense, fudgy, but not tough.
How It All Comes Together Step by Step
Step one, preheat your oven to 350 degrees Fahrenheit and get a baking sheet ready by lining it with parchment paper. This part sets you up for perfect baking once the dough is done.
Step two, melt your butter and semi sweet chocolate together. You can do this in the microwave by heating in 30-second bursts and stirring in between so it gets silky smooth. Let it cool just a smidge so it don’t mess with your eggs.
Step three, grab a bowl and whisk those eggs, sugar, and vanilla extract until fluffier than you expect. This lets a little air creep in, making the cookies light but still fudgy.
Step four, gently pour that cooled chocolate mixture into your egg mixture. Stir everything till it’s all one glossy mix, kinda shiny and tempting.
Step five, sift together the flour, kosher salt, cocoa powder, and baking soda and add them to your chocolate mixture. Mix it but just enough to blend — you don’t wanna overwork the dough or your cookies will get tough.
Finally step six, let the batter rest for 5 to 10 minutes so it thickens just a bit. Use a cookie scoop or spoon to drop tablespoons of dough spaced a few inches apart on your lined baking sheet. Bake for about 9 to 11 minutes or until the edges are set but the centers still look soft. Let them cool a few minutes on the sheet then transfer to a wire rack to finish cooling.
Time Savers That Actually Work
One way you can speed things up is pre-measuring all your ingredients before you start. It sounds simple but dang it makes mixing go quicker and less messy.
If you got a microwave, use it to melt the butter and chocolate. That’s way faster than doing it over the stove and you get even melting without fuss.
Lastly, don’t skip letting the batter rest after mixing. I know it feels like extra time, but this little pause thickens your dough and helps your cookies bake just right without getting flat or crumbly.
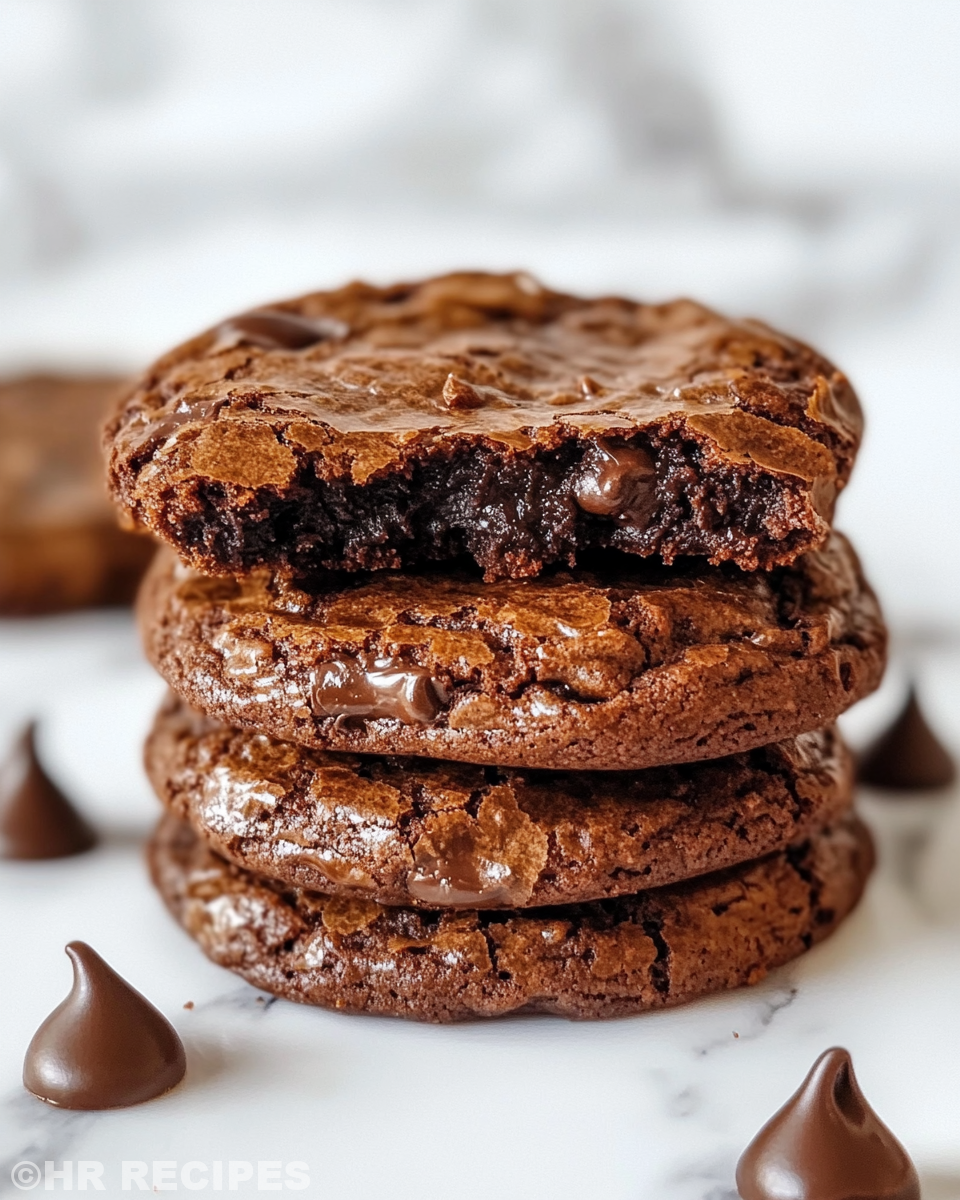
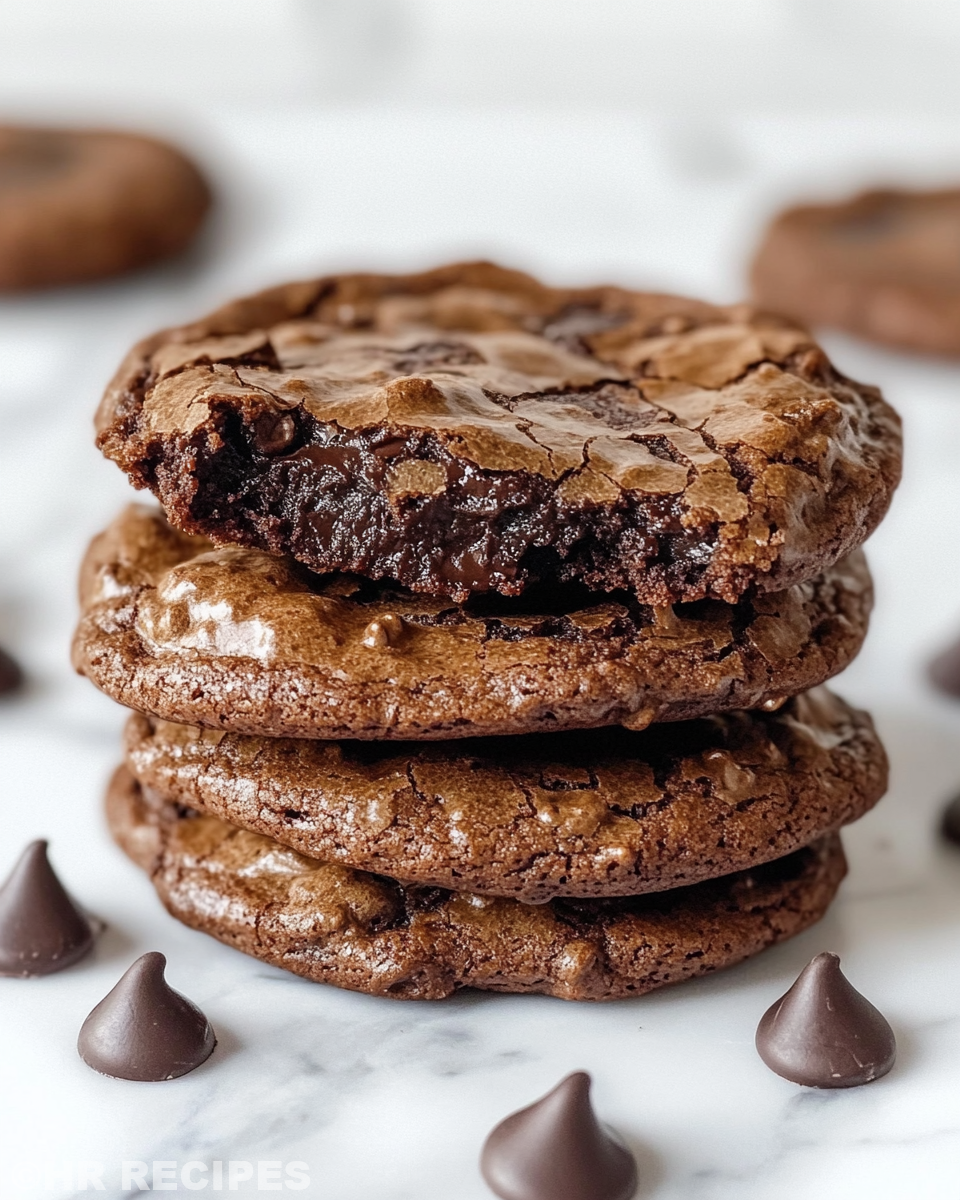
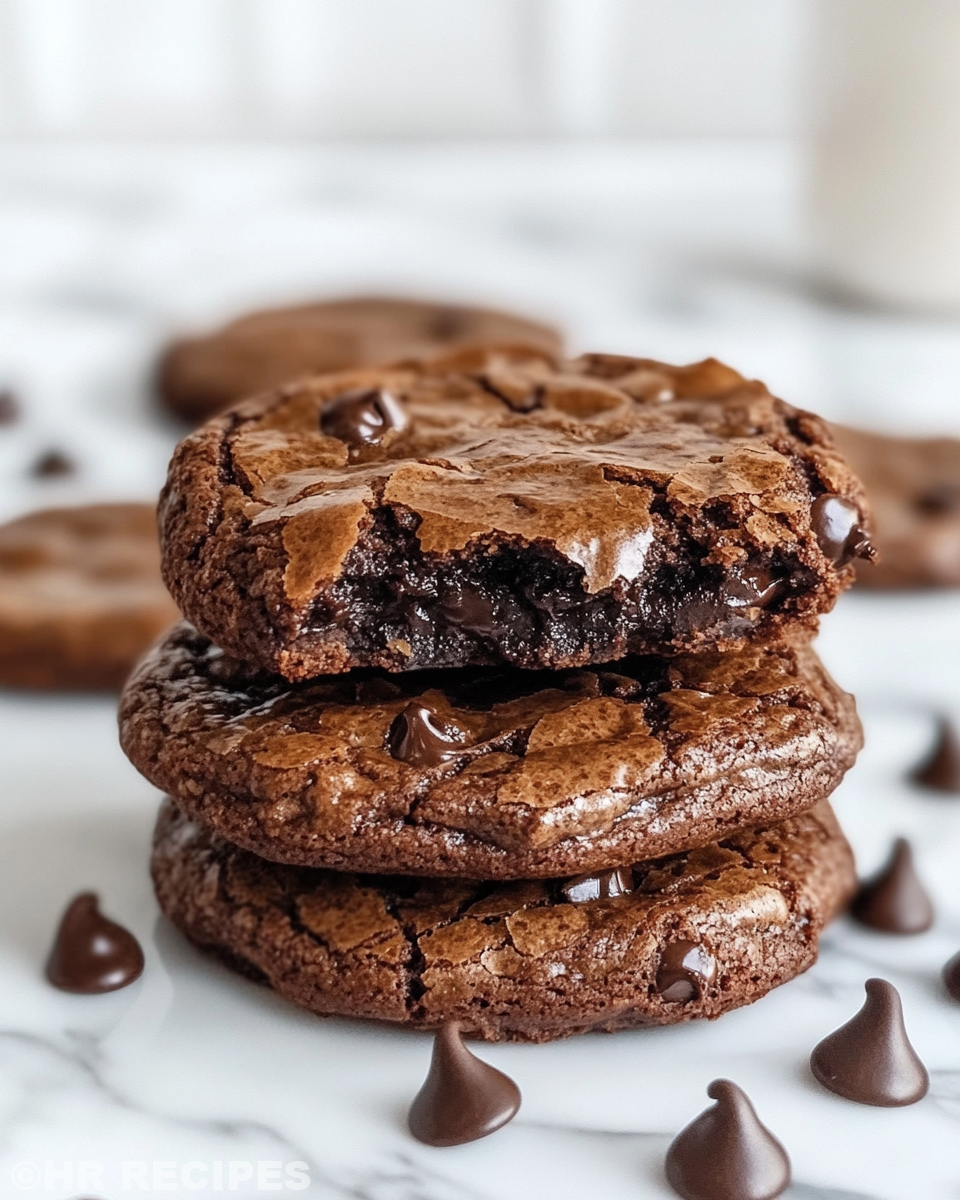
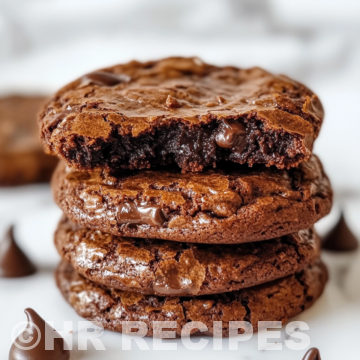
What It Tastes Like Fresh From the Pot
Right when you bite into one fresh from the oven, your taste buds hit that rich fudgy center that’s soft and almost molten. It’s like a warm chocolate cloud melting slow and sweet inside your mouth.
The edges give just a slight crisp snap that contrasts perfectly with the gooey middle, making every bite exciting and full of texture. You sense the deep cocoa and that little salty kick playing on your tongue.
These cookies feel cozy and homey but also kinda special, like you made a fancy dessert without any fuss. They’re the kind you wanna eat right away but also keep sneaking back for seconds and thirds because they’re just dang good.
Smart Storage That Actually Works
If you don’t finish all the cookies in one sitting, you can store the leftovers in an airtight container. Keep them at room temp for up to three days and they hold onto their fudgy goodness real good.
For longer storage, pop the cookies in the fridge. This will make them a bit firmer but still tasty. When you want to soften them back up, just heat ’em briefly in the microwave with a damp paper towel over the top.
You can also freeze the cookies by wrapping them tightly in plastic wrap and popping in a bag. Thaw at room temp or microwave for a few seconds before munching. Freezing works great if you make a big batch and wanna save some for later cravings.
Common Questions and Real Answers
- Can I skip the pressure cooker and just bake these? Yep, baking works great! Just follow the oven steps and timing as usual — you’ll still get delicious fudgy brownies.
- How does the float valve affect baking? The float valve helps keep the pressure steady while cooking which means your batter sets nice and even without drying out.
- What if I don’t have semi sweet chocolate chips? No worries, using chopped semi sweet chocolate bar works just as well or even bittersweet if you like it darker.
- Can I use a different type of sugar? Granulated sugar is best for the texture here, but you can try brown sugar for a moister, richer bite if you want to experiment.
- Why do you recommend quick release instead of slow release? Quick release stops cooking right away so the centers stay fudgy. Slow release might overcook them making cookies more cakey.
- How thick should the broth depth be in the pot? Just an inch or so of water in the bottom is enough to create steam and keep the environment moist for baking these treats.
20 Minute Fudgy Chocolate Brownie Cookies
Equipment
- 1 Mixing bowl microwave-safe
Ingredients
Ingredients
- ¼ cup unsalted butter melted
- 4 oz semi sweet chocolate chopped or chips
- 2 eggs large
- 1 cup granulated sugar
- 1 teaspoon vanilla extract
- 1 cup all purpose flour
- ¼ teaspoon kosher salt
- 3 tablespoons cocoa powder
- ⅛ teaspoon baking soda
Instructions
Instructions
- Preheat your oven to 350°F and line a baking sheet with parchment paper.
- Melt the butter and semi-sweet chocolate in a microwave-safe bowl in 30-second intervals, stirring between each. Let cool slightly.
- Whisk eggs, sugar, and vanilla extract together until light and airy.
- Slowly mix the cooled chocolate mixture into the egg mixture until glossy and well combined.
- Sift together flour, salt, cocoa powder, and baking soda. Gently fold into the chocolate batter until just combined.
- Let the batter rest for 5-10 minutes to thicken.
- Scoop tablespoon-sized portions of dough onto the baking sheet, spacing a few inches apart.
- Bake for 9–11 minutes until edges are set but centers remain soft.
- Cool on baking sheet for a few minutes, then transfer to a wire rack.


